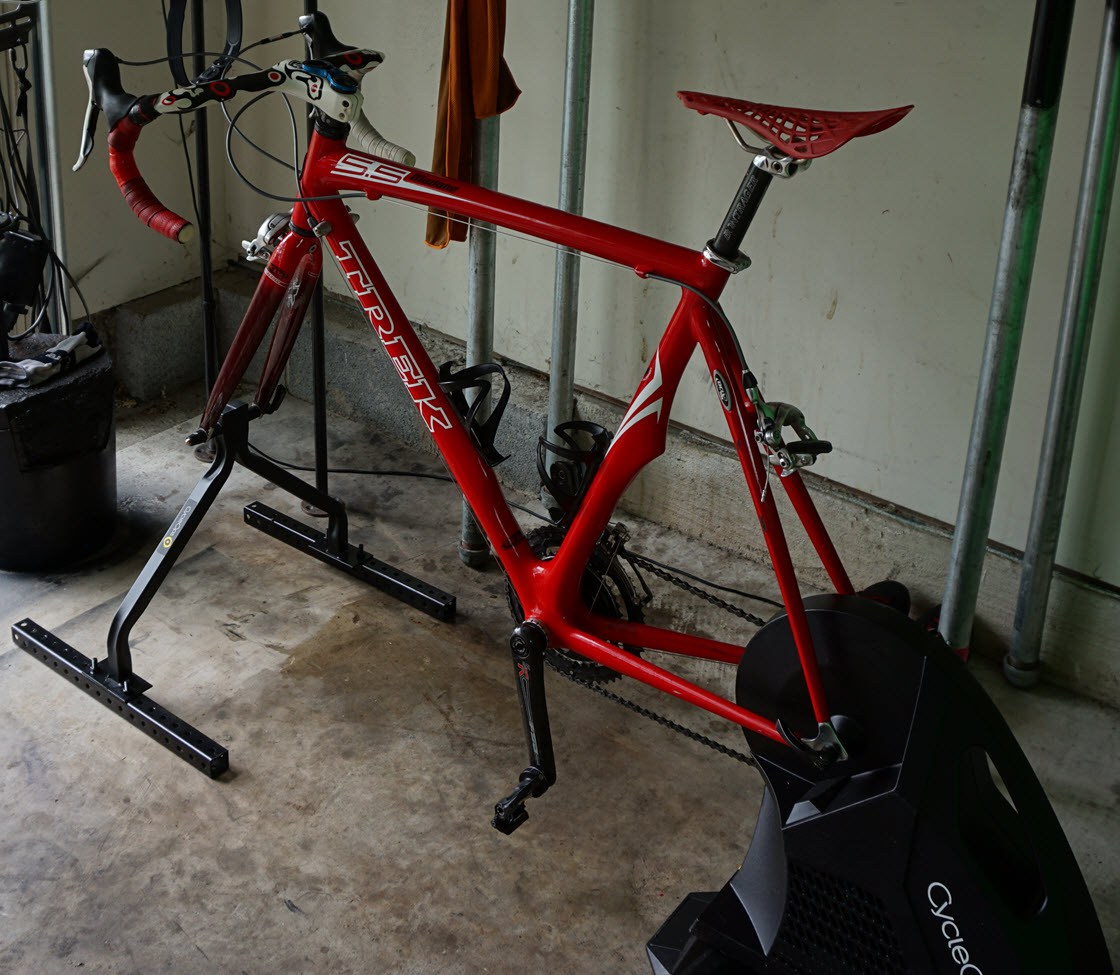
This is the Pain Cave aka bike room set up perfectly positioned in our garage workout/training room. So here’s the thing, when you first create your Zwift setup you quickly realize that you need some sort of desk that is the eye level of your tempo position. I realized that this allows you to be comfortable while riding but also have the items you need in order to complete a short Zwift race or a long 100k Watopia group ride.

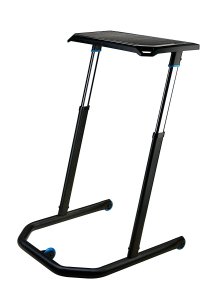
718UqamtyqL._SL1500_Many riders elect to purchase a desk, most commonly the Wahoo KICKR Multi-Purpose, Adjustable Height Desk, this particular desk can hold iPads and Laptops right at eye level allowing you to get stuck into your Zwift session. But, my personal opinion of this desk is that its too small and would take multiple of them in order to have the same amount of space as a DIY system. At $249.99 a piece paying $500 dollars for half the space as you’d get from just making your own just doesn’t sound like a bright idea.

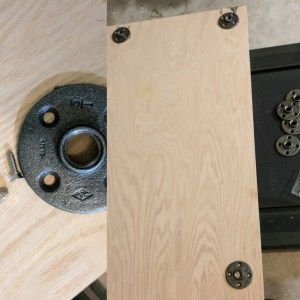
As you can see in my video my desk is a piece of ply wood with four galvanized steel pipes at 1 1/4inch diameter. The durable galvanized steel legs get maximum stability and sturdiness mounted with four wood screws directly into the wood using a floor flange. I also used the floor flange for feet of the table for added balance. As described this was extremely easy to assemble, there are just 16 screws to tighten. The leg height in my setup is set at a very high setting because I bike on rollers. At the end of the day, the setup I created is to assist me in being the most comfortable I can while Zwifting. I designed the tables to accommodate my towels, food, drinks, mouse, keyboard, power strip, and phone all within arms reach. I also decided to build in cord holes for cable organization keeping all of my cords from getting tangled in the bike wheel. My table has a great height at about 48 inches and can be used with two types of feet depending on how stable you need it to be.

READ Hammer CycleOps Unboxing
Going with my DIY, I must say what a fantastic purchase! I recommend this to anyone who needs a large desk that is used in the standing position, on the treadmill or on the indoor bike/trainer. The is a must have to complete your “pain cave” at home! We’re cyclists. We’re runners. The idea was to create a desk that specifically designed to work in the previously mentions modes. Easily set your bike under your table, and start Zwifting (and pedaling). It is really solid and sturdy. I put it together myself in about 15 minutes. At 48inches tall, this ends of being the perfect height, so you have room to fit a bike on a trainer under the desk. I found this desk to be an excellent solution for both for getting in a cycling workout and zwifting on the treadmill.