This is my homework post for Steemit Learning Challenge Season 21 Week 1 assignment of Professor @hamzayousafzai’s class, Creating a Blog for Amazon Affiliate Marketing.
Task 1 - Create a Blog for Amazon Affiliate Marketing Follow all the steps above to complete your blog Setup
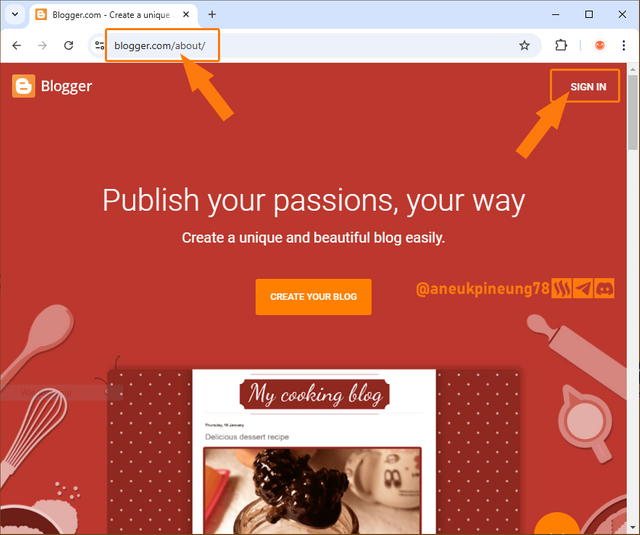
- Go to https://www.blogger.com/ and if you are not signed in, sign in by clicking th [SIGN IN] button.
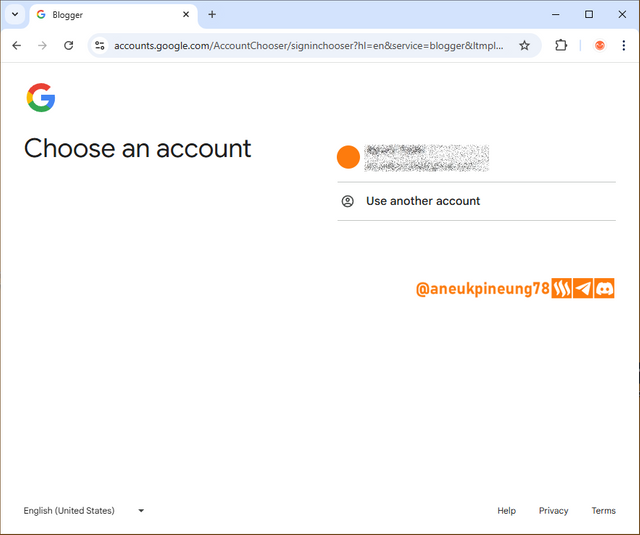
- Choose an account to sign in to blogger.com.
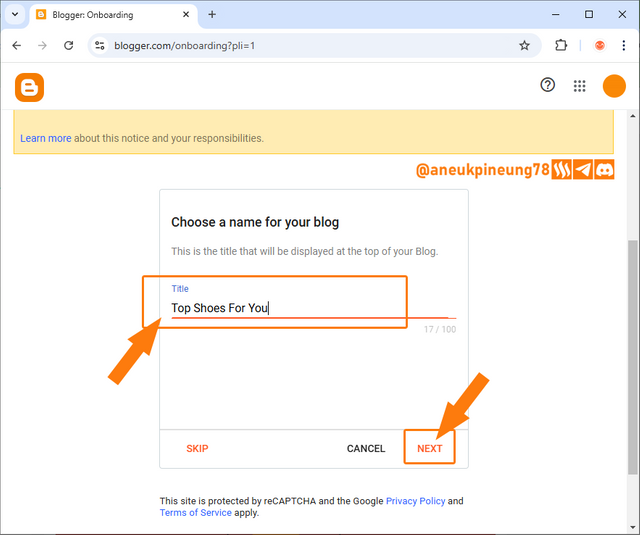
- Fill in the name for the blog. Once done, click [NEXT].
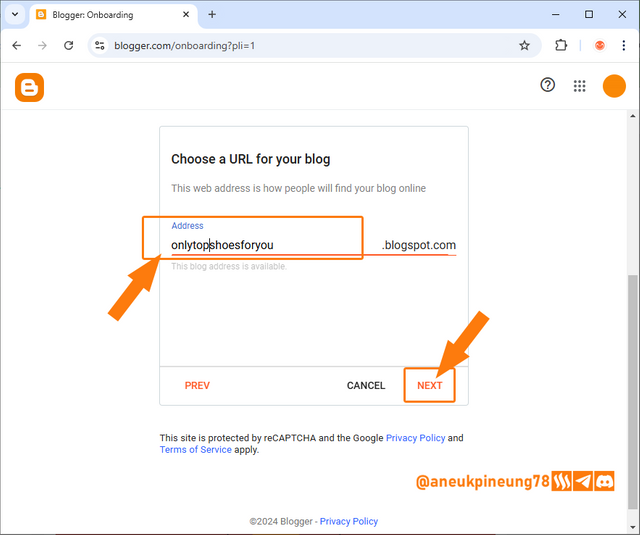
- Type in the URL, keep changing it until it is available. Once done, click [NEXT].
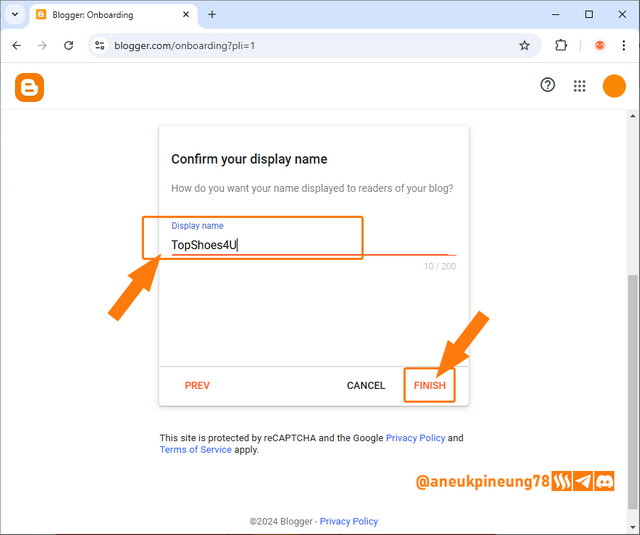
- Make a display name. Once done, click [FINISH].
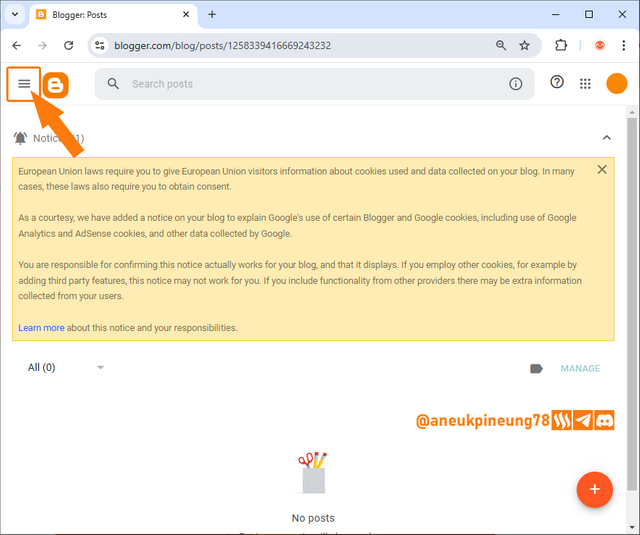
- On the next window, press the 3 vertically arranged lines to bring up the menu.
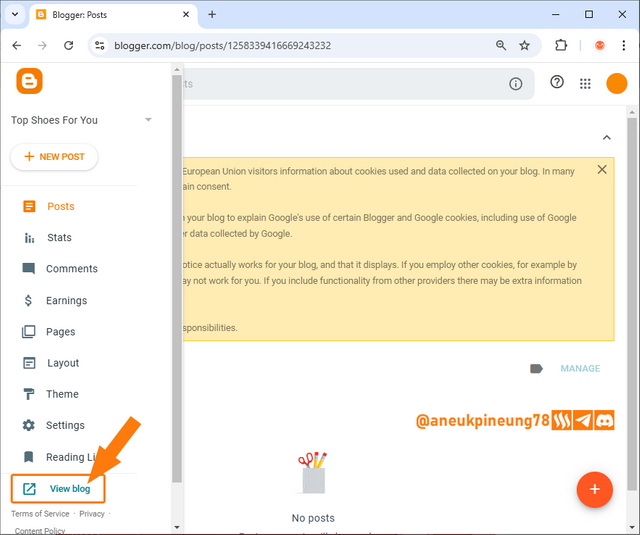
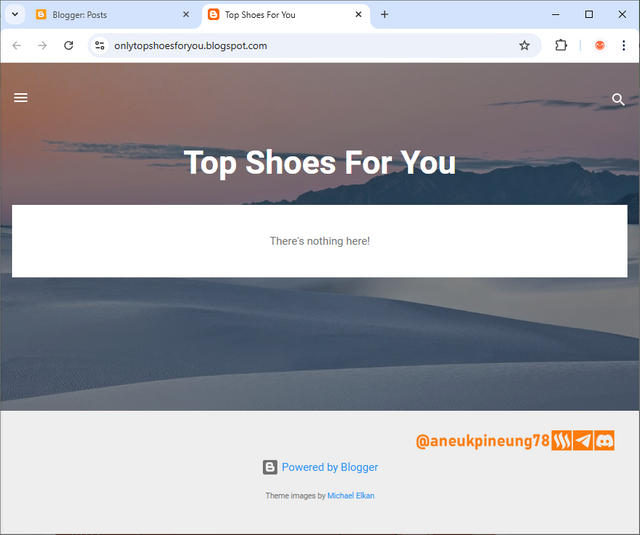
- Let's see what the blog looks like so far. Click the [View block] button.
- This is the default appearance of a newly created blog on bloggr.com.
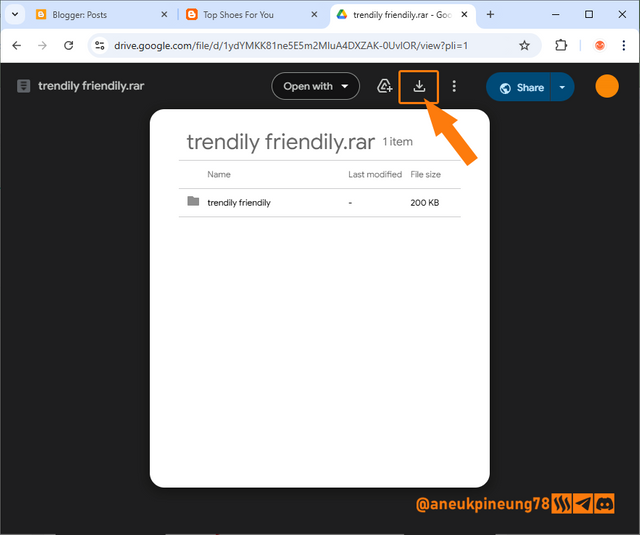
- Time to download the template provided by Professor Hamzayousafzai on Google Drive.
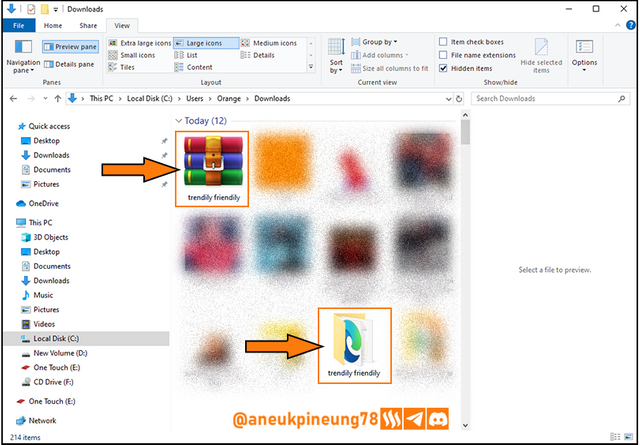
- Once the compressed file was downloaded, I extracted it.
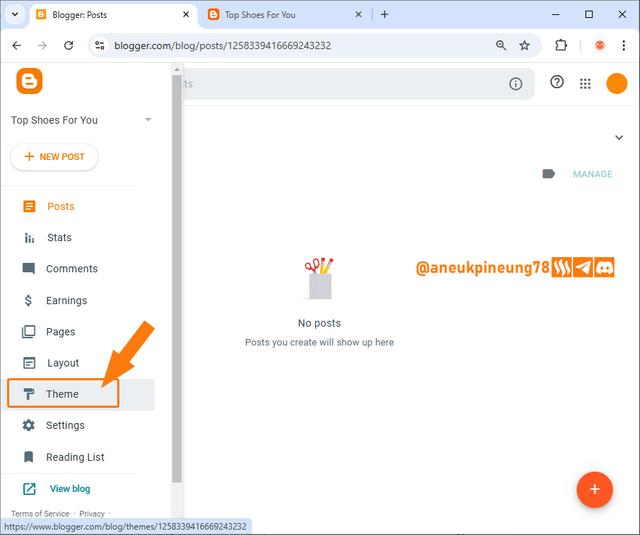
- I opened the menu again and selected [Theme] to apply the theme provided by Professor Hamzayousafzai that I had just downloaded.
- On the window that appeared I pressed the orange [Customize] button.
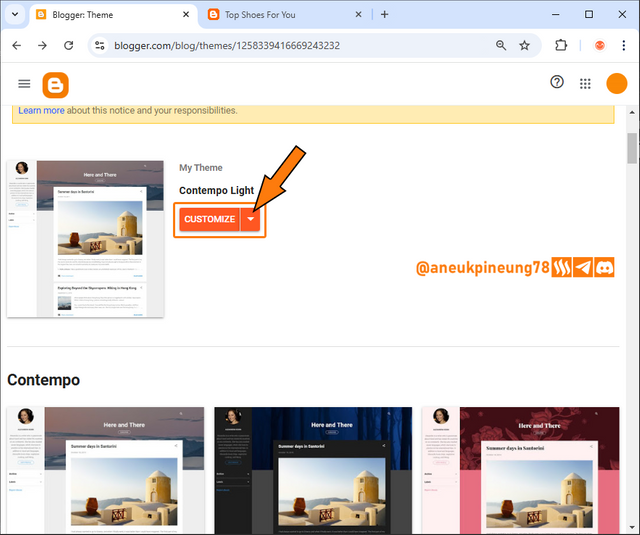
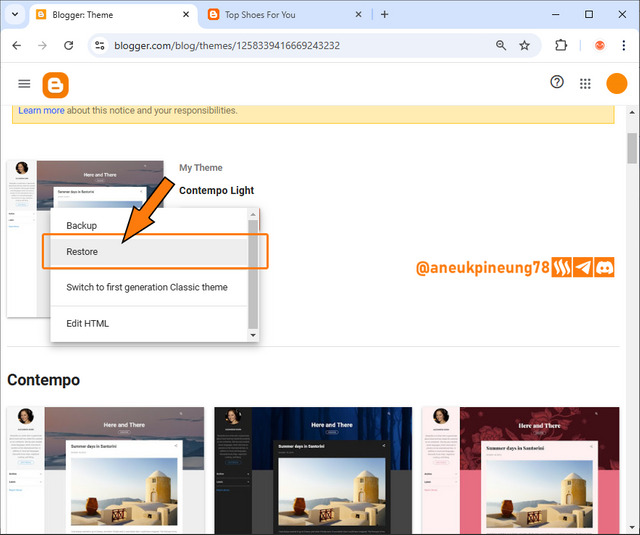
- From the options on the drop-down menu, I selected [Restore].
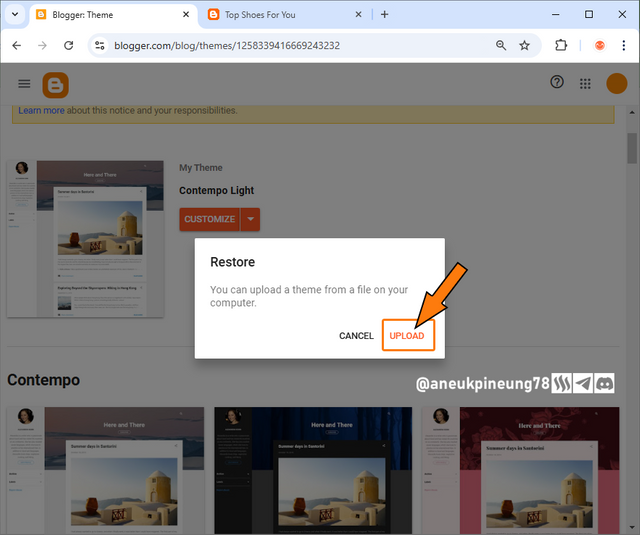
- On the dialog box, I pressed [Upload].
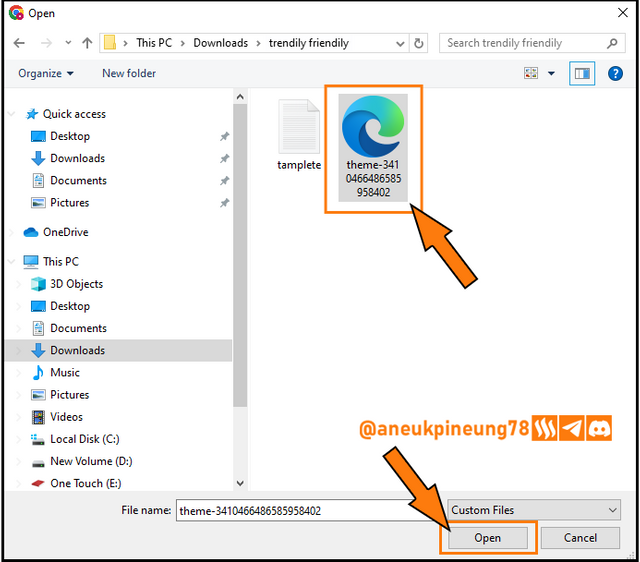
- I searched for the theme file I had downloaded earlier, selected it and pressed [Open].
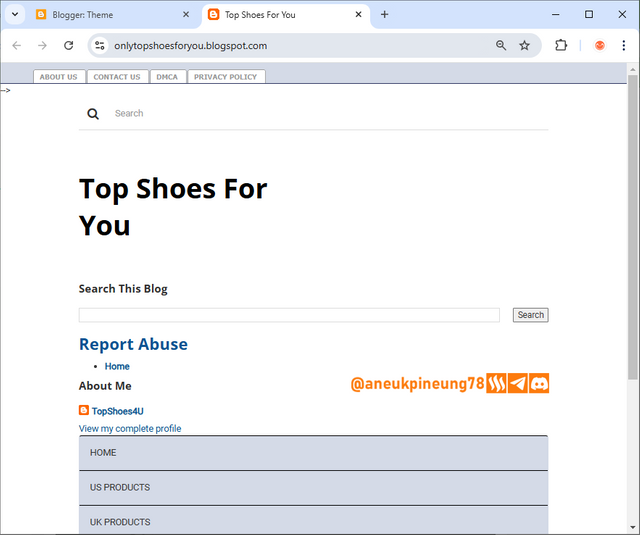
- I checked the appearance of the blog so far, and this was what I found. Now it looked completely different.
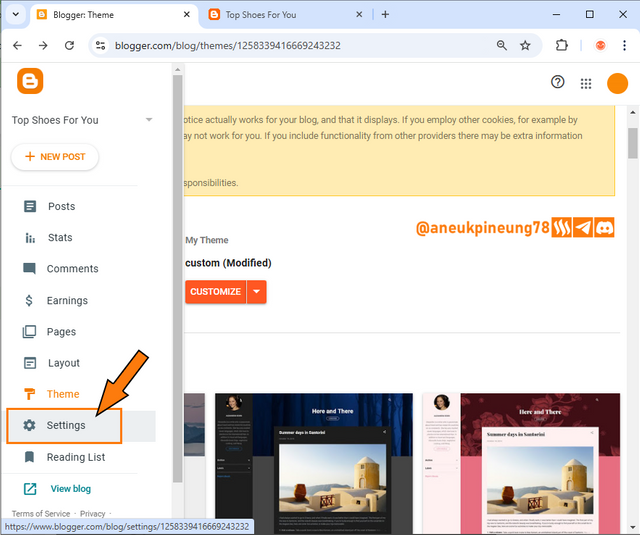
- I accessed the menu again. This time I selected [Settings].
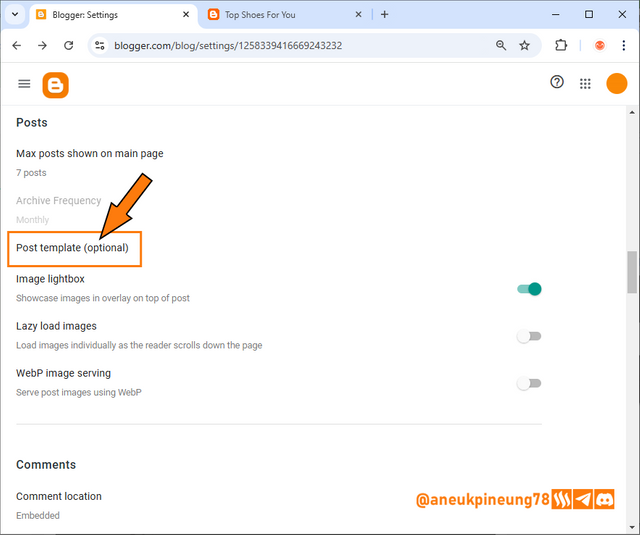
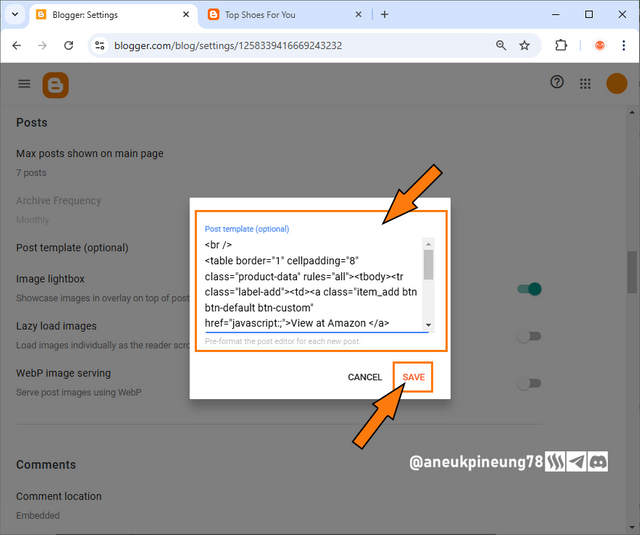
- I scrolled down and clicked on [Post template (optional)].
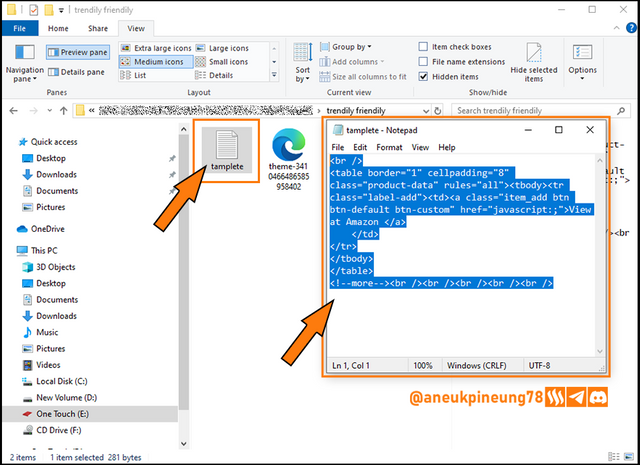
- Next, I opened the text file provided with the template I downloaded earlier and copied the code in it.
- I pasted it in to the Post template and clicked the [SAVE] button.
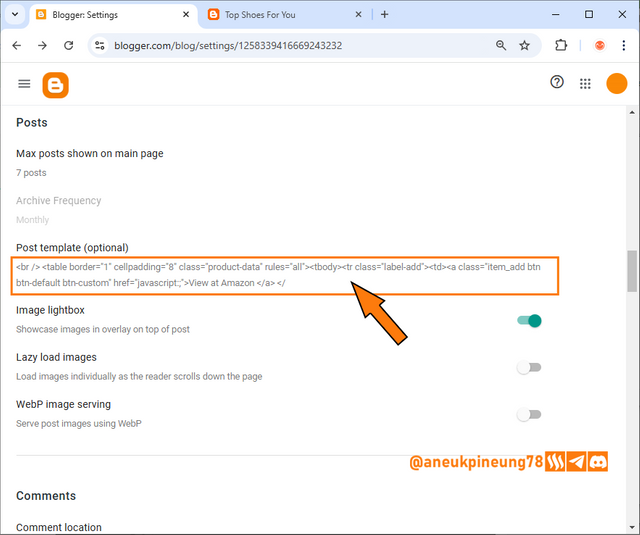
- Now the code had already been in the Post template.
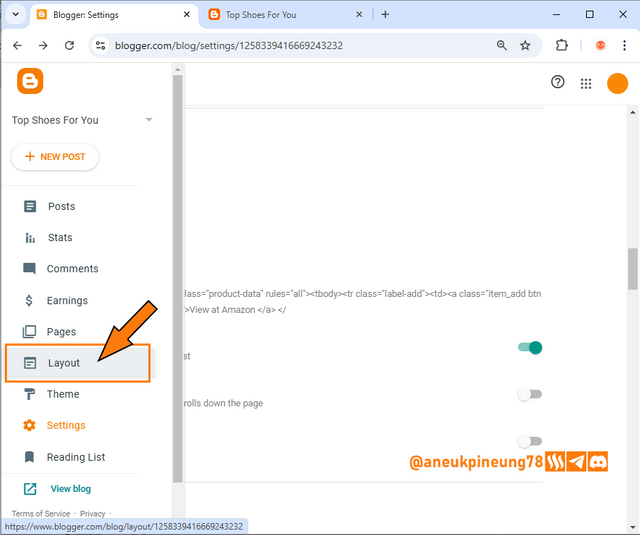
- I then accessed [Layout] through the menu.
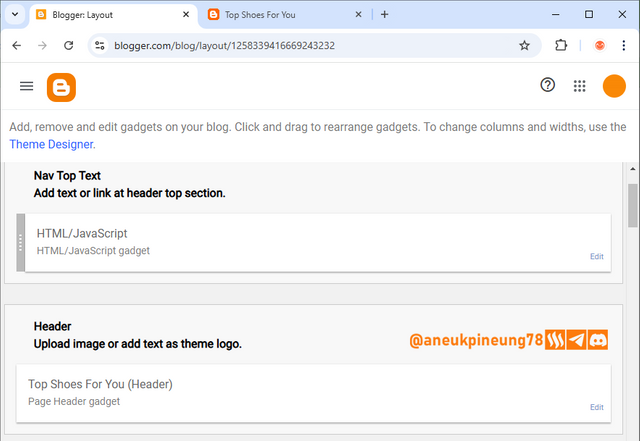
- Here's what the interface looked like for the layout settings on bogger.com, I was about to disable some widgets as directed by Professor Hamzayousafzai.
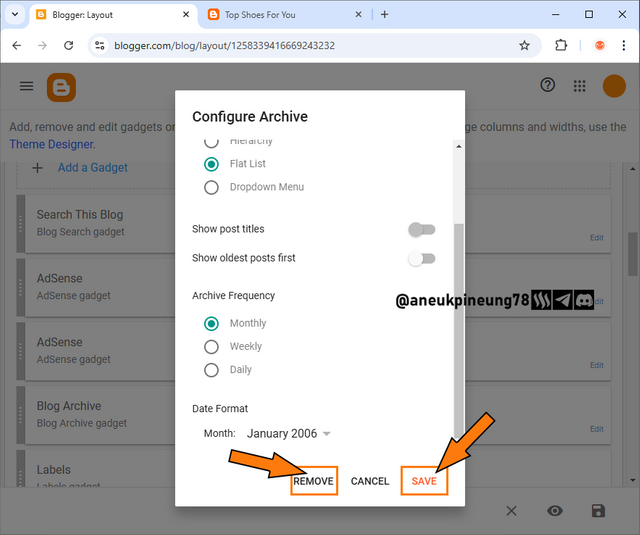
- I selected a widget to remove, clicked [Remove] and then clicked [SAVE].

Task 2 - Submit Your Blog Link Share the link to your blog so I can Review it and give you feedback
The blog link: https://onlytopshoesforyou.blogspot.com/.

Task 3 - Add Three Dummy Product Posts Each post should have a title description and image related to the dummy products you selected.
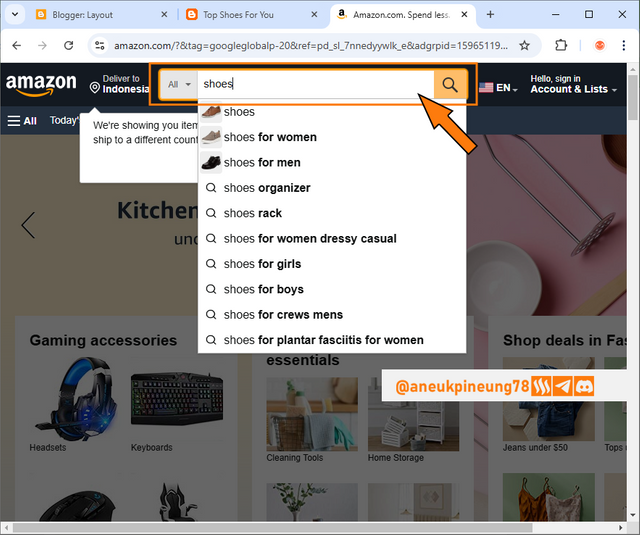
- Next I visited https://www.amazon.com/ and utilized search bar to search with the keyword "shoes".
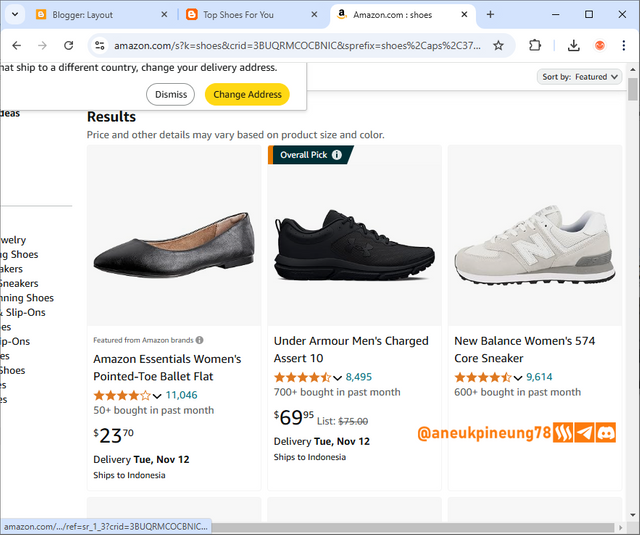
- The picture below shows the result for my search. I downloaded 3 pictures from there.
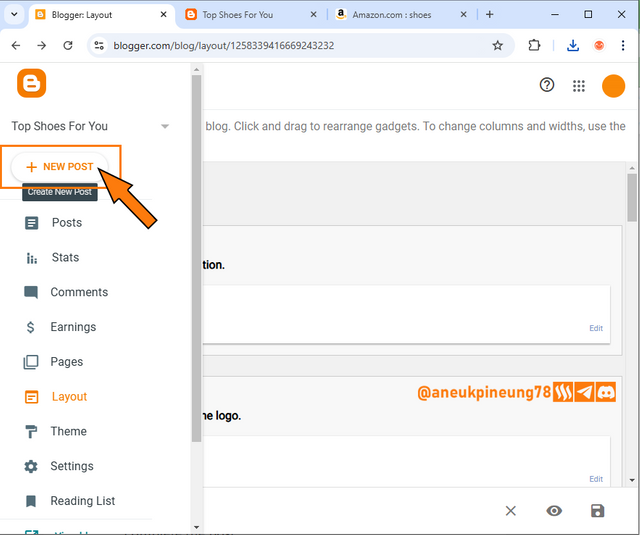
- I went back to my blog and accessed menu again, this time I clicked on [+ NEW POST] button.
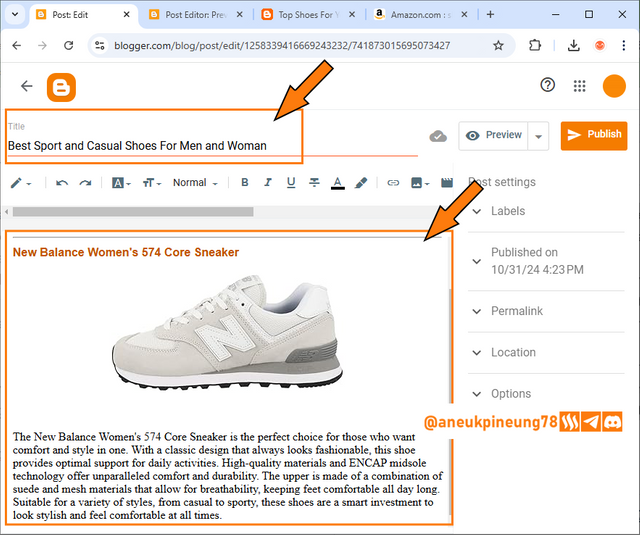
- On the next window, I filled in the title for my first post, and the detail along with the image I downloaded earlier.
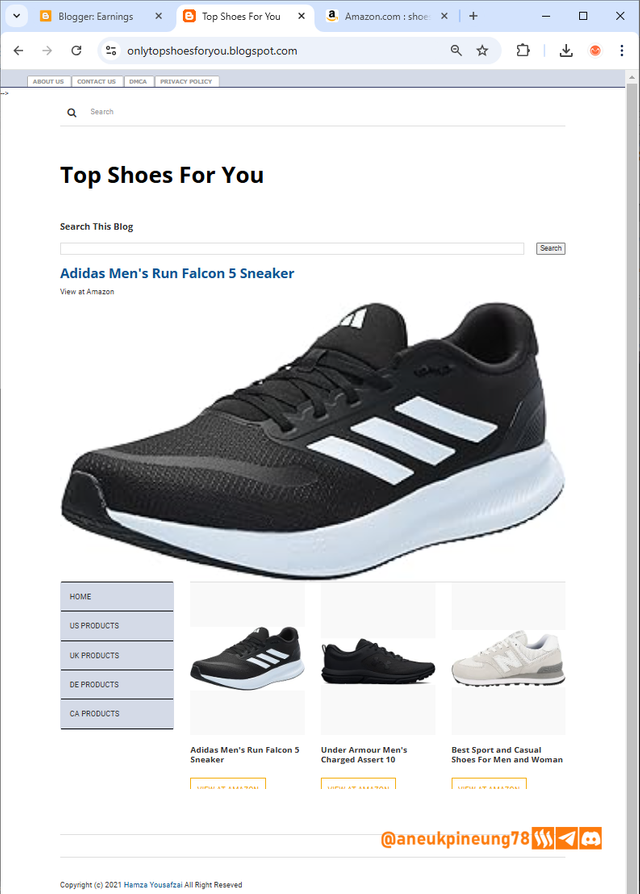
- I did the same for all three images I downloaded, means I had 3 posts when I was done doing that. The picture below shows how the homepage of my blog looked like when I was done. I think there was a problem with the [VIEW AT AMAZON] button that seemed to be partially cut off.
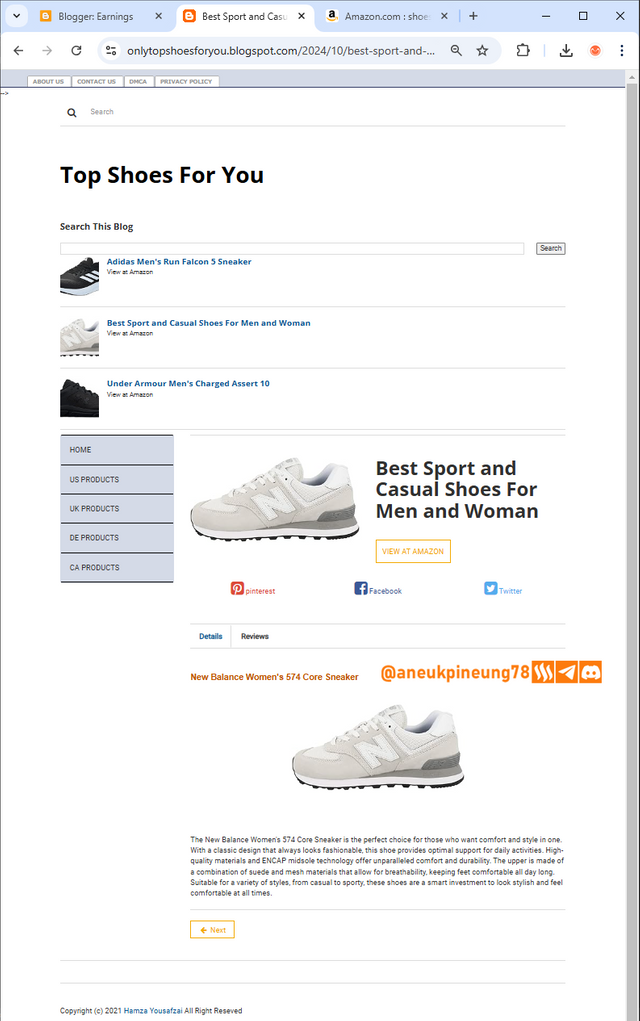
- The image below shows the appearance of my blog when one particular post is selected (by pressing the thumbnail on the homepage, for example). In this single post view, the [VIEW AT AMAZON] button looks perfect.

Thanks
Thanks, Professor Hamzayousafzai, for the lesson.
Pictures Sources
- The editorial picture was created by me.
- Unless otherwise stated, all another pictures were screenshoots and were edited with Adobe Photoshop 2021.


https://x.com/aneukpineung78/status/1851989472797508050

Downvoting a post can decrease pending rewards and make it less visible. Common reasons:
Submit