I'm really excited in this week's opening lecture by professor @sapwood more especially for his incredible and professional performance and handling of tasks in this academy it's quite pleasurable.
How do you set up an Exchange niche(non-custodial) in Localcryptos? (Complete process & Screenshots needed)
Before taking us through the procedures on setting up an exchange niche in Localcrypto, I would first like to vivify certain important factors in this innovation.
This invention was founded in 2017 by Micheal Foster with the name LocalEthereum and it's head office is located at Richmond in Australia and In November 2019 it was renamed to bear (LocalCryptos).
The view of this invention was absolutely based on ethereum sales and purchases but as time goes the company addedore cryptos like BTC LTC and DASH.
PEER TO PEER: This innovation was built and agrees to the system of peer to peer. Here individuals subscribes to the in-built system of transacting or trading directly with each other anonymous to every other subscriber in the platform.
NON CUSTODIAL: This is a concept in this system that guarantees individuals full control of their asset in other words, as a signed-up user, you are absolutely In charge of your account and assets and it is also contingent upon you to secure your keys very well through any means you deem fit, this actually guarantees the viability in the decentralized nature of this innovation.
NOW STRAIGHT ON HOW TO SET UP THE NICHE IN LOCALCRYPTO
These are the steps by step procedures on how to set up a niche in localcrypto exchange very interesting.
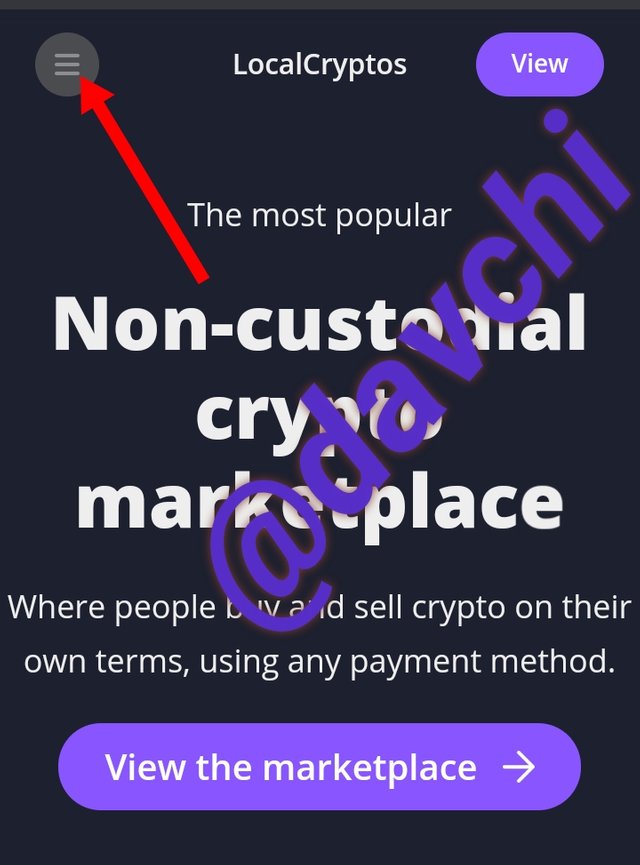
*First I logged into https://localcryptos.com/ and click on the dashed icon on the top left angle of their interface as to sign in.
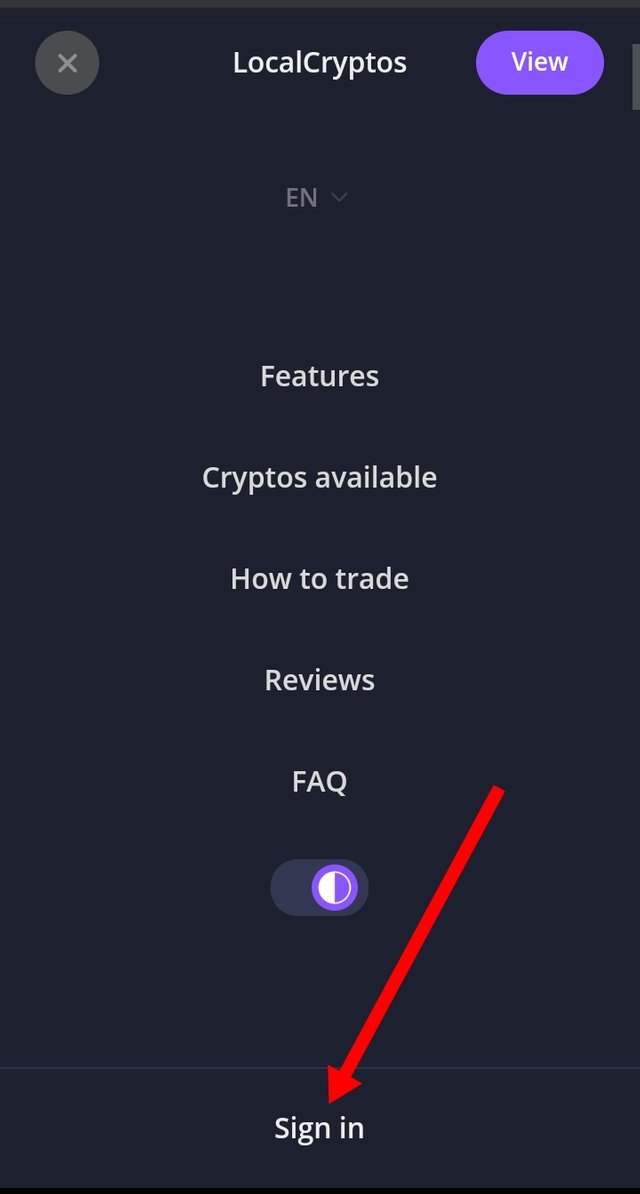
*Next I click on sign up at the down side of the currently viewed interface of their platform.
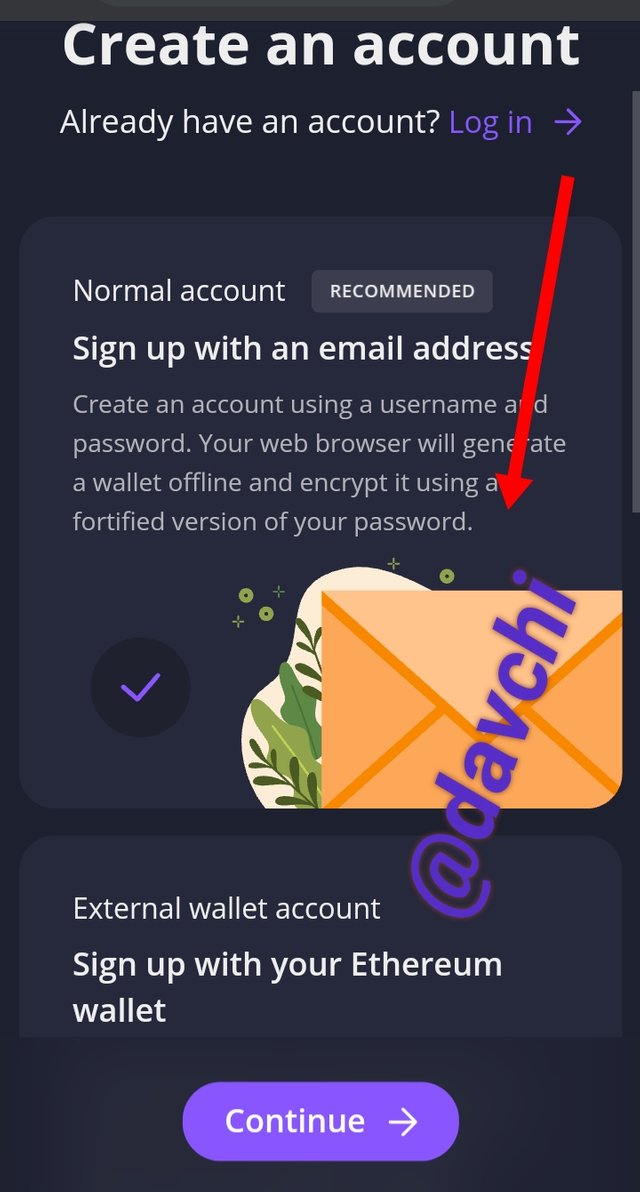
- Next, I already know that I don't have any account with the system so I went to the next interface view of the platform as to sign up with my email account which will be easier for me although at this level you will notice that there are two routine of signing up while are either with your mail or your ethereum wallet. So here I click on my email after which I click on continue.
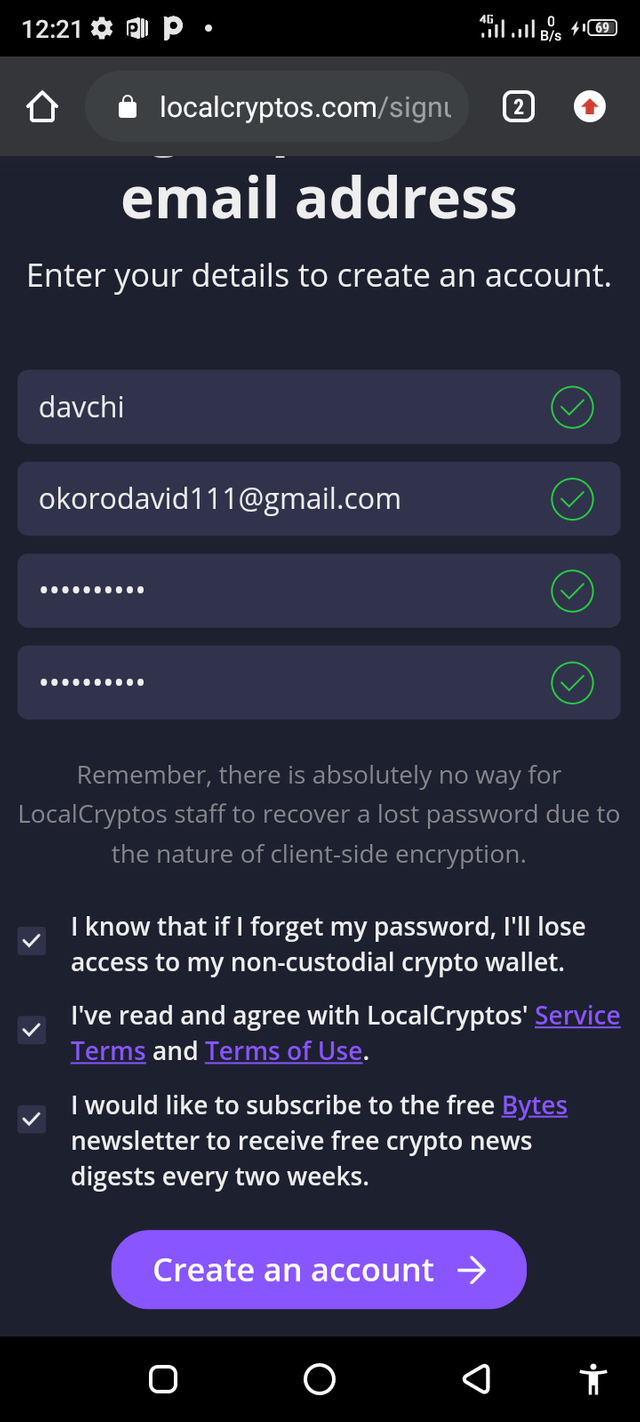
- Next I type in my email address on the space bar provided and next, I insert my code and confirmed it
- After this stage, I confirm my recapter and finally my account is created but after my account reation, I will go over to my email to confirm it.
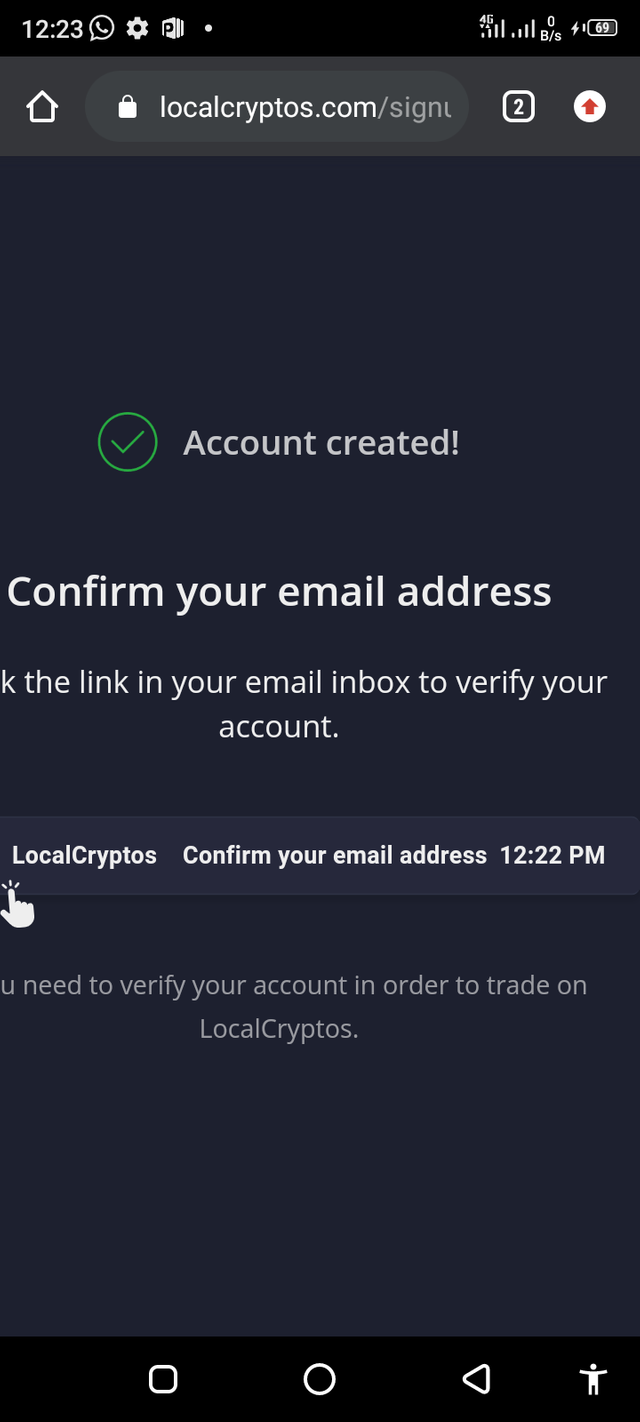
- Next on my email, I will click on confirm your email as to be able to have access to my wallet and also to verify the location I'm operating from either from Australia or outside Australia.
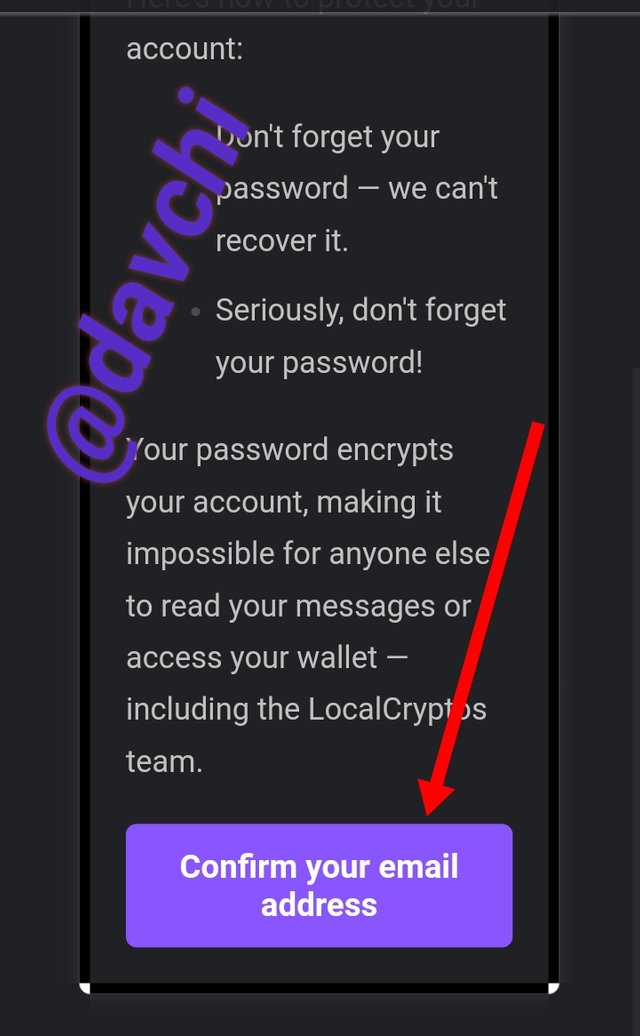
- Next on clicking on confirm from my email, I will be directed to the localcrypto exchange platform itself for any activity I wish to carryout.
Probably I wish to sale my crypto or that I wish to creat my own offer in the exchange
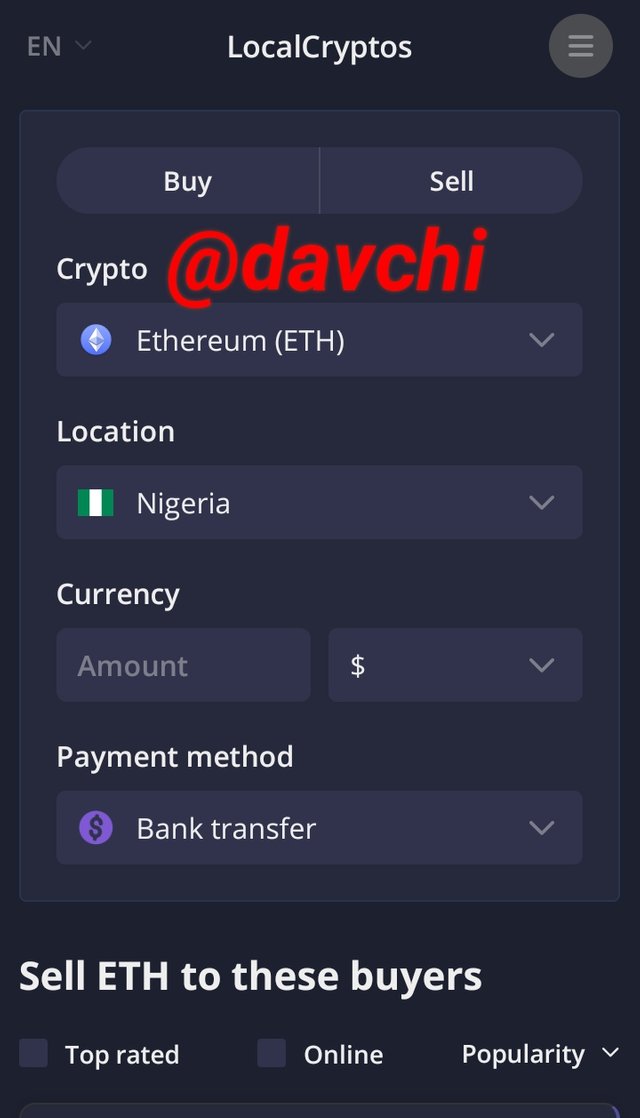
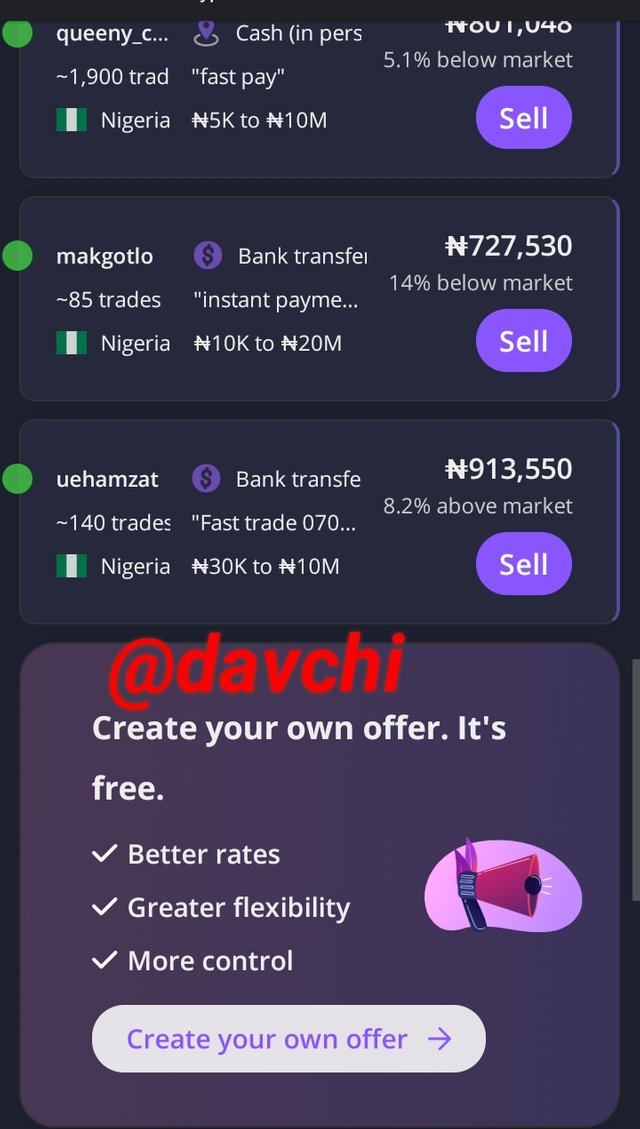


Indicate your non-custodial wallets (BTC, ETH. LTC, DASH) in Localcryptos? How do you secure the keys? Can you re-import the wallet of Localcryptos in other wallets(of different services) For example, Can you re-import your Locaclcryptos wallet in Trustwallet?
Actually my non custodial wallet comprises of four cryptos, which are BTC, DASH, LTC, and ETH. I can access my wallet by clicking on the wallet button at the top corner of my account exchange interface, and this is how it looks.
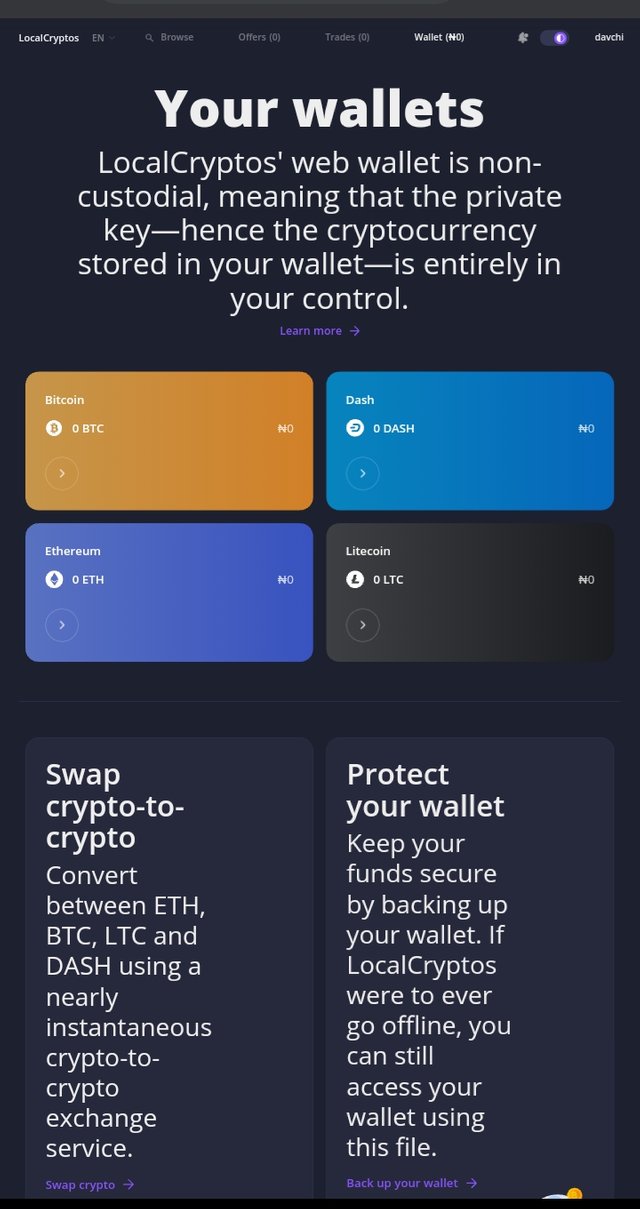
Now let's go through the routine on how I'll be securing my wallet keys using credible screenshots below.
In this respect, I'll be using my BTC Wallet since all of them have the same procedure in exporting their keys.
Now on clicking on my wallet as it opens, it is observable that there is an already popped up key on my BTC Wallet at the right corner of my wallet and this is actually my public keywhich I can use to import or receive some quantities of BTC and there are some other options at the left corner of my wallet like send BTC, amount and confirmation speed with this option, I can actually export some BTC to other wallets.
Now on the means of securing my wallet which is so indicative perhaps against system shutdown, let's use some screenshots below.
- First I have to download my BTC private key since I'm referencing with it, then save it using my most secured medium. Most times its good to save important documents asuch online, probably using our mails but on the contrary to guard against hackers it is best to have it in a hard copy and kept in a confidential place and this is the medium I have used. Likewise my other keys are safe using the same means.
But before I could secure this key let's take some screenshots on how to get it.
First I click on the import icon that is attached to my public key and it pops up another icon at the downside of my wallet and at that point I click on display as I copy and keep save it at my secured zone we can see it below.
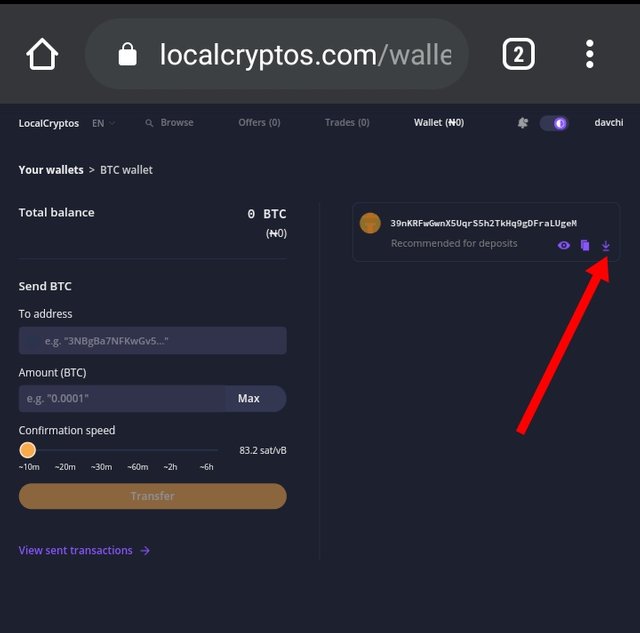
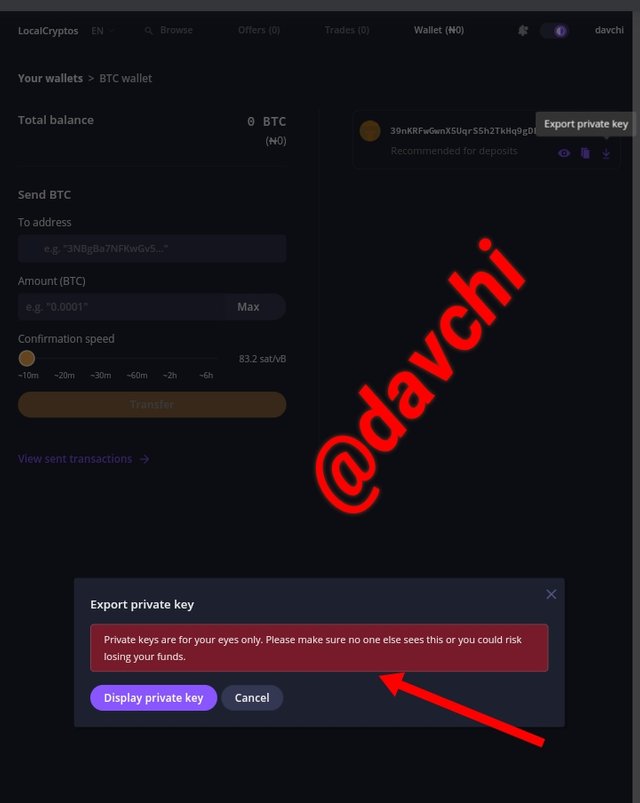
On grounds of reimporting my localcrypto wallet to another wallet, I would say yes that it can be reimported so far the wallet in question has provsion for this option in it's aligned and tallied exchange wallet. And to this, one actually needs just his private key to authenticate this action.
On the other hand, I can also re-import my localcrypto wallet into trust wallet because of its multi coin wallet option and these are the procedures below with screenshots.
- Ok, I'm using my Bitcoin wallet for instance, so I go to my localcrypto wallet and copy my private key
- Next I log in to my trust wallet, click on setting and next click on wallet and hence, click on cross icon on top of my wallet
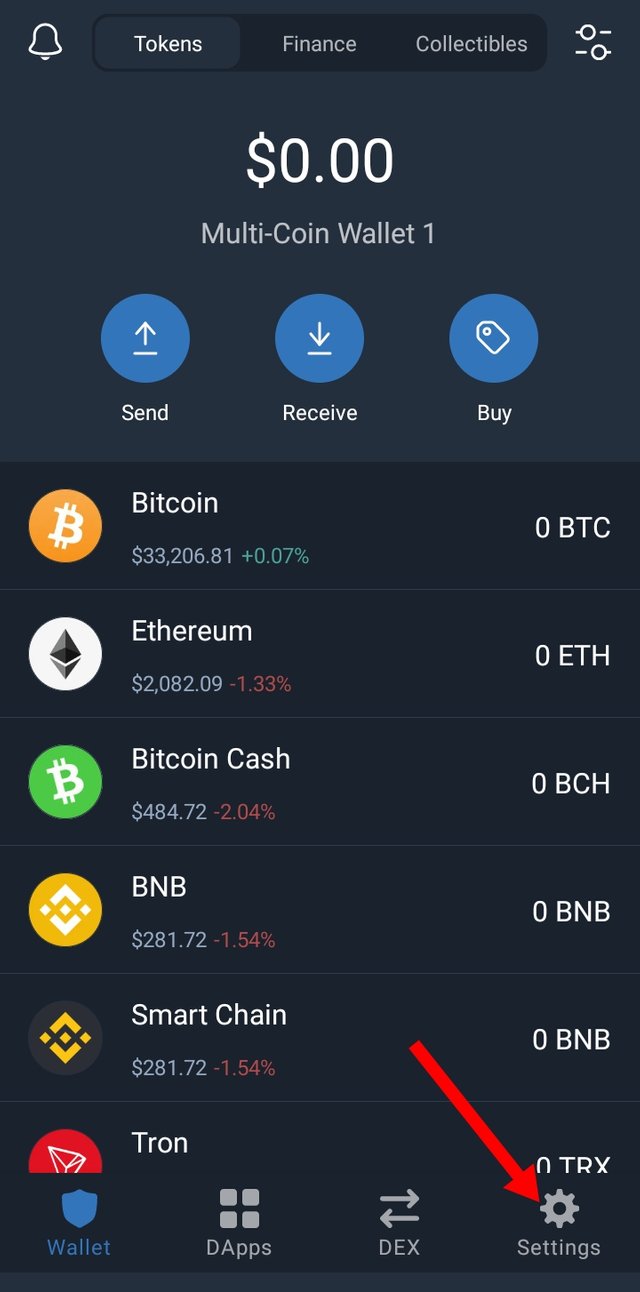
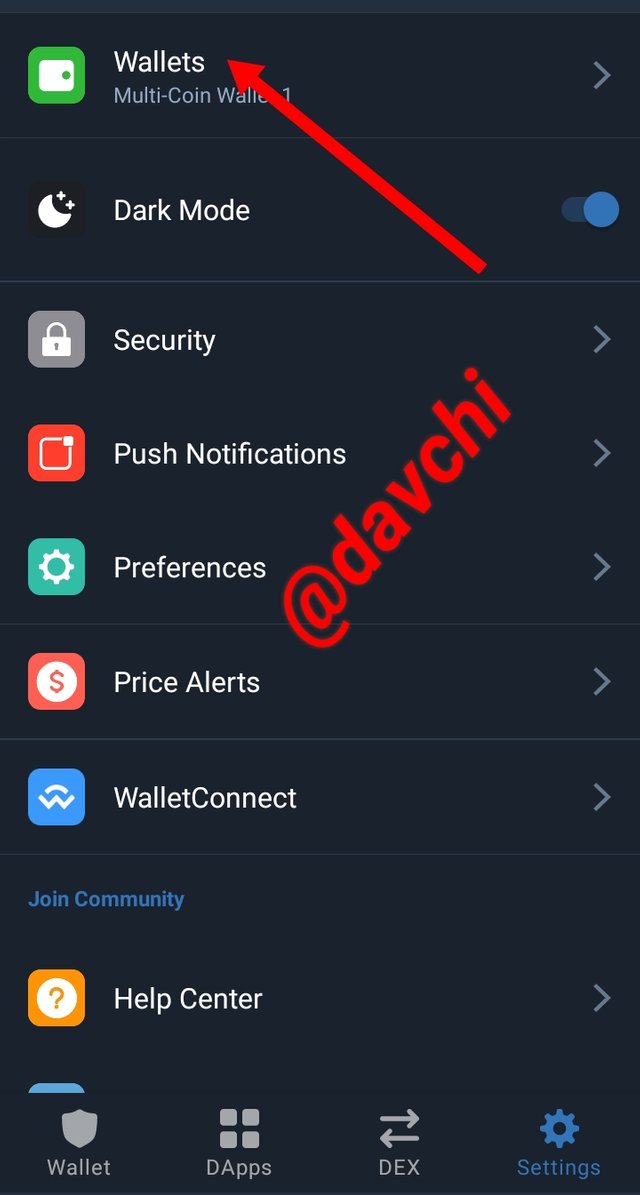
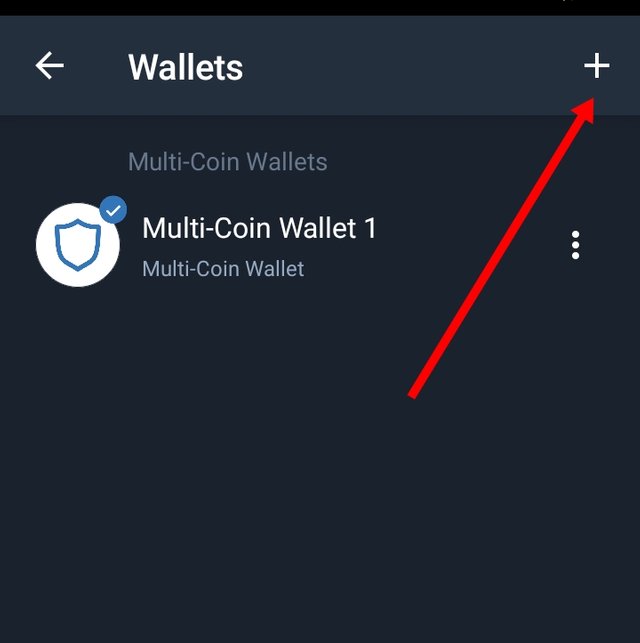
Now at this point I have created my private wallet that can permit me to import the keys that I already copied from localcrypto to my trust wallet.
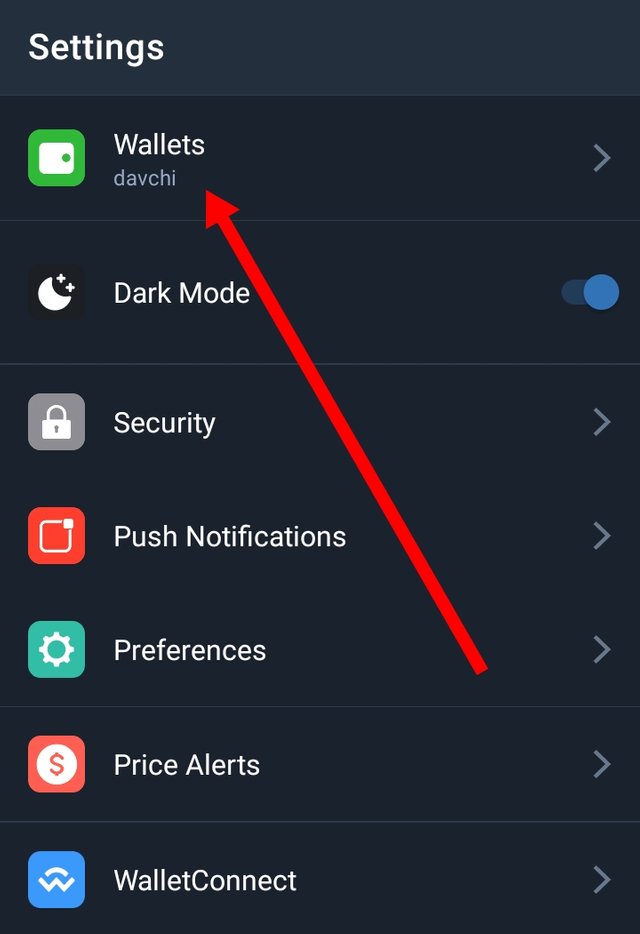
Next I click on the cross icon at the top right corner of my trust wallet interface as to change my account to already have a wallet.
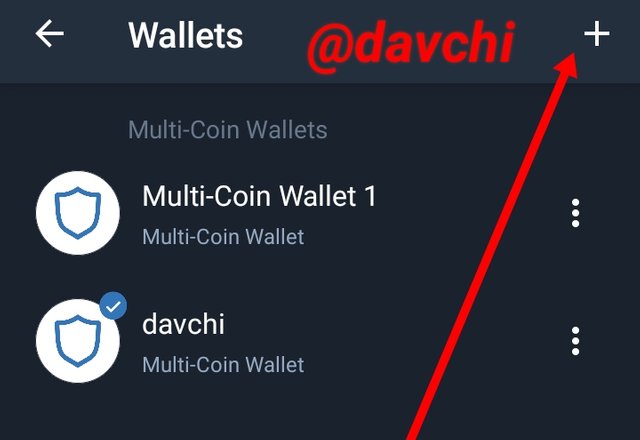
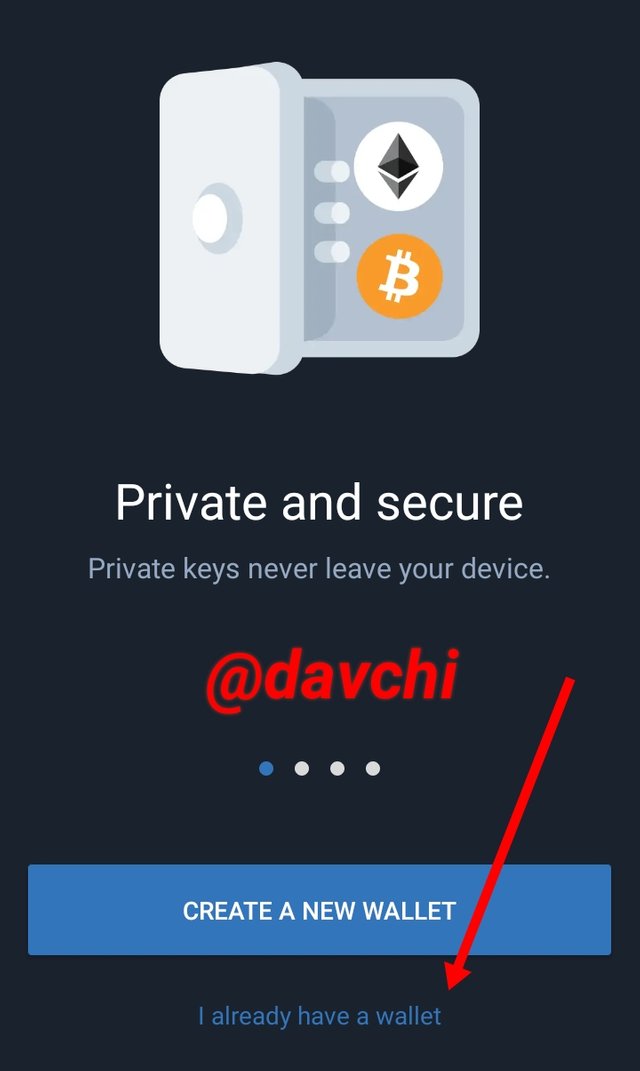
Next I log in but to my surprise there was no option on BTC which was the actual key I copied from localcrypto so at this point I went back and recopied ethereum key as to validate this process.
Next, I click on ethereum and as it opens , I change my setting to private key as to paste and authenticate my ethereum wallet but at this stage, I can't screenshots since the system does not permit for screenshots, then I went ahead to create it.
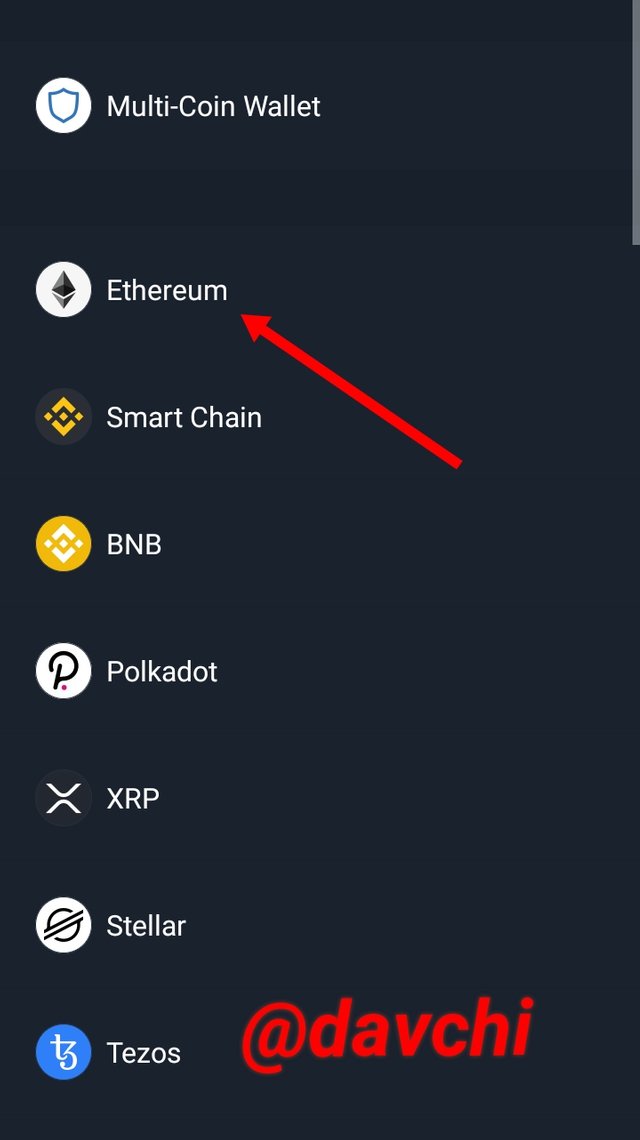
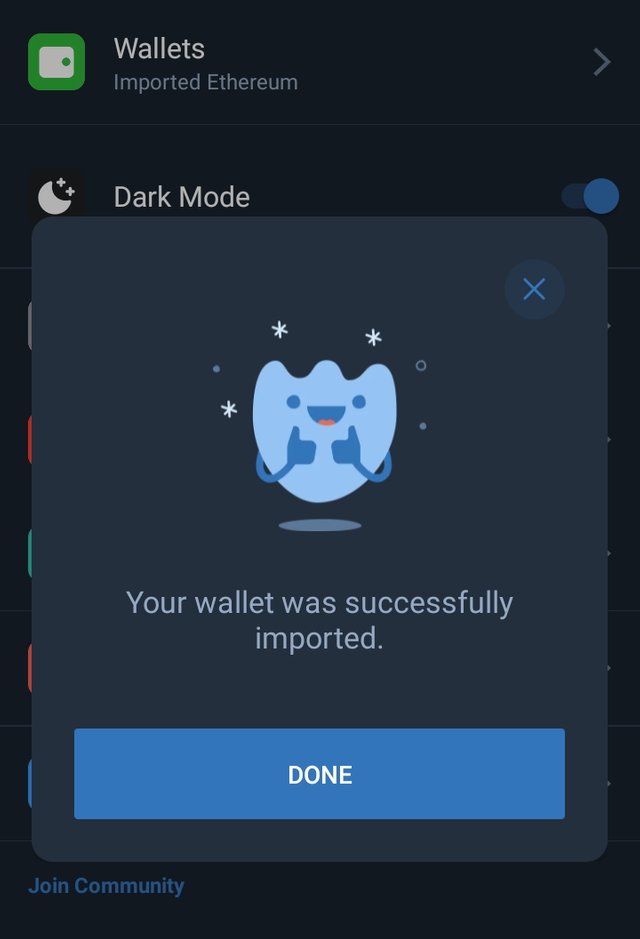
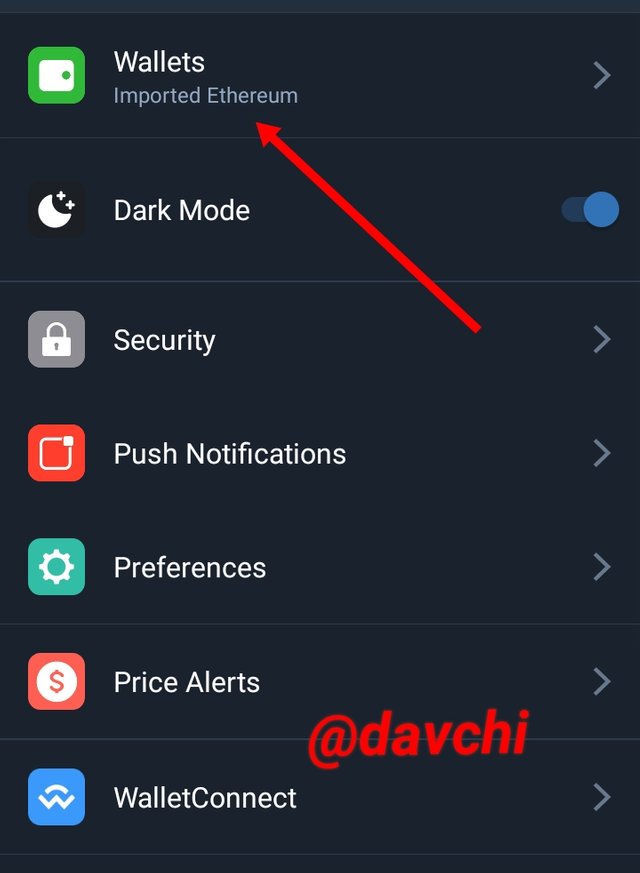
Finally after pasting and filling the 64 alpha numeric box with my choice name, I click on create and automatically my wallet is successfully imported.


How many different fiat options available in Localcryptos?
a closer look indicates that there are over 100 countries that reaches out to this innovation and I believe that all of these countries have their respective local norminal currencies and also other means of transaction which this system incorporates. Nevertheless, localcryptos has over 40 means of fiat options but on a personal bases, I was able to spot 35 of them which includes but not limited to;
| S/N | Payment options |
|---|---|
| 1 | International wire |
| 2 | Bank transfers |
| 3 | Alipay |
| 4 | WeChat pay |
| 5 | Western Union |
| 6 | cash in person |
| 7 | UPI |
| 8 | PAYTM |
| 9 | IMPS |
| 10 | PayNow. etc |
Nevertheless, most of these Payment options are are actually not available in many countries but specifically every country has a payment option that favours it's interest.


How secure is Localcryptos as a non-custodial P2P Market? How does escrow protection safeguard both buyers and sellers?
As a non-custodial P2P exchange platform, localcrypto is credibly protected in all of it's transactions as compared to to some other platforms that operates in a centralized .
The decentralized state of this exchange is the very bone of contention as regards to security, Since no one has access to your keys except yourself, so you validate every transaction that runs in your wallet or account even with the help of the built-in escrow smart contract that runs in the system which help in performing transactions using P2P without restriction or intruding by any third party except on grounds of bridge of rules by either party.
** Now let's discuss on how escrow service safeguards buyers and sellers interest on localcrypto**
First escrow service is actually a third party service offer rendered to two primary parties upon a consensus which can not be violated that is binding on them.
So for the safety of sellers, localcrypto escrow service which is based on smart contract warns that no seller should release his/her asset without first receiving payment. In other words if I'm to send my asset to any buyer in the system, I have to first confirm his/her payment before releasing my crypto to him.
Now on the side of buyers, localcrypto escrow service demands immediate responsiveness to avoid termination of transaction if paradventure the buyer could not meet with the demand within the open transaction window limit.
And finally on cases of dispute between buyers and sellers based on transactions, localcrypto escrow comes in if any dispute case is forwarded by either party, they set in and scrutinize into the issue and finally settle who ever that is due for settlemen and this could take a resolution not less than 24hours.
So this is how the interest of everyone in localcrypto escrow service is being safeguarded.


Create an offer as Market Maker or Perform a real trade as Market Taker to demonstrate your real experience of non-custodial P2P trade(Crypto-Fiat)? (Hint- Trading DASH or LTC is cost-effective in terms of transaction and escrow fees)? How much fee in total did you incur in the entire process, if any? (Screenshots Needed)
On this wise, I would like to create a real trade as market Maker using the Dash in my wallet, in order to demonstrate my experience on localcrypto P2P option.
This section in localcrypto comes in 3 dimensions which sequentially includes offer category, payment details and your Ad. details
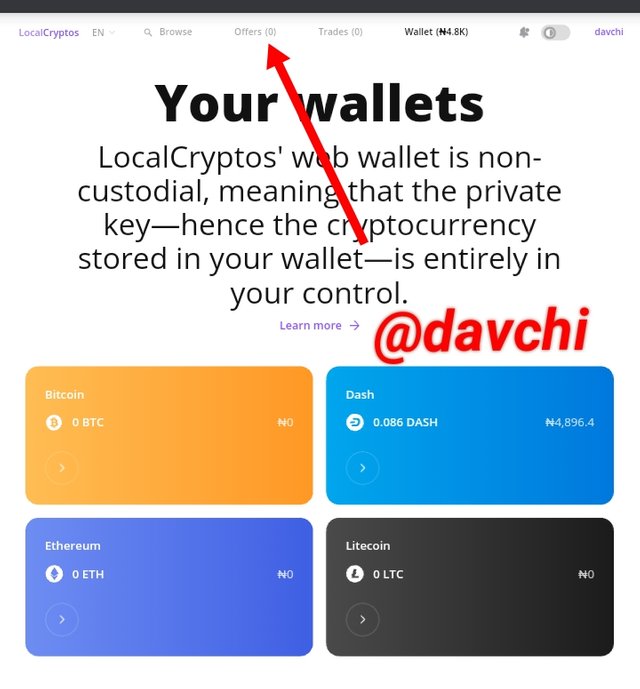
- First I log in to my account and click on offer at the top corner of my account interface.
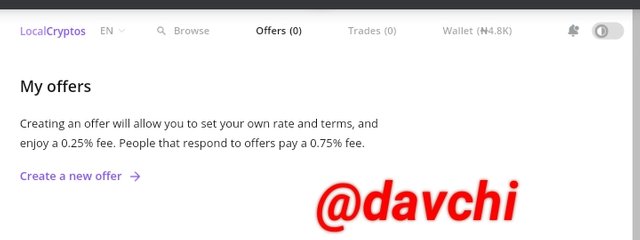
- Next I login to create my offer by clicking on create a new offer.
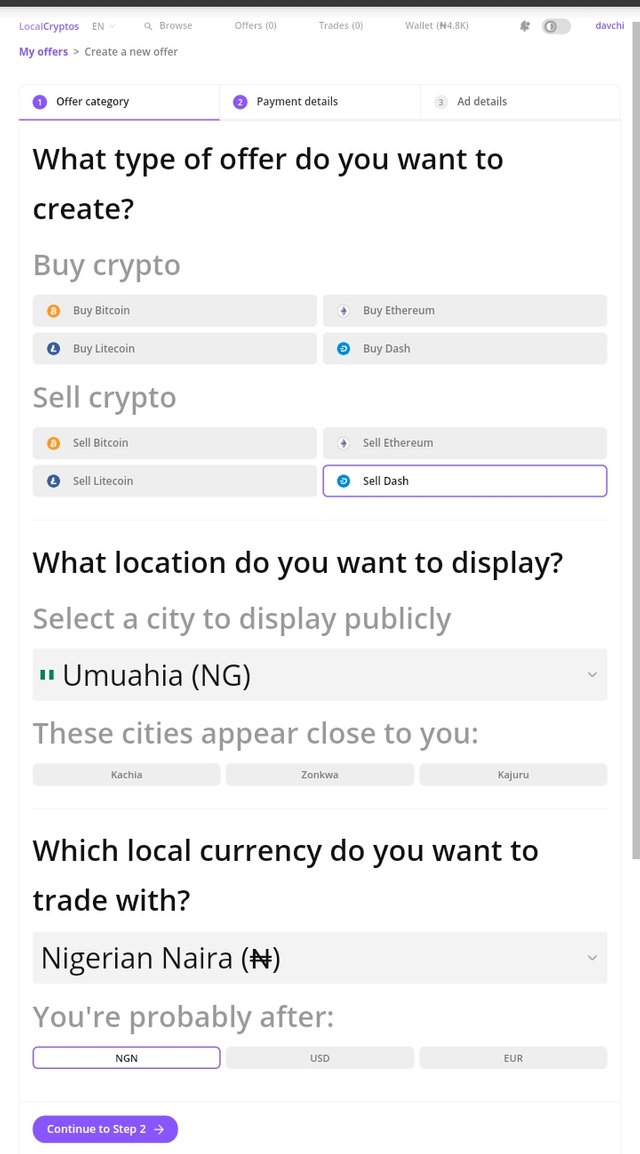
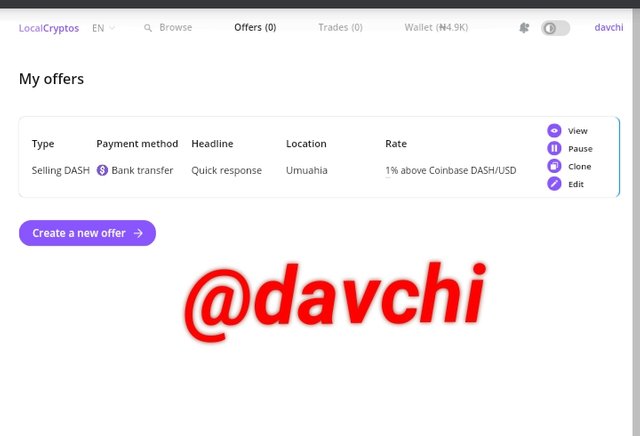
" Next on logging in, I will be indicating the type of offer I would like to create and for now as I have my DASH in my wallet, I would be creating a sell offer with it, then next I log in my location and as well the currency I wish to deal on and then go to step 2
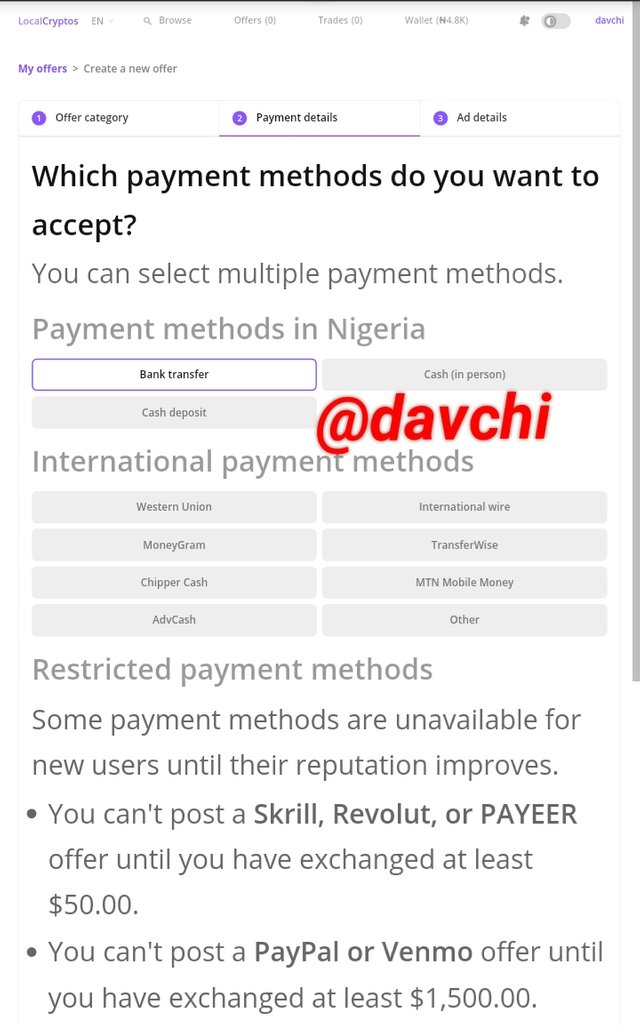
- Next page is my payment details, so I click and select the payment option I wish to use which actually comes two divisions; local payment means or the international medium but I chose amongst it bank transfer medium.
Then i go below and chose the rate I wish to offer my crypto in the market, so I check into the Dynamic market price and create a 1% margin price above Coinbase and then click next.
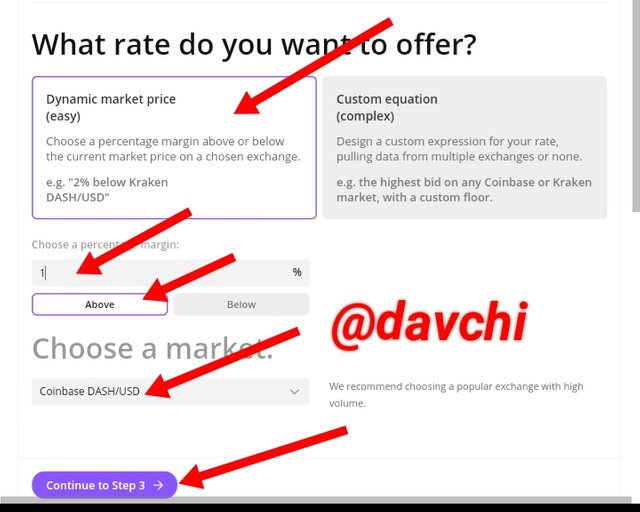
- Next is my Ad details which will be visible for everyone to see and probably get enticed to transact with me.
So the first box requires the title of my offer, so I go with Quick response
Next is my terms for trade so I go for Only Bank Transfer
Next is to set limit for my trade, so since the only asset in my Dash wallet is #4,800 on a normal, so I set #2,000 as minimum and no maximum limit.
Next I chose the time frame I would be available for trade, for my own convenience, I choose from 12pm to 6pm and a GMT of 01:00
Next I choose who can trade with me , at this point there are two options which are any one and next users with verified phone numbers. But for me, I go for anyone.
Next is the option of allowing users to Indicate their locations so I go for No
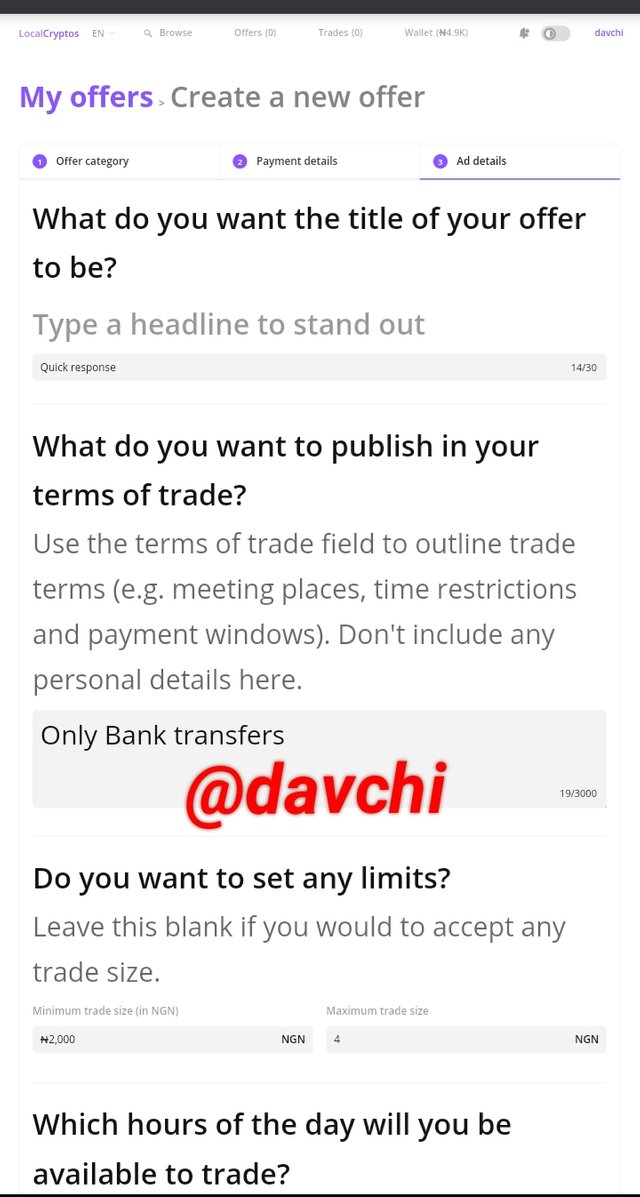
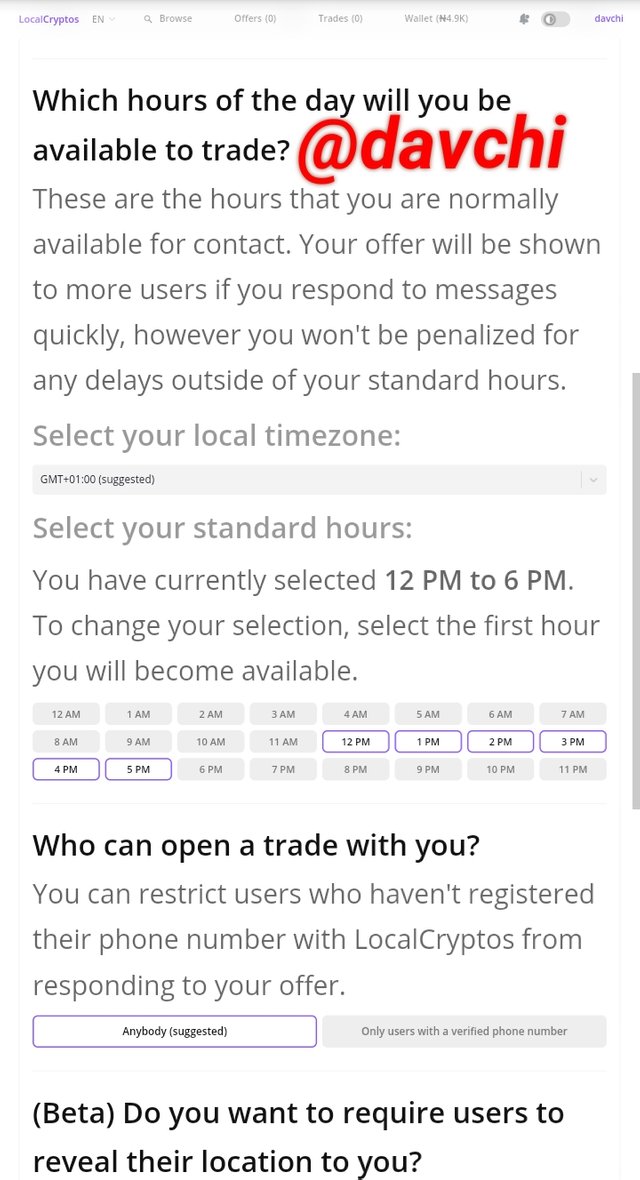
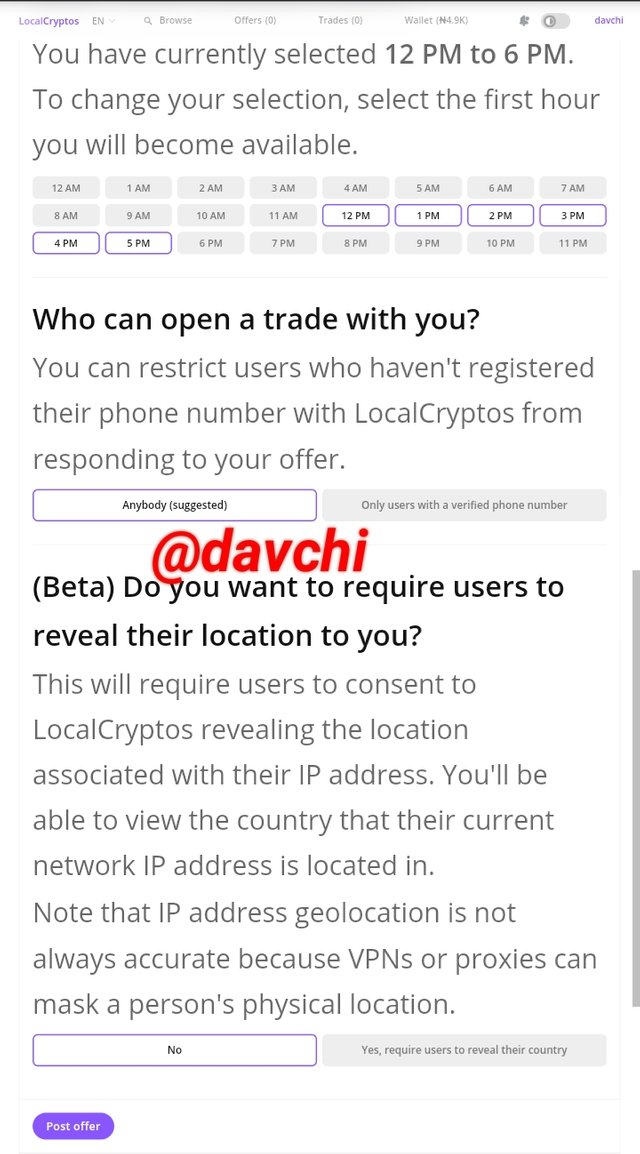
Finally I click on post offer and my offer is automatically created.
Based on the fees I incurred during the execution of my transaction, it was only from the exchange I imported my crypto from that I incurred a service charge of 0.004 DASH. Although I ran the transaction twice as to testrun the system.
This exchange is actually quite an incredible one with all its magnanimous feature more especially it's decentralized nature. but on the contrary it would be more perfect if more cryptos should be encorporated into it.
Thanks to professor @sapwood for such a wonderful exposure.
CC: @sapwood