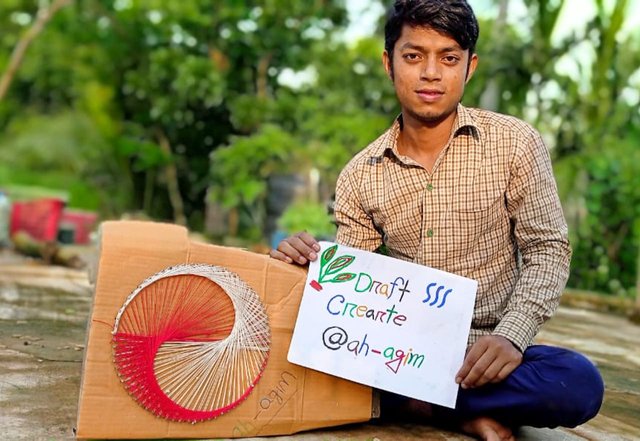
Hello
Dear brothers, sisters and friends

How are you all Hope you are well by the grace of God. I'm fine too. I hope you are well.
Today I would like to share with you the most delightful of my hand-made D-string crafts. I hope you like my handicrafts.
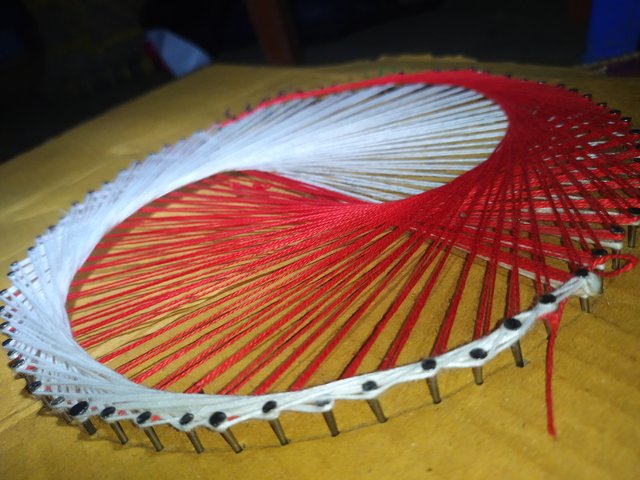
It would be much better to create such crafts with your encouragement and inspiration. I have loved to do a variety of paintings and crafts since childhood. Come on in, take a look and enjoy yourself!
Materials: -
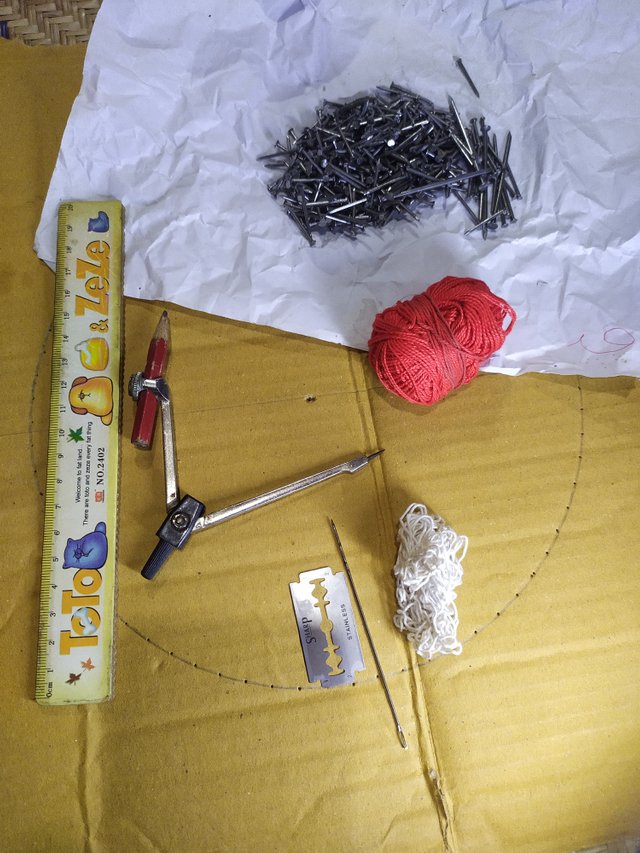
1 - Thin piece of wood
2 - Colored paper
3 - Perag
4 - Matul or, Hemer
5 - White yarn and red yarn
৬ - Scissors
৭ - needle
৮ - Compass
9 - Scale etc.
How did I create the work?
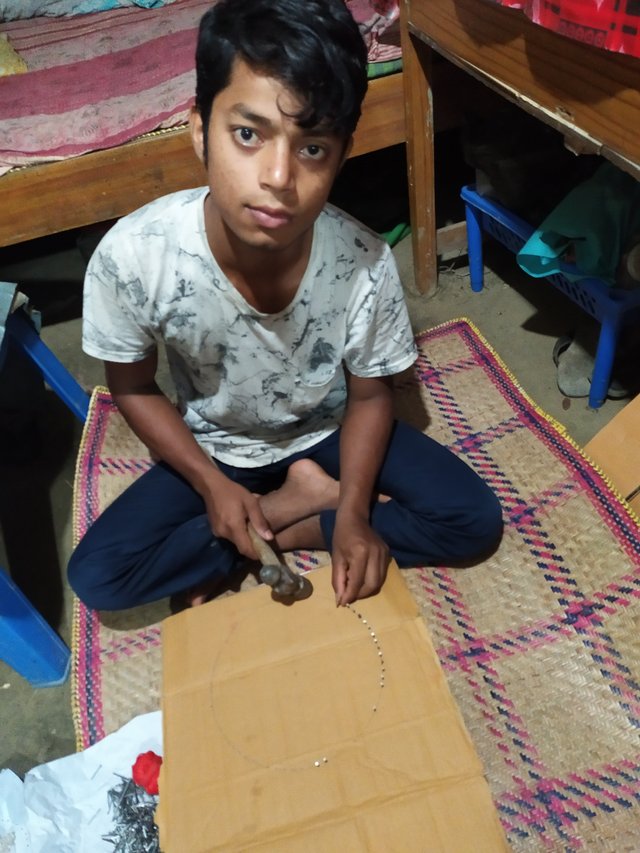
I first drew a circle 11.5 inches from the original center with a compass on colored paper. The paper is then placed on top of a piece of wood leaf with gum.
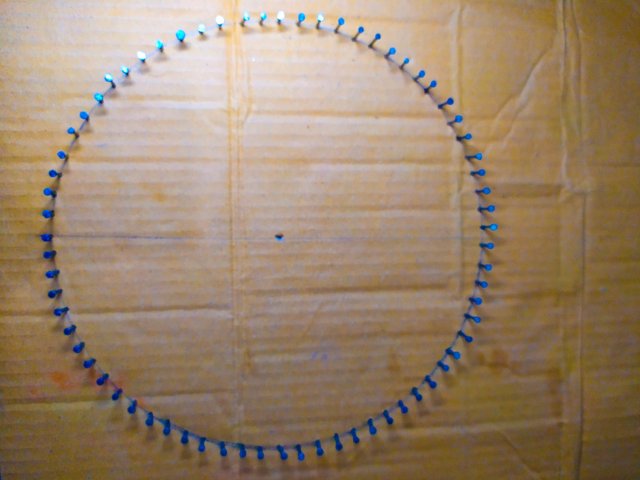
Next, mark the circle with a pencil one inch at a time. Later he puts perag with matul according to that sign.
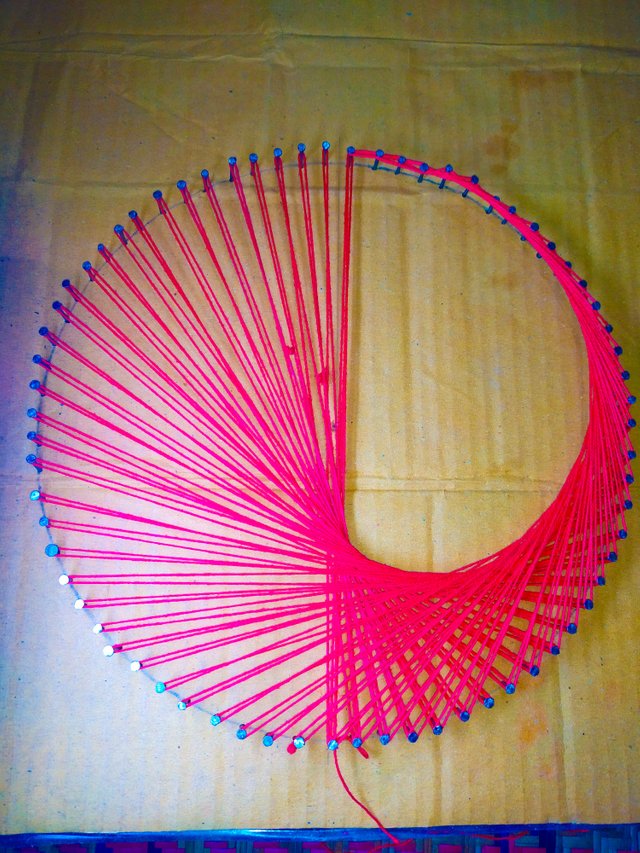
When the work of placing the ferg is completed, we divide the circle by measuring it with a scale. Tie a white thread in the perag on top of one part. And insert that yarn into the needle in the lower paragon along that ferg. With the help of a needle, the thread is stuck from one side to the other (i.e. the thread is tied) and then the thread is carried into the upper pelag.
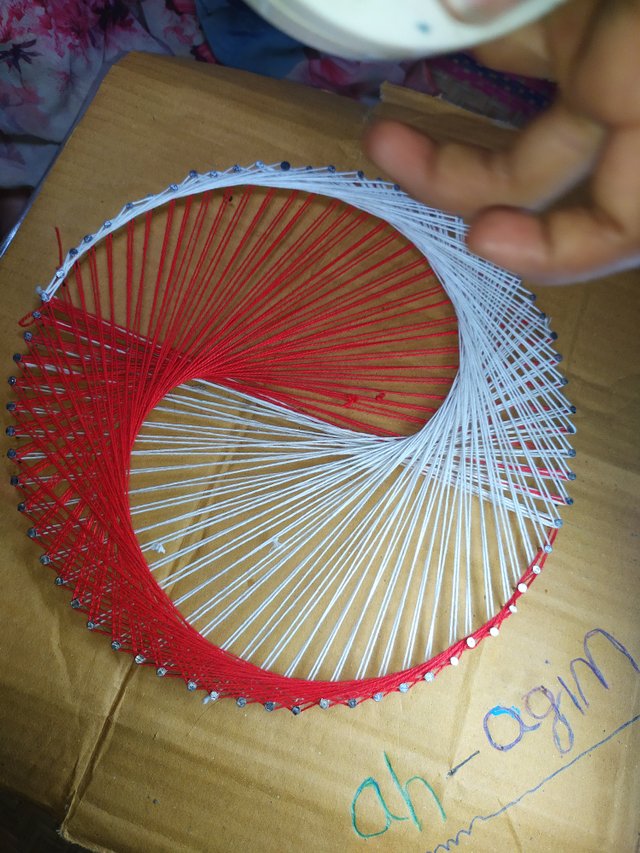
In this way I stuck the thread of the upper perag twice in the lower perag and stuck once in the upper perag i.e. the yarn goes upwards to the left and downwards to the right.
In this way, we complete the work of attaching the yarn between each parag on one side.
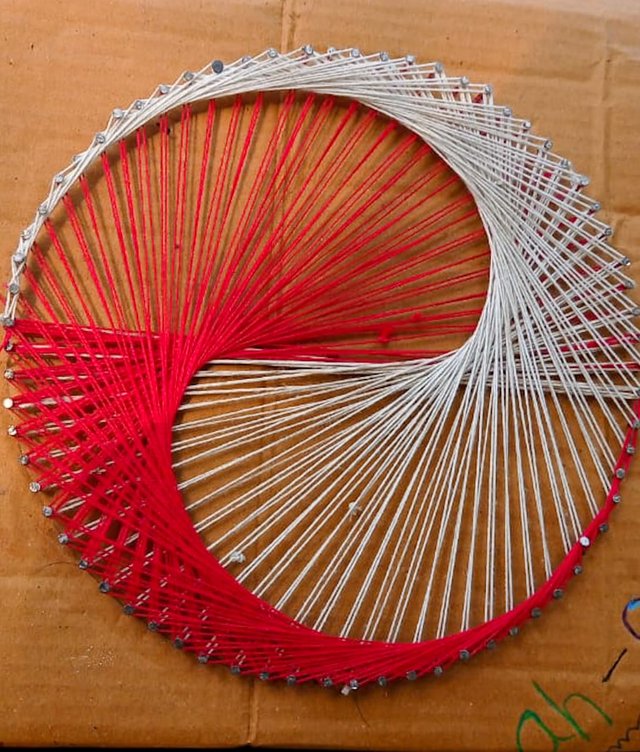
When the work of making yarn on one side of the circle is finished, we start tying the white yarn on the other side. I finished the work of laying the yarn on the second side in the same way I did the yarn on the first side of the circle, then cut the part with the remaining scissors of the yarn.
This is how I complete my craft I have made special care so that no mistake is made in any place. I hope my words are not wrong.
Congratulations on taking the time to view and read my post.
I hope all of you like this work. If you give me inspiration, I will be able to give you more posts like this.
My dear friends,
You will all be fine.
My love and congratulations to all of you.
Thanks for supporting me
good work
Downvoting a post can decrease pending rewards and make it less visible. Common reasons:
Submit
Congratulations brother for commenting
Downvoting a post can decrease pending rewards and make it less visible. Common reasons:
Submit
ah okey
Downvoting a post can decrease pending rewards and make it less visible. Common reasons:
Submit
Excellent!! It looks spectacular and very cheap
Downvoting a post can decrease pending rewards and make it less visible. Common reasons:
Submit