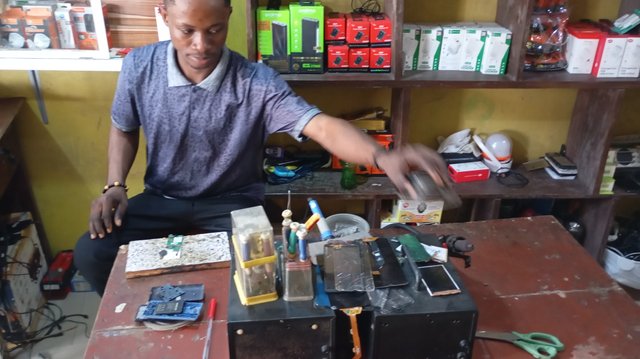
Hello friends on Steem, I am glad to share the nature of my job. This is to also educate or enlighten my friends here on how to fix a phone charging port.
Last week, one of my core customer came to my shop to fix her phone. Her name is Mrs. Ekemini.
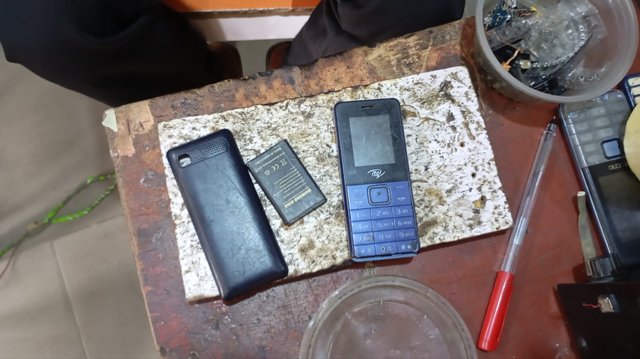
She brought in her Itel 2160, it's just a small phone, but it's very important to business people. The reason is because the battery last longer than smart phones.
She came in so frustrated due to her phone refusal to charge. She needed it to be fixed urgently for her business, ofcourse, she was already late.
Just incase you don't know much about that phone, here is it's specification below:
Phone Specifications
- Name: Itel 2160
- Sim Slots:Dual SIM
- Screen size: 1.77inches
So after asking her the problem, I needed to check it myself as well to be sure of the faults.
The steps below were the steps I took, perhaps, you could also learn from this and if you have the tools, you can fix it yourself. If you encounter any difficulties, I will assist you online.
Step 1: Diagnosis
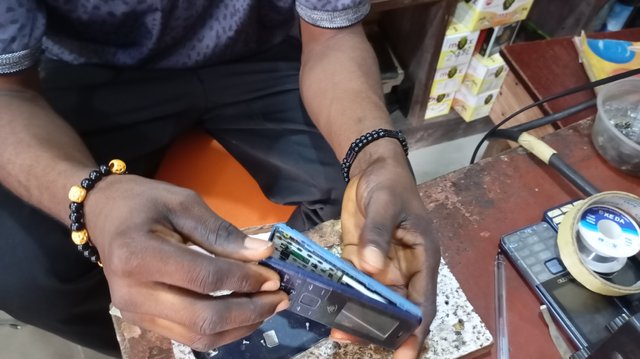
- I checked the phone's charging port for damage or corrosion. This is a common problem of this phone.
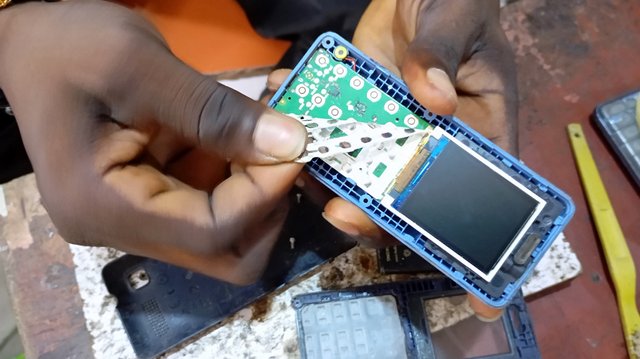
- I checked for loose connections or blockages. Sometimes if a phone fell down, it can cause this issue.
- I later confirmed the issue to be " a faulty charging port".
Step 2: Preparation or gathering of tools
- I gathered some essential tools like the screwdrivers, plastic spudger, replacement charging port and heat machine.
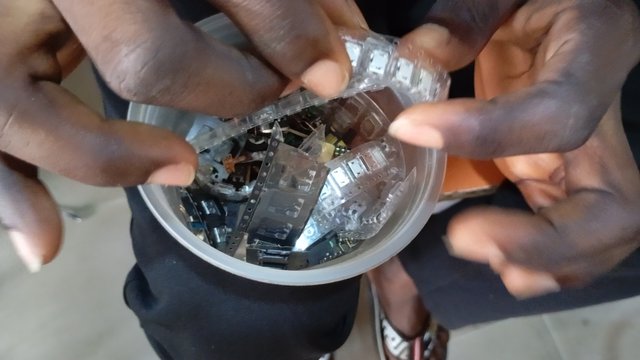
Charging port
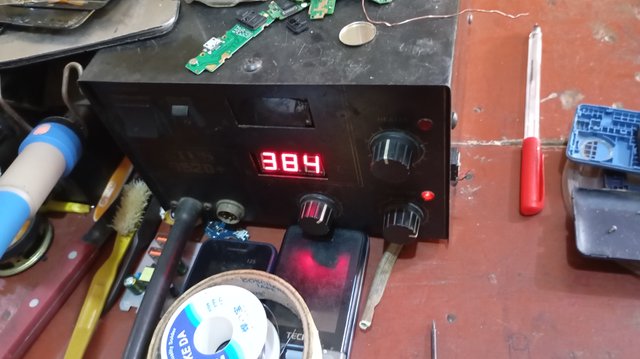
Heating machine and other tools
- Meanwhile, before now, I had already backed up her data before I powered off the phone.
Step 3: Disassembly
I removed SIM card and SD card slots. I also unscrewed the phone's back panel ( about 5 screws). I detached the battery connector.
Step 4: Locating the Charging Port
The charging port is always located at the tail end of a phone. But for the sake of this tutorial, I will keep up with the steps style.
I identified the charging port's location (bottom-right corner). This is a regular place for me.
I disconnected the charging port's flex or ribbon cable.
Step 5: Replacing the Faulty charging Port
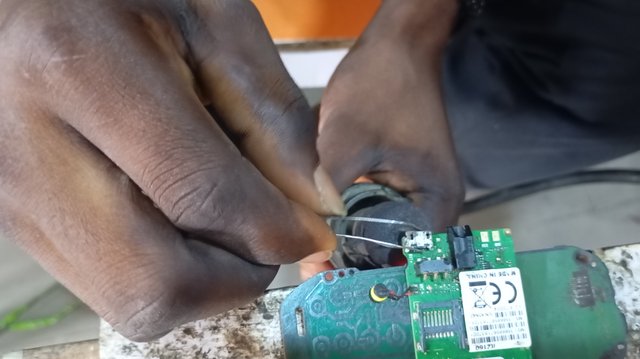
I used a heat work station to remove the faulty charging port. But if you don't have that, you can use a plastic spudger to gently pry out the old charging port. This part should be done gently, otherwise, other components might spoil.
While removing the faulty port, take note of it's connectors, otherwise, you may place the bits at a wrong connection.
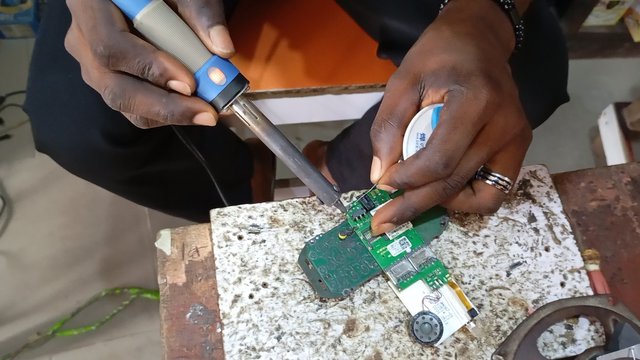
- Be sure that the new replaced charging port aligned with the charging port's connectors. Once it is set, you can solder the port, just like I did in the picture above.
I recoupled the phone back panel and fix the battery. Next was testing of my job.
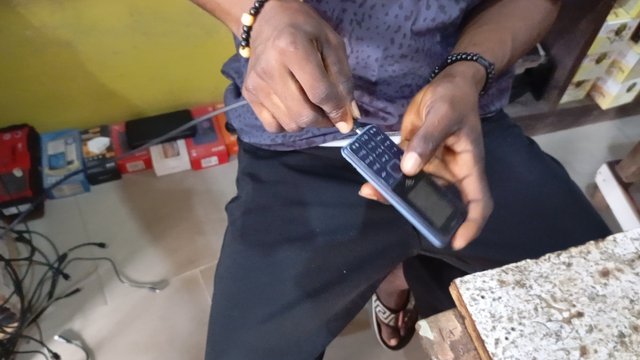
I Plugged in the phone's charger and the phone began charging. The work is done!
Mrs. Was so happy to have her phone functional again.
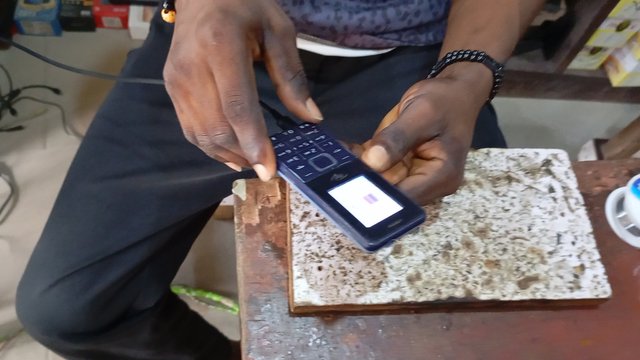
Now her phone was charging perfectly. She thanked me for the prompt service and promised to recommend my repair services. This is the satisfactory side of doing a business.
If you have read to this point, I have a little bonus in form of tips for you.
Ignoring a faulty charging port can lead to permanent damage to the phone's motherboard, please fix it immediately you notice such faulty.
Thank you for reading my post.