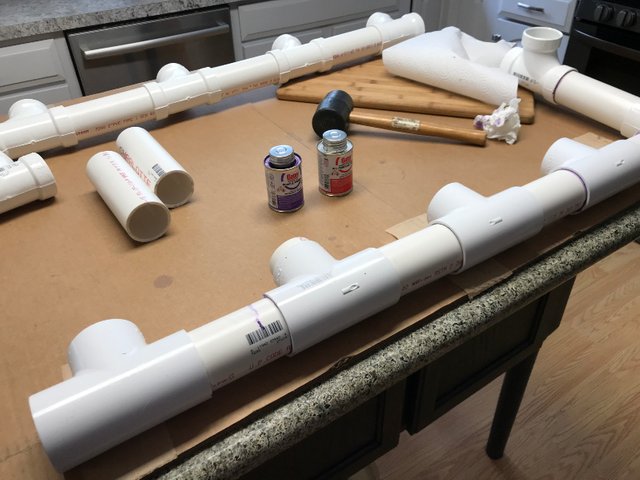
I am finally doing this after over 35 years of growing the traditional way. This is something I have wanted to incorporate into my little greenhouse, and this last month I finally put it together. Below, you will see photos of my first attempt at making my first system. It is not perfect by any means, but that matters not to me. I am just excited to get started.
Step 1
I had to cut out some of my shelving space on the North side of the greenhouse to make room for the system.
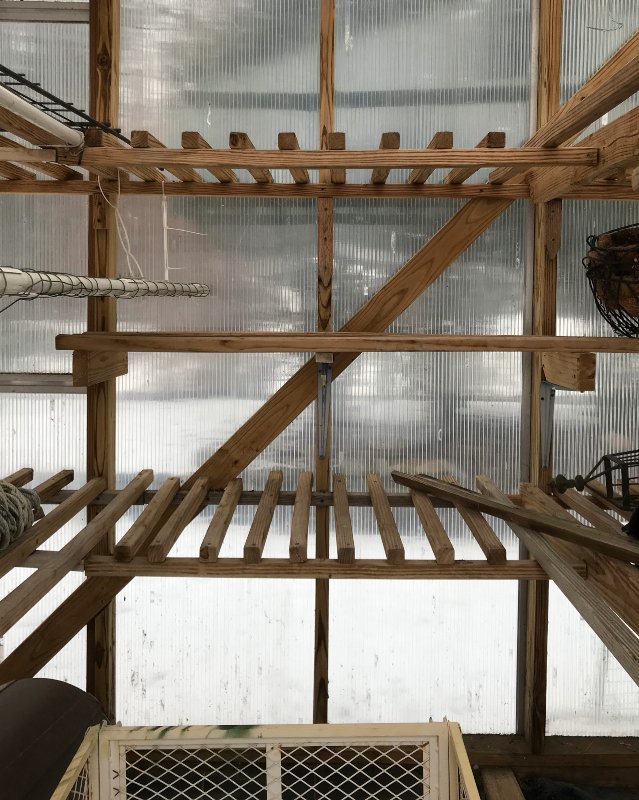
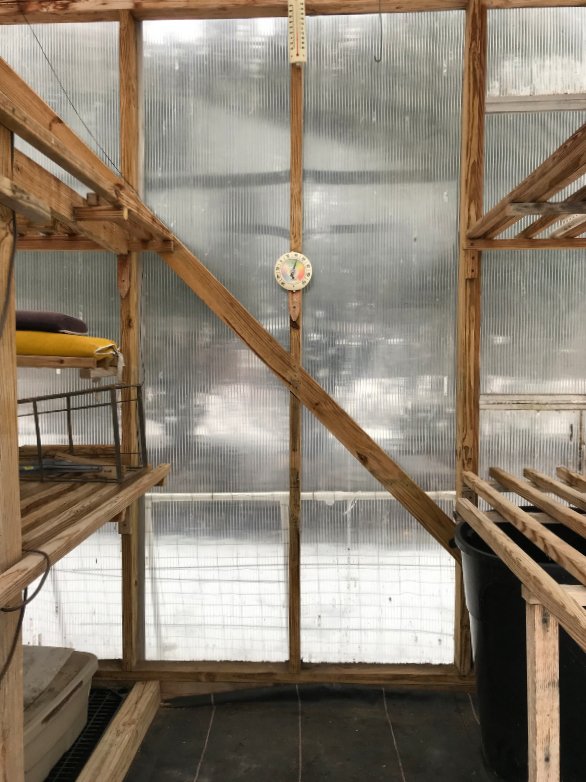
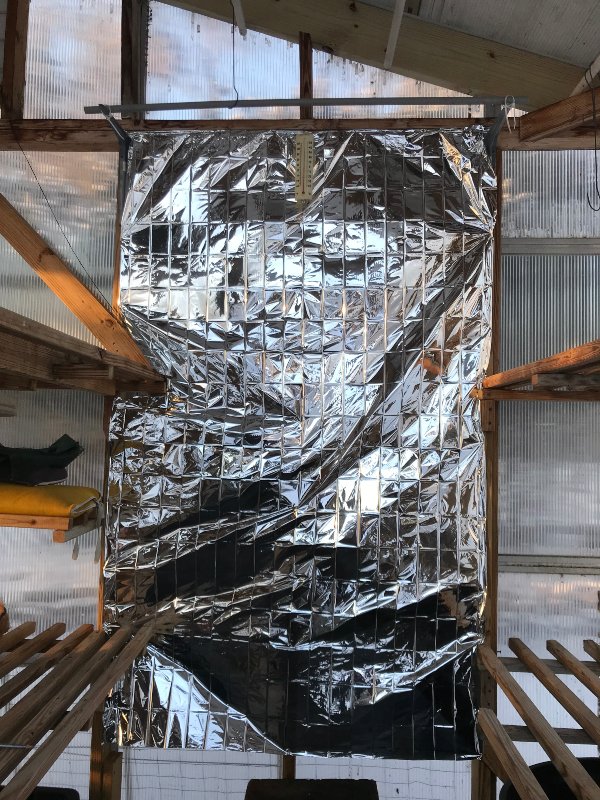
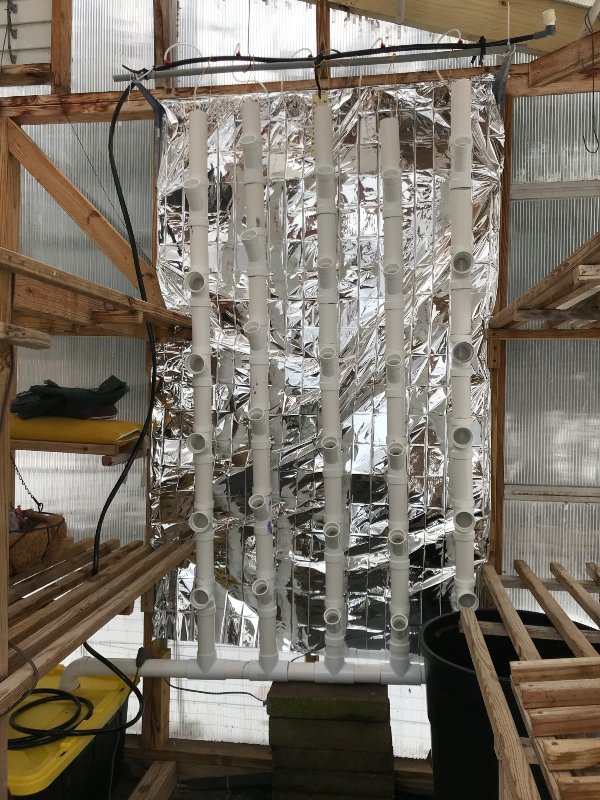
I decided to put up a reflective blanket to help the plants get better light since this is on the backside of the greenhouse.
Step 2
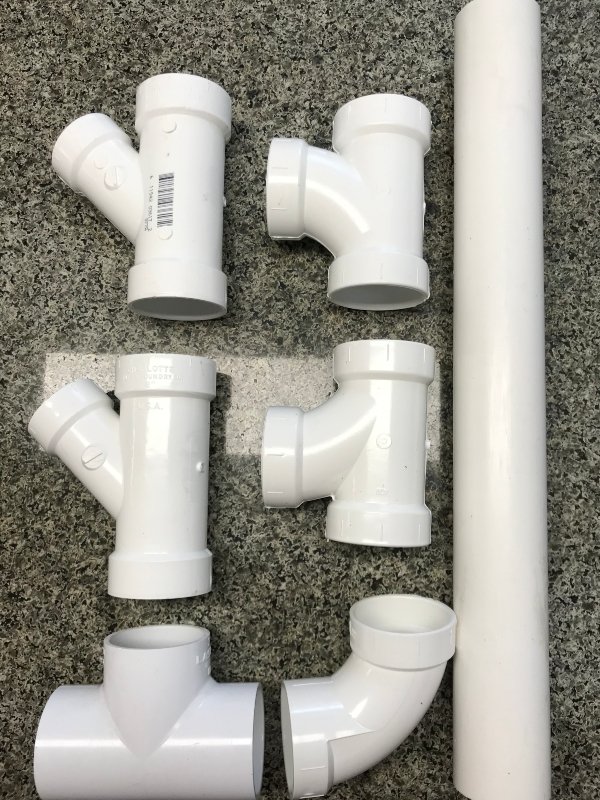
I took lots of measurements, wrote them down, and re-measured. I then had to figure out what style vertical channel I was going to use. I settled on using these pipe fittings with a 2" diameter pipe. I only plan on using this for growing lettuce and small greens so the 2" should suffice.
I figured I had enough space for 5 channels in all so off to our big box store "Lowes" to pick up all the parts I would need. That was fun, counting over and over again to make sure I had enough fittings to do the job. My husband was at the doctor's at the time, so I was on my own to visually put this together in the store. All in all, I did well by myself except I totally forgot about the bottom rail section and had to send him back the next day.
Step3
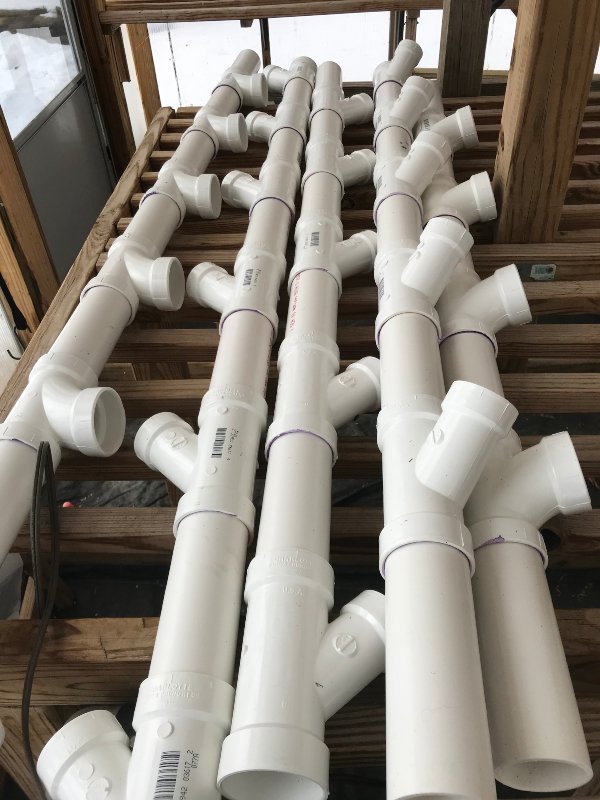
We borrowed a chop saw from my brother in law and measured out the size pieces I needed for the 2" channel. Cutting them was a breeze with the two of us working together. We were set to do a preliminary run at putting an entire channel together to see which height I would want to make it.
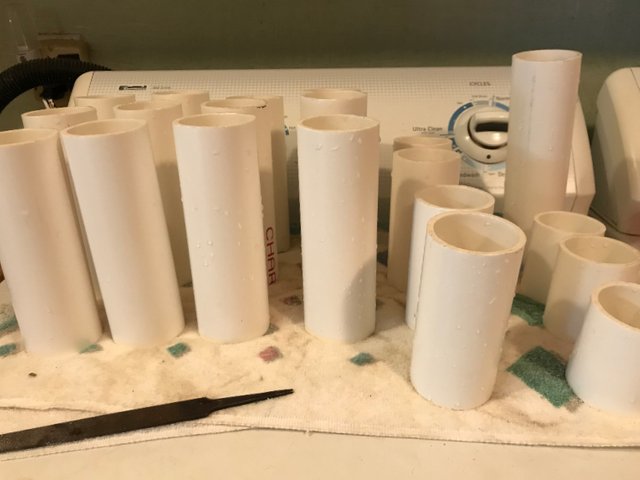
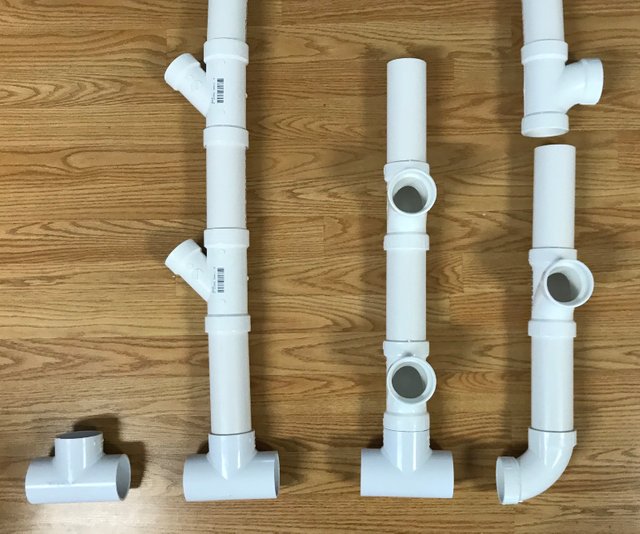
As you can see, I have lightly assembled a few pieces together to get a feel for how tall and far apart each tube should be.
Step 4
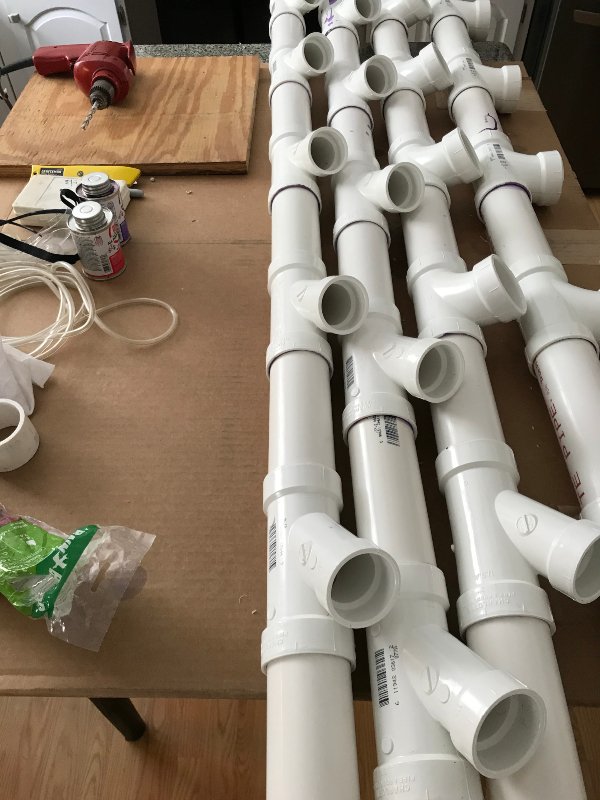
Test run before gluing the channel pieces together. I needed to see it all put together and take a final measurement to make sure it would fit in my space. Well, I did a good job for a first-timer with an inch to spare. Unfortunately, I forgot to take a picture of it altogether, lol. So the gluing began.
The channels are completely together and drying overnight before heading out to the greenhouse for assembly. We ended up drilling some holes in the top of every tower channel to hang it from the support and also for the 1/4" tubing to go into the back of the channel that allows the water to drip down over the young roots.

Step 5
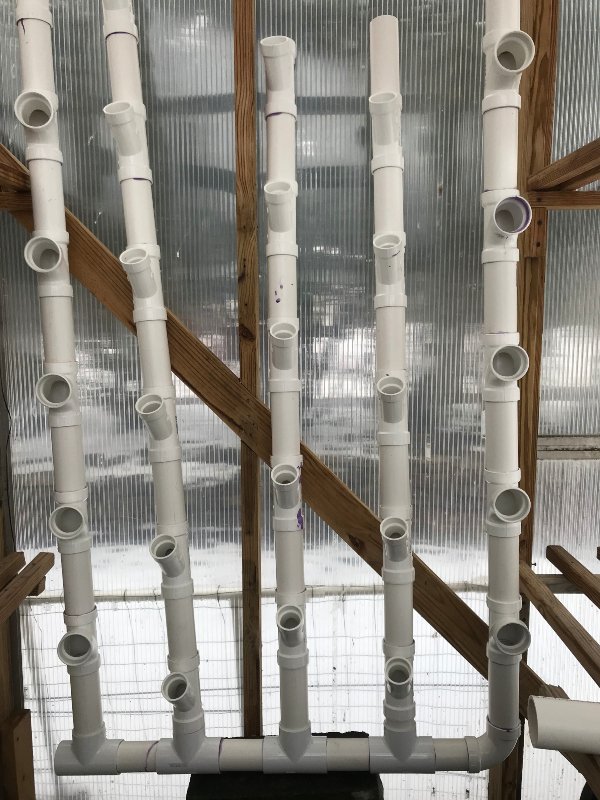
The assembly in the greenhouse went quite smoothly considering. I had my husband stack some cement bricks we had to lift the whole tower system off the ground so as to be able to drain into the reservoir we put underneath a center shelf.
.jpg)
We are almost done, all we have left to do is assemble the top rail and tie the channels tightly into place. Then we ran the tubing for the water that we already had put the 1/4" drip lines into and we would be done.
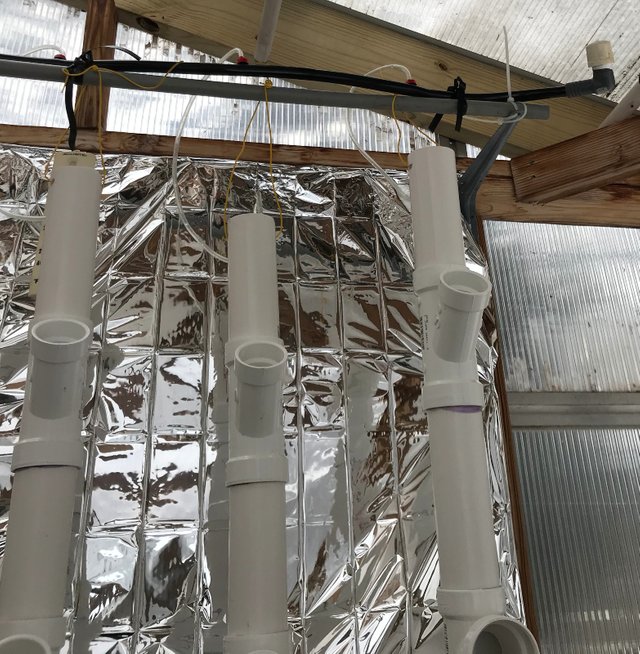
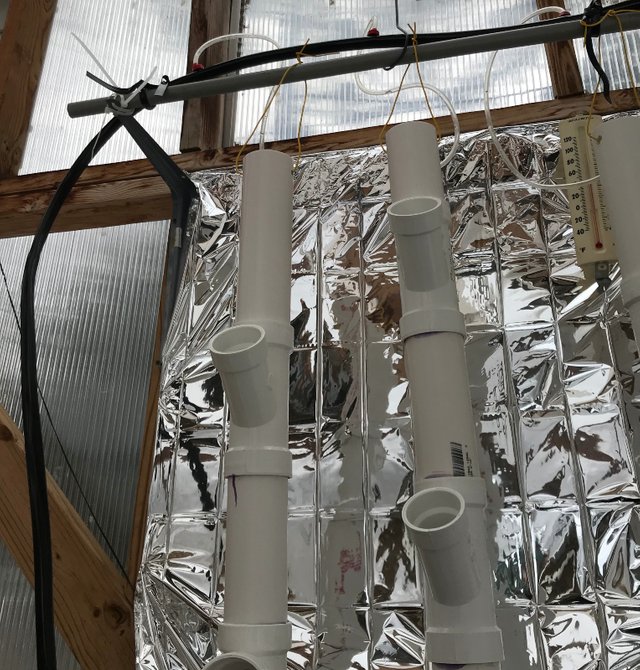
The project took us three days to complete, working a little each day. It is up and waiting for my seedlings to get big enough to start it up. I am so excited to use the aeroponics system for an alternative to soil farming. I will still have all my raised beds which I will be growing some different things this year.
Also, I plan on adding in some float beds using the Kratky method and some bucket drip systems too. See, this is the fun part about being a gardener, you can always be changing things up from year to year. Is there anyone else who is trying aeroponics or hydroponics for the first time this year? I would love to see your system. Happy gardening to all my urban-homesteaders like myself.

Until next time, this is Sunscape...
Sun. Scape. Ing your day

Sunscapes Soap Shop on Etsy
Etsy Store - Crystal Vibrations
Website - Sunscapes Soap Shop
Cool and resteemed :-)
Downvoting a post can decrease pending rewards and make it less visible. Common reasons:
Submit
Thank you so much for the support and rested love and hugs.
Downvoting a post can decrease pending rewards and make it less visible. Common reasons:
Submit
OMG I knew you guys were smart but ...geniuses 😮 The only thing is, what the hell is it???
Downvoting a post can decrease pending rewards and make it less visible. Common reasons:
Submit
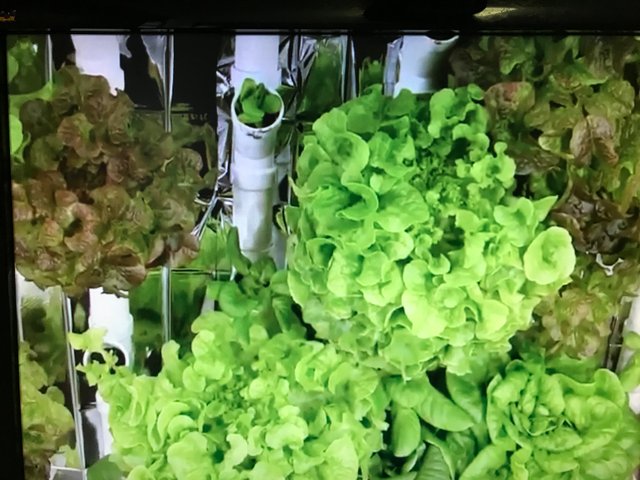
What the hell is it? lmao. I am going to put my lettuce and herbs in there to grow instead of the dirt.
Downvoting a post can decrease pending rewards and make it less visible. Common reasons:
Submit
You've been visited by @minismallholding from Homesteaders Co-op.
I’ve featured your post in the Homesteaders – Living Naturally newsletter.
A community marketplace of ethical, handmade and sustainable products available for STEEM, SBD (and USD): https://homesteaderscoop.com
follow: @homesteaderscoop
Downvoting a post can decrease pending rewards and make it less visible. Common reasons:
Submit
Thank you very much that is so kind of you.
Downvoting a post can decrease pending rewards and make it less visible. Common reasons:
Submit
Congratulations, your post has been selected to be included in my weekly Sustainability Curation Digest for the Minnow Support Project.
Downvoting a post can decrease pending rewards and make it less visible. Common reasons:
Submit
This post was shared in the Curation Collective Discord community for curators, and upvoted and resteemed by the @c-squared community account after manual review.
@c-squared runs a community witness. Please consider using one of your witness votes on us here
Downvoting a post can decrease pending rewards and make it less visible. Common reasons:
Submit