To the community "Steem-Agro" my best regards for this amazing platform to post in regards to agriculture. A community, farmers like myself took pride to express ourselves.
A Brief Detail Of My Journey Into Farming
I grew up in the village of which by then, it was a necessity to experience farming as a kid.
I had my experiences till the age of 19 before moving into college.
Though course of study differ from agriculture but the childhood experiences is there.


Moment I was About Leaving School To Hometown To Partake In Producing Garri
Manual Procedure Into Processing Cassava To Have Garri As A Finish Product.
Step 1: 👇
Harvesting and Selecting Cassava:
This is the first step, as it involve uprooting and careful selection for viable tuber so as to have your cassava free from disease or some that must have been decay and rot underground.
Wasn't with my phone would have taken some pictures.
Below is a picture of myself after harvesting
👇

Dehydrated, Helping Myself Out With That Product
Step 2:👇
Fermentation
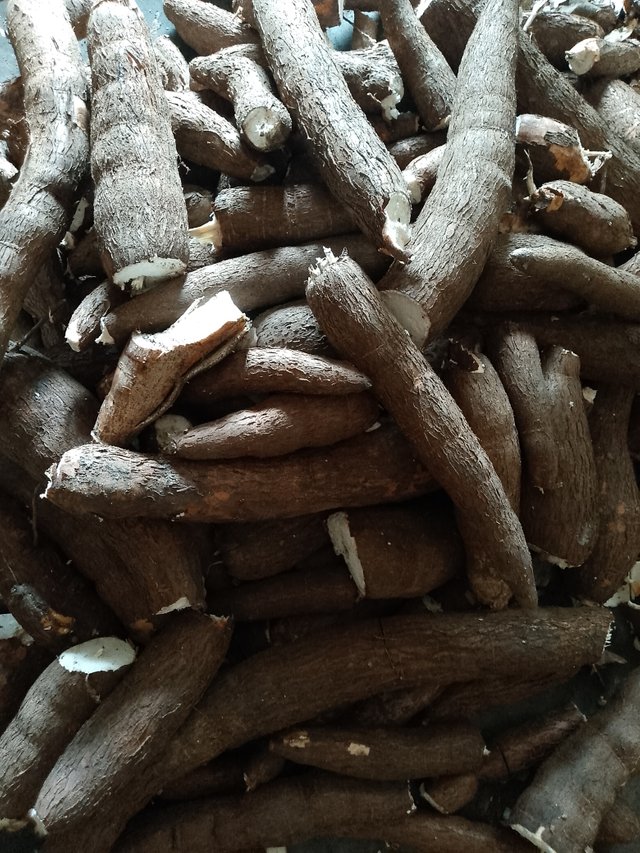
After harvesting and transporting the cassava tuber home. We Usually leave it to ferment for one day after day of harvest the essence is to reduce cyanide content.
Should you go through date in my pictures, you will notice that picture on day of harvest is 7 of March while date on picture we peel is 8 of March - that's one day difference.
Example, harvest today, then we can start processing tomorrow.

Moment Cassava Tuber Were Left To Ferment
Step 3: 👇
Peeling:
Not so fun to do part...😊
The manual of this, is boring.
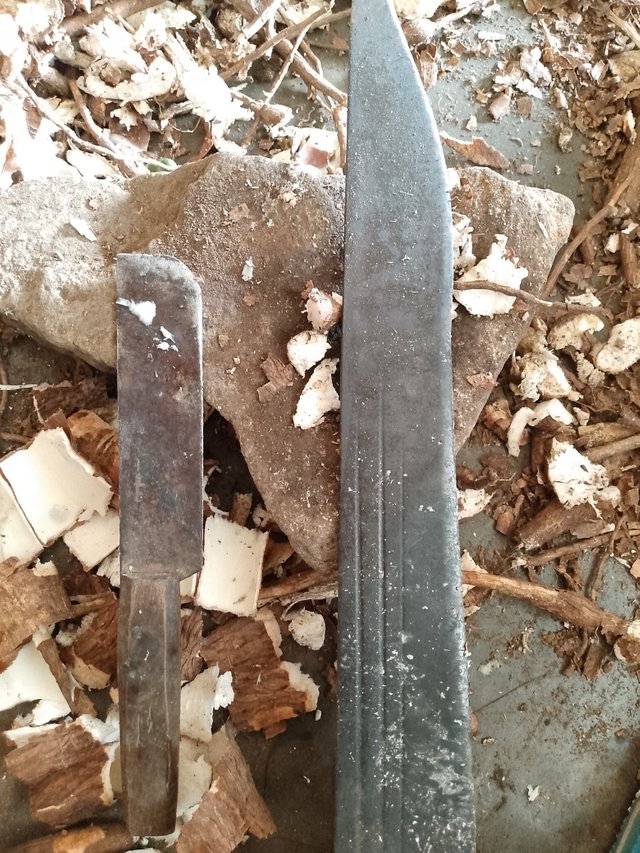
Get a sharp knife and use to removing the cassava peel - Below is one 👇

By The Left Of This Picture Is Our Local Knife Use In Peeling Cassava Tuber

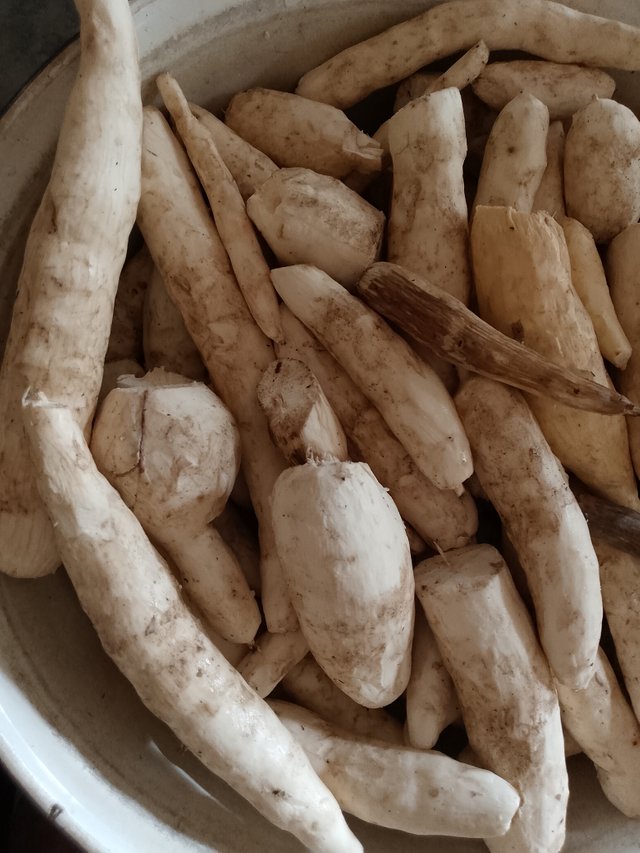
Peeled Cassava Tuber(Not yet wash)
Get it all wash and clean from dirt.
Set it aside into clean containers.
Step 4:👇
Grating:
This is a point you get the cassava tuber to turn into a wet mash and this is usually done using traditional grater and local grating machine to grate your the cassava tubers. It is easy grating with local machine though financial cost is applied while using traditional grater is tedious and requires lots of man power.
Step 5:👇
Dewatering
(Pressing)
This is a point were the grated wet mash cassava is pack into bag - Rice bag is often use down here and then use wooden press which is tedious and time consuming to achieve result or use a screw press which is easier and less time consuming but financially cost to squeeze out excess water to get it dry for sieving. With the screw press, the result can be achieve within 3-4 hours while wooden press can take almost a whole day.
Step 6:👇
Sieving
At this step, the press bag or sack is extracted from either the screw press or wooden press and the bag get open you then get the cassava cake break into pieces for easy sieving.
A woven sieve is used down here to separate fine particles which will be fry to form our garri from lumps.
Step 7: 👇
Frying (Roasting)
Set up fire and get a large metal pan over your set up fire.
Get your already sieve cassava cake sieve granules in small quantity and pour it inside your metal pan and start stirring while not setting too much fire else it get burn.
You can increase the quantity once the first quantity you fry dried up a bit n get freer to stir easily.
The freer it is to stir, the more you increase your fire setting to dried up the water in it quickly hence, the faster the drying process while stirring, the quicker your sieve cassava granule turn to garri which is a finish product and safe for consumption
Lest I forget. Wooden paddle is what we use for stirring during frying. The process continue until the garri becomes dry and crispy😊.
Step 8:👇
Cooling and Storage
After frying, all that is left is just to spread the finish product garri on a flat surface that is clean and leave it to cool
👉Storage: Usually store ours in a dry container to avoid spoilage.
Things I Love Using Garri For👇
1👉 soaking garri in water with sugar groundnut and milk:
This practice is very popular in hostel of my college as students even nickname garri as "first aid" item
2👉 Prepared as eba and use in swallow soup like Afang soup though Afang soup to me is best swallow with fufu.
Upvoted! Thank you for supporting witness @jswit.
Downvoting a post can decrease pending rewards and make it less visible. Common reasons:
Submit
Welcome to Steem-Agro! Here is your assessment:
MODs Comment/Recommendation:
Thanks for sharing your day with us. The best tag for diary post is #thediarygame #betterlife not #diarygame. Make sure to add correct tags.
Note: We also suggest, if you are new to the platform, that you read the 3 newly pinned posts in the Newcomers' Community which contain many guides and tips to help you get set up quickly and don't forget to share your content on other social networks like X.com to help promote the platform.
Remember to engage with other users by making useful comments. This will increase your chance of receiving rewards and attention.
Remember to always share your post on Twitter using these 3 main tags #steem #steemit $steem
Downvoting a post can decrease pending rewards and make it less visible. Common reasons:
Submit
https://x.com/princewill_okon/status/1900290513904824786?t=YXjwVDzDPRSu7zZUVlwKYw&s=19
Downvoting a post can decrease pending rewards and make it less visible. Common reasons:
Submit