Tutorial on how to install the kwh meter correctly.
You have to do the following steps.

- Install the kwh meter in the correct position and in an air temperature that is not too hot by the sun and protected from rain.
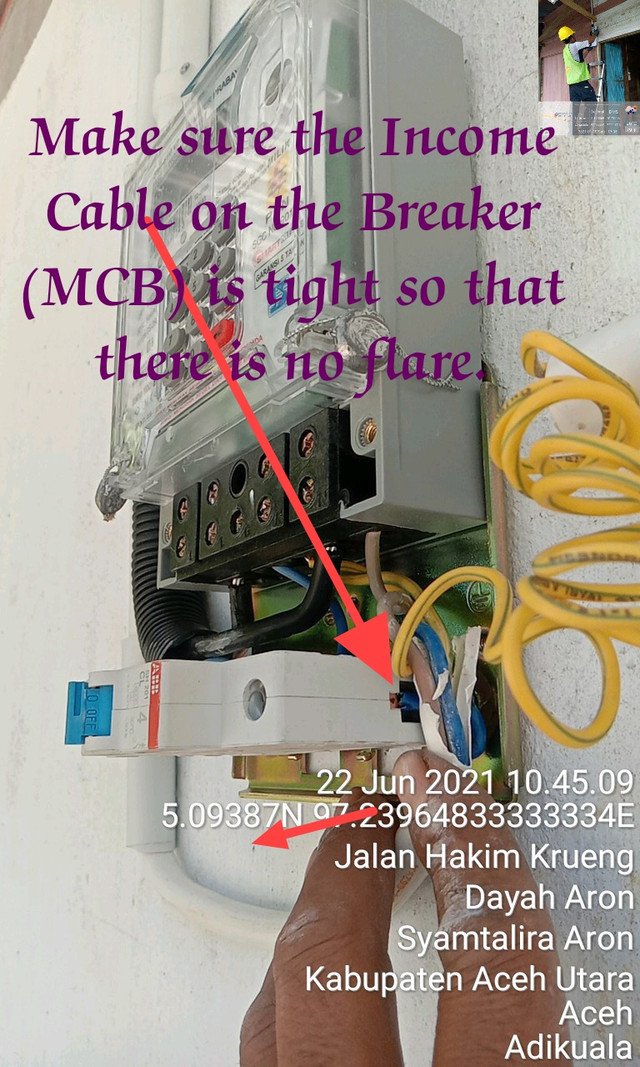
- Install the PASA cable and the NEUTRAL cable as well as the Gronding cable.
- Install the MCB (Miniature Circuit Breaker) at the specified location on the kwh meter.
- Install the Income Pasa Cable on the Miniature Circuit Braker (MCB) firmly to prevent incandescent fire.
- Close the kwh meter cover properly, do not press too tightly so that the DIGITAL seal button is not broken.

Next we start climbing the electric pole, when you get to the top of the pole the first thing you do is. - Find your safe position to do the work of connecting the SR to TR cable. Due to the wrong position it can cause accidents at work.
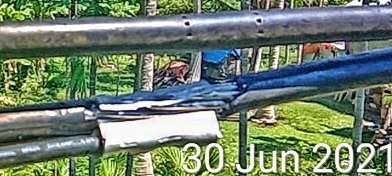
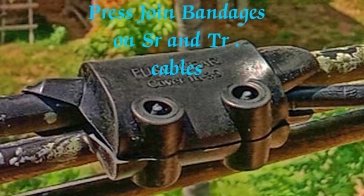
- Peel the TR cable using cutting pliers slowly then peel the SR cable and then insert the 36/36 CCO between SR and TR, then press the aluminum using a hydraulic press tank.

Next - Wrap the CCO aluminum joint press with a safety condom then gently press the clamp slip on the condom to avoid the reach of workers and also protect it from heat and rain, so it is safe from the risk of connector flare.
CAUSE FLASH CONNECTOR is.
Because the PASA and NEUTRAL cables are not densely packed, short circuits often occur. With a working system and this aluminum pressed joint tool, it is very effective in reducing the risk of short circuits caused by incandescent connectors.
Thank you @BoosterAccount
Thank you @seo-boss
Follow me @adikuala120382
The shared spirit of building the country with light.