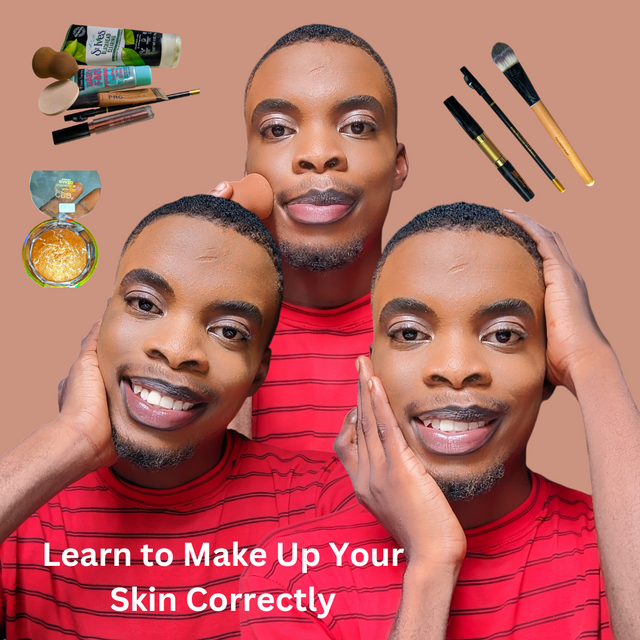
It's such an honour to be part of this makeup tutorial again. This week's tutorial is quite easy, as last week was just an introduction or a cover, so to speak. Still on that aspect of gender differences as to makeup, my friends did laugh at me for trying this, but I see nothing wrong with learning this skill, as most men take it as a skill they do even though it's not for personal application.
Last week gave me a quick view as to how shades are used and what type of shade is used for the face [dark or fair]. I learnt contouring and highlighting and also learnt colour blending. My answers to these questions would be in the form of videos and pictures.
Did you know that there are so many shades of concealer for the skin? In addition to those mentioned, what other shades exist and what use is given to each of them |
|---|
I was taught this last week. There are so many shades of concealer one can use on his or her skin. These concealers allow makeup artists to address dark spots, redness on the face, blemishes, and even hest rash depending on the skin type. Not all shades of concealers work on everyone's skin. There are some shades that irritate the skin. Examples of shades of concealer aside from the one mentioned.
We have a white concealer shade mostly used by white people to blend their skins and cover blemishes and dark spots. This type of concealer is barely found in my region because we are mostly dark people. Concealers for dark people and fair people are seen.
- This white concealer helps brighten the face and gives preference to some areas like the nose bridge and the chin bone, including the forehead. Though I've not used it, I feel it works best with foundation that's white, as shown in the videos our coach did. She probably used a white concealer to make her face blend and avoid wearing and tear.
The essence of doing makeup is to give your face a smooth and brighter look. So blending is very important. Concealers like this white are used to conceal wounds and scars too. Just look at the before and after effects of using such concealers by our coach. She did a great job.
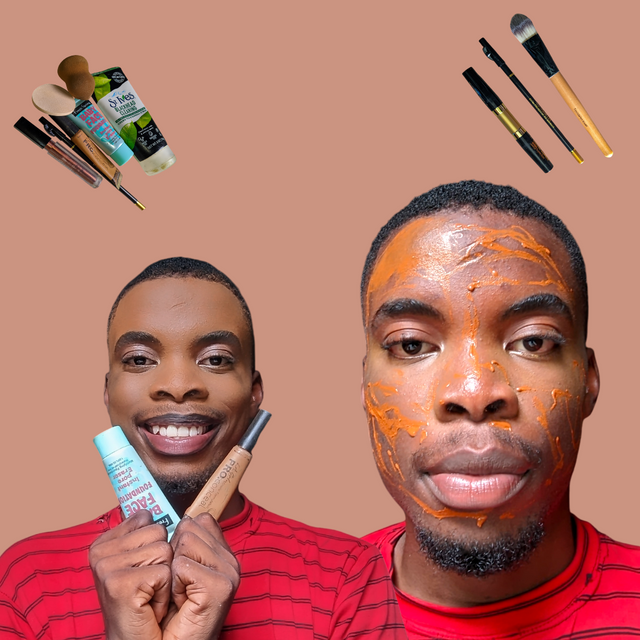
- Neutral and skin-tone concealer shades are available to match your skin. It's just like buying a cream that neither bleaches you nor makes you dark. The concealers are available in variety to match your skin colour, often used for the same purpose as the first to correct imperfections and remove dark spots. Just like me, who's light skin brown, I'll look for this neutral concealer that matches my skin colour and doesn't create a contrast.
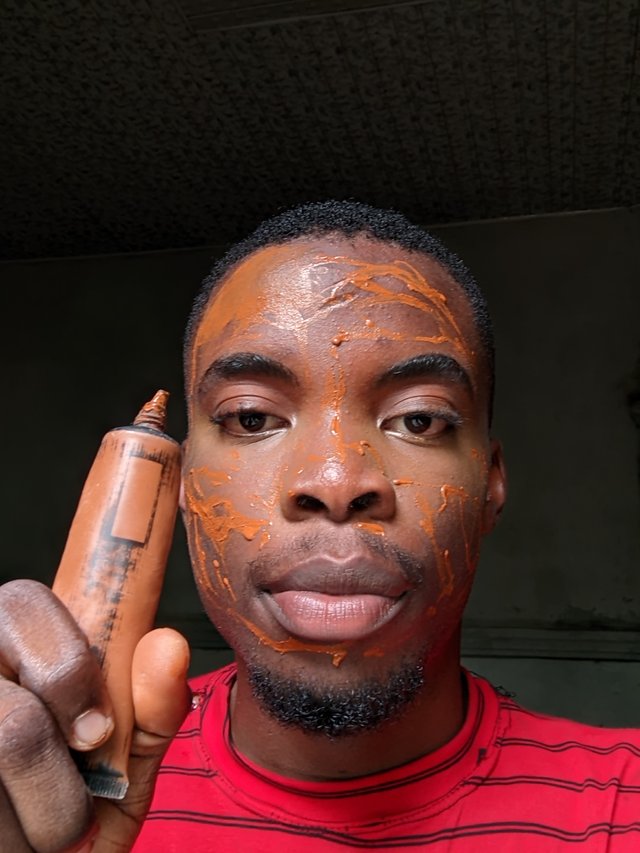
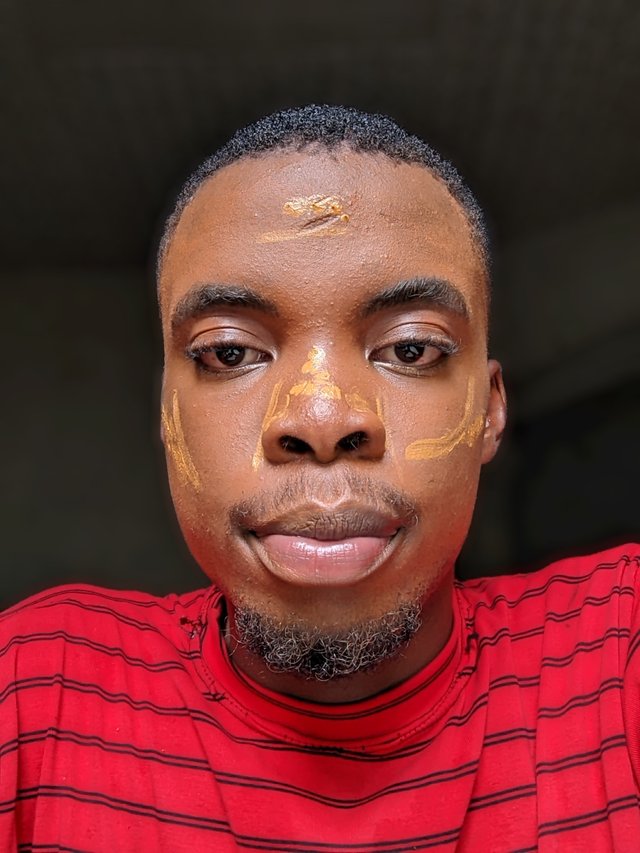
See the aftermath of using concealers for fair people and that of dark people. The contrast was there. It made me look like a masquerade, whereas the second picture shows me using a skin-tone concealer to blend my skin colour and make it light after foundation is applied.
- Yellow-toned concealer shades are concealers used primarily for blending the under eye or eyelid from dark spots. It's used to cover blue undertones, which are seen in bruises or dark under-eye circles. That blend that is attained when the eye dark spot is shaded is what this concealer is used for. It blends well with most concealers when applied. If overapplied, they can look unnatural and may even cause irritation.
- Green-toned concealers are used to neutralise the skins of people with sunburn, which causes redness. It also covers acne and other red marks on the face. It's mostly common among fair, white people and albinos.
- The lavender Concealer shades are used to neutralise yellow undertones on the face, making it even more brightened and less visible in terms of scars. If applied too much on the face, it can cause cast colours or wear and tear, which is a result of not blending it properly. This can be bad on dark skin if applied extravagantly. There are other types of concealers, which included the pink-toned, deep peach concealers, etc.
The concealers common in my region are the yellow-toned, neutral, lavender, and peach-toned concealers. It may be sold in other parts of the states, but my investigation has just these four in my city.
Did you have all the necessary products to carry out this practice or did you have to buy new ones or settle for others that had a similar function? |
|---|
I didn't have all the necessary products for this practice since my mom is not the type of person who does makeup. She believes she's fine and beautiful and that makeup will only make her more beautiful. The products she had available were;
powder
foundation for contour [liquid]
concealer [Yellow toned] for fair people
Makeup sponge
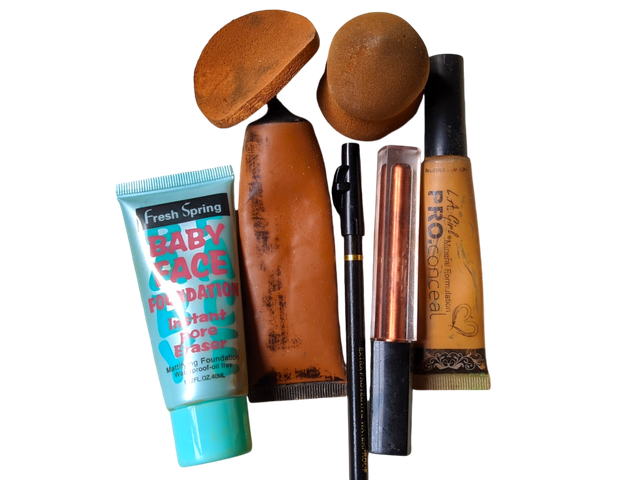
These were the makeup products available. So I had to purchase a liquid foundation for my type of skin only. Makeup brushes and powdered foundation with blushes would be purchased by me next week. These two are very essential in spotlighting the skin in a tone that's befitting. The use of blushes makes it even more beautiful, especially when applied to light skin.
Due to the unavailability of a retail makeup brush and blush, I had to improvise in such a way that the ones I had worked for all purposes would have been served if these two were available. I used powder to replace the blush and powdered dark foundation. I thought of doing heavy makeup this week, as last week I made it lighter.
I wanted to see what people who do heavy makeup pass through and how it would look on me. I had to settle for what was readily available to achieve this.
They say that the quality of the makeup makes a noticeable difference in the results obtained when comparing a makeup in which replicas or cheap products have been used and another in which original products have been used; what is your opinion? |
|---|
In my region, we say fake things are not last. Fake things run away from light so they won't be exposed. What do I mean? It may be difficult to identify something that's fake because nowadays, people replicate fake makeup products to look like the real ones. It's not that easy to identify fake makeup, especially by people who are poorly orientated on this or just buy it for the purpose of using it to beautify the faces, or maybe because of how cheap it may seem.
Fake makeup products are always seen to appear cheap in the market compared to the original one. You also check the packaging and labelling to know if you're getting something original or not. Buying original makeup products irrespective of the price helps prevent skin irritation and rash on the face.
If you notice, most of these skin reactions people have as a result of fake makeup products. It's always seen in the open market and barely seen in public places. Whenever fake make-up products are applied, especially concealers and foundation, there's always wear and tear when exposed to intense sun or sweat. There was an event I attended that made me see the effects of fake makeup products.
This lady applied it to her face, and when exposed to the sun, she started sweating profusely, which affected the makeup. The sweat washed the makeup on her face, and it began dripping. She had to use a handkerchief to conceal this.
An original makeup product like foundation and concealer when applied to the skin won't make it wear and tear when exposed to the sun. Even when touched or dragged with the finger, it doesn't wear or fade because original foundations stick to the face and make it strong even under intense heat.
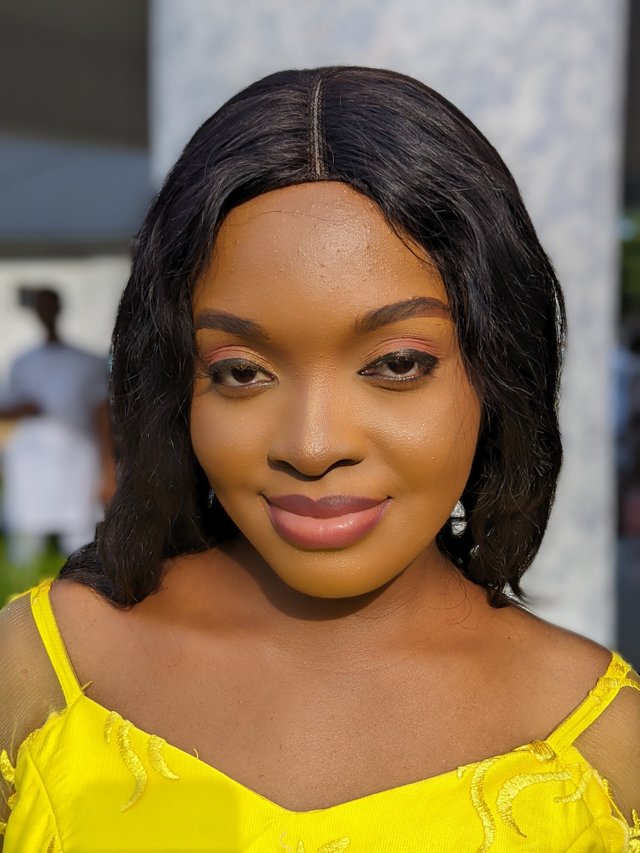
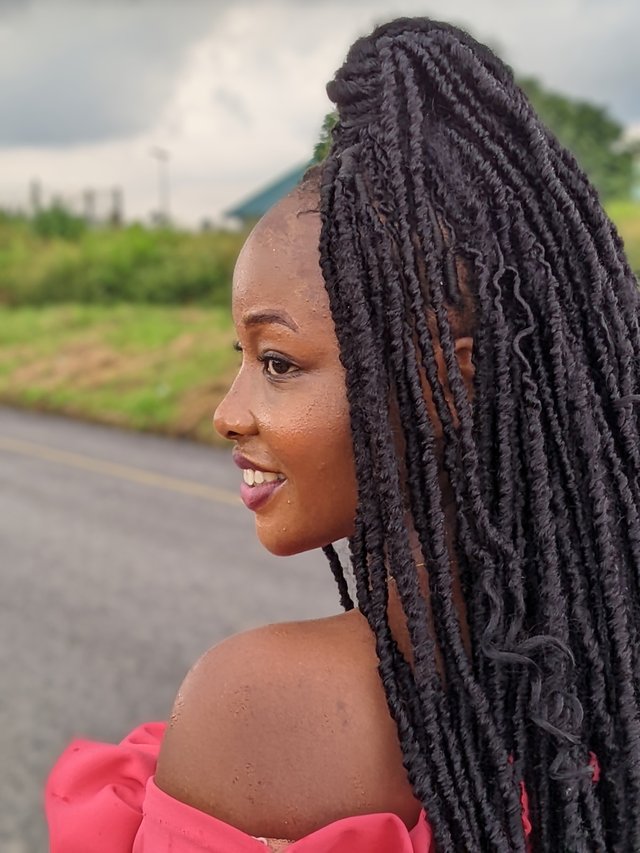
Just take a look at the lady I captured today in this picture. She was literally wearing makeup that's probably fake or probably from the hands of an inexperienced once. The makeup was fading, and it showed her skin. The original makeup doesn't wear easily when applied. You can hold it for as long as it is still shining radiantly if properly done.
 |  |
|---|
Just look at the two pictures. The differences are noticeable because one uses an original foundation and concealer to brighten certain parts while the other uses it, though she's wearing it because of her sweaty face. Despite the inexperience, quality doesn't fade if applied well.
The lady on my left wore this makeup from morning till evening under the hot sun, but it didn't wear. The second lady, despite the fact that there was no intense sun, had her makeup worn in an uncomfortable manner.
For this answer you must show us your skin makeup step by step in the way you like and tell us about your experience in this first practical class; also, add a sign with your username and date on at least one selfie with your final result. |
|---|
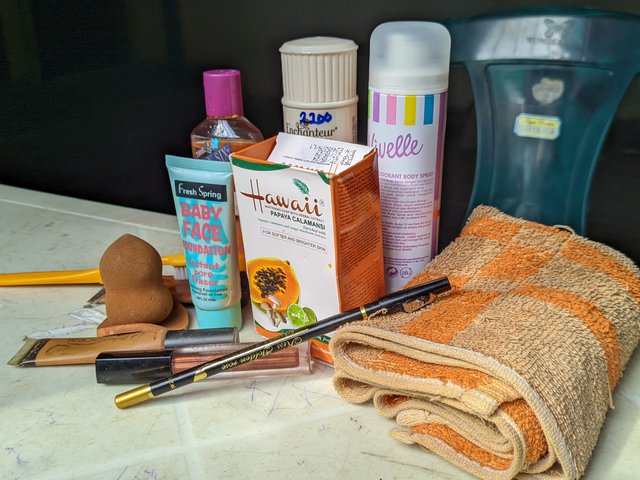
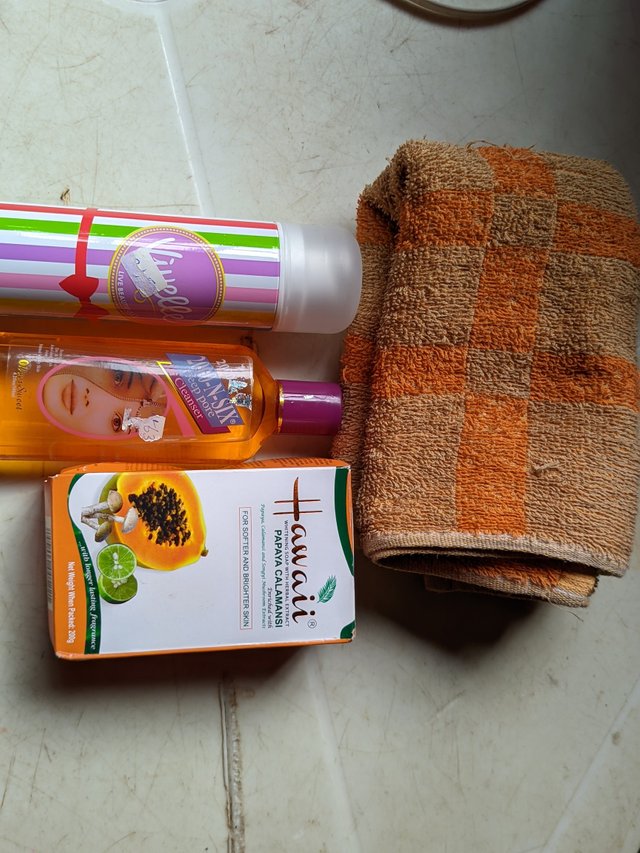
To start making up my face, I lighten my face with my skincare products to ensure my face is clear. This most times enables makeup to stick to the face and not easily wear off as you're not wearing it with sweats coming out from sweat pores. So I made good use of the following skincare products....
Hawaii soap
Pores removal
Lighting spray
 |  |
|---|
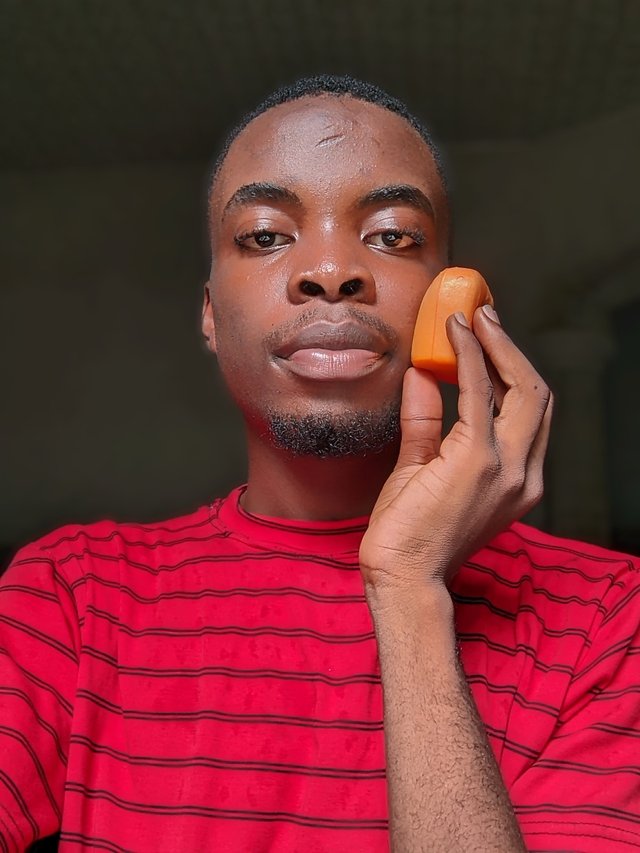
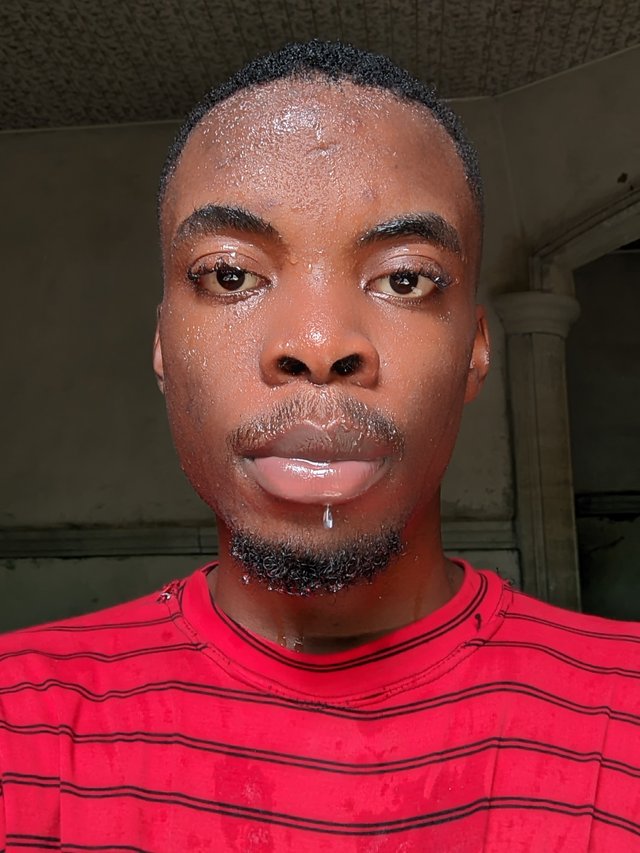
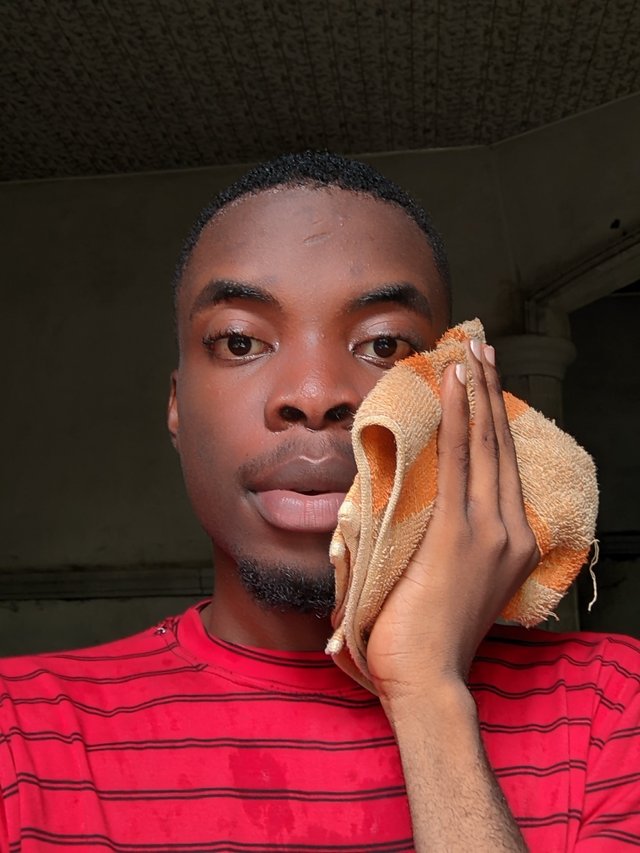
These were the three skincare products I used for this practice to enhance my face before application of external makeup. I did this by first washing with the Hawaii soap softly and then using water to wash the foam out of my face and drying it with a clean towel. After drying my face, I used my pores removal on my face gently without allowing it to enter my eyes as it has a very strong scent....
 |  |  |
|---|---|---|
 |  |
After application, I allowed it to stick on my face before starting the steps with concealing my eyelids. I used the yellow toned concealer to cover the dark circles around my eyes before moving to the application of the foundation and contour. Everything done here is explained using the videos I'm going to drop. These are the makeup products I used.
Foundation for fair people
Concealer
Makeup Sponge
Dark foundation for contour
Powder etc....
Step 1
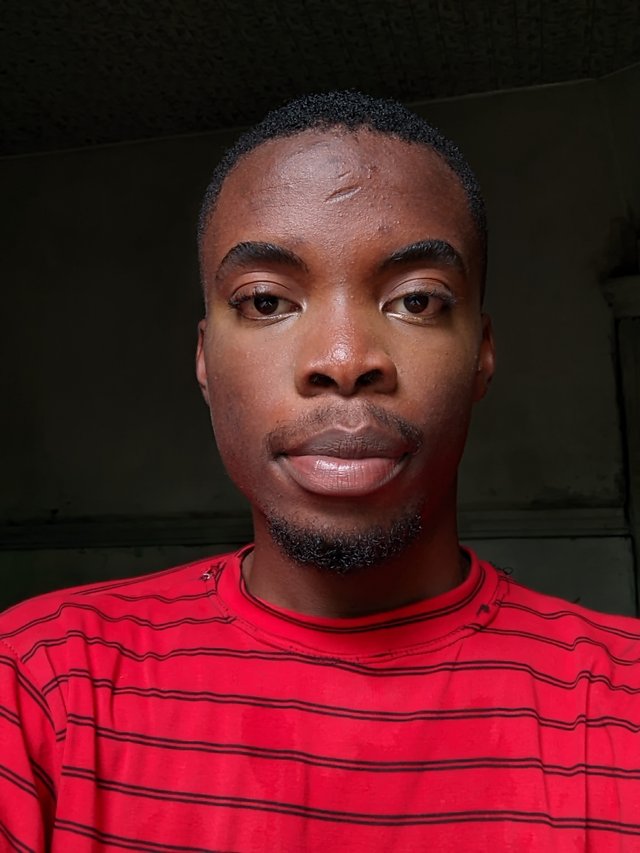
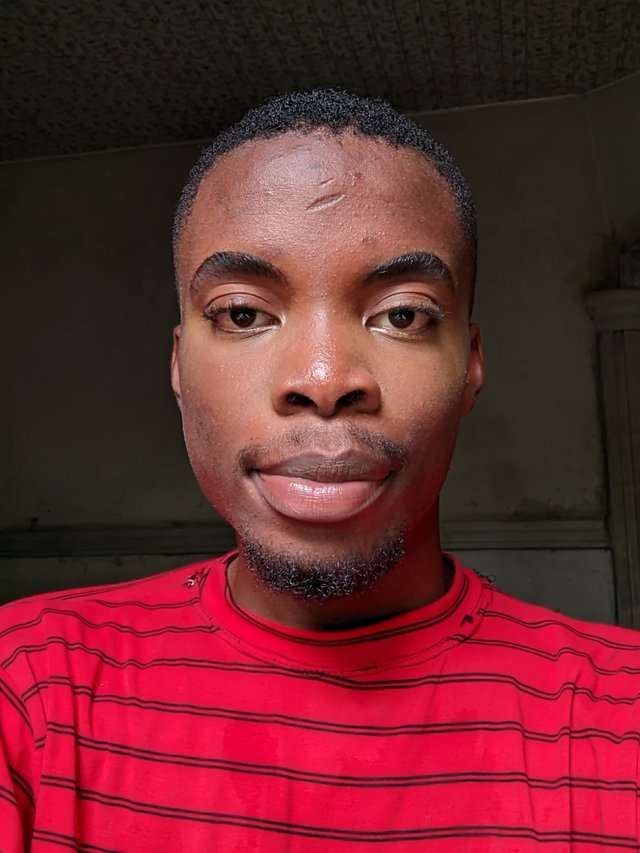
The first step I took to beautify my face was to cover the dark circles around my eyes with a concealer. This concealer made the dark circles appear fair. Normally, I'm supposed to do this after applying foundation to my face, but I choose not to to avoid wear and tear, which may not totally conceal it from what I've seen others do.
 |  |
|---|
Step 2
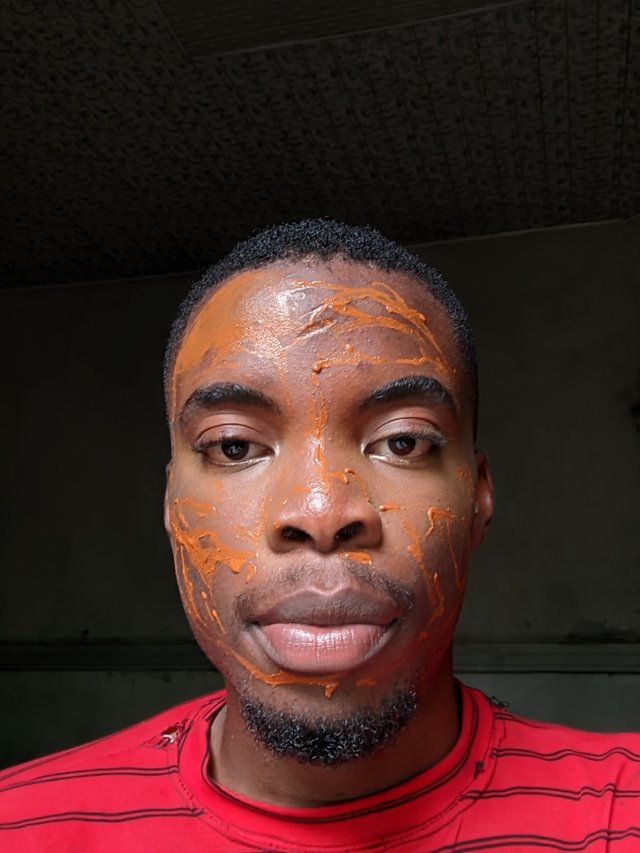
After concealing the dark circles around my eyes, I took to applying foundation to my face. I used a neutral foundation that suits my skin type and then blended it. I wanted a heavy makeup compared to what I did last week. So I made use of the foundation to give me face a shade and neutralise the outer part of my skin.
 |  |
|---|---|
 |  |
I properly applied the foundation and rubbed it well to avoid wearing it when the sun shines*. It took me some time to keep on blending the foundation to fit into my skin. We were taught contour, but sad to say, I didn't have all it takes to contour and highlight my cheekbone and nose bridge.
 |  |  |
|---|---|---|
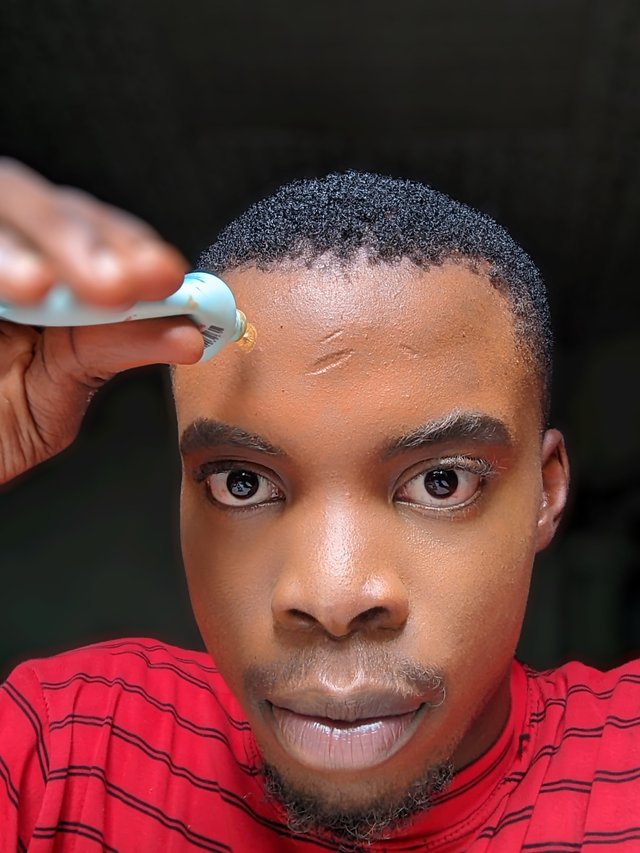 |  | 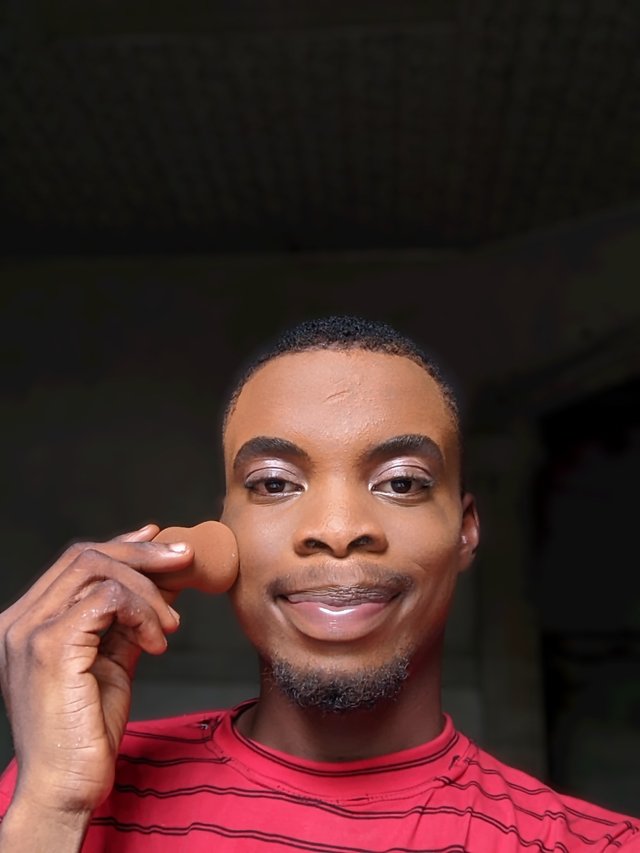 |
I decided to improvise using neutral concealer for my skin type and then blend it on my cheekbone and nose bridge to highlight. My aim was to make my cheek bones visible and my nose bridge glow. It took much of my time trying to improvise my contour and highlight.
Step 4
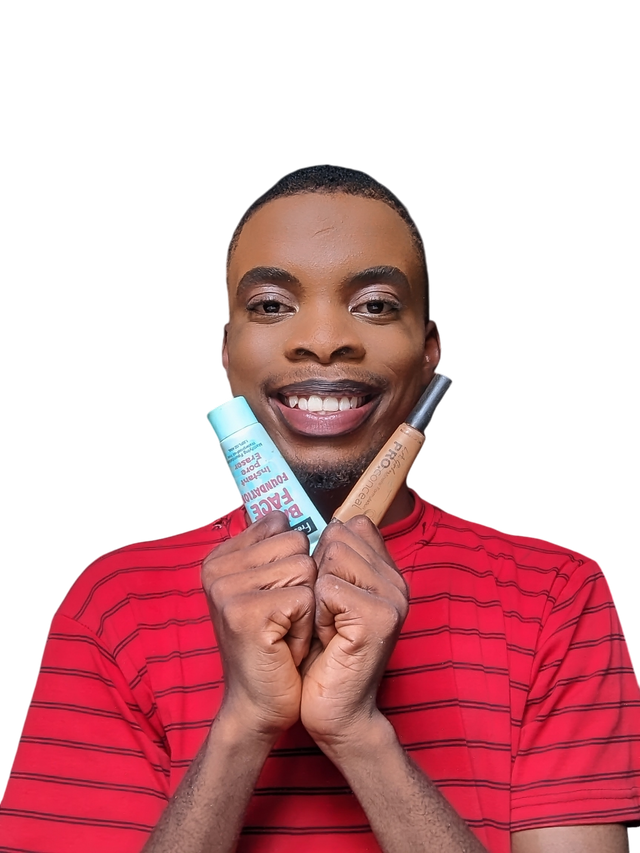
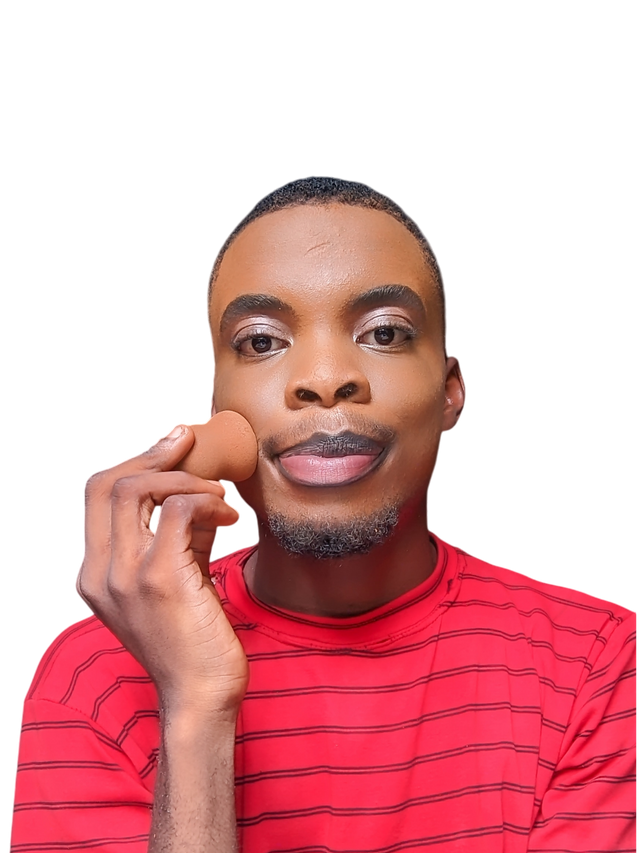
After the whole contour and foundation process, I took to masking my face by blending the foundation mixed with neutral concealer. I used powder as my foundation powder and blush in the absence of these three. The outcome looks mad. I make sure I go far in looking for retail makeup brushes, blush, and foundation powder.
 |  |
|---|---|
 |  |
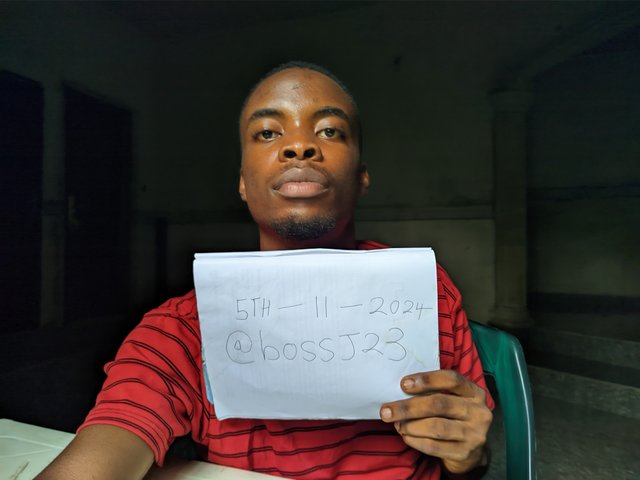 | 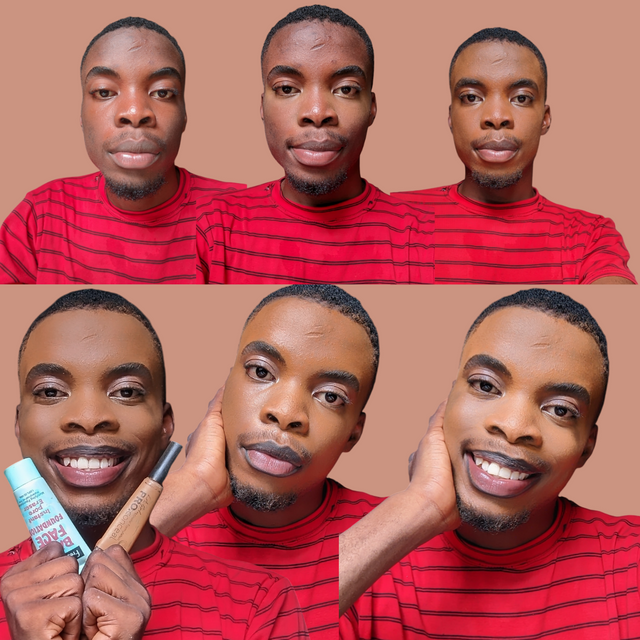 |
This is the aftermath of the heavy makeup I did to blend. The main aim of wearing makeup is to mask it up and allow it to blend in all areas as possible. Also, your masking should be done in a way that if you use your finger to drag the makeup on your face, it won't reflect.
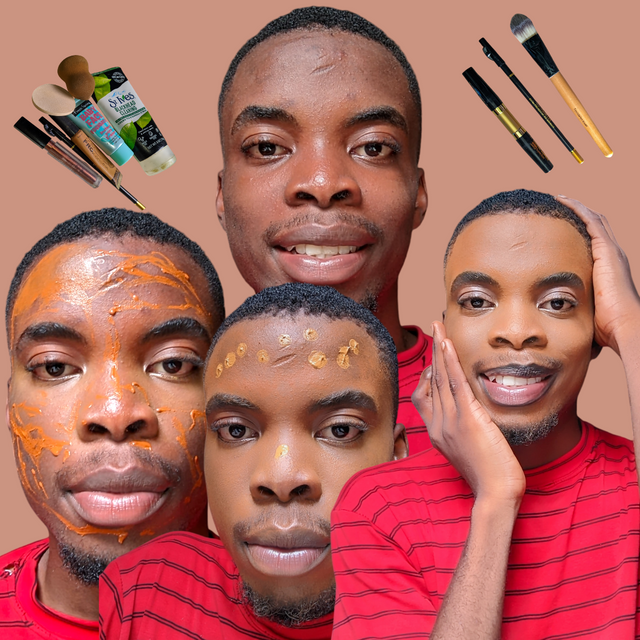 | Full process |
|---|---|
 | Result |
So this is how far I could go in the course if this makeup practice session. I invite @okere-blessing, @shiftitamanna and @usoro01
Cc,
@almacaridad
Pictures gotten from my phone and edited with canva
https://x.com/bossj23Mod/status/1854721518485270865?t=g2bPIVBN2wYpt3rY9tVCRA&s=19
Downvoting a post can decrease pending rewards and make it less visible. Common reasons:
Submit
You have come again, no wonder some men don't like wearing makeup because to me I prefer you without makeup. But for the homework I can say you did amazingly well. Your improvement in this week2 is recommendable. I have participated if you have time you can check mine. See you next week.
Downvoting a post can decrease pending rewards and make it less visible. Common reasons:
Submit
I'll surely check it out now. Thanks for the encouragement. I really appreciate
Downvoting a post can decrease pending rewards and make it less visible. Common reasons:
Submit