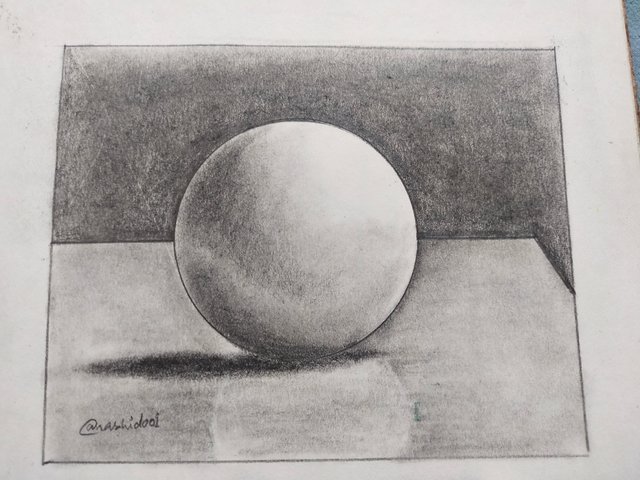
I'm back with another drawing tutorial, and this time, I'll be teaching you the art of shading techniques! We'll be diving into the realm of 3D shading, where the angles of light and shadow come alive. Get ready to unleash your creativity! My trusty drawing tools are at the ready, and for those new to my posts, fear not, for I shall reveal my arsenal once more.
- Sketchbook
- Sketch Pencils ( HB , 3B , 8B )
- Blending Tool
- Sharpener
- Compas
- Eraser
Lets Begin !
 |  |
|---|
 |  |
|---|
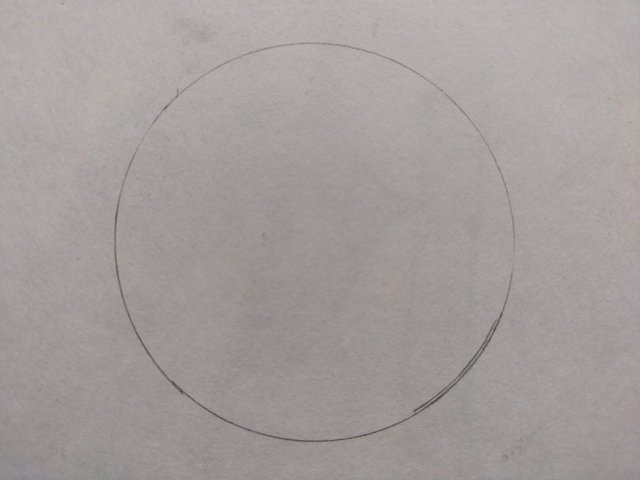
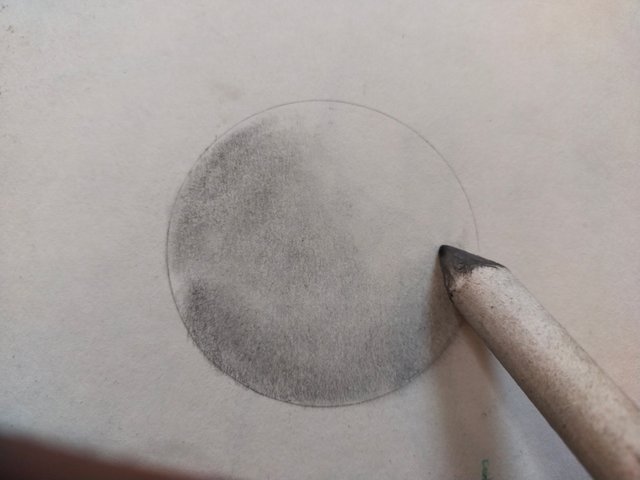
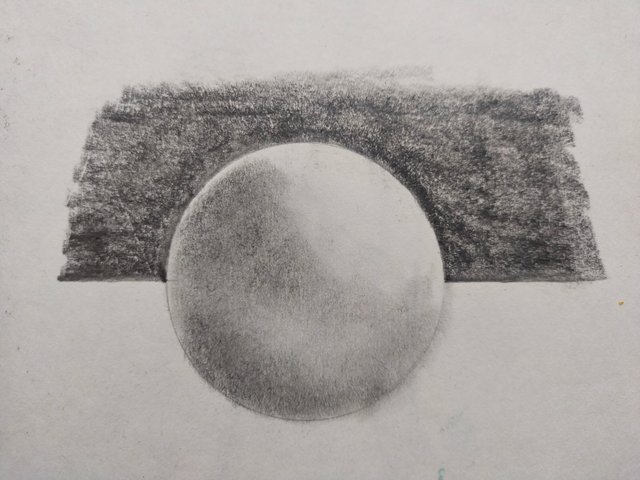
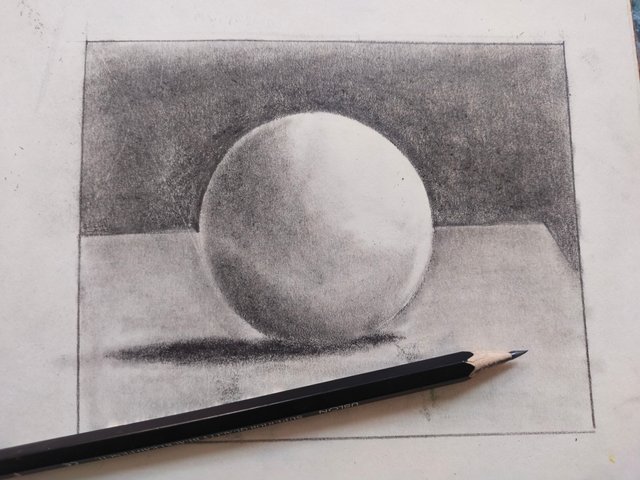
First, we'll draw a circle outline on paper using a compass. Then, we'll use an HB pencil to lightly fill the left side of the circle. We'll blend it with the blending tool to create a smooth transition. Next, we'll use a 3B pencil to darken the same area slightly. Remember, we're not filling it completely with the pencil. After that, we'll use the blending tool again to mix the shades together. Now, it's time for the third tone, where we'll use an 8B pencil to add more depth to the left area of the circle and blend it again. This will make the circle's shape more visible. We'll keep the top right area of the circle white, as it represents the light mark. We'll use an 8B pencil to darken the upper half of the outer side of the circle. This will act as the background for our drawing. You can see above the visuals of the steps i have explained.
 |  |
|---|
 |  |
|---|
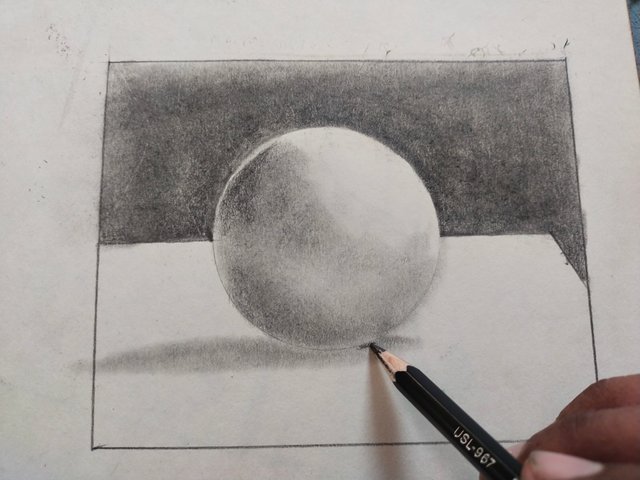
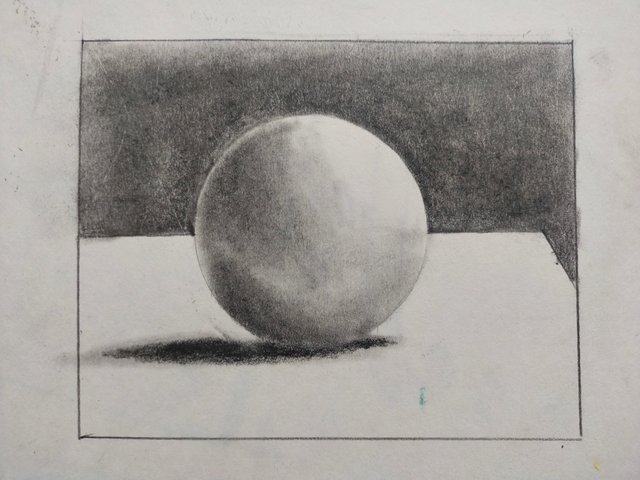
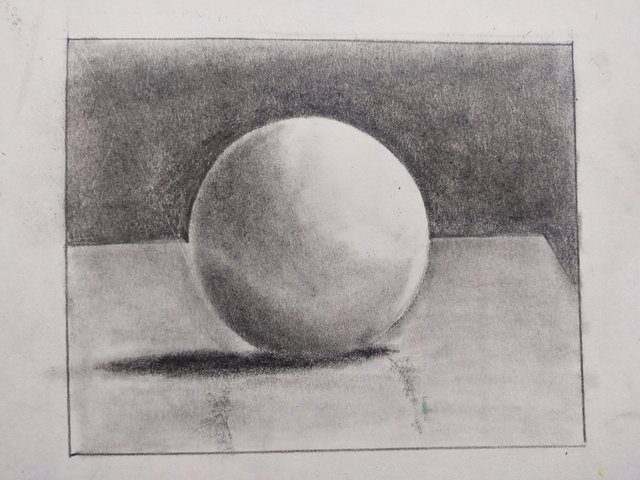
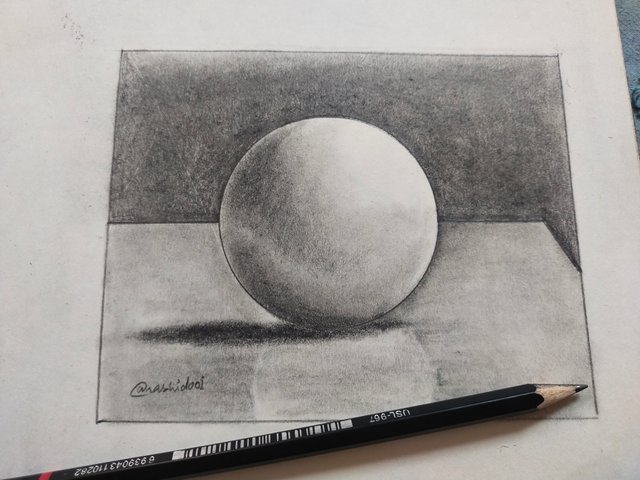
Next, we'll use a blending tool to mix the dark filling with the ground. Then, we'll use an 8B pencil to darken the lower part of the circle, which is the base, and blend it again. After that, we'll add some light filling with an HB pencil to give it a table-like appearance. When we use the blending tool, the shape often gets distorted, so we'll use a compass again to redefine the circle's shape. Finally, we'll blend some areas of the circle again to give it a realistic 3D look. And that's it! Our drawing is complete. You can see the final result in the last image.
I hope you found the shading techniques I shared today helpful and easy to follow. You can now use them to create an amazing 3D drawing! If you have any questions or need further clarification on shading, don't hesitate to ask in the comments. I'm here to help. That's all for now. See you in the next tutorial with more useful drawing and shading techniques.