
I was planning to create a gift cactus pot for my boyfriend's birthday, but I really didn't have an idea about a good pot. All the pots we had were very general. I just wanted to gift him something extra. I always prefer to give gifts with extra effort rather than purchasing them directly from the shop.
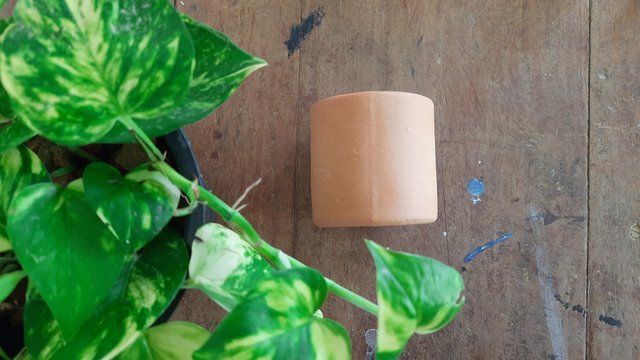
Suddenly this clay pot came to my mind! A few months back, we purchased 4 of these pots for my brother's cactus business. But none of these pots were sold as they do not look that fancy. But I found this pot well fit for the peanut cactus that I am going to give him.
I planned to give a makeover to this little pot!
Youtube Found Hack
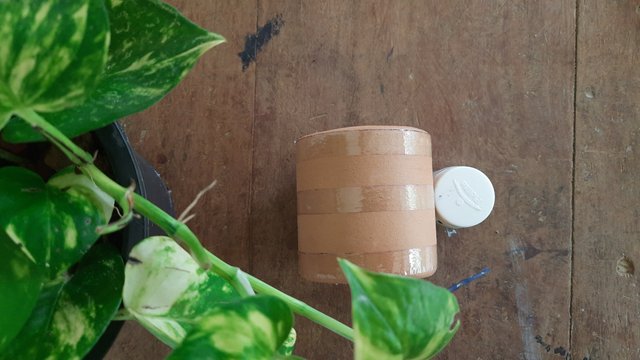
Probably you have seen on youtube, that you can take well-defined lines by pasting sellotapes on areas you don't paint. My plan was to give black and white stripes to the pot. So that I pasted sellotapes followed by an empty raw.
Then I made a very thick mixture of white fabric paint. I decided to use cotton wool as the brush for this activity, as it can give a rustic look.
Paint Paint Paint
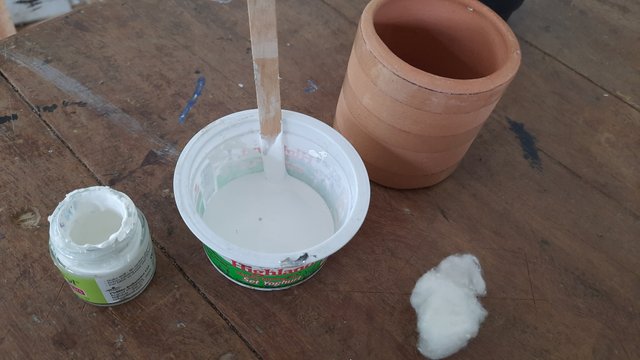
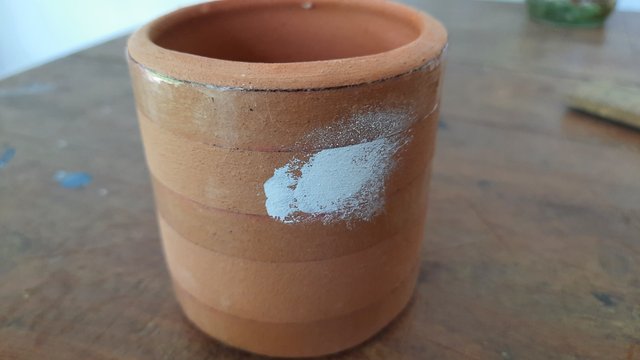
You can see the first, second, and third layers in the following photos. In the last picture, you can see what it looked like after removing the tapes. It wasn't that perfect line, but still it saved bank space without white ink.
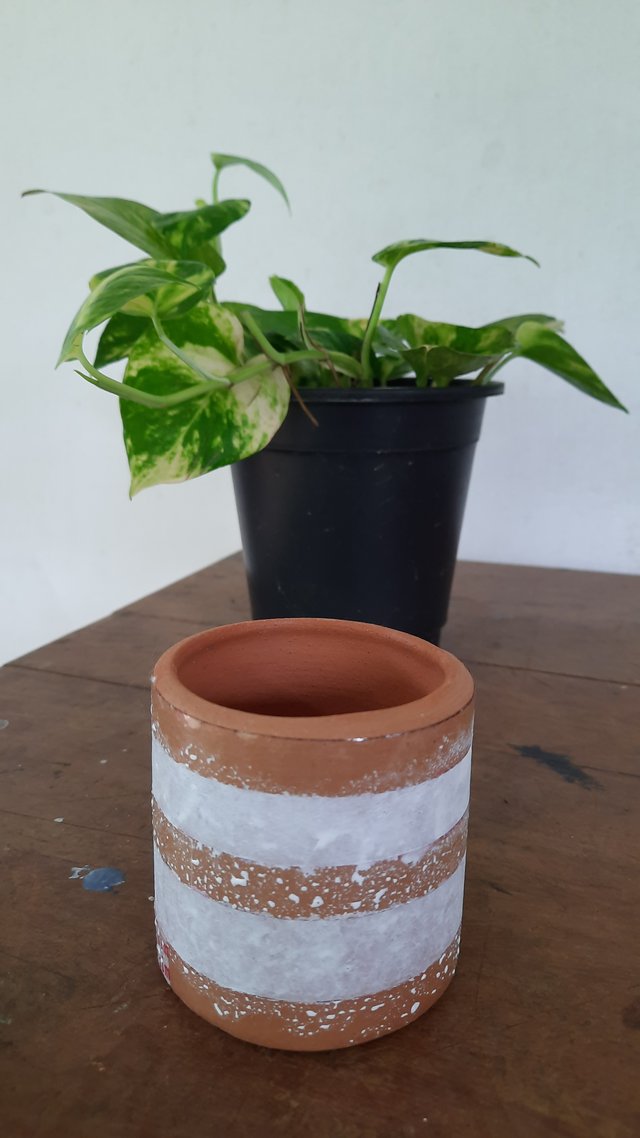
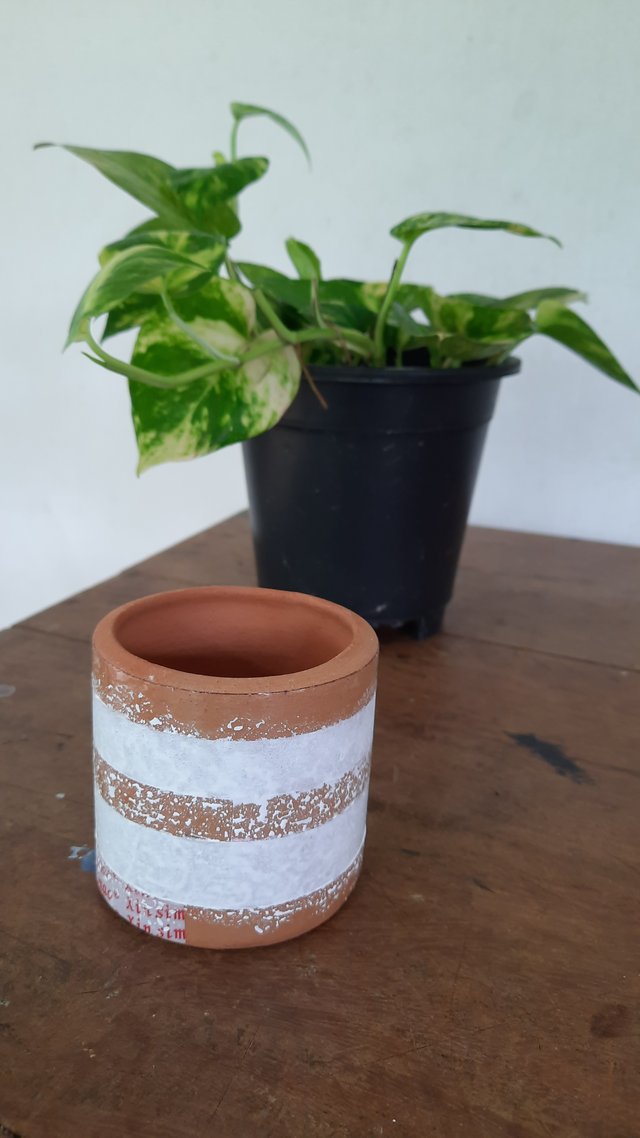
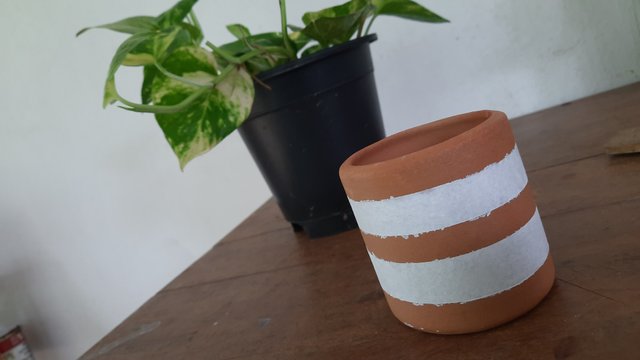
The next challenge was applying black color while protecting white lines. If I use a sellotape on top of while lines, there was a risk of damaging the color while removing the tape. If I cover the lines only with newspapers, it also can get wet and destroy my paint.
Finally, I made a nonsticky tape-covered strip that doesn't affect liquid.
Black Strips
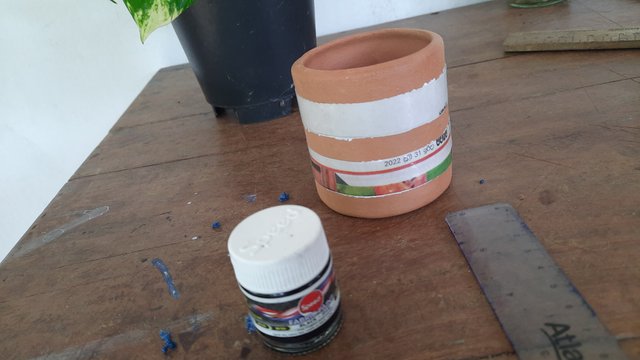
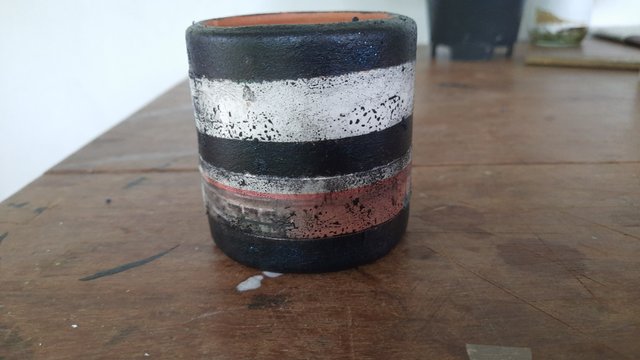
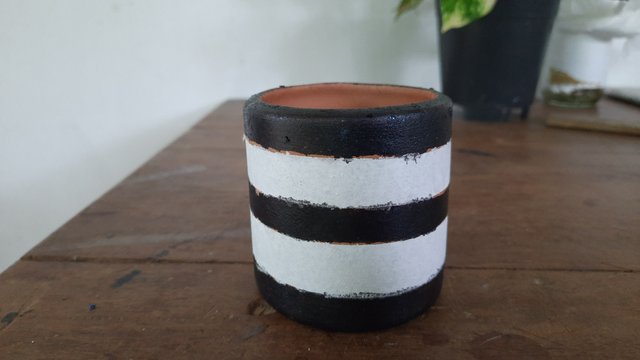
Actually, there were several gaps to fill manually.
Filling Gaps
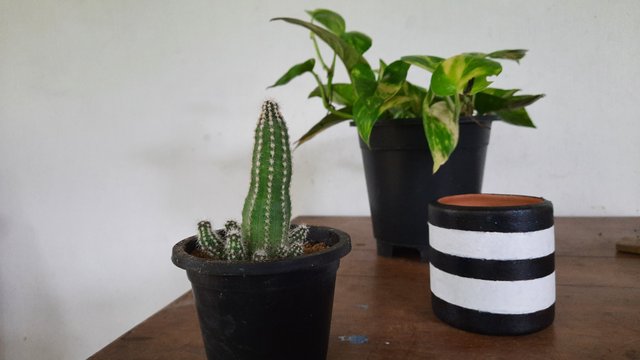
I used a thin paintbrush to draw the missing spots. After two hours of work, my hand-painted pot came like this. As a finishing, I painted the inside of the pot also using black paint. I don't have a photo of that level but finally, it came so modernly and attractive.
I will share what the final pot looks like after giving it to my boyfriend. YaY! So excited!
This post has been upvoted by @italygame witness curation trail
If you like our work and want to support us, please consider to approve our witness
Come and visit Italy Community
Downvoting a post can decrease pending rewards and make it less visible. Common reasons:
Submit
Hi @randulakoralage,
my name is @ilnegro and I voted your post using steem-fanbase.com.
Come and visit Italy Community
Downvoting a post can decrease pending rewards and make it less visible. Common reasons:
Submit
It's beautiful. He will love it.
Downvoting a post can decrease pending rewards and make it less visible. Common reasons:
Submit
I guess so😋
Downvoting a post can decrease pending rewards and make it less visible. Common reasons:
Submit
Such a cute gift give on a birthday! I've never tried this kind of thing. I think I should try this. You've done it very well. 😍 He will love this.
Downvoting a post can decrease pending rewards and make it less visible. Common reasons:
Submit
I think He will love it. It is beautiful.😍
Downvoting a post can decrease pending rewards and make it less visible. Common reasons:
Submit
Wow this is a really good boyfriend gift idea 😍❤️
Downvoting a post can decrease pending rewards and make it less visible. Common reasons:
Submit