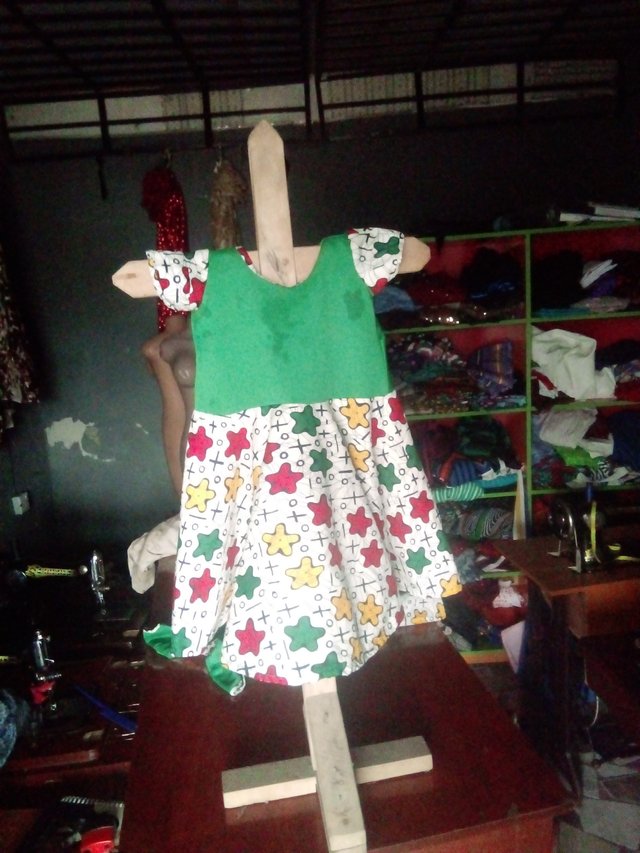
Greetings to you friends and kids lovers welcome to my today tutorials, I will start with the measurement.
measurement
| shoulder | 13 |
|---|---|
| shoulder bust | 8 |
| bust | 22 |
| half length | 9 |
| half length waist | 26 |
| gown length | 25 |
| selves length | 5 |
| round selves | 4 |
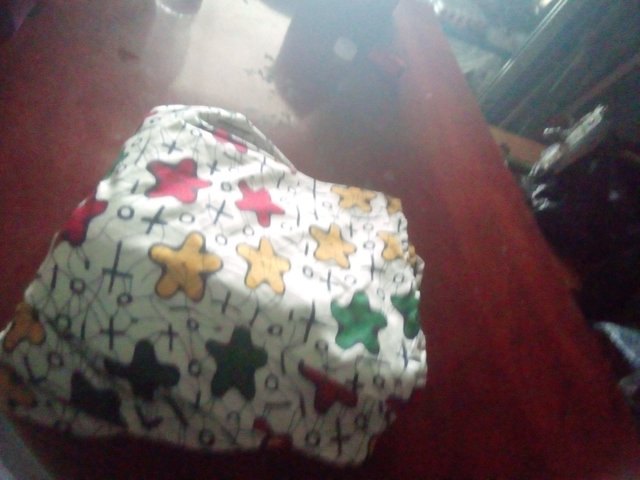
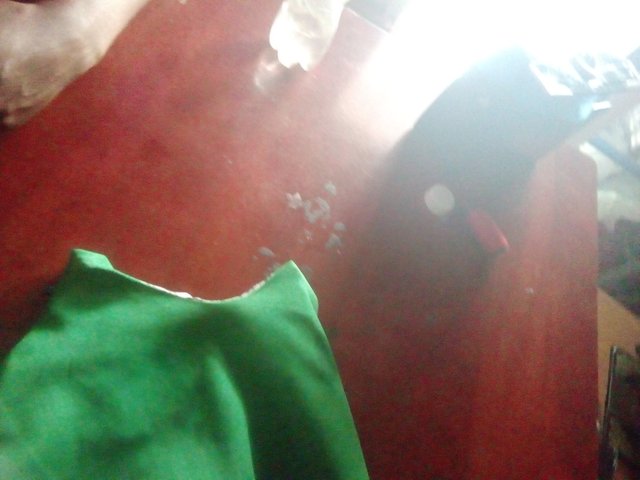
I folded the fabric into 4 I marked her shoulder measurement her shoulder measurement is 13 inches , I divide the 13 inches by 2 then I add sewing allowance which is 2 inches then I marked her bust measurement , her bust measurement is 22 so I marked 22 inches and I divide the 22 inches by 4 which gave me 5 and half then I marked the 5 and half and add 2 inches for sewing allowance then I marked half length waist measurement at were I marked half length, her half length measurement is 26 so I marked 26 inches I divide the 26 inches by 4 which gave me 6 and half then I marked the 6 and half and add 2 inches for allowance then I connect it, the next thing to do I to cut then I cut it out after that I lay the material again and places the front on top then i marked 2 inches for zip from the shoulder to the half length then I cut it out . The next thing to do is to neatened the neck of the dress, I cut the fabric then I use it to turn the neck then I place the front and back together and take her measurement after that I join the shoulder the front and the back then I cut the harmhole then I neatened the selves
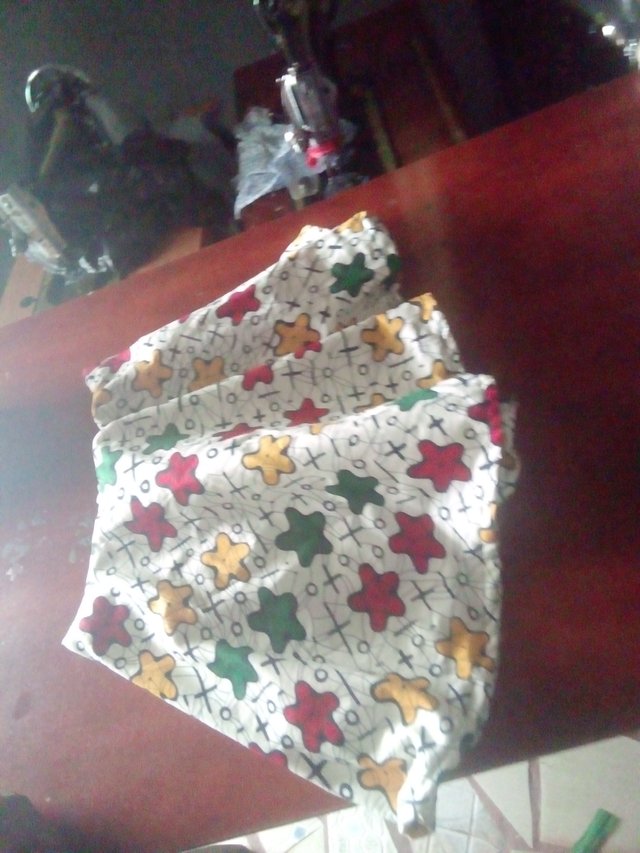
the flare
I folded the fabric by 4 inches , I folded it in a cricle form then I marked 4 inches From the edges to the length of the gown I marked it around then I off 9 inches up which is the half length then I took her gown measurement her gown measurement is 25 so I marked 25 inches and add 2 inches for allowance then I use a chalk to connect the lines then I cut it straight
I join the flare to the half length then I cut a linning and neatened the edges then I join the selves to the dress first of all I cut the selves 5 inches then the round selves 4 inches then I fixed it on the dress then I put the zip at the, the dress is ready
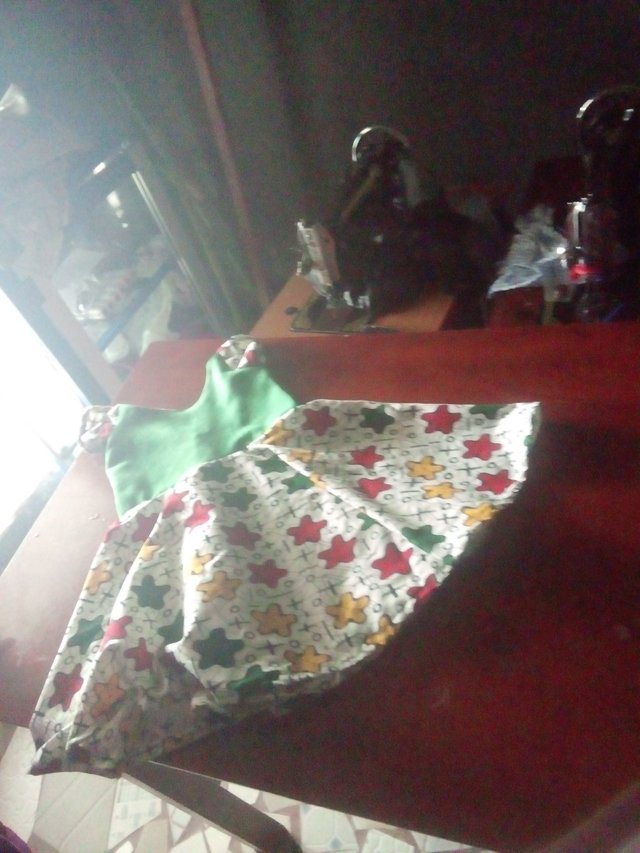
I made it for 2 kids
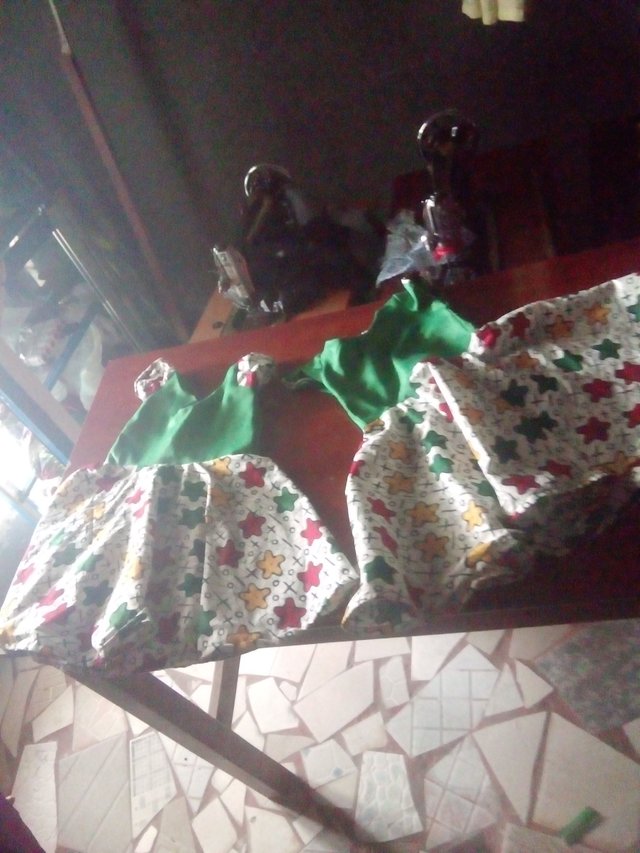
the back view
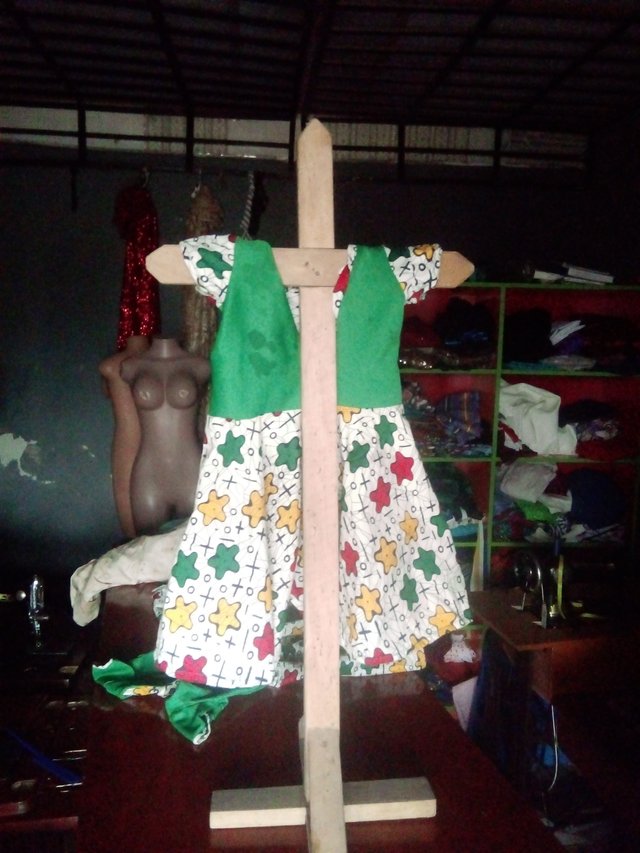
Thanks everyone for going through my tutorials.
Hi thank you for sharing this tutorial with us here we appreciate your support to the community, keep up the good work ❣️❣️
REMARKS;
Downvoting a post can decrease pending rewards and make it less visible. Common reasons:
Submit
Thank you
Downvoting a post can decrease pending rewards and make it less visible. Common reasons:
Submit
Thank you
Downvoting a post can decrease pending rewards and make it less visible. Common reasons:
Submit
Thanks @esthyfashion for teaching the kids how to sew. Please can you start a tutorial on tailoring from the scratch to the finish so that the kids can learn? It will be highly appreciated if you can start the tutorial as soon as possible. Please kindly apply here and start as soon as possible. You will release one tutorial a week. And please, keep it as simple as possible so that the kids can learn. Thanks
Downvoting a post can decrease pending rewards and make it less visible. Common reasons:
Submit
Que belleza, gracias por compartir este tutorial. Dios bendiga sus manos. Saludos con cariño.
Downvoting a post can decrease pending rewards and make it less visible. Common reasons:
Submit
Thanks so much
Downvoting a post can decrease pending rewards and make it less visible. Common reasons:
Submit
Hello @esthyfashion, Your post has been selected as one of the quality posts for the day by steemkids community. Congratulations! Please keep making quality and original contents with us here. We love you so much and will like to read more of your posts.
Please endeavour to resteem, vote and comment on the post of selection. Thank you!
Downvoting a post can decrease pending rewards and make it less visible. Common reasons:
Submit