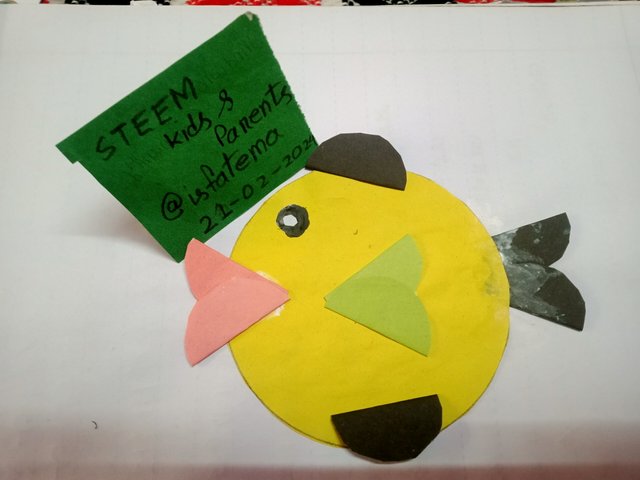

• The ruler.
• Scissors.
• Paper gulu.
• Marker.
• A4 size colour paper.

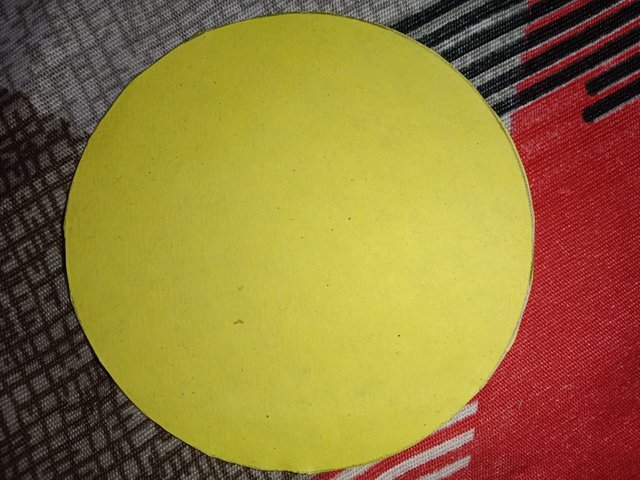
First take a yellow colored a4 size paper. Then draw a large circle with a pencil compass on the yellow paper. Then cut the circle with scissors. Thus our first step is over.
After completing the first step, we have come to the next step. We will take a black colored A4 size paper. Draw a total of four circles with the pencil and cut four circles with scissors. Then step two will be over.
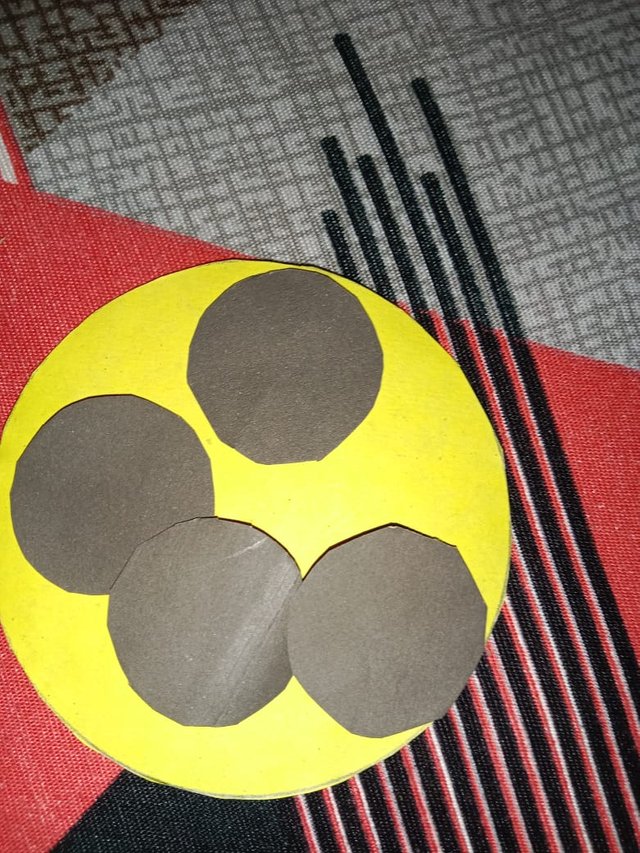
After completing step two, we now come to step 3. Here we will cut four circles out of the paper and fold the four circles in the middle to make them equalThen this step will be over. Then we move on to the next step.
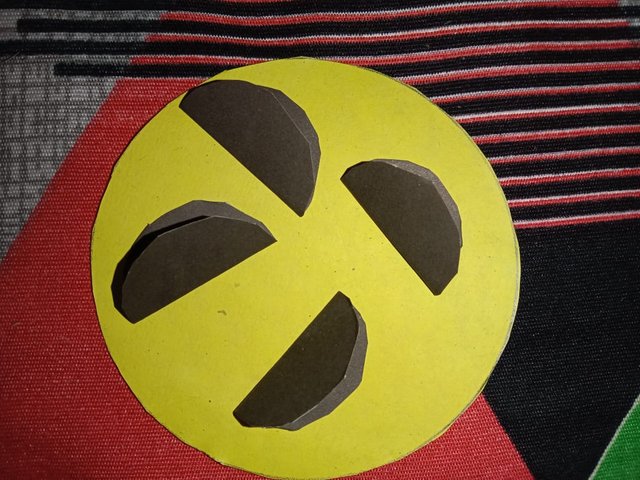
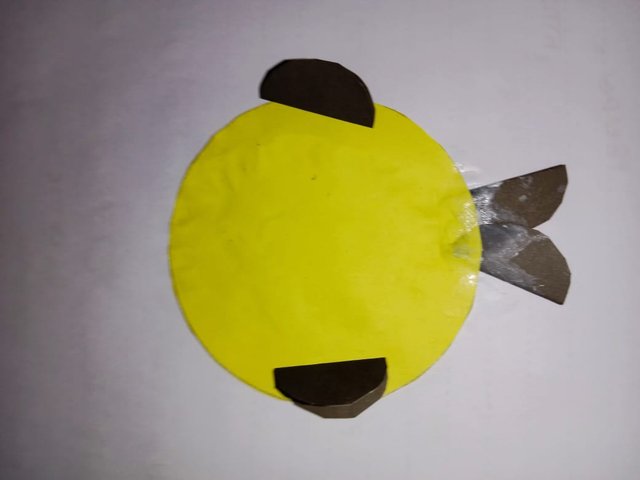
After completing the first step, I came to the next step. This is step number 4. Here we will glue the big yellow one that we cut out in the first step on a white paper. Then on the two sides of the paper, I divided the black small circle in the middle and the big one. And that is the double fin of the fish we made today. The remaining two black circles of black color will be placed under the yellow paper with flour on either side and those two will be the tail behind the fish. Thus we are done with this step and we will get to the next one.
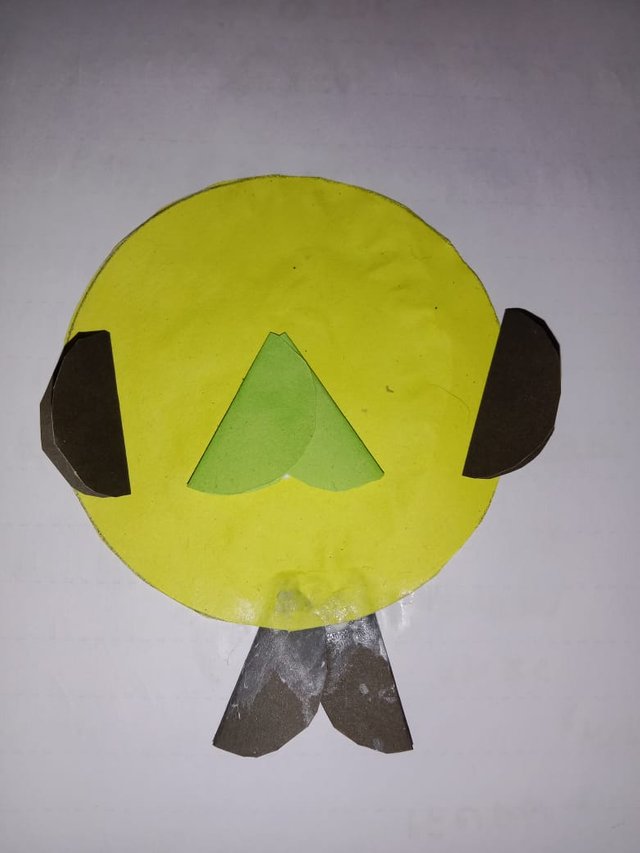
After finishing the heat first, now we move to the next step, fifth. Here we will take a tea color paper. And on that paper I will draw two circles with the help of pencil compass. Then I will keep two old ones and cut them nicely with scissors and when I finish cutting with scissors, I will fold those two circles along the middle just like I made paper circles yesterday. Then we will apply two flours on one side of the vidya and keep the other pass like a B shape, when it dries then we will apply that tia ranganga paper along the middle of the yellow paper. Thus we will end this step.
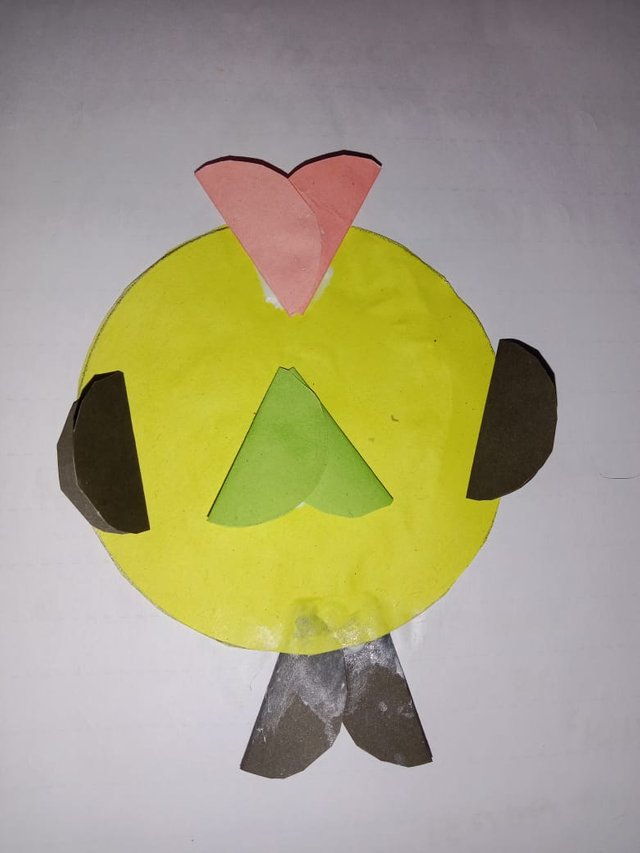
After finishing fifth, we are now sixth. Here we will take it pink color paper.And just like before, I will draw a circle with a pencil compass and cut that circle with scissors, then fold the paper and put it on the back, then on the side where there is a thin face on the paper, I will put it on the thin mughalak paper on the pink paper. Thus, once we are done with this step, we will move on to the next one.
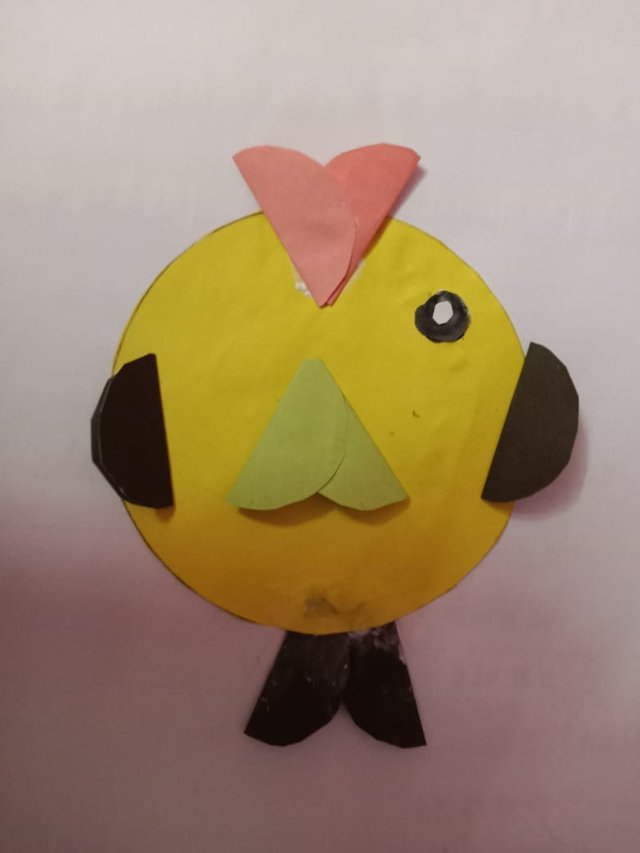
After completing the sixth step, we came to the seventh. Now we come to the next step. By doing one more thing here we will finish the fish process with the paper we made today. I will cut a white paper into a small round shape and put it on the yellow paper with glue and that will be the eye. Then I will look on the white paper with a black marker and put a small bit on the market. Made It will finish the process.

| A | B |
|---|---|
| Photographer | @isfatema |
| Device | Oppo A-12 |

Thank you, friend!


I'm @steem.history, who is steem witness.
Thank you for witnessvoting for me.
please click it!
(Go to https://steemit.com/~witnesses and type fbslo at the bottom of the page)
The weight is reduced because of the lack of Voting Power. If you vote for me as a witness, you can get my little vote.
Downvoting a post can decrease pending rewards and make it less visible. Common reasons:
Submit
https://twitter.com/IsfatE99/status/1760229266598629717?t=0elviGecY2pIPYZnIVJBrQ&s=19
Downvoting a post can decrease pending rewards and make it less visible. Common reasons:
Submit