Assalamualikum, everyone(Peace be upon you). |
|---|
I'm @jubayedhossen91 from @bangladesh.
Hi friends, How are you? I hope everyone is doing well. By the grace of Allah Ta'ala, I am also doing well. I'm delighted to share my activities. In fact, I always endeavor to show my paintings for you to see. Without a doubt, we can claim that the honorable @mesola has created a lovely contest in this community. She has my sincere gratitude for this endeavor. Everybody has untapped abilities. Our Steemit platform provides an appropriate space for us to show our talents.
I had done the painting a long time ago. But it was not being posted due to academic pressure. It was a very busy time. I was very stressed with class, class test, presentation these few days.
Today I started writing the post after taking some time.
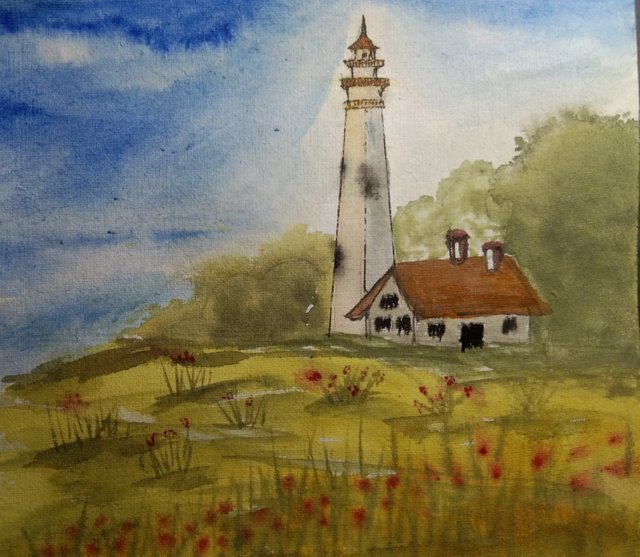

Ingredients |
|---|
- Art paper
- Colors
- Paint brush
- Wood Pencil
- Scale and
- Water

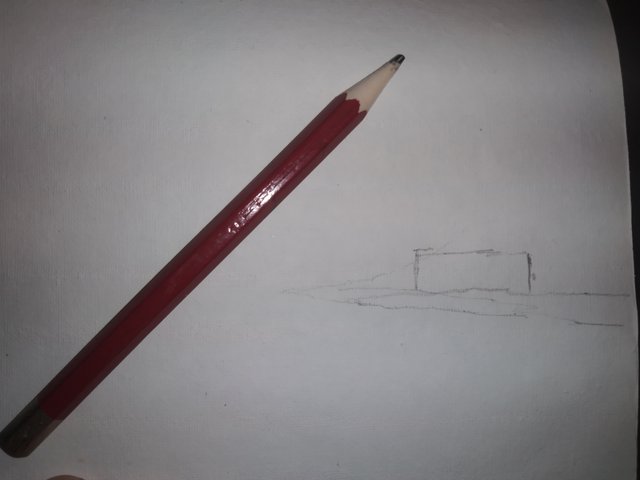
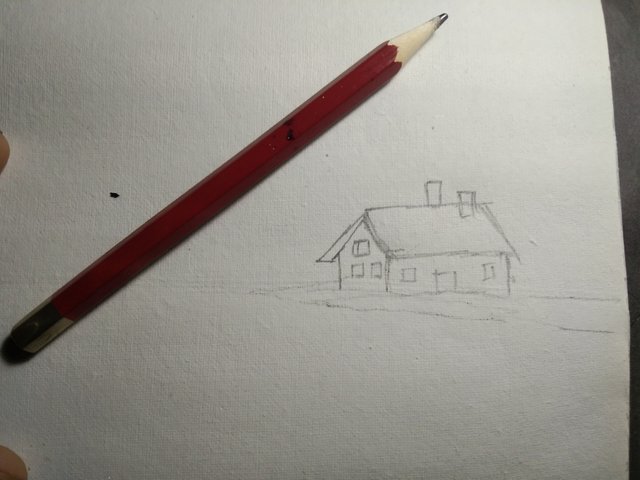
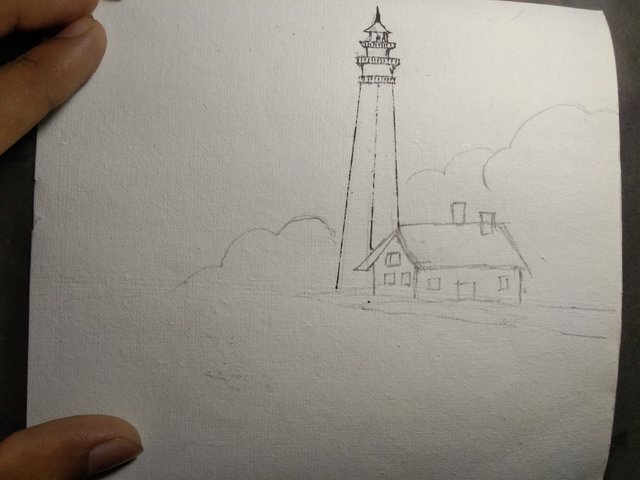
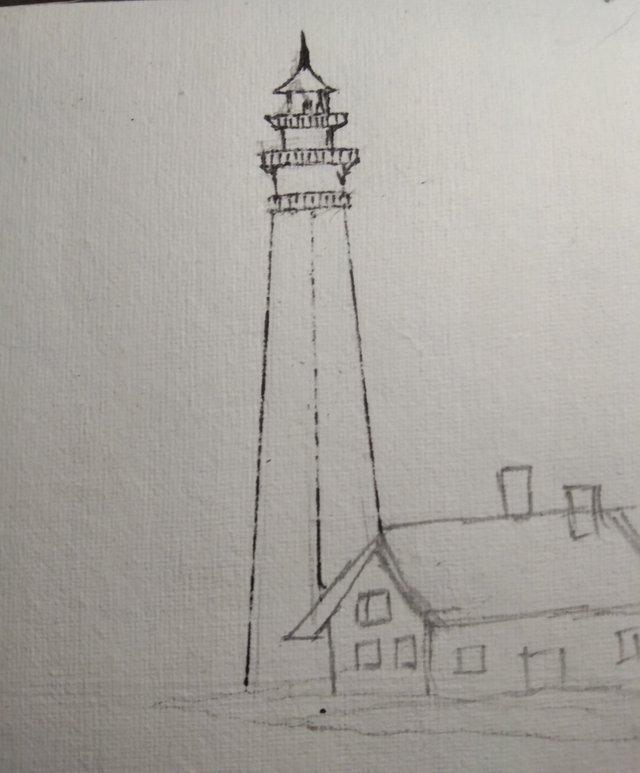
Step 1: Drawing A House and a Watchtower with Pencil. |
|---|
My creative process began with a careful selection of the perfect canvas. I select painting paper as canvas. I meticulously cut the desired portion. Armed with a pencil, I embarked on sketching the foundational elements of my artwork. I decide to draw a charming house and a majestic watchtower.
A crucial aspect of any drawing, I realized that it is the precision of the initial lines. A well linework ensures a solid foundation for a harmonious and aesthetically pleasing composition.
With meticulous attention to detail, I began to make aesthetic to the house, capturing its unique character with each stroke. Following the completion of the house, my focus shifted to the imposing watchtower. To achieve the desired architectural grandeur and ensure the lines remained true and unwavering. This tool proved invaluable in maintaining the structural integrity of the tower.
I hope this expanded version provides a richer and more engaging description of my artistic process.

Step 2: Painting the Sky |
|---|
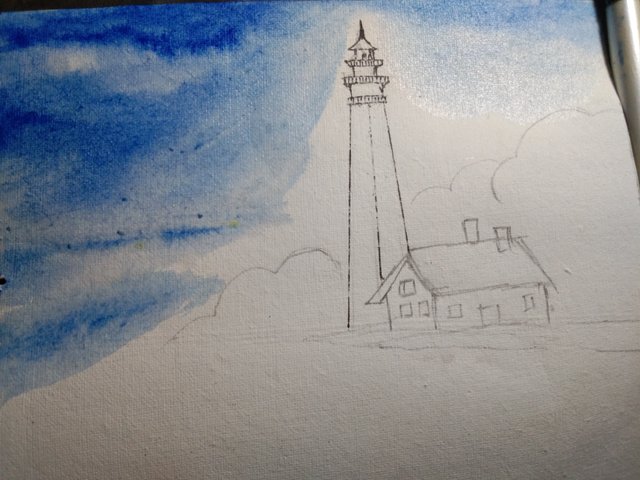
I begin the painting process by using the watercolor paper with clean water by painting brush. This step helps to soother the watercolor transitions.
After that, I turned my attention to paint the sky. I desired a soft and ethereal effect of sky. So I mixed a light and airy blue hue. To achieve this I carefully mixed a small amount of white color with a generous portion of water and then gradually added a touch of blue color. I continued to added water until I obtained a translucent, almost watery blue color.
With a large, soft brush. I gently applied the diluted blue wash to the upper portion of the paper, leaving some areas slightly lighter to suggest clouds and variations in the sky's color. I worked quickly and confidently, allowing the colors to blend naturally on the dampened paper.
This initial shade of sky color set the stage for the rest of the painting, providing a serene and calming foundation for the scene to unfold.
This expanded version provides a more vivid description of the painting process. It includes sensory details like "gently misting" and "soft brush" to enhance the reader's experience. It also explains the reasoning behind the chosen technique.

Step 3: Creating Colors and Painting the Leaves |
|---|
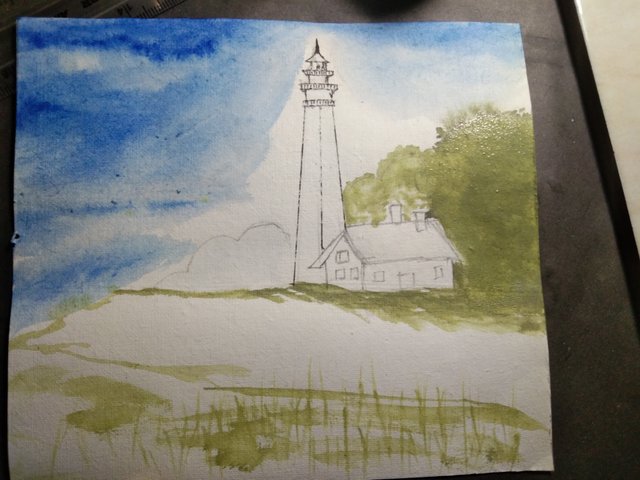
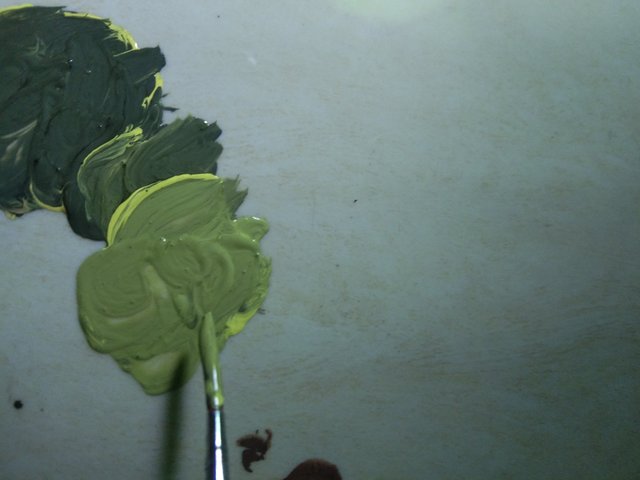
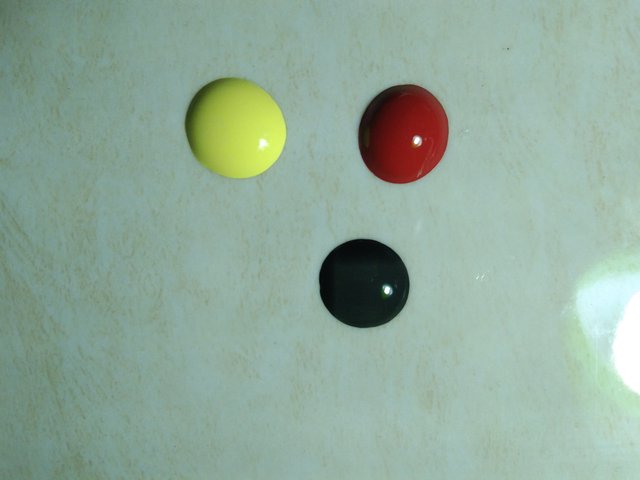
In this stage, first of all I gathered my primary colors, vibrant red, deep black, and sunny yellow. These three basic colors used to make olive color. I gave focus on creating the perfect olive green for the tree leaves. I carefully mixed small quantity of the basic colors together, experimenting with different ratios until I achieved the desired earthy green tone. I focused for an olive green that was neither too bright nor too dull, a color that would evoke the lushness and vibrancy of the forest.
The scene I envisioned was a tranquil wooded landscape today. I painting with numerous trees, creating a dense and enchanting forest. My aim was to capture the feeling of being immersed in nature, where every view from a towering vantage point would be a breathtaking spectacle of greenery. I introduced a charming little house nestled amongst the trees to add depth and dimension to the forest. This element can add a touch of human presence to the wild and untamed landscape, hinting at a peaceful coexistence between man and nature.
With my olive green meticulously prepared, I begin to paint the leaves of the trees. I have used a variety of leaves. To further enhance the realism and depth of the foliage, I mixed in variations of green, yellow, and even hints of brown to create a more natural and nuanced effect.
Finally, I added a delicate wash of shadow to the entire composition. This subtle shading technique which helps to define the forms of the trees and create a sense of depth and atmosphere within the forest. The shadows also helps to emphasize the interplay of light and shadow, adding a touch of drama and intrigue to the overall scene.
This expanded version provides a more detailed and engaging description of the painting process in Step 3. It includes to make details like "vibrant red," "deep black," and "sunny yellow" to enhance the your experience. My post also explains the reasoning behind the chosen techniques, such as mixer of colors to achieve specific effects and adding shadows to create depth.
I hope this expanded version is helpful to all of you.

Step 4 : Final Step |
|---|
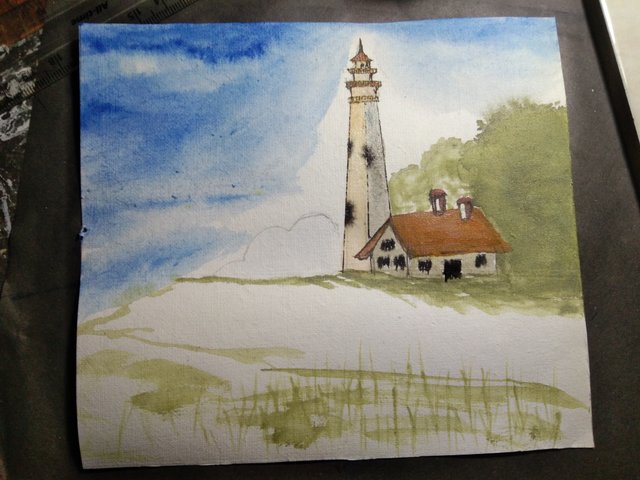
In this stage, I shift my attention to the empty space within the painting. I envisioned a vibrant field contrasting with the dense forest I have already created. I carefully applied a wash of a light, earthy green color to the canvas. This layer served as the base for the grassy field. Then I embarked on the meticulous task of individually painting each blade of grass. Using a paint brush I varied the length and direction of each stroke. This technique focused to create a realistic and dynamic effect, mimicking the natural movement of grass. I strived to capture the subtle nuances of each blade as though were swaying gently in a breeze. When the base of the field was complete I began to add a touch of life and color. I carefully painted individual wildflowers throughout the field. I firstly used a vibrant red color for the flowers, but also incorporated other colors to create a more natural look. I meticulously mixed and blended colors to achieve a realistic dimension in each flower. I aimed to capture the subtle variations in hue and intensity that are found in aesthetic wildflowers. I gave close attention to the delicate shapes and forms of each flower. My goal was to create flowers that appeared lifelike and vibrant. I aimed to capture the individuality of each flower, ensuring that they all contributed to the overall beauty and realism of the field. I hoped to bring the field to life and create a sense of harmony within the larger painting by meticulously painting each element. This stage required patience and attention to detail, but the result was a field that added a touch of vibrancy and realism to the scene. I was pleased with the way the field complemented the forest and enhanced the overall visual appeal of the painting.
I hope this expanded version provides a more detailed about this beautiful scene.

Hope you all enjoyed my post. It's time to leave. Keep me in your prays. See you soon in another blog, In sha Allah.
Now I would like to invite three of my friends @tonmoy2002 ,@zisha-hafiz and @shahriar33 to participate in this beautiful contest.


Thank you for publishing an article in the Steem Kids & Parent community today. We have assessed your entry and we present the result of our assessment below.
MODs Comment/Recommendation:
I say congratulations to making this great work of art. You did great job with little more effort you can make masterpiece of your drawing and painting.
Remember to always share your post on Twitter. This POST LINK is a guide to that effect.
Downvoting a post can decrease pending rewards and make it less visible. Common reasons:
Submit
Lovely drawing my friend, your creativity is truly outstanding and stunning
Downvoting a post can decrease pending rewards and make it less visible. Common reasons:
Submit
Thank you so much.
Downvoting a post can decrease pending rewards and make it less visible. Common reasons:
Submit