
Design by me, edited on canva.
A sincere greetings to y'all, i believe you're all doing well in your different homies and wherever you're reading today. I'm excited to welcome y'all to this beautiful week #4 of our lecture room. Right here, you're about to benefit as you're reading the Graphic Design Hands - On practical 1"
Our teacher had taught us several principals of graphic design and this week, it's all about the above topic and I believe you'll all enjoy reading my participation entry. Adhering to lesson hint or going as instructed, i replicate the below design.
Replicating the graphic design as taught in the lesson class. |
|---|
| Step-1. |
|---|
I locate the canva application icon in my and launch it, there's a Plus icon located at the down center of the app which i click to select my dimension as menu 17 x 11 landscape to create my work space.
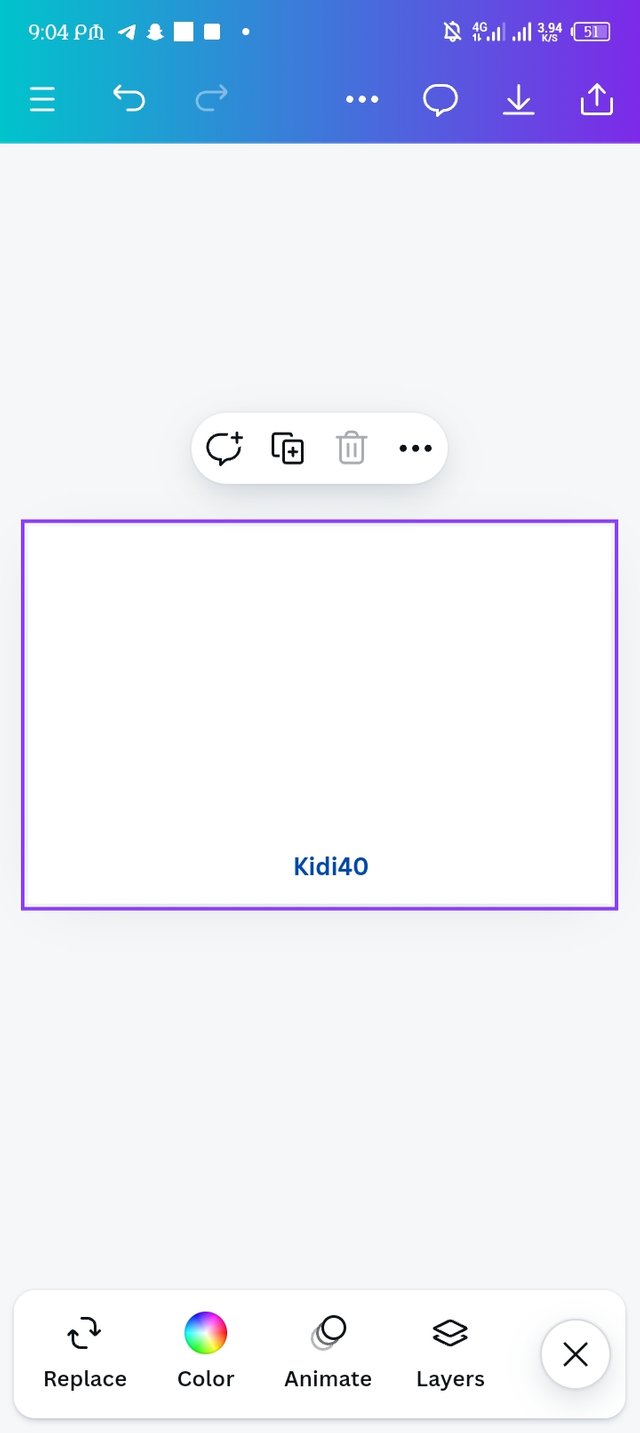 |  |  |
|---|---|---|
| Picture-1 | Picture-2 | Picture-3 |
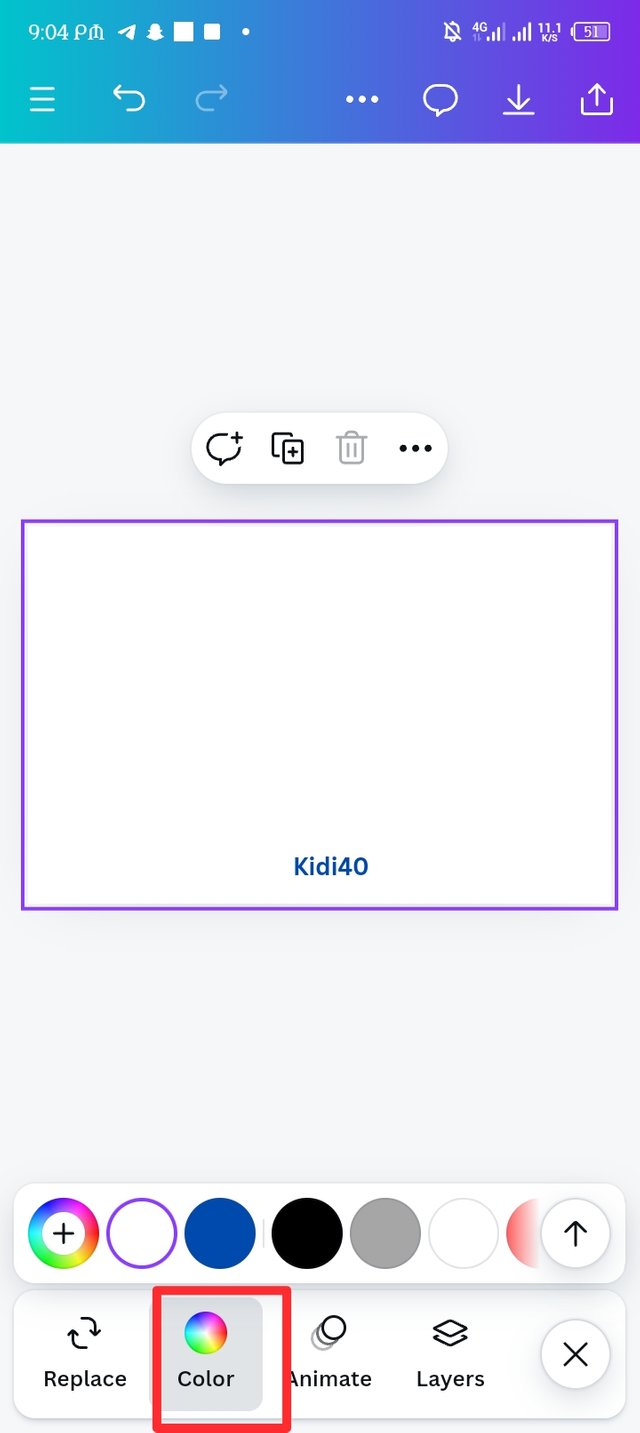
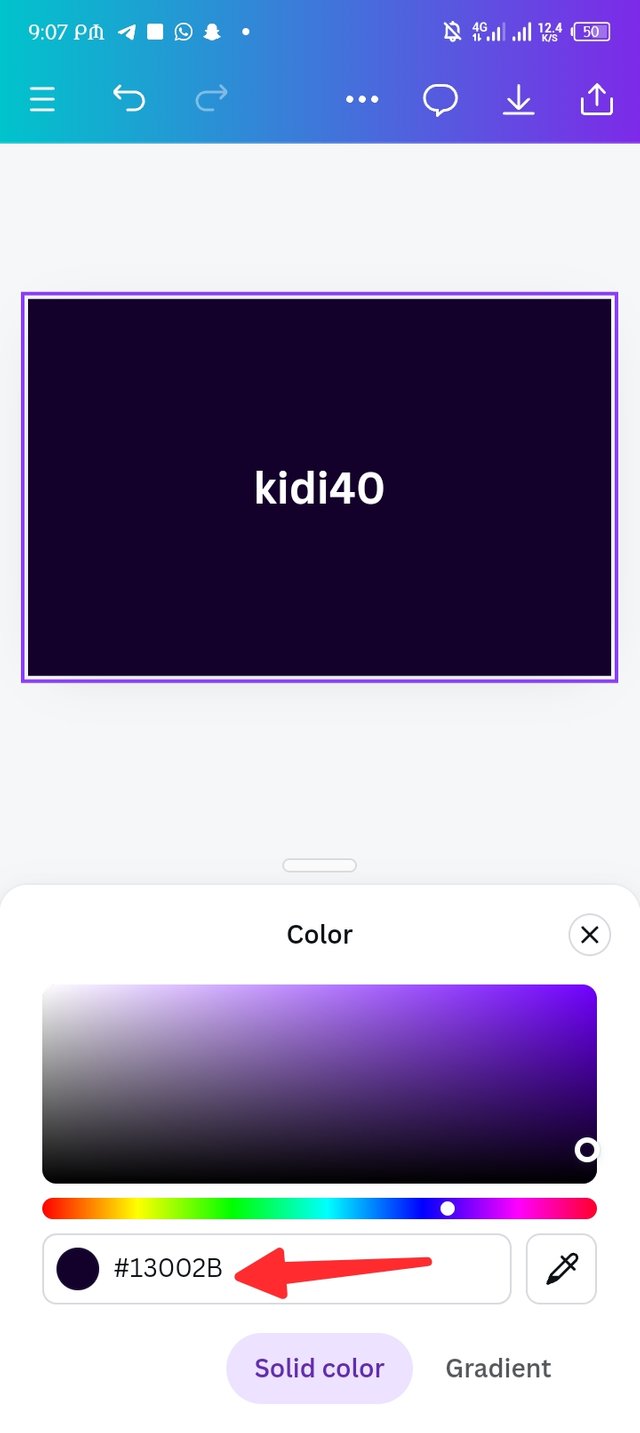
I'm not comfortable with the white thumbnail display in workspace so i decided to the change the colour hex from it's original state to colour hex #13002B, the result it display is so astonishing and i like it.
| Step -2 |
|---|
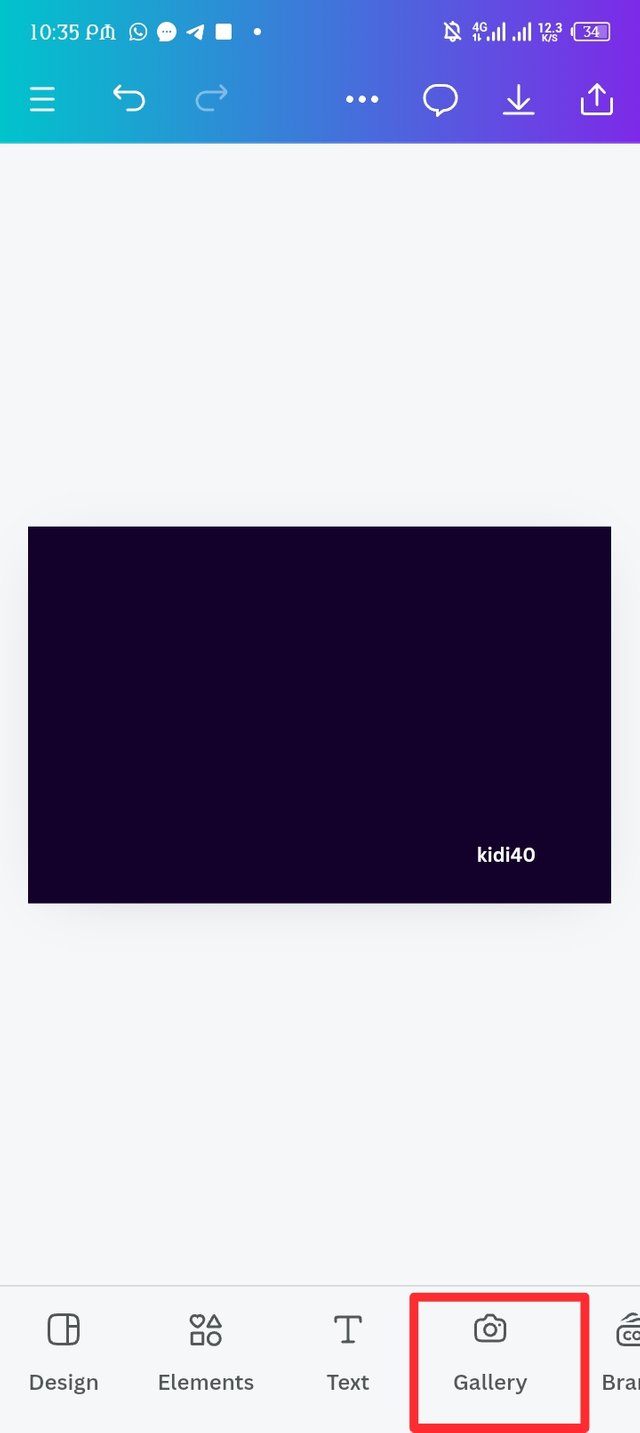
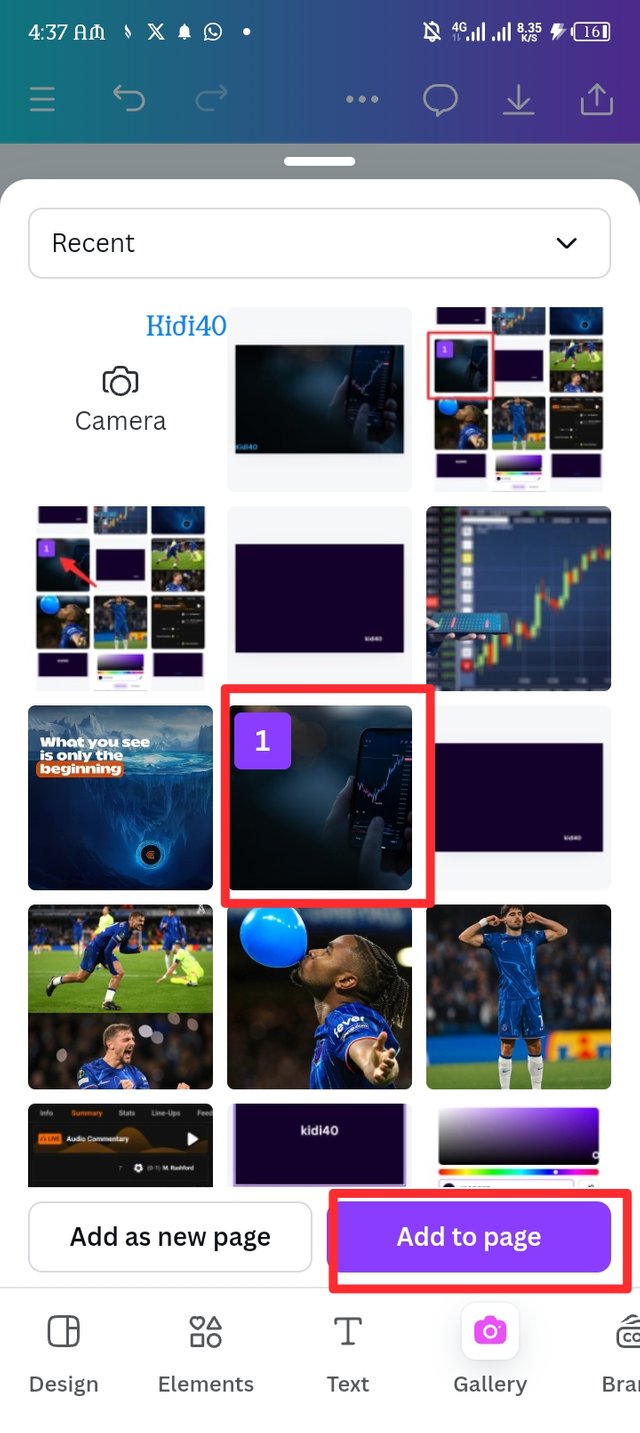
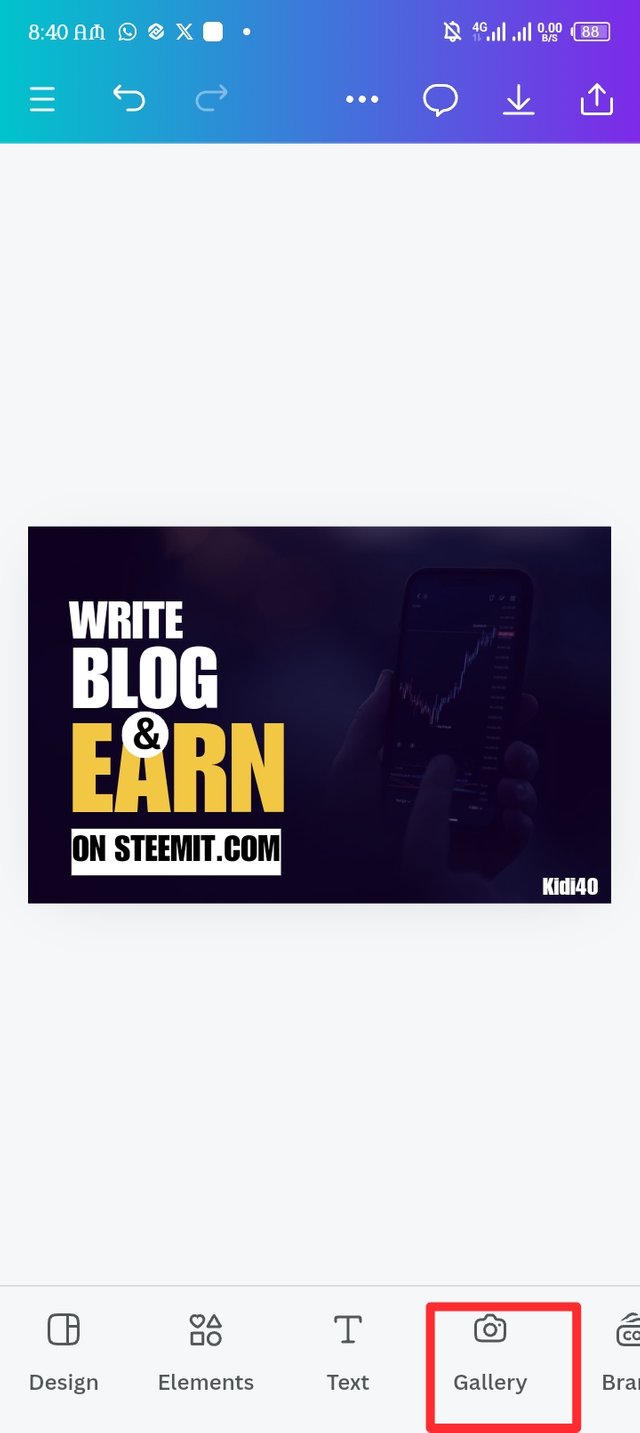
My workspace was ready as the colour hex was successfully added. The next in line was uploading a thumbnail on the background so i click on Gallery to select a picture of my choice.
 |  |  |
|---|---|---|
| Picture-1 | Picture-2 | Picture-3 |
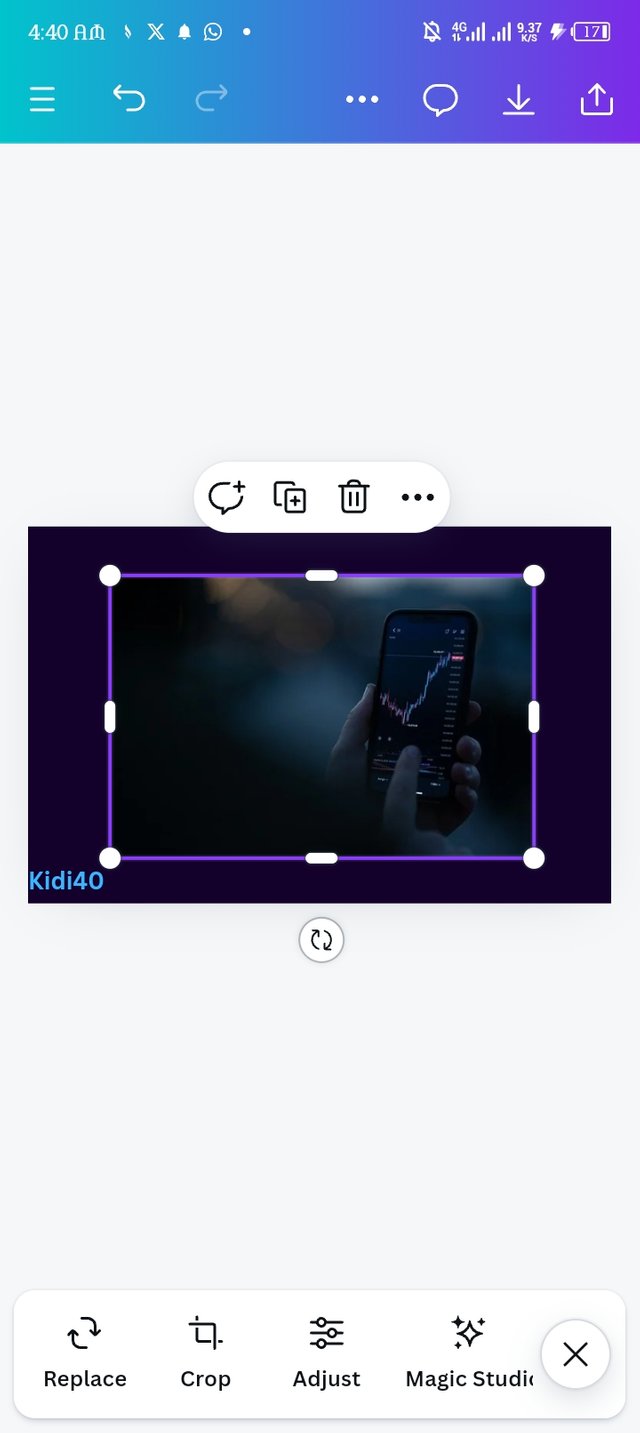
After selecting the picture, there's a purple button colour that is remark add to homepage i click on it and the picture displayed in my workspace within a second.
| Step-3 |
|---|
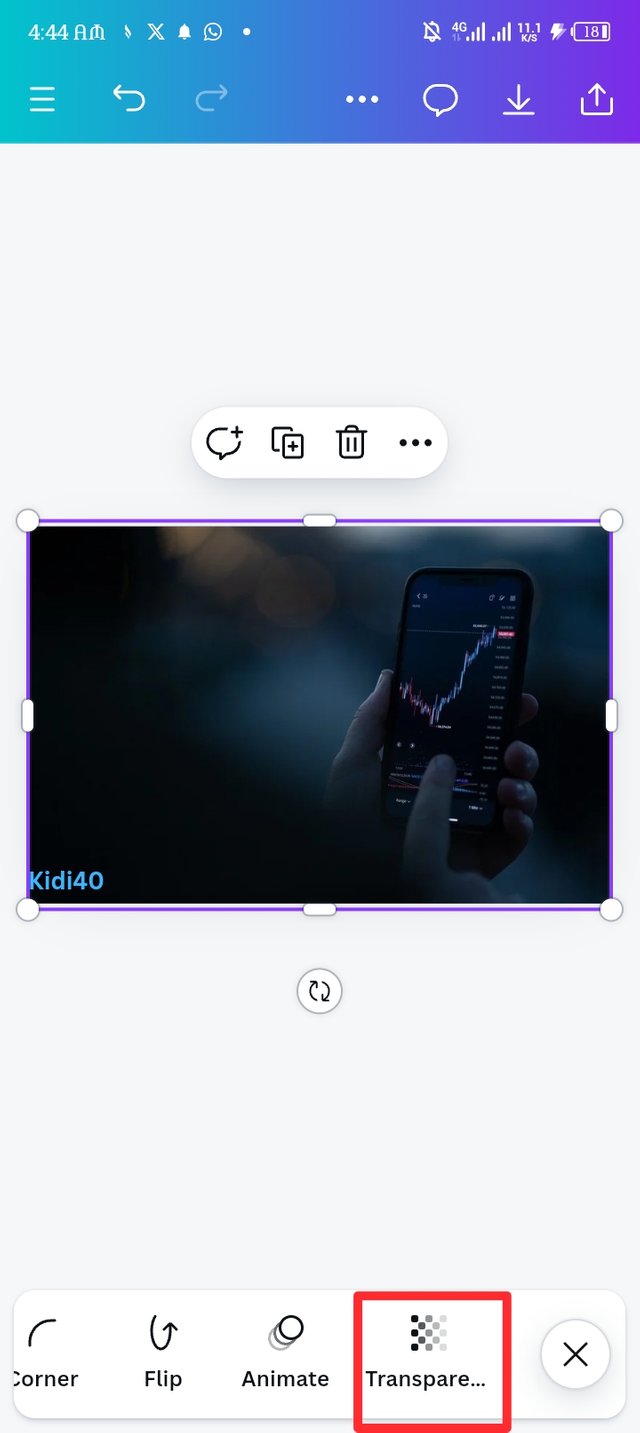
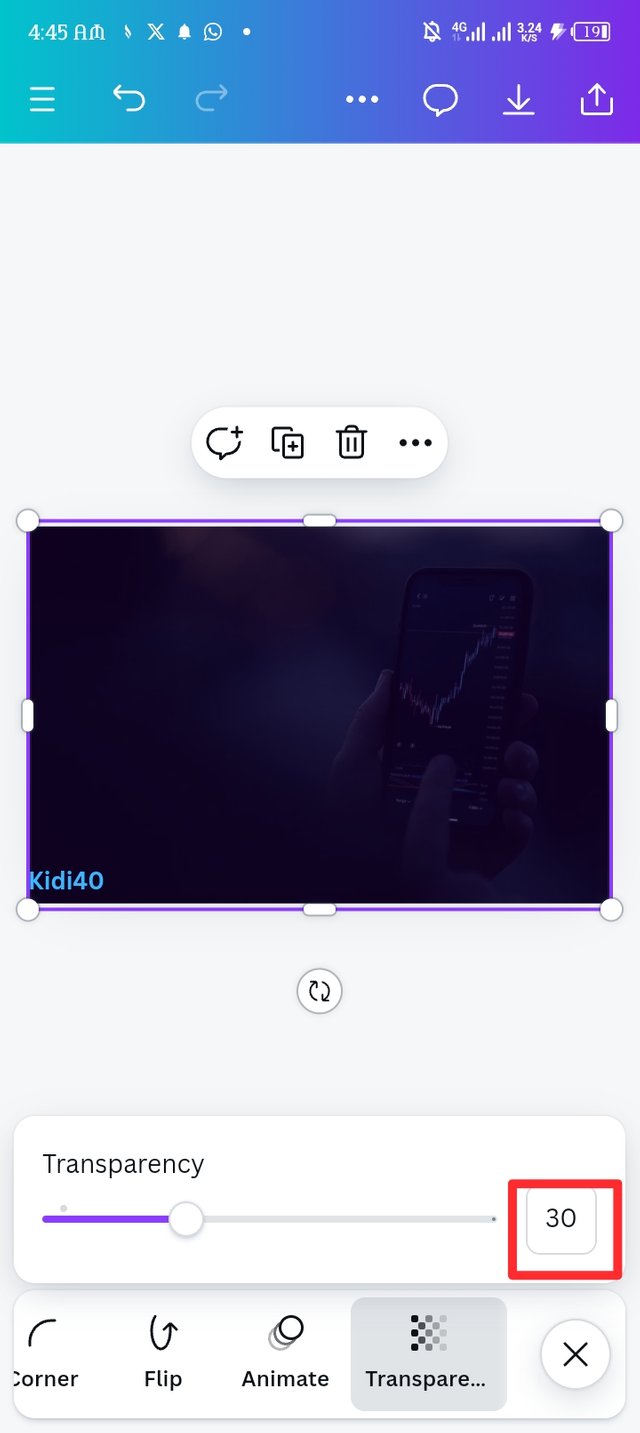
The image has displayed in the background, but i have to darken the background a little bit so i make use of the transparent button.
 |  |  |
|---|---|---|
| Picture-1 | Picture-2 | Picture-3 |
I reduced the background light to make it dim by drawing the slider to 30 percent, the background is now looking cool to used.
| Step-4 |
|---|
Here i create my background successfully, next i click on the text icon to navigate my text in the background and makes it visible.
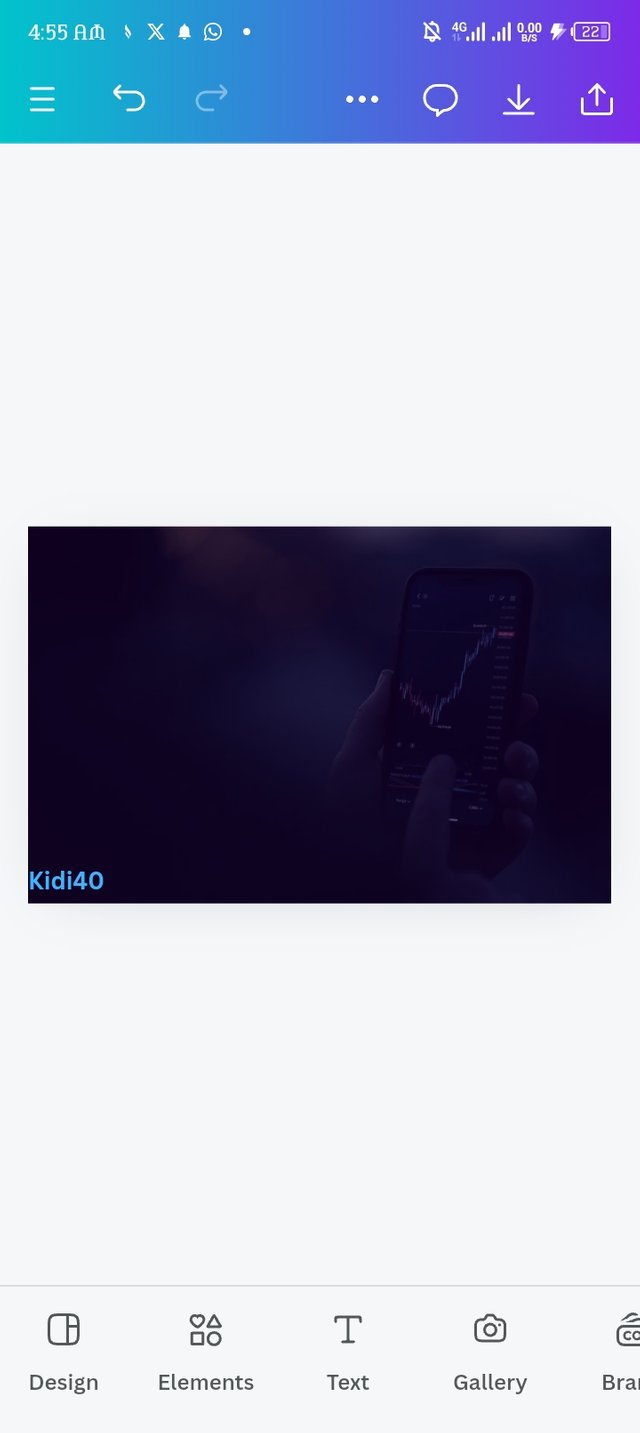 | 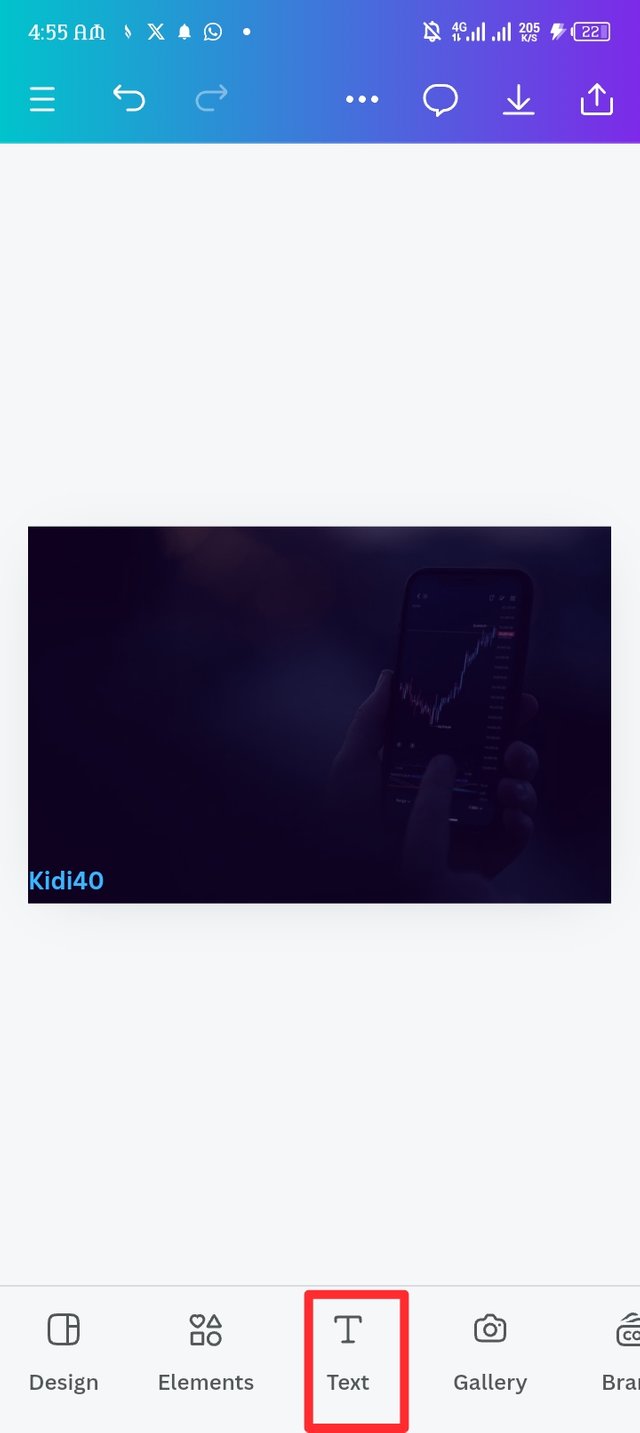 |  |
|---|---|---|
| Picture-1 | Picture-2 | Picture-3 |
| Step -5. |
|---|
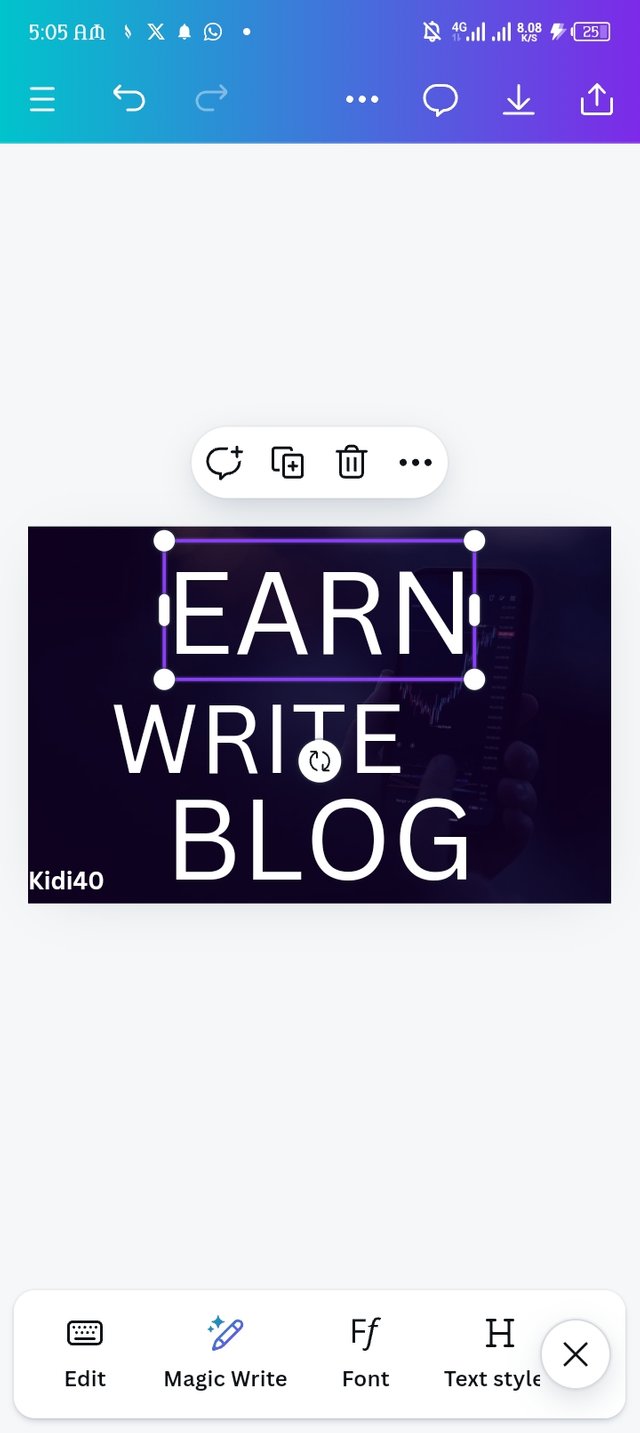
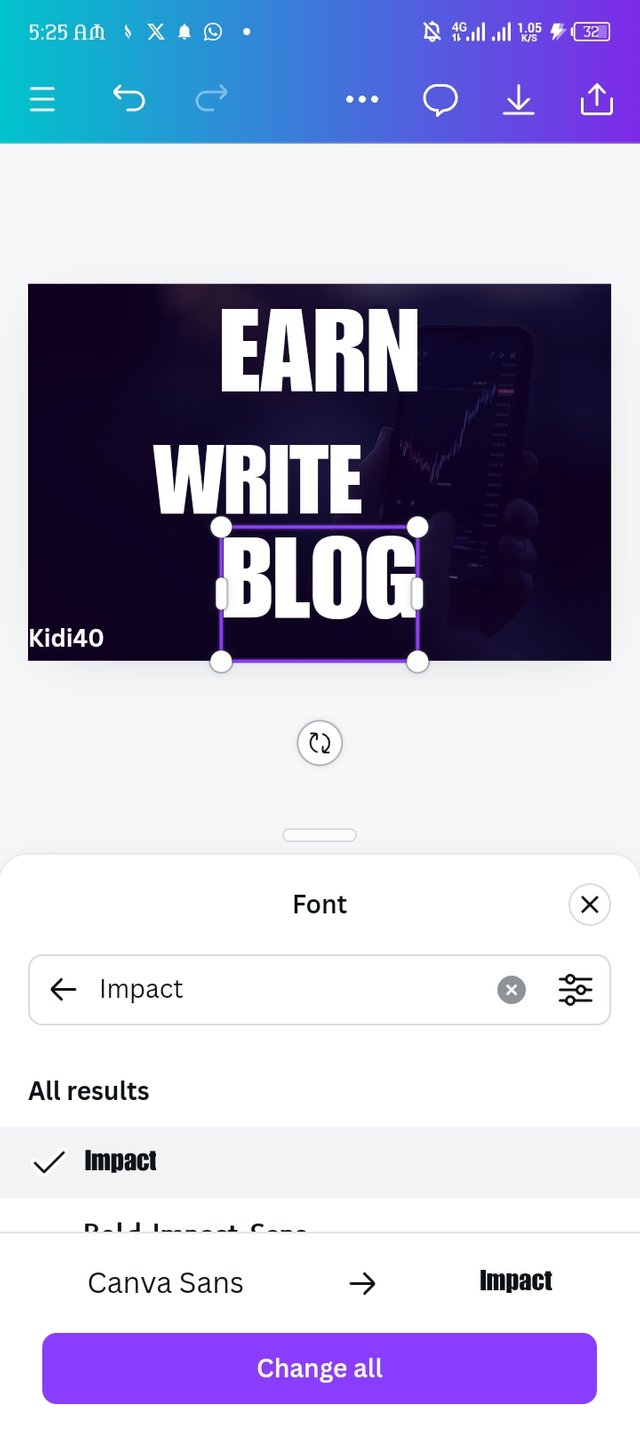
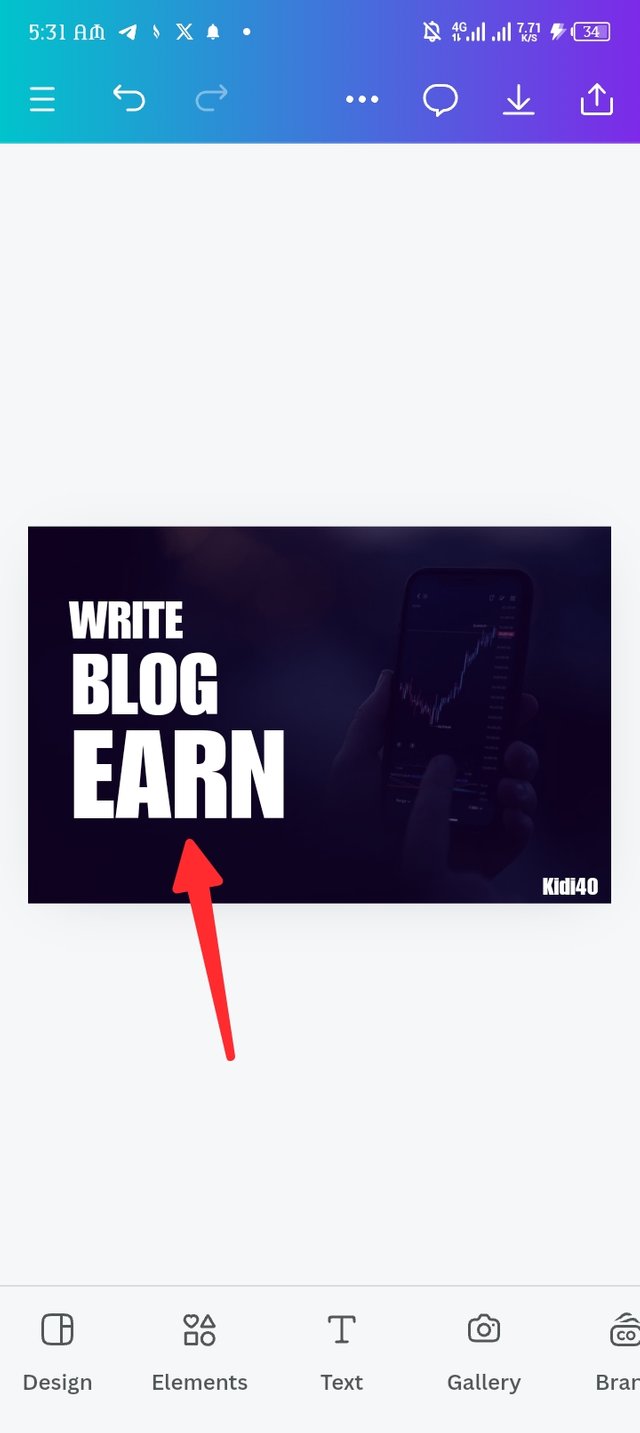
After navigating my text, i decide to change the original type face to Impact, changing it to impact add a high visibility to the design. I then work on arranging the words using the principle of hierarchy as seen in picture number 3.
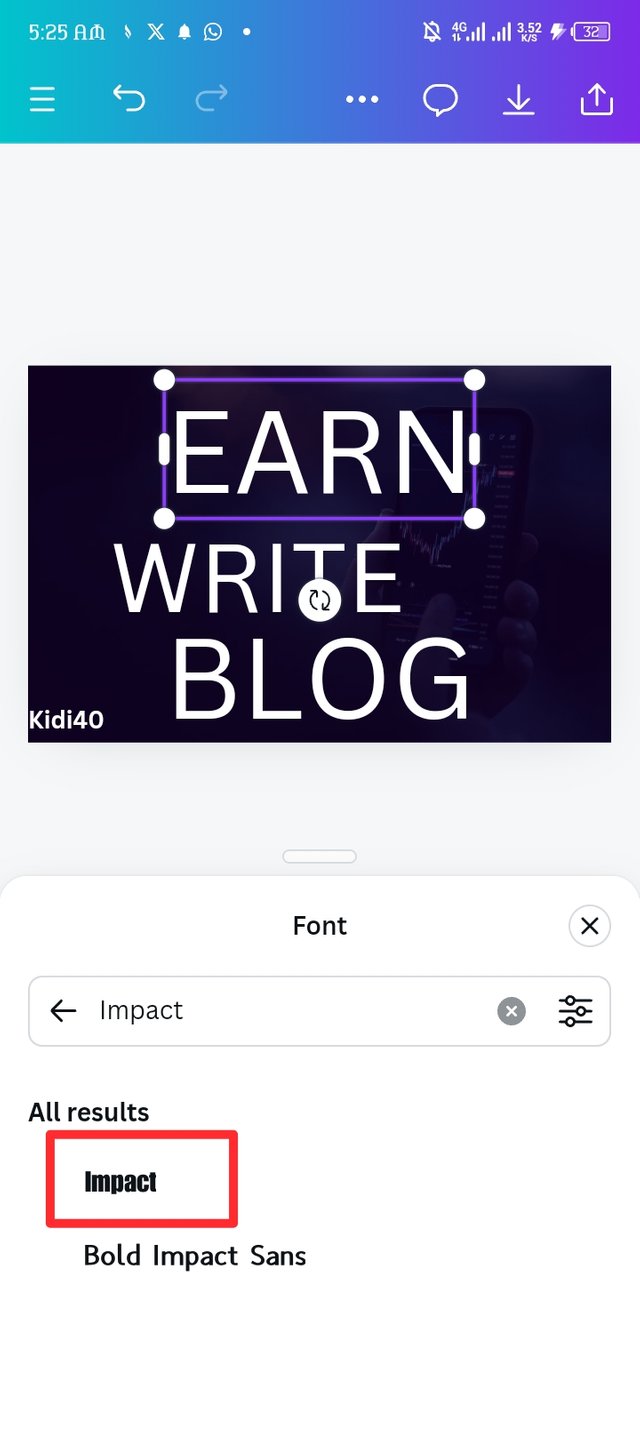 |  |  |
|---|---|---|
| Picture-1 | Picture-2 | Picture-3 |
| Step-6 |
|---|
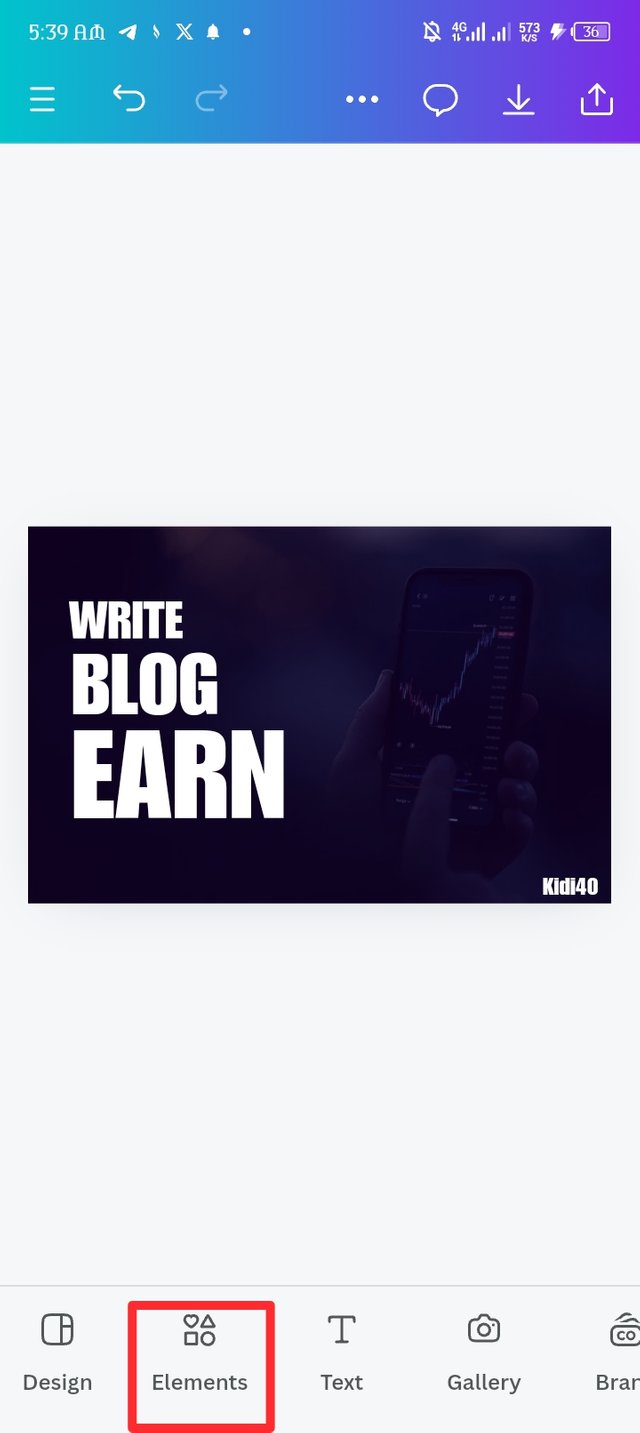
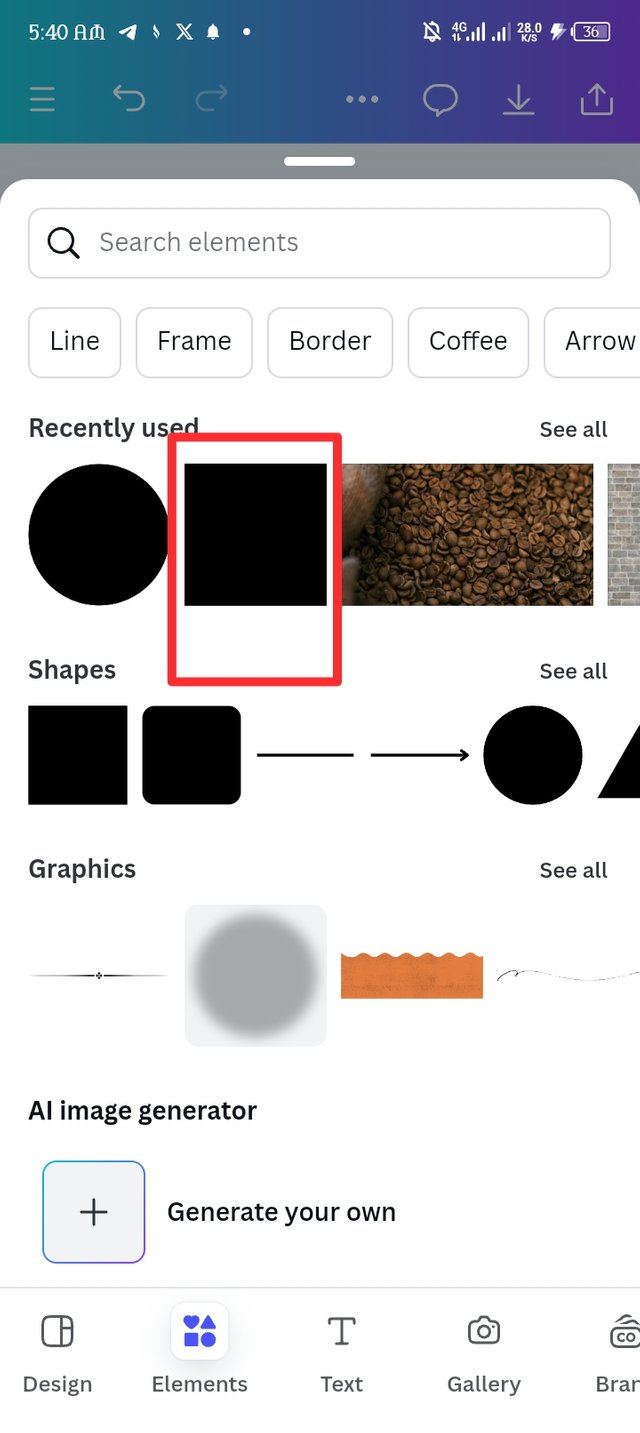
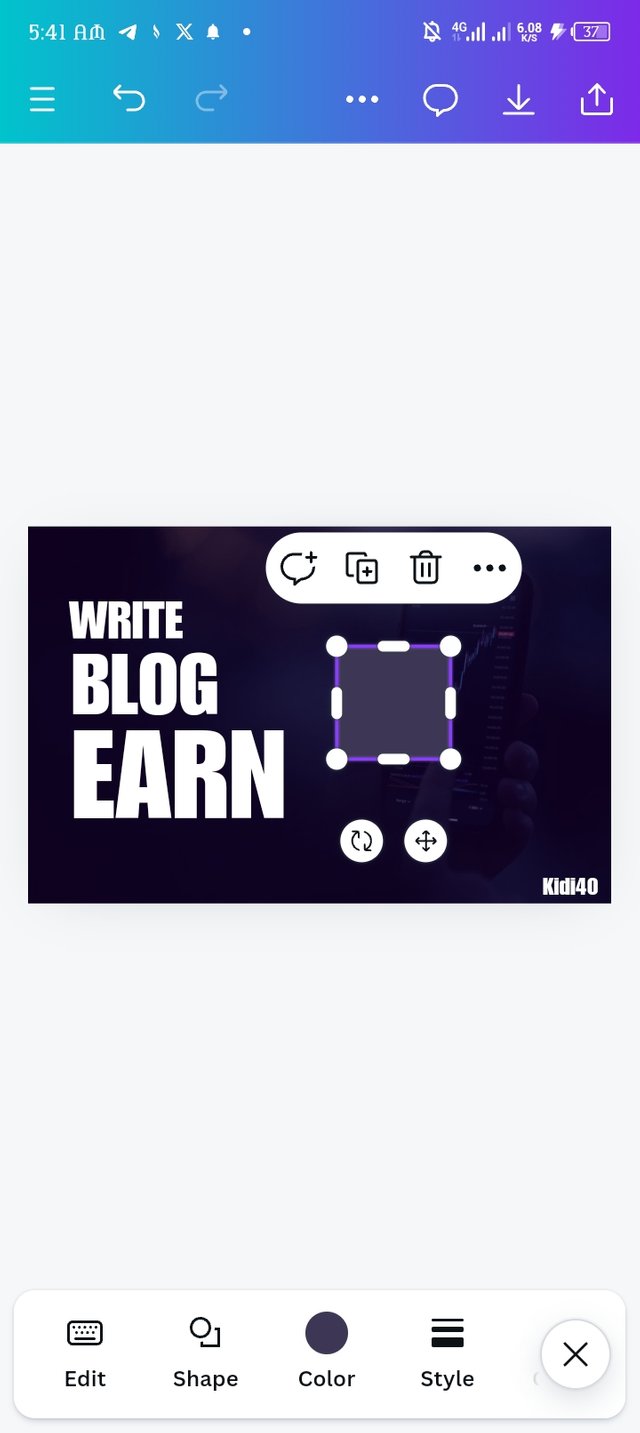
Now I drag in the square shape to the design my locating the element icon in the background, it has successfully appear in the design as seen in picture-3.
 |  |  |
|---|---|---|
| Picture-1 | Picture-2 | Picture-3 |
| Step-7. |
|---|
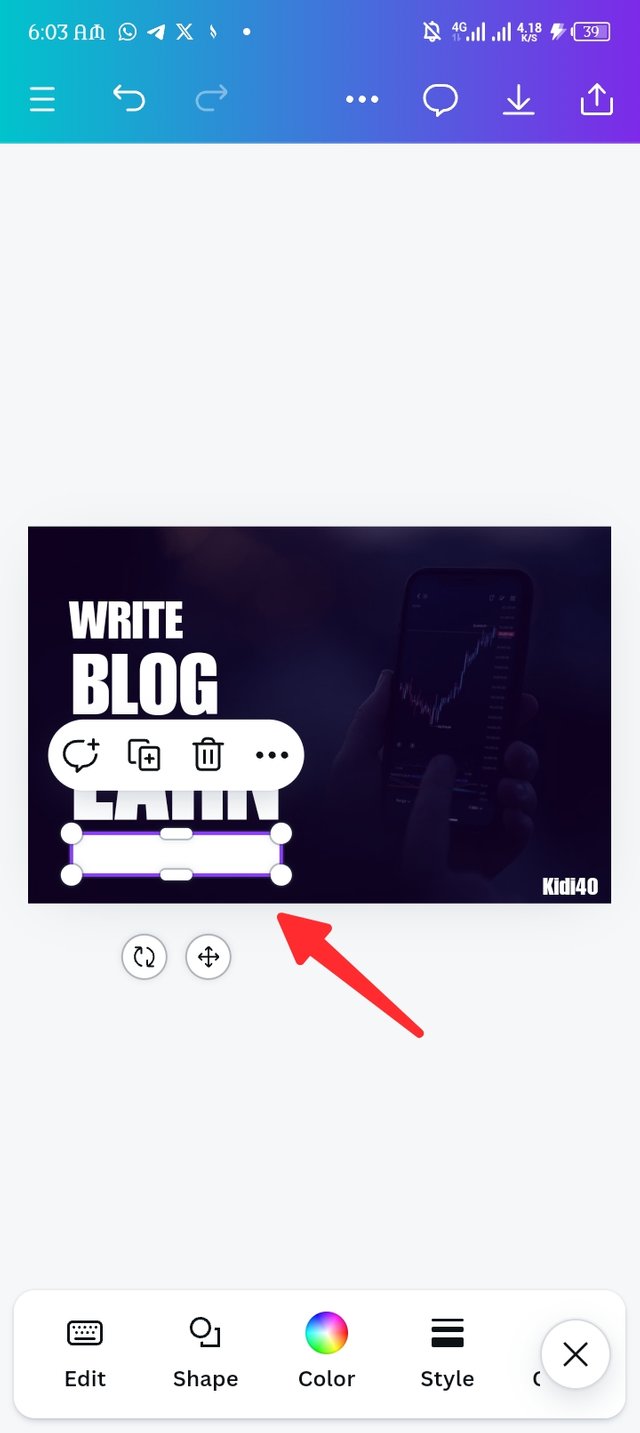
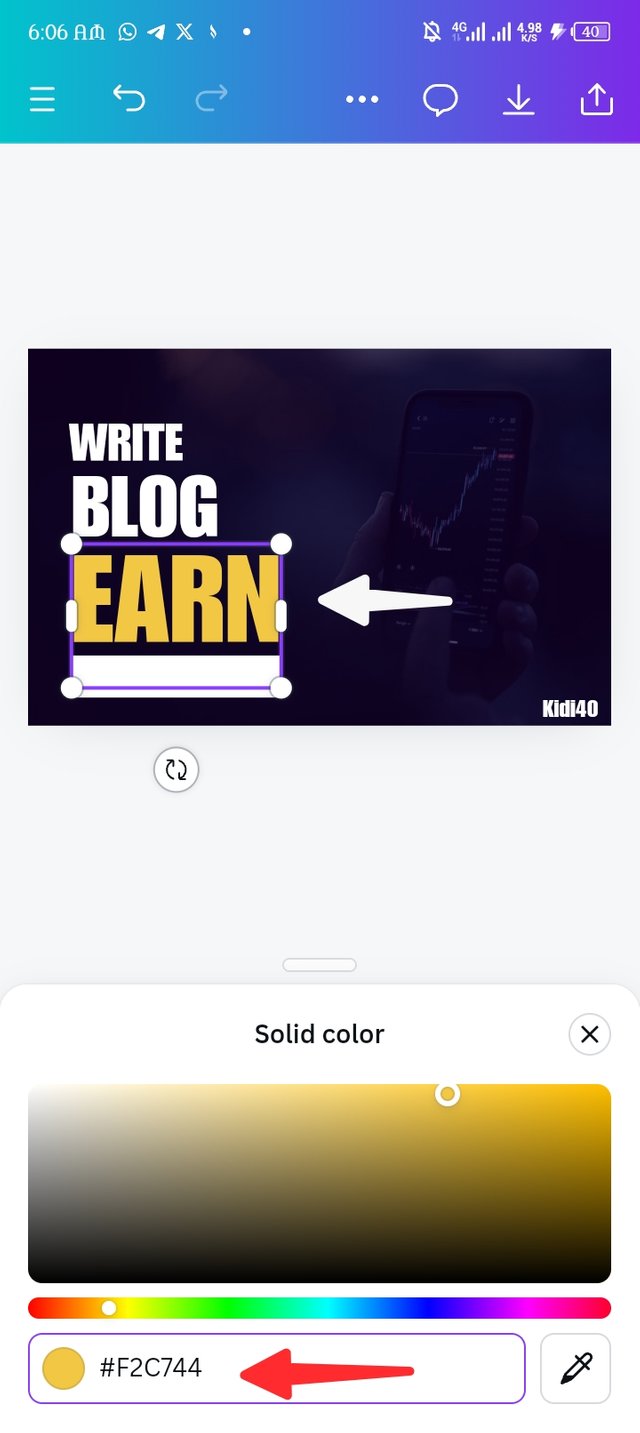
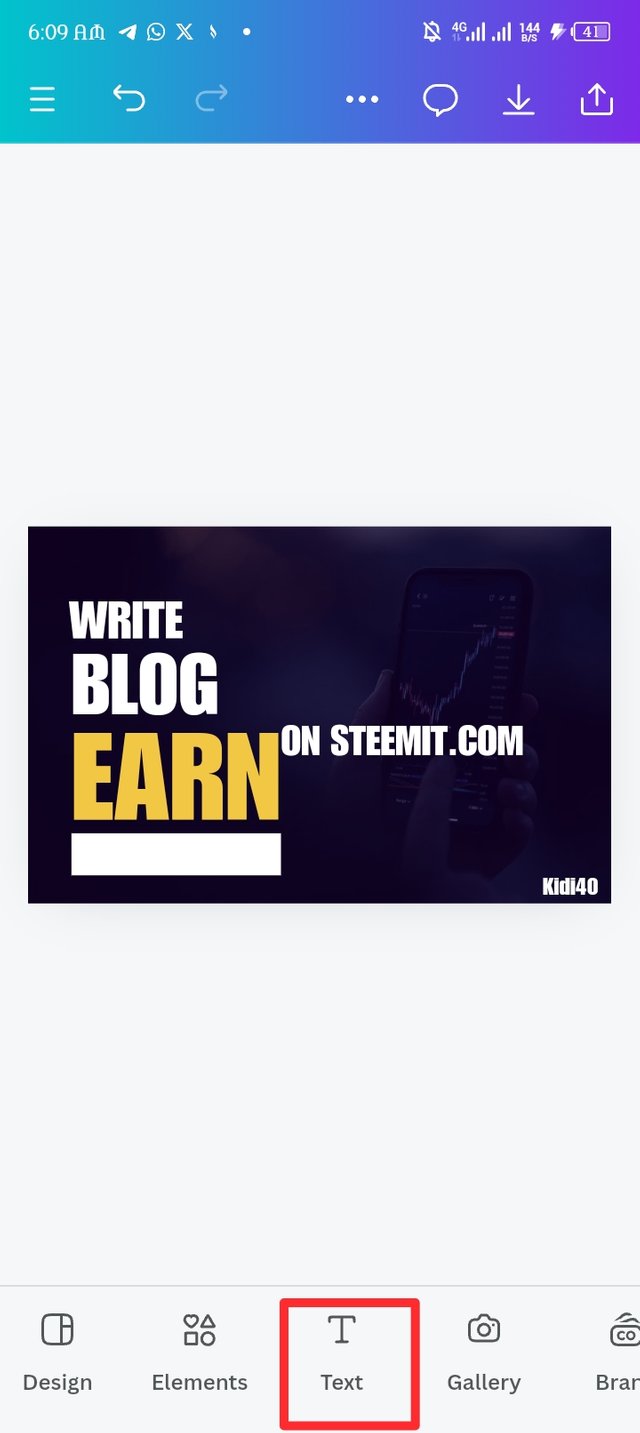
The element has been resize and placed below my text, i employ the principle of emphasis by changing the EARN original hex code to F2C744. Then i introduced a new words to the design.
 |  |  |
|---|---|---|
| Picture-1 | Picture-2 | Picture-3 |
| Step-8. |
|---|
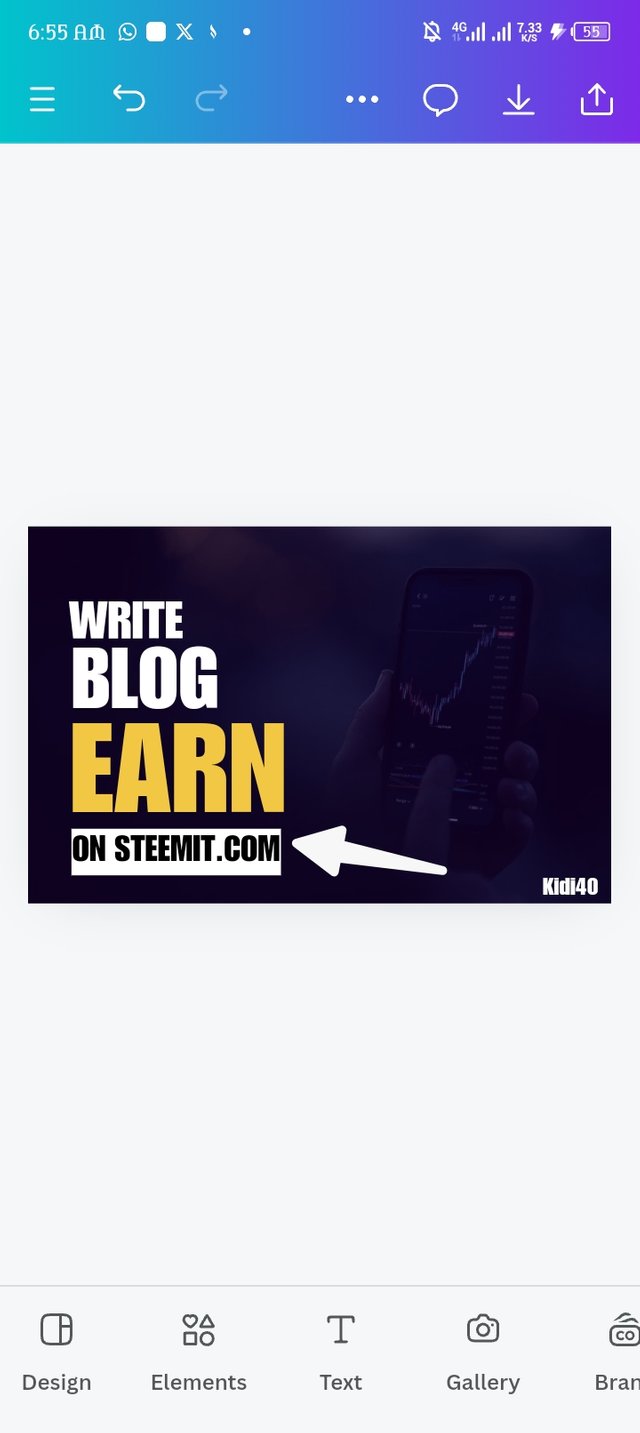
I then resize the text to fit the element under the first text. I introduced a new circle element but this time around i place it at the edge of letter A and add & to make the text a complete sentence. WRITE BLOG & EARN ON STEEMIT.
 |  |  |
|---|---|---|
| Picture-1 | Picture-2 | Picture-3 |
| Step-9. |
|---|
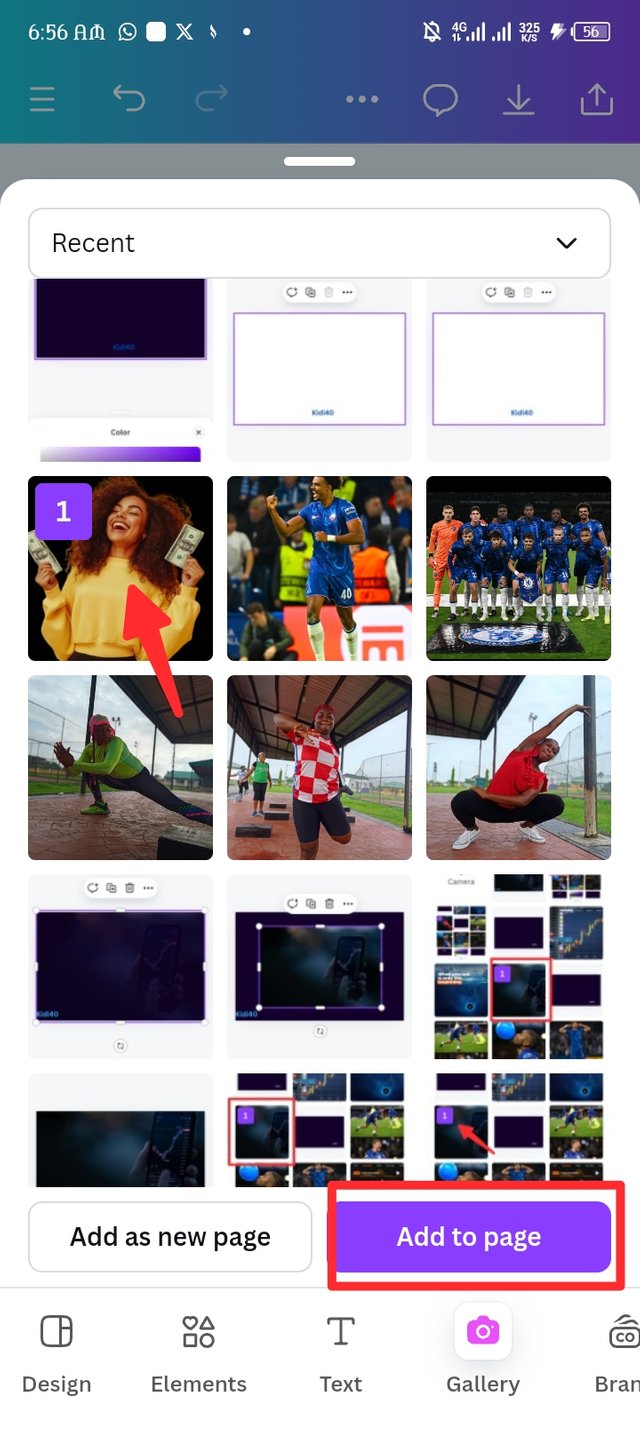
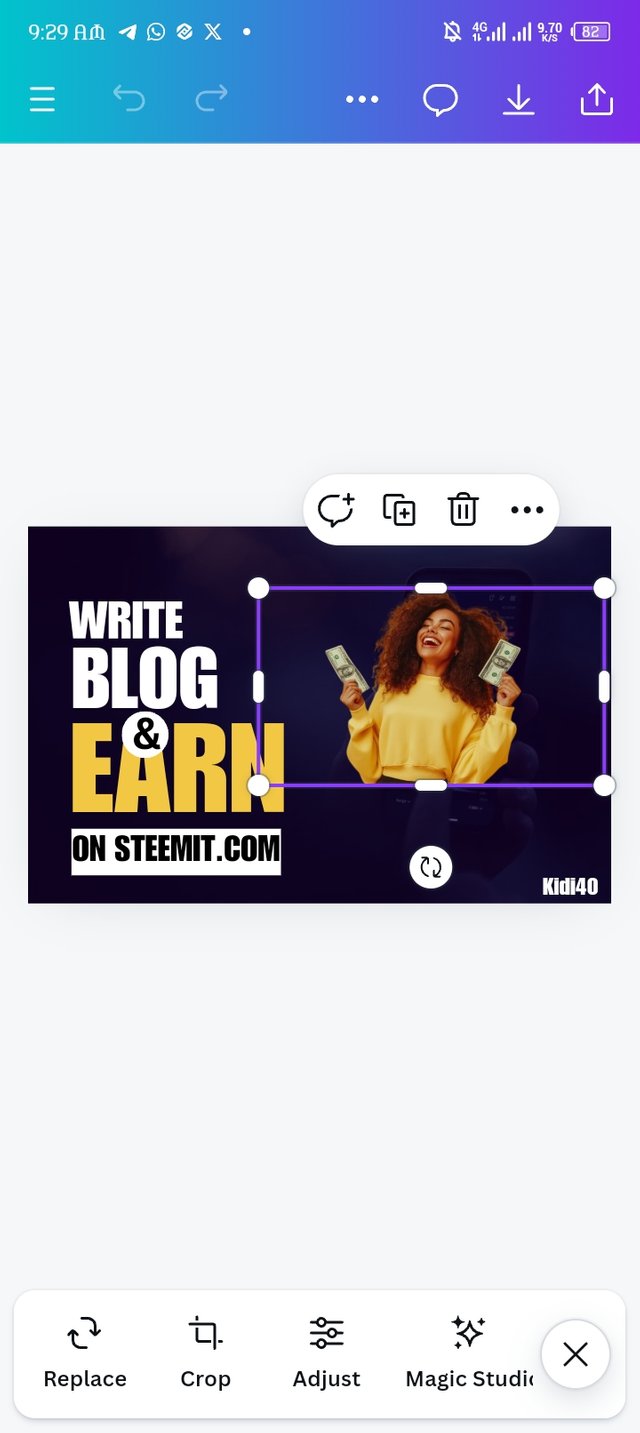
Finally i upload my image to the design and crop it to my desire. I then locate the element icon to add another shape, probably the last element of it's kind.
 | 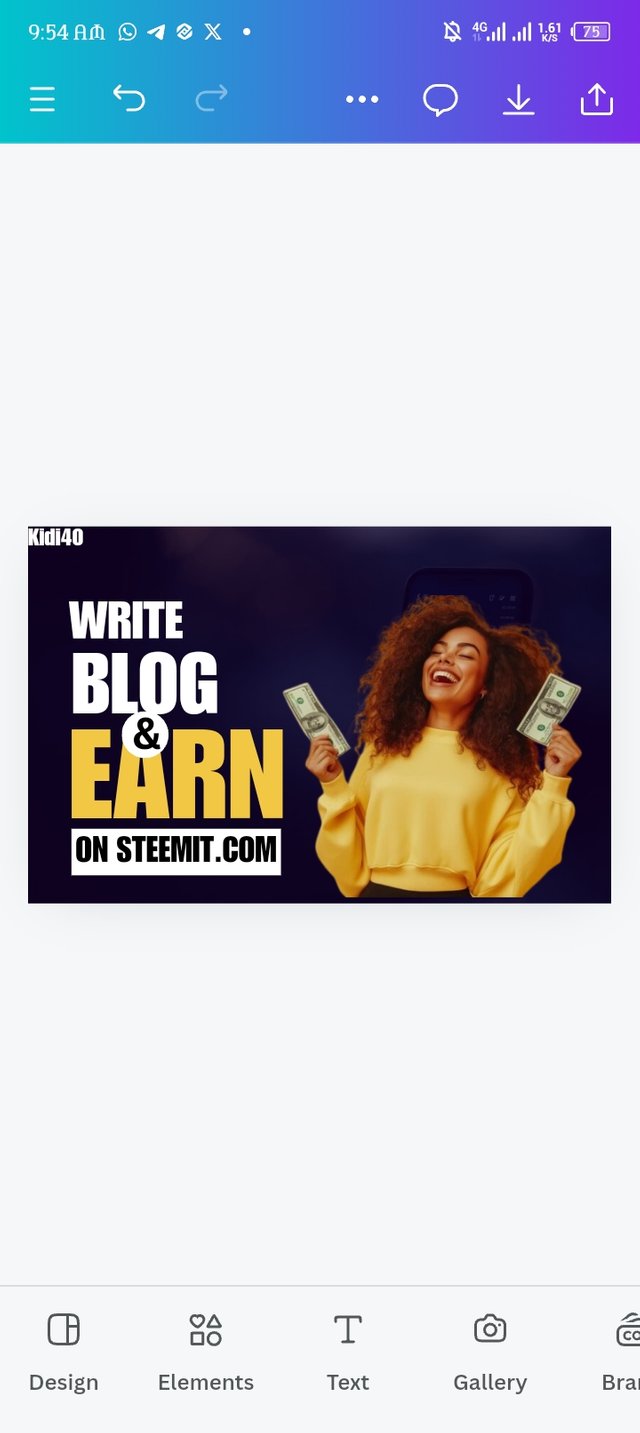 | 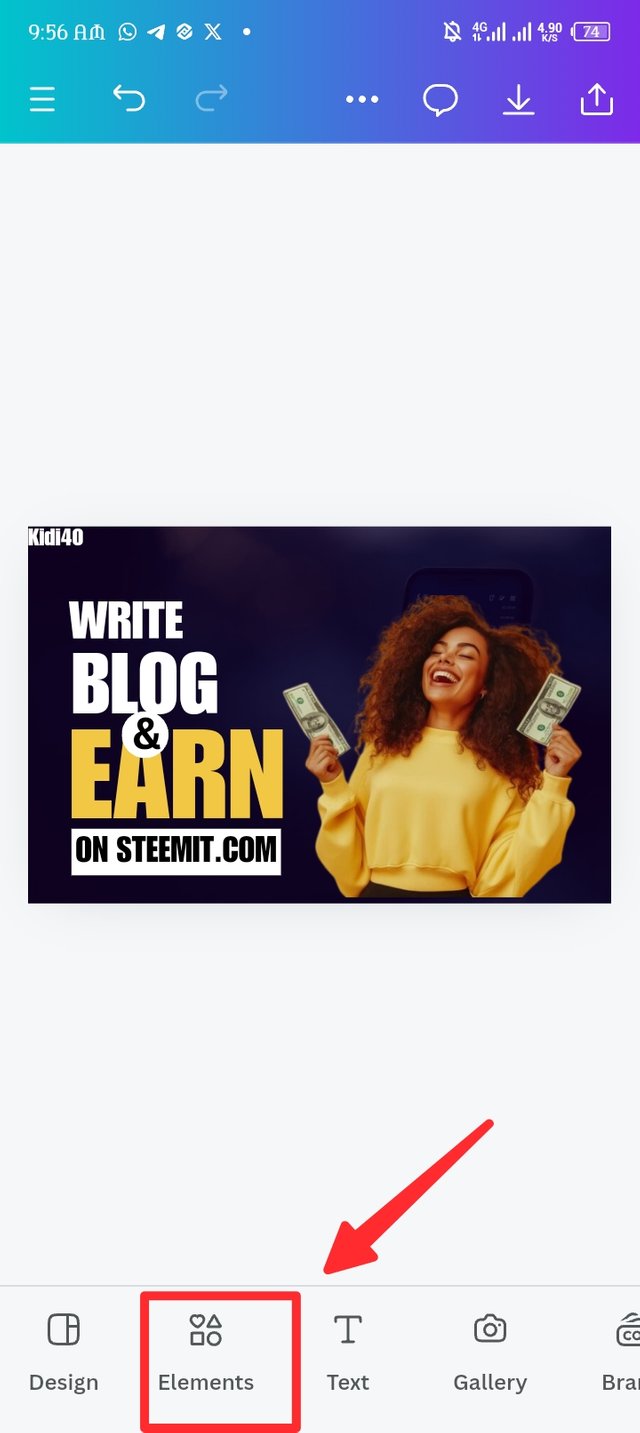 |
|---|---|---|
| Picture-1 | Picture-2 | Picture-3 |
| Step-10. |
|---|
Here the element page display and i select my element shaped as circle, it appear in the design then i changed it original colour to white and place it in my desire spot, i find the position icon.
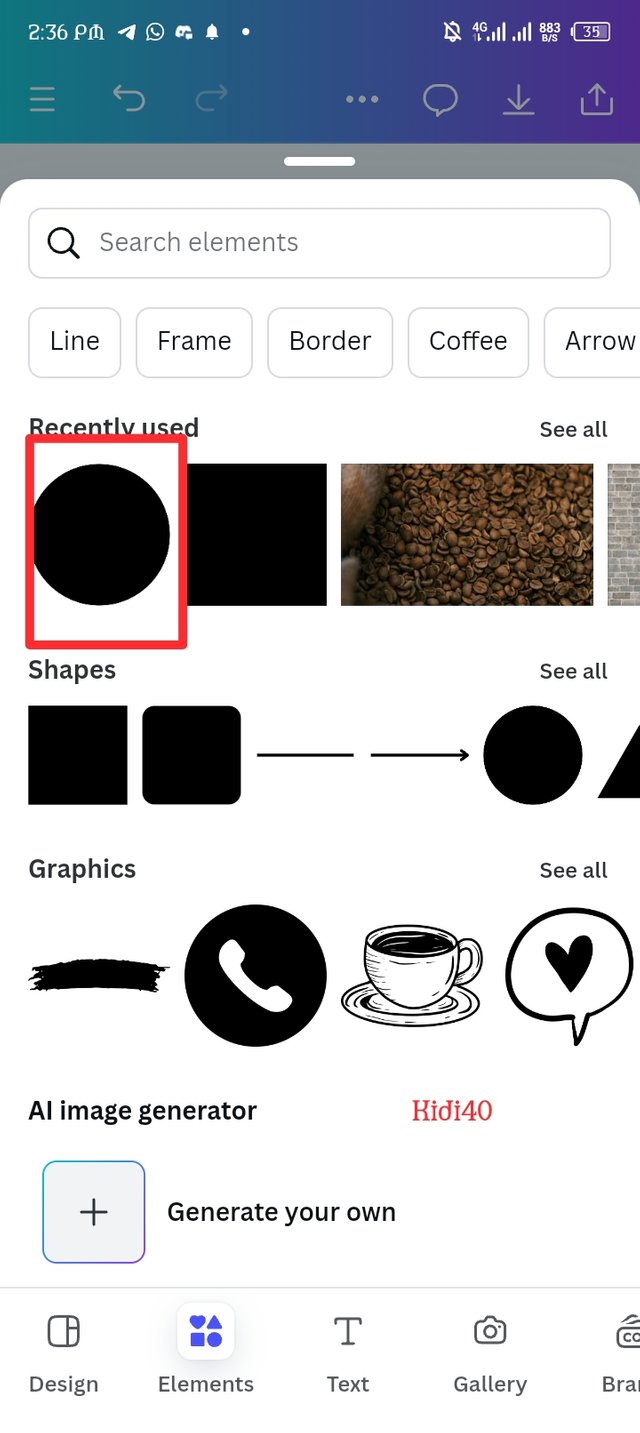 | 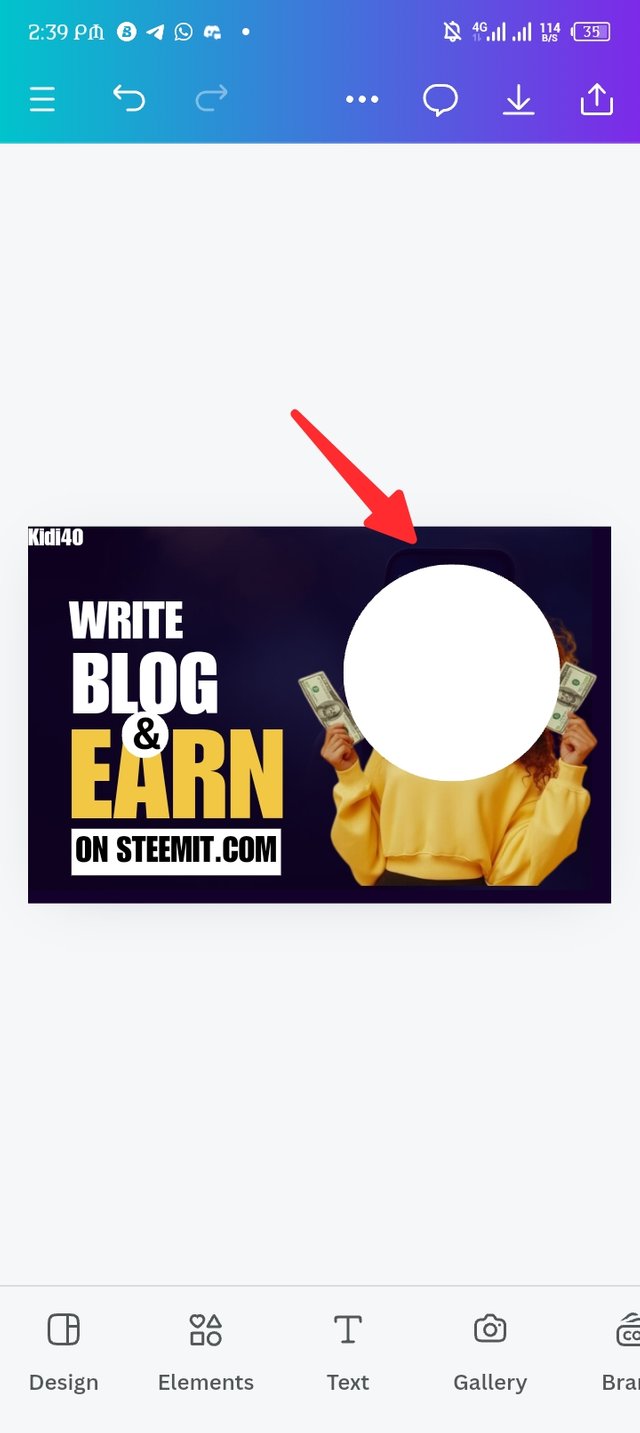 | 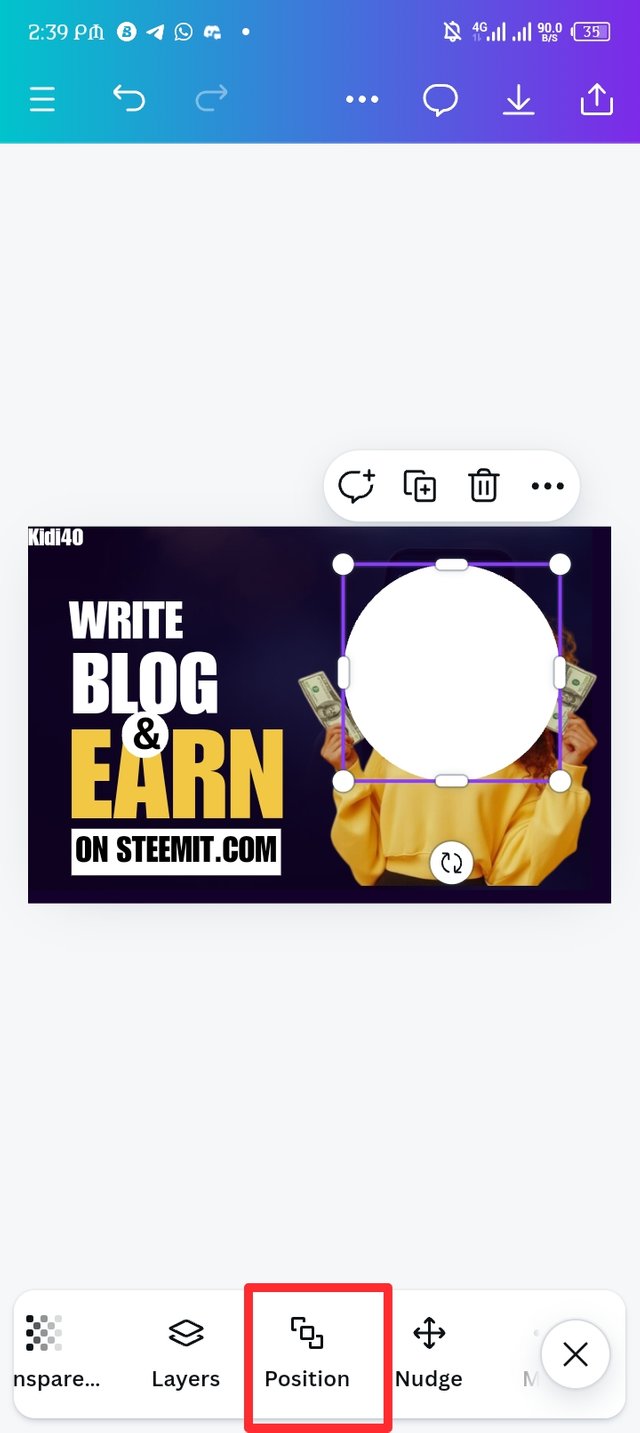 |
|---|---|---|
| Picture-1 | Picture-2 | Picture-3 |
| Step -11. |
|---|
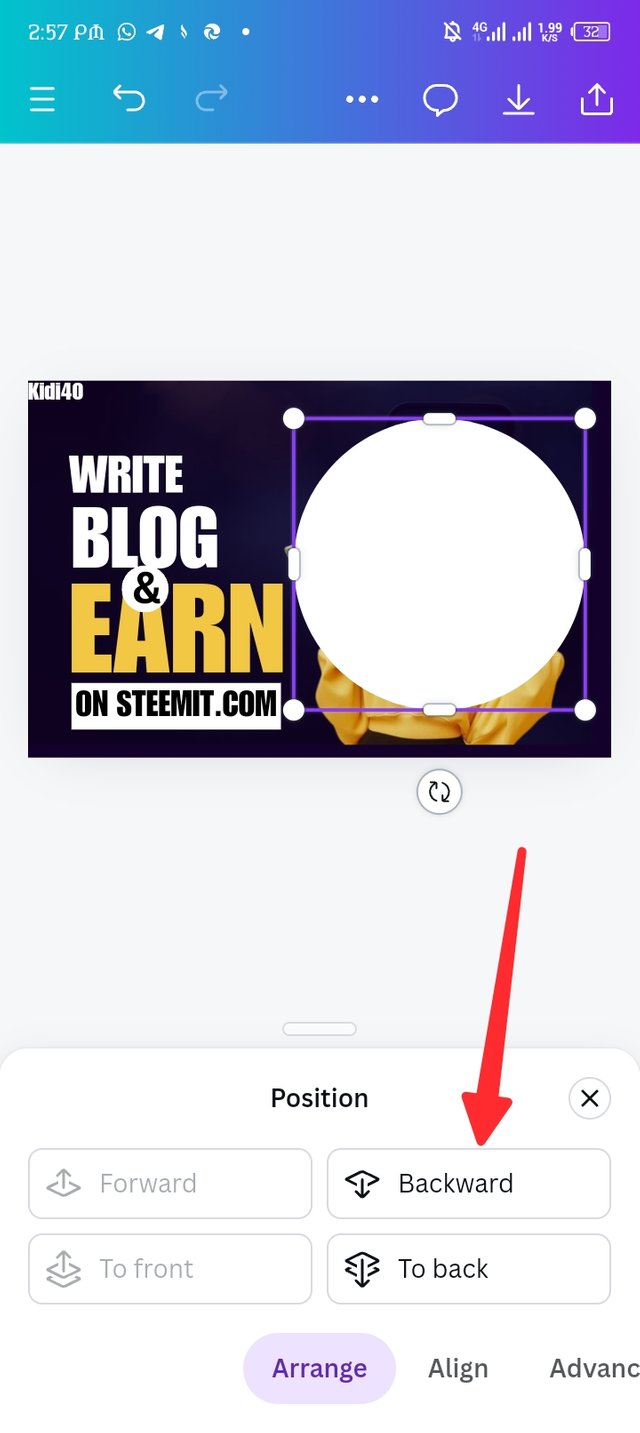
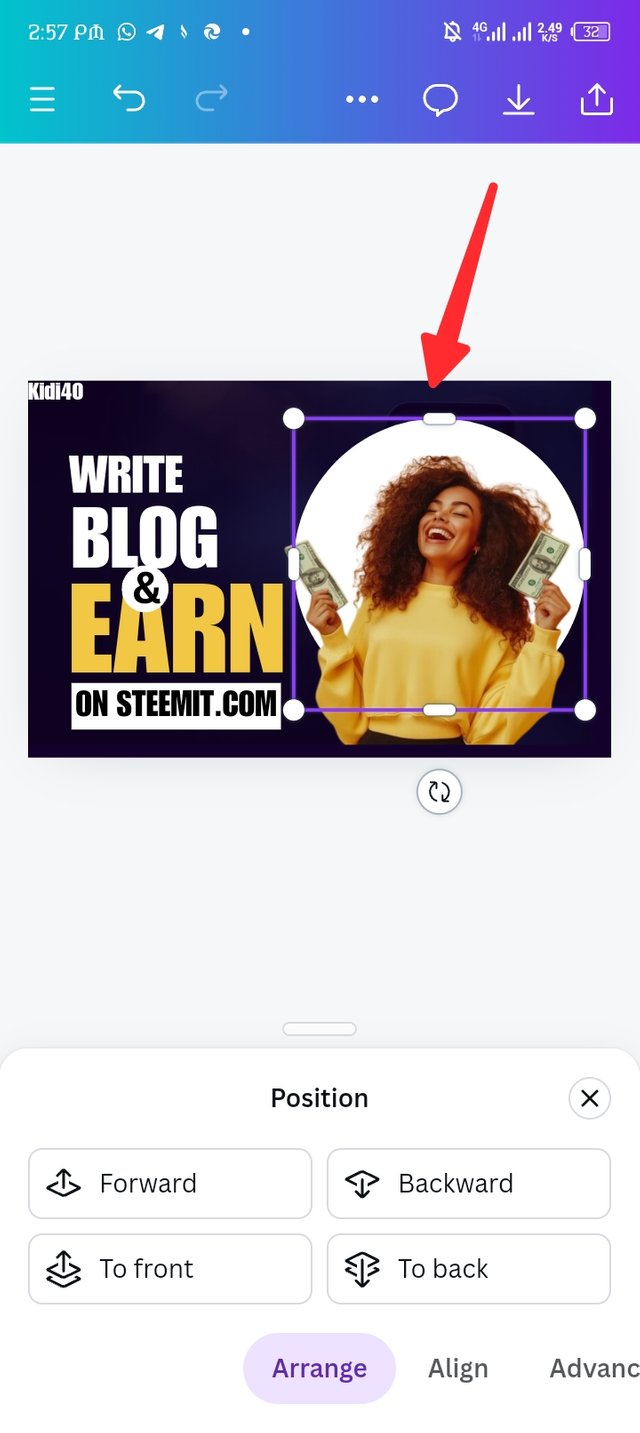
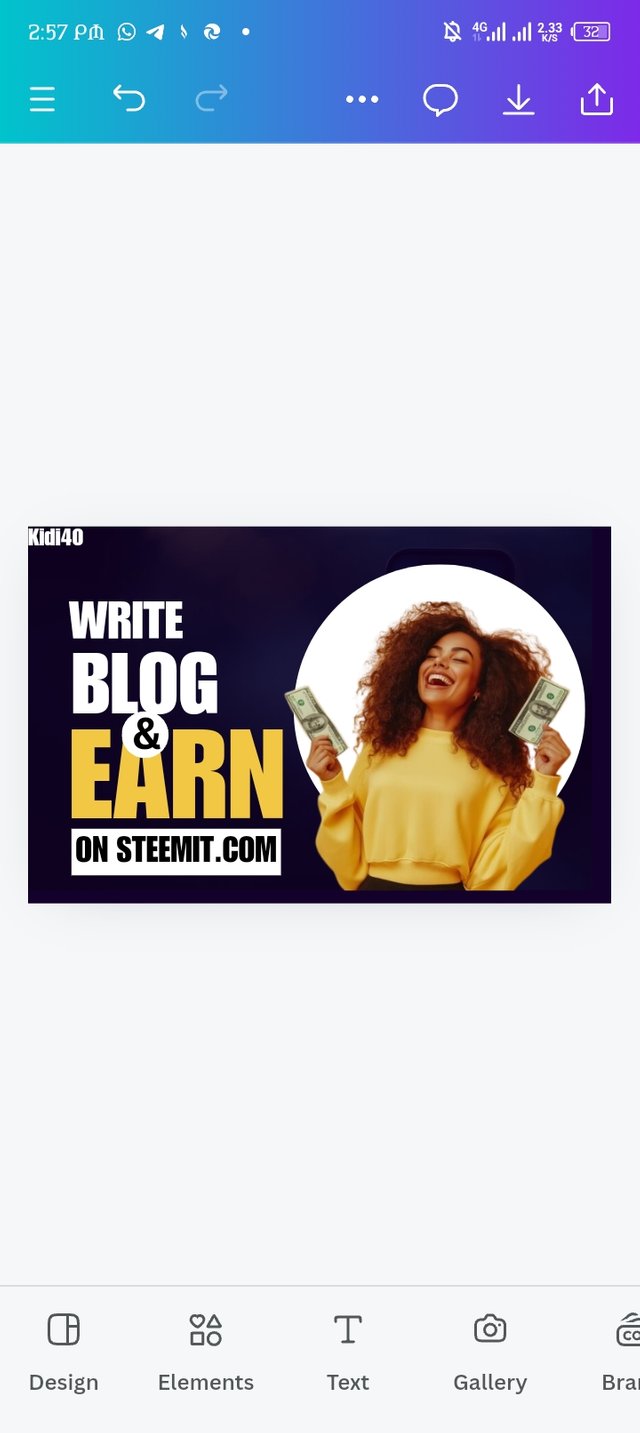
Here the position icon i click finally display and a four options display "forward to front and backward to back." I click on backward to center the circle element at the back of the image, now you can sight the difference between picture-1 and picture-2 because picture-1 the image is invisible meanwhile image-2 is visible. Picture-3 is the final results as I download it to my device.
 |  |  |
|---|---|---|
| Picture-1 | Picture-2 | Picture-3 |
Final design. |
|---|

Briefly talk about the principle you engaged in your design. |
|---|
Taking a careful look at the final results, different types of principles can be visualize, these principles are:
Emphasis, you can clearly notice how I engage emphasis in the design by making use of different colours such as white, yellow and black.
White space, I engage white space as I allow the design to breath instead of stocking them together.
Hierarchy, looking at the text you can notice how I engage hierarchy.
Rhythm, I also engage the rhythm principle as the text are well organize and they all rhythm together.
In conclusion, here i come to the end of my assignment and I believe y'all like the best of me. It's actually my first time of creating this type of design and I'm impress. Thank you @lhorgic for guidelines, this is more than expected.
| I'm inviting @bossj23 @goodybest and @patjewell to join this class with me. |
|---|
Screenshots are all mine. |
|---|

Best regards KIDI40 |
|---|
/
Upvoted. Thank You for sending some of your rewards to @null. It will make Steem stronger.
Downvoting a post can decrease pending rewards and make it less visible. Common reasons:
Submit
Great effort! Well done!
You are making my fingers itch to participate. (•ิ‿•ิ)
I did the lessons of the last two weeks but I did not participate.
I don't know about you but I am learning such a lot.
Downvoting a post can decrease pending rewards and make it less visible. Common reasons:
Submit
Really!! Wow I'm glad knowing your feelings about my participation, talking of joining this graphic design class, this is my forth time showing interest and I'm actually enjoying the class...
Downvoting a post can decrease pending rewards and make it less visible. Common reasons:
Submit
Downvoting a post can decrease pending rewards and make it less visible. Common reasons:
Submit
Thank you @bonaventure24 for the support.
Downvoting a post can decrease pending rewards and make it less visible. Common reasons:
Submit