Assalamualikum, everyone. |
|---|
I am @meheruntinni
From #bangladesh
 |
|---|
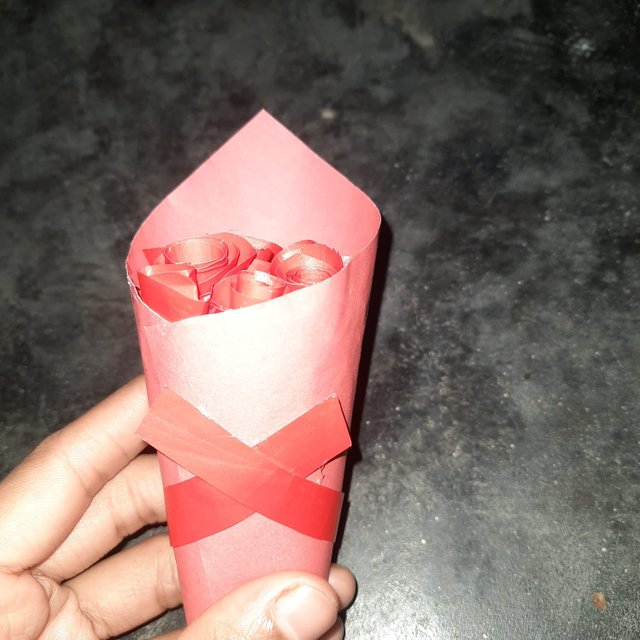
Hello everyone! How are you all? I am fine, by the grace of Allah. Alhamdulillah. First of all, thanks to @mesola for arranging such a nice weekly contest, which is in its week25 and whose theme is " DIY//LETS SEE WHAT YOU CAN CREATE . I am pleased to join today's competition. I made a paper craft for today's contest. I made a papercraft gift for today's contest. I made a bouquet and this bouquet has many red flowers on it. How I made the bouquet I have shared with you step by step here. So let's start.
 |
|---|
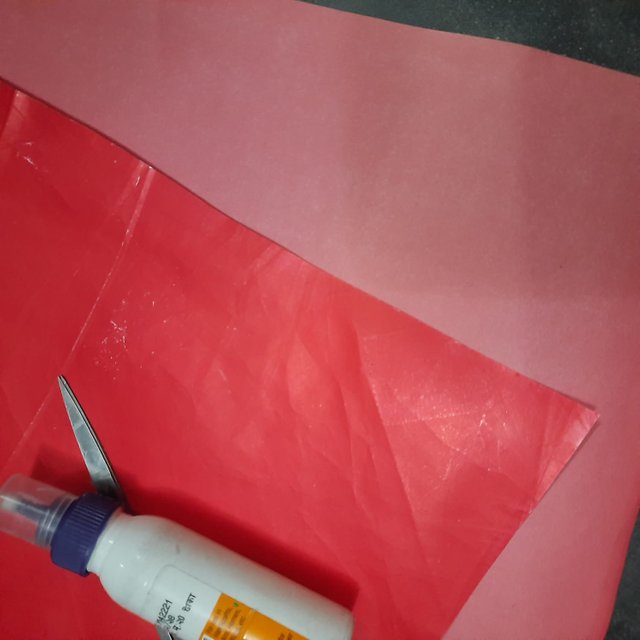
The things I needed to make the craft
- red paper
- scissors
- glue
- pencil
STEP1 |
|---|
 |  |
|---|
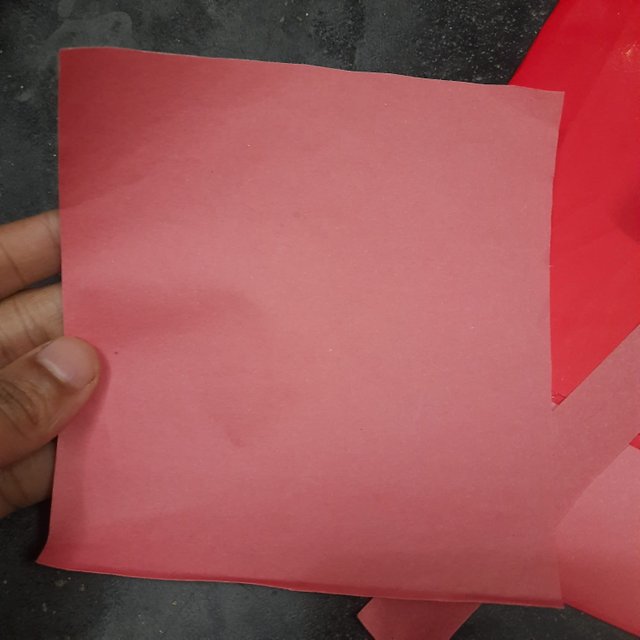
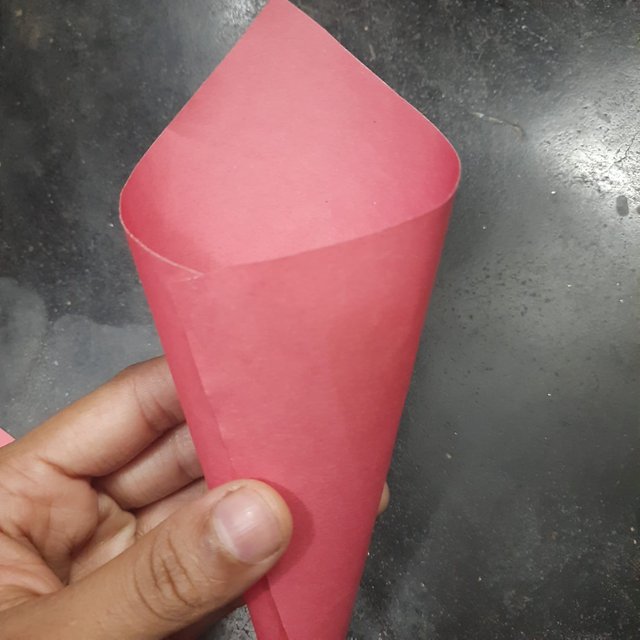
First, I cut the red paper with scissors and cut it into four sizes. Connect the two corners of that square paper with glue and make it like a paper thong. In the picture you can see how the paper is folded and the shape of the top.
STEP2 |
|---|
 |  |
|---|
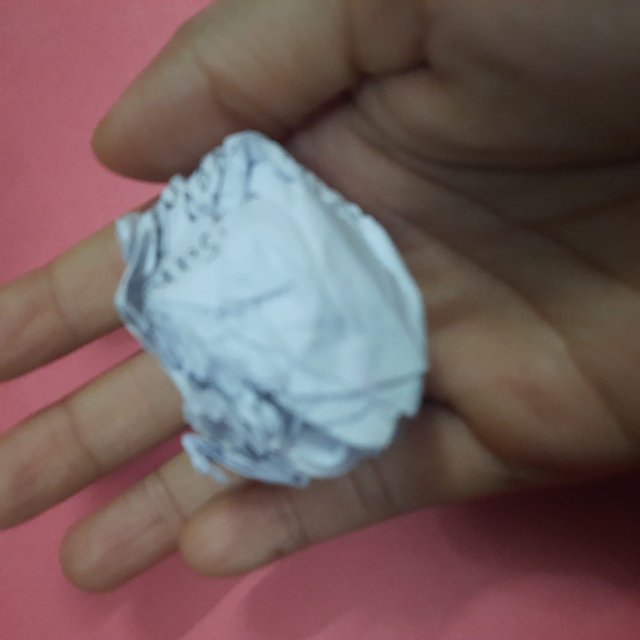
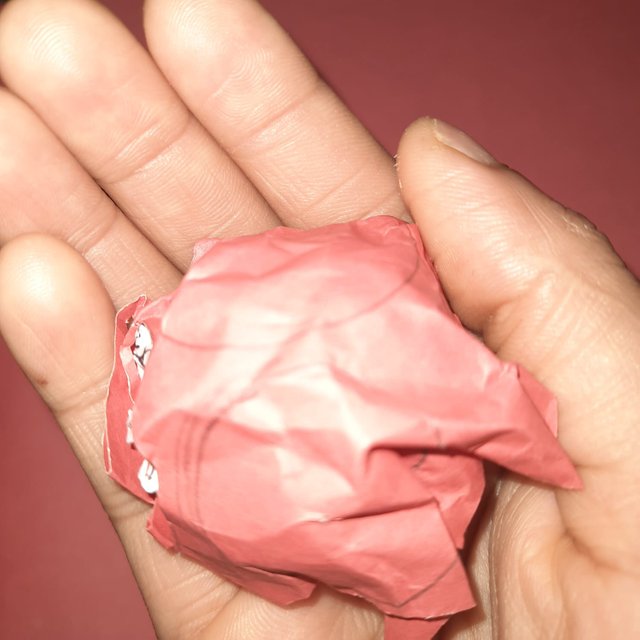
Then I took some old paper and rolled it into a ball. You can see in the picture how I crumpled the paper. Now I have covered that white paper with red paper.
STEP3 |
|---|
 |  |
|---|
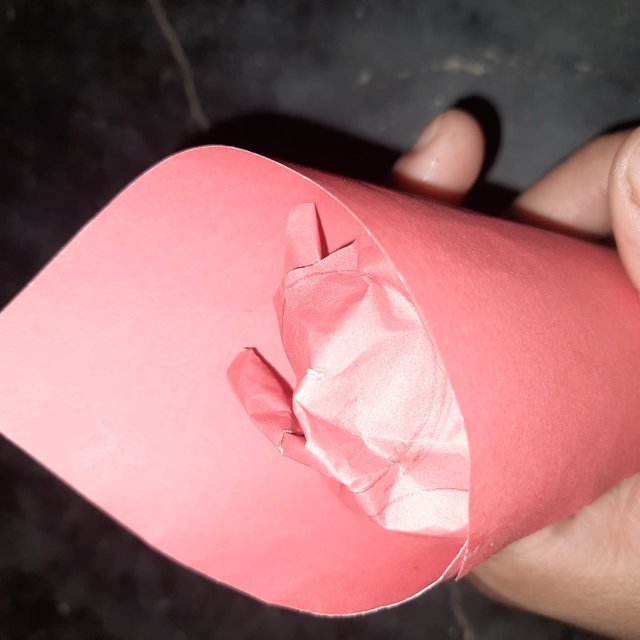
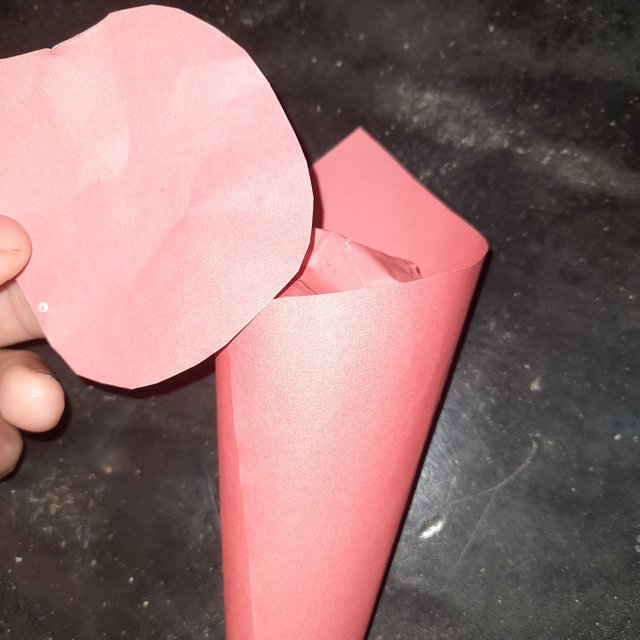
This ball is put inside the prepared red paper. I inserted the paper ball inside the thong and stuck it well with glue.
STEP4 |
|---|
 |  |
|---|
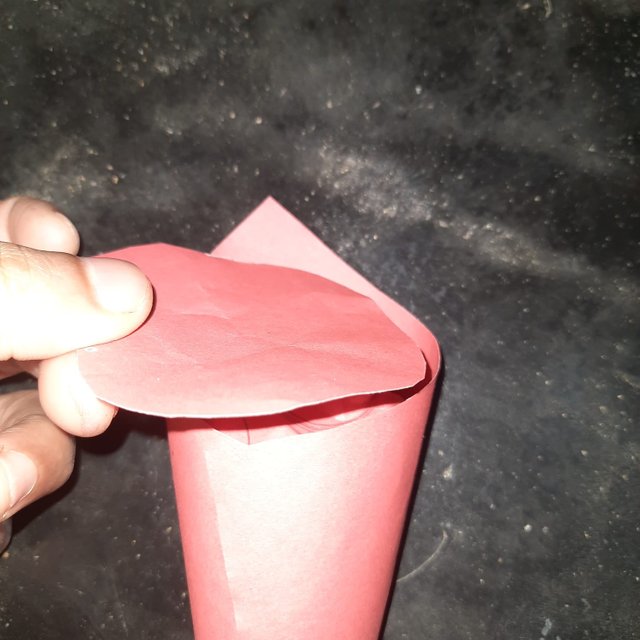
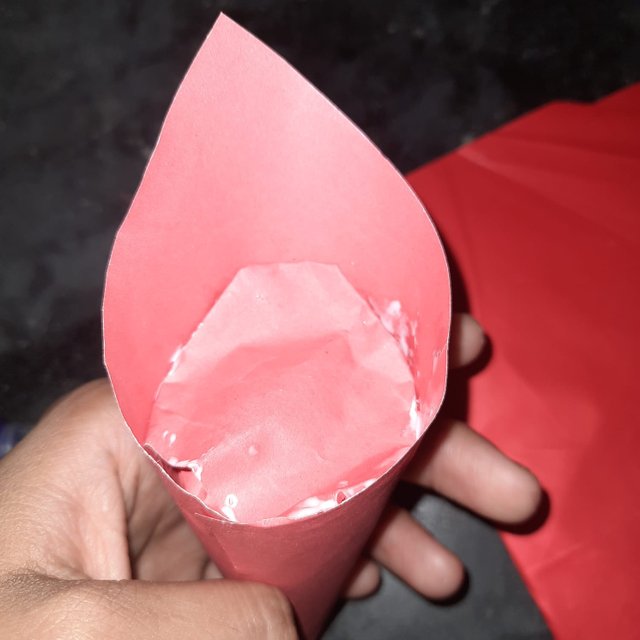
Now I made a round paper and glued it inside that thong. In the picture, you can see how I prepared the paper to make the bouquet. Now I finished making the bouquet.
STEP5 |
|---|
 |  |
|---|
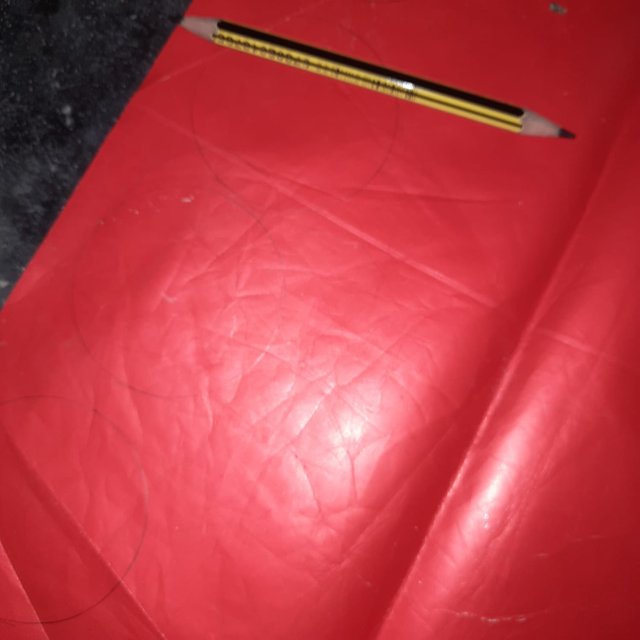
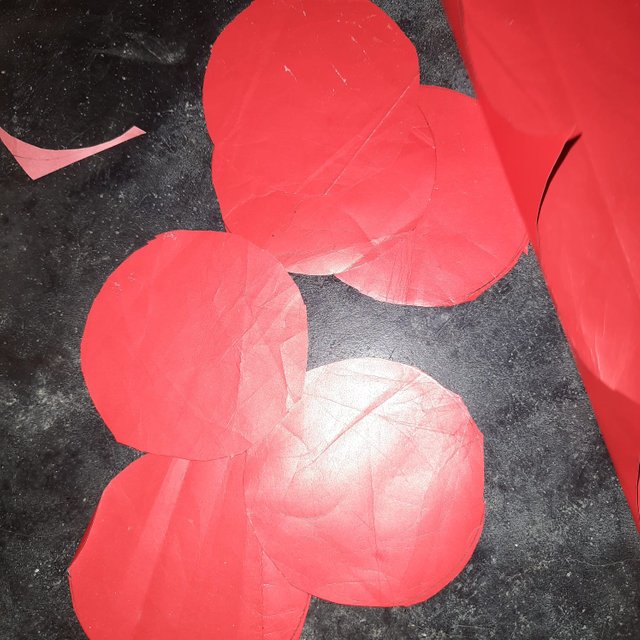
Then I took a red paper to make flowers. I have drawn some circles in the red paper. Then I cut those circles with scissors to make flowers. You can see in the picture how many round paper I take. I will make flowers with this paper.
STEP6 |
|---|
 |  |
|---|
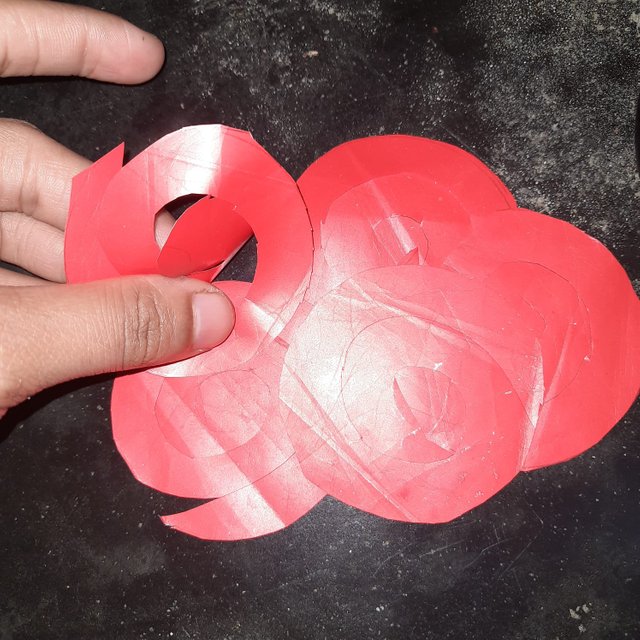
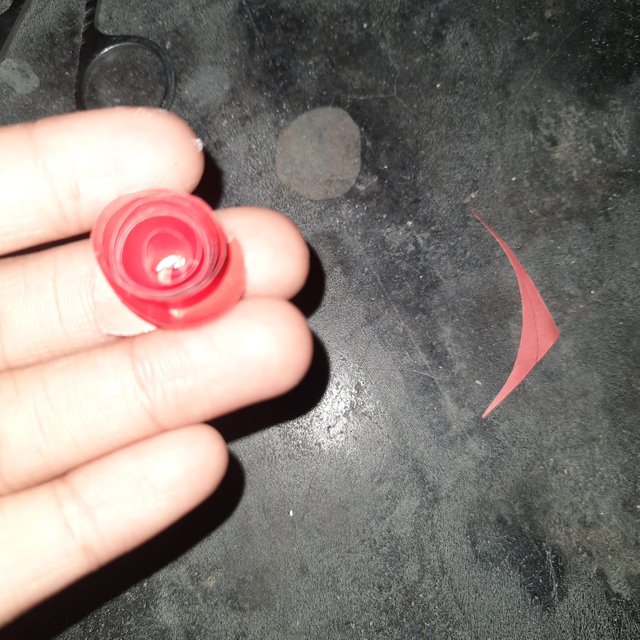
I have cut those papers round with the help of scissors to make flowers, you can see it in the picture. Then I made a flower by twisting the thorn part by hand.
STEP7 |
|---|
 |  |
|---|
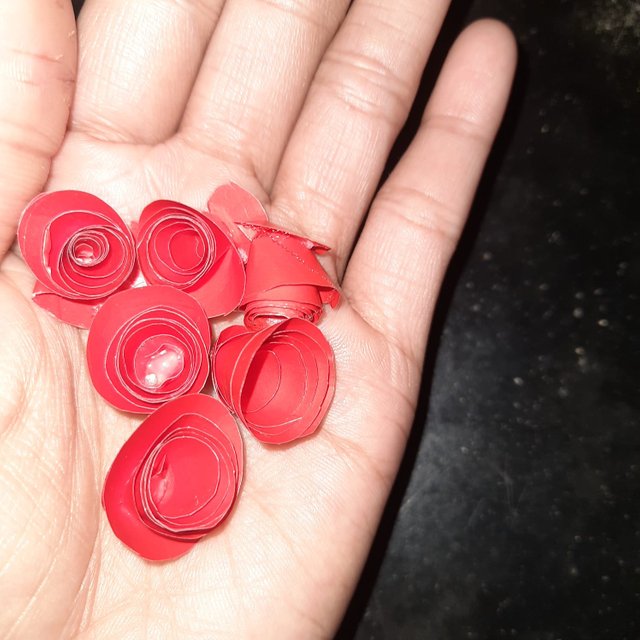
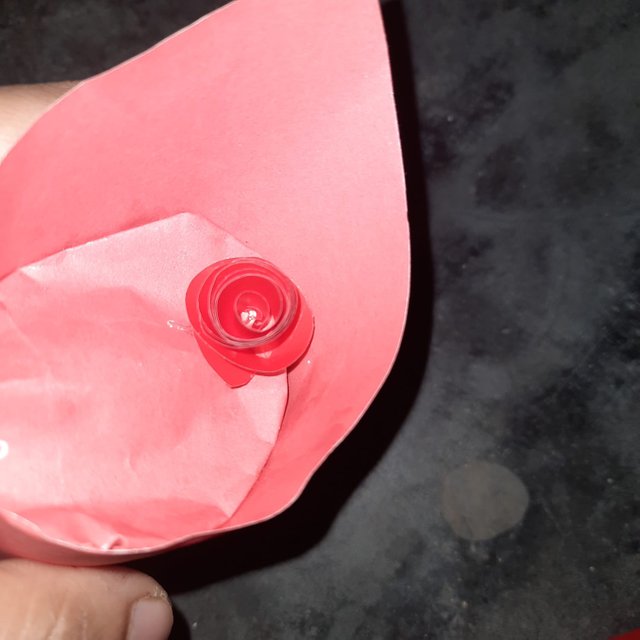
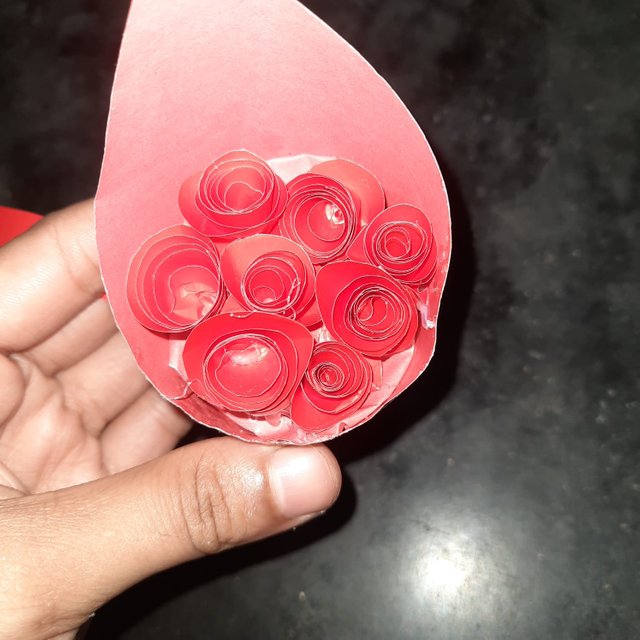
When the flowers are made, I put them in the bouquet one by one with glue.
STEP8 |
|---|
 |  |
|---|
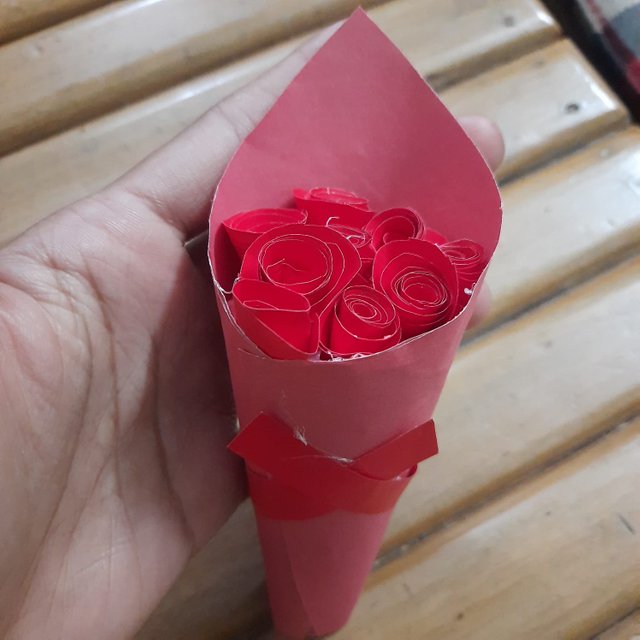
The flowers have been planted. Later I cut a red piece of paper short and pasted it with blue in the afternoon. This is my beautiful red paper bouquet.
Final step |
|---|
 |  |
|---|
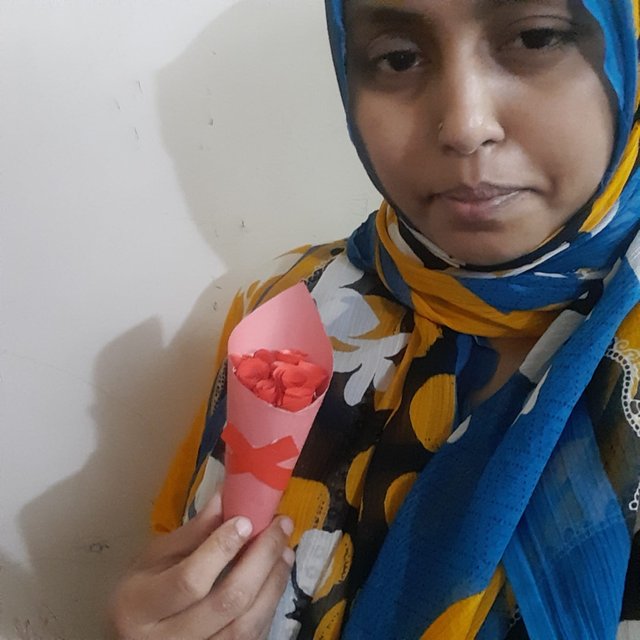
This is the final look of my art and craft
Thank you for reading my post.
https://x.com/TinniMeher75909/status/1800186056148672668
Downvoting a post can decrease pending rewards and make it less visible. Common reasons:
Submit
Upvoted. Thank You for sending some of your rewards to @null. It will make Steem stronger.
Downvoting a post can decrease pending rewards and make it less visible. Common reasons:
Submit
Wow, what an in-depth as well as imaginative procedure you have actually shared. Your detailed overview to making a paper arrangement is not just helpful however likewise motivating. It's amazing to see exactly how basic products like red paper, scissors as well as adhesive can be changed right into something so lovely plus imaginative.
Downvoting a post can decrease pending rewards and make it less visible. Common reasons:
Submit
Thank you for your valuable words 😊
Downvoting a post can decrease pending rewards and make it less visible. Common reasons:
Submit
Saludos amiga hoy no muestras una artesanías muy bonito y sencilla para realizar el paso a paso estuvo muy bien explicado imagínate que a este cono le agregues unos dulces o caramelos le debe dar un buen toque personal
Downvoting a post can decrease pending rewards and make it less visible. Common reasons:
Submit