introduction
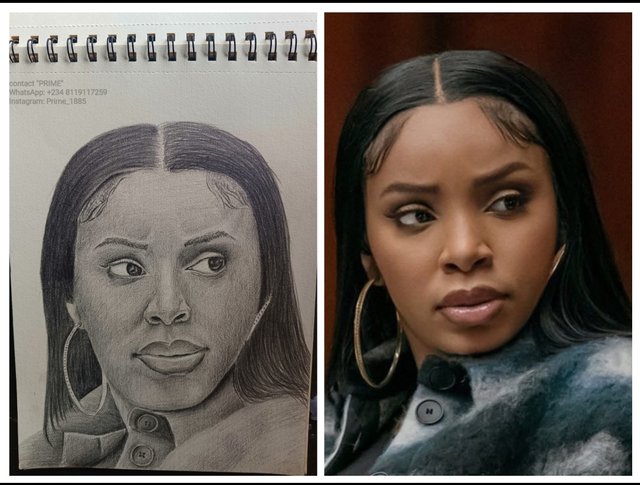
Hi guys I welcome you all to prime_art, the topic today is also cool so I have been thinking 🤔, I will be helping the kid to differentiate between 3d art and a 2dimensinal art also I will explain to them how we can make a 3d art on a 2dimensional surface which is still a 2d art.
Explanation
What am going to deal with today is drawing" some of us really don't understand the difference between a 2dimesinal art and a 3dimesional art.
A 2 dimensional art are flat and can not be seen from all angle and we can't feel it while. This kind of art can be done on the wall, on paper using any medium that can help in making mark on it even to colour it.
3 dimensional art is a kind of art that can be feel and being interpreted from all angle also there occupy space, example of this type of art is our chair, table even the car we drive.

So today I will be making a 3 dimensional representation of a human face on a 2 dimensional surface which is going to be a cardboard, be reminded that this art work is basically a 2 dimensional art but it's real.
What is the name of what you have made
Drawing of a human face using a graphite pencil on a cardboard this art work will be made to resemble the real image. So below 👇 I am going to show how I am going to use just pencil to transfer a picture to a cardboard paper.
Steps on how you made the craft
These are the steps which I took in making this art piece.
Step 1
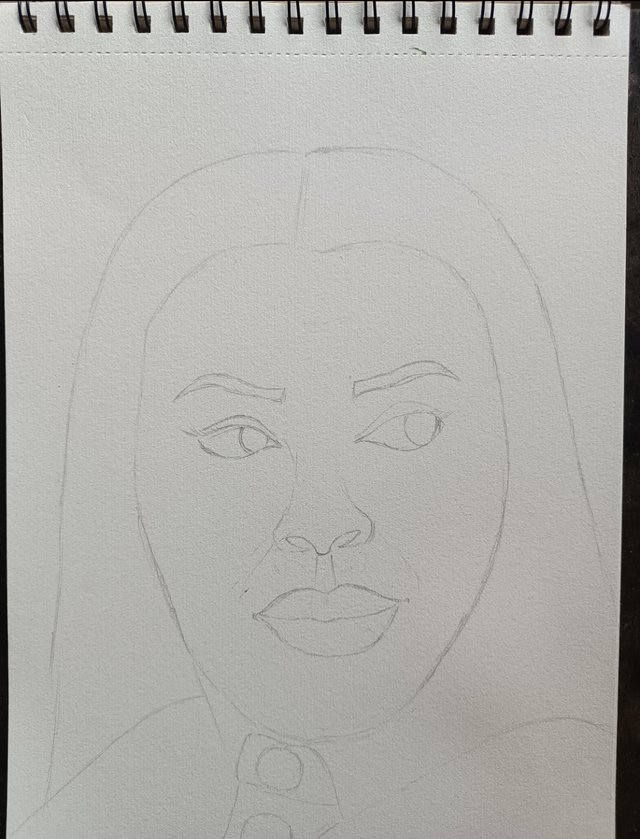
These is the most important step which will determine if the art will look exactly like the real image, remember there are some principles of art that help and guides us in this first step you need to consider "proportion & Balance"
So when you are ready you now make a sketch of the drawing, this process requires you making a drawing of the picture using just lines.
Step 2
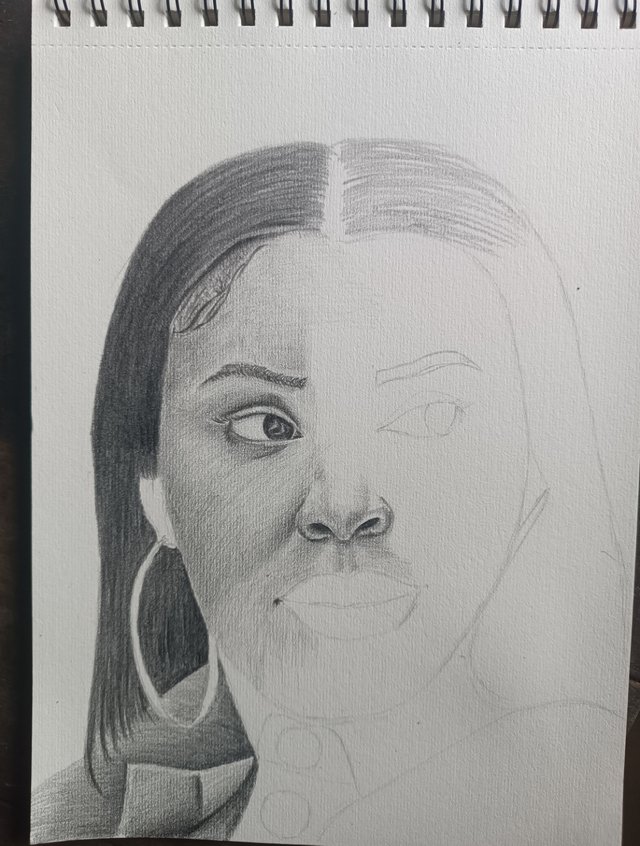
This is also very important this process will help to determine how real you drawing will be, understanding where your light and dark is comming from.
Then you start by blocking the dark part using any kind of shading techniques of your choice, this process is called "Shading"
There are so many type of shading which is!
- pointillism: this has to do with "dot"
- hatching: this has to do with "lines"
- cross hatching: this has to do with "lines crossing another"
- Blurring: this has to do by a carefull and gently scrubbing your pencil to avoid texture.
ETC..
The technique which I used was hatching & blurring combine.
Step 3 "finishing"
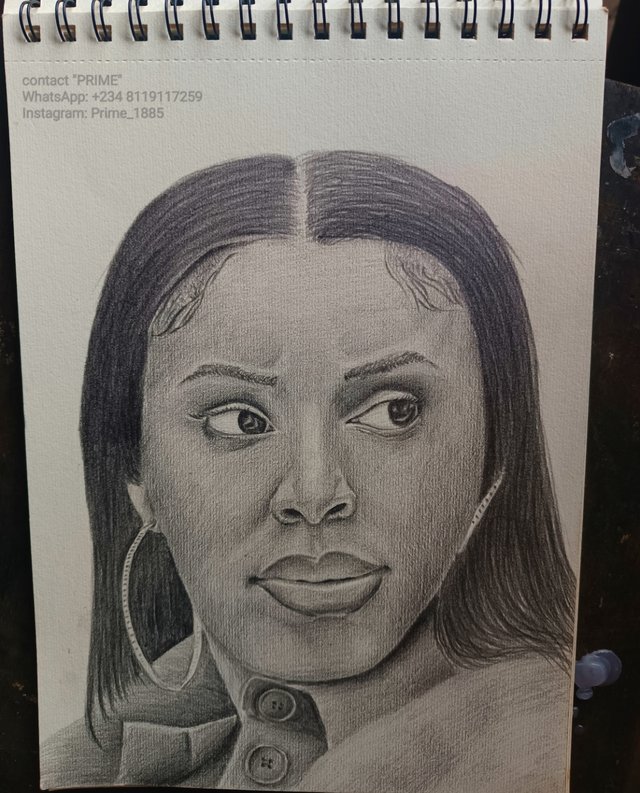
This is the part which you will go through your art and then compare it to the reference picture to observe where you did wrong.
How did you get the idea?
This idea was giving to be through my lecturer Dr sunny ekwere, he has being the one handling me in drawing all through my stay in the University, and also from my experience and my research I realize it's worth sharing it with others.
How useful is what you have made
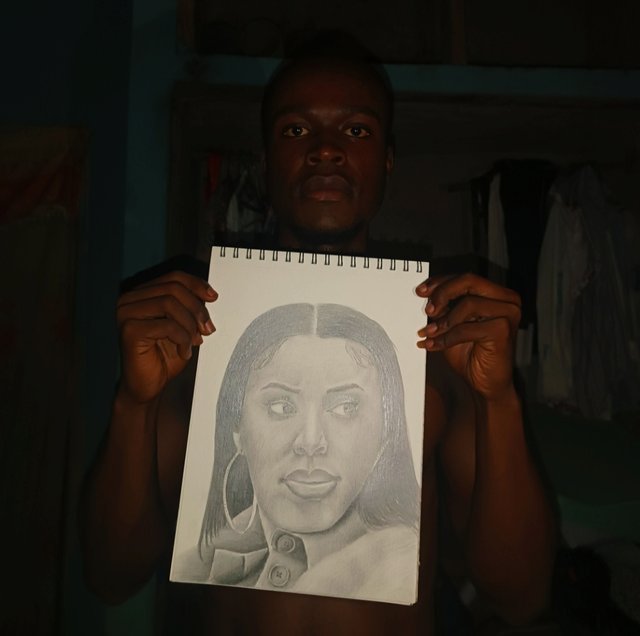
This art is very useful, because it's a realistic drawing it can be used to decorate the sitting room by hanging it on the wall, also it can be served as a gift to an individual either as and award.
This piece of art is very expensive depending on the story surrounding the art.
Which kid did you inspire, or do you intend to help develop the creativity?
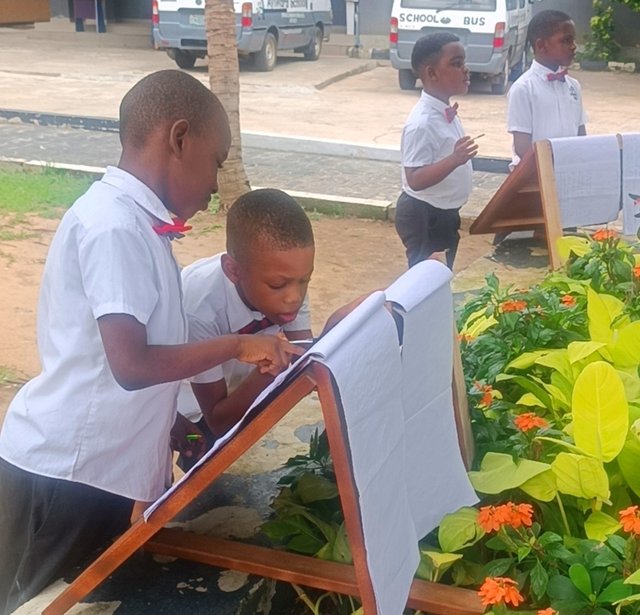
I have have tried to share it with people around me, even the pupil in my school I have been telling them and also showing them how to differentiate these and also how they can archive this art using any medium.

Thank you all for your time, am inviting @josepha @radleking @edidiongeffiong to the contest.