- Good day Beloves Steemians
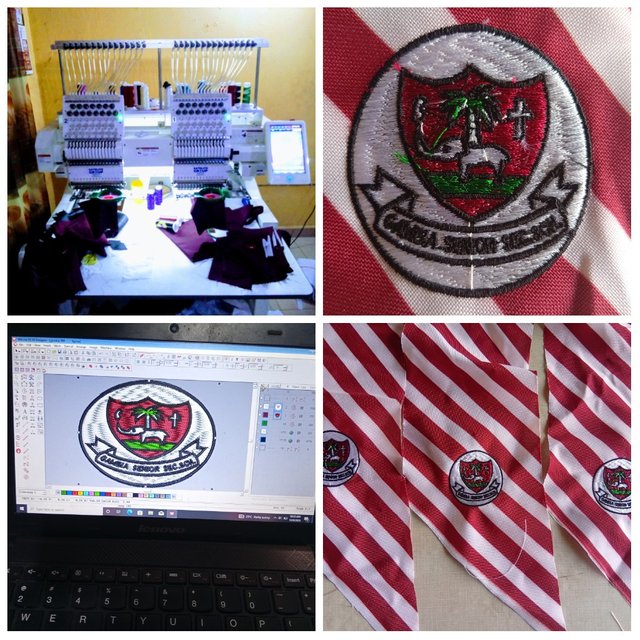
It's Another wonderful day, To Craft out something special and nice. Guess what.... Today's Craft seems to be special and amazing which was done with the help of my monograming machine, Its a School logo and I crafted it out using my computer system and with the monograming machine, I so much Belive that you all will learn something special from this content Today and Below will definitely be in full details on how I crafted out this amazing Design using my monograming machine. Join me Let's go.......
DO IT YOURSELF [CRAFT] |
|---|
As I Said Earlier, Today's Craft will be so special and amazing because it was automatically craft out with due process. I decided to Craft out this special design which is a school logo, A well known school in my locality more famous and off good standard, So today I decided to surprise them with my hand work.
- FACILITIES AND EQUIPMENT
- Computer System
- Thread (White, black and oxblood)
- Needle
- Monograming machine
Below are some Steps and processes on how This special design was being CRAFTED out using a monograming machine
- STEP ONE
 |  |
|---|
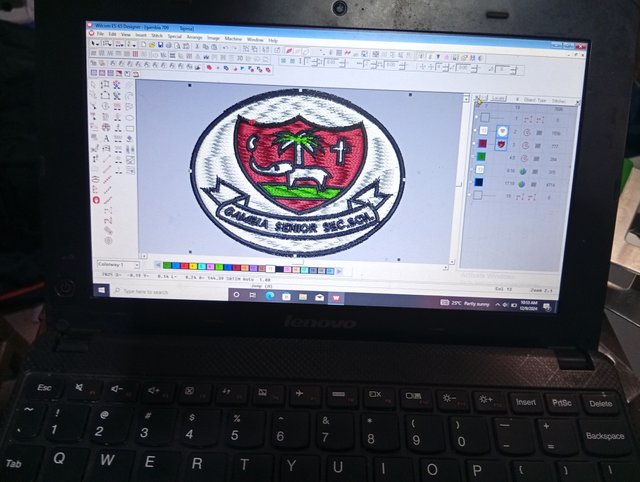
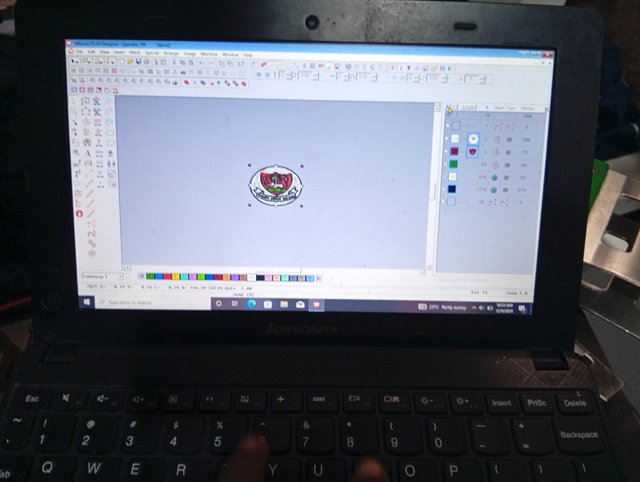
The First Step I considered was so Digitized the school logo using my computer System, which took about 5 minutes, it wasn't that easy but I tried my best in other to bring out a standard and unique results. After I was done digitizing or designing the school logo using my computer system I then considered the next Step.
- STEP TWO
 |  |
|---|
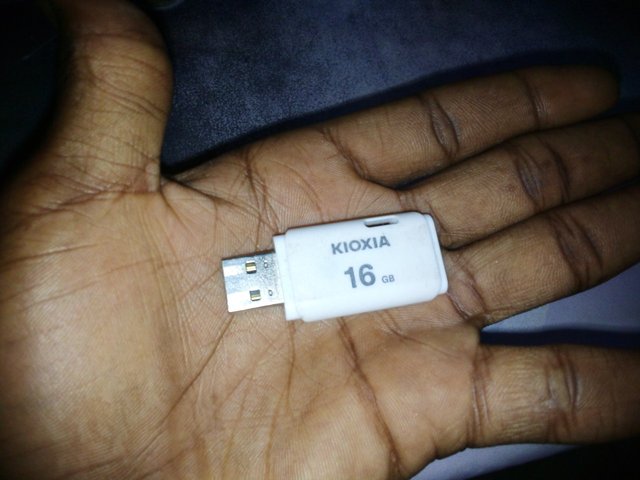
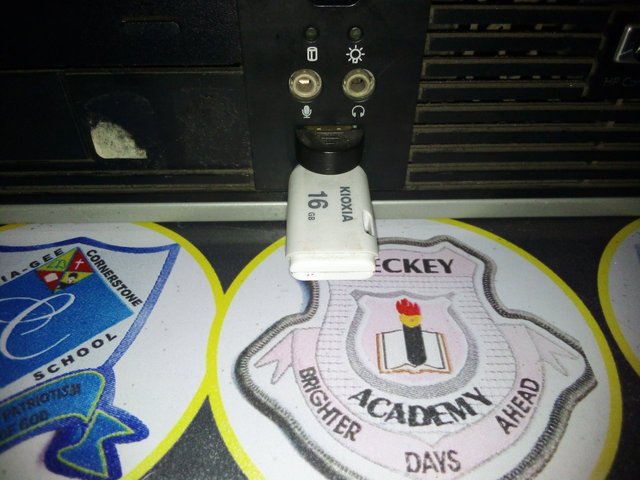
The second Step was to transfer the designed or digitized logo to the flash desk, and after I was done I went straight to my monograming machine and finally transferred it from the flash desk to the monograming machine.
- STEP THREE
 |  |
|---|
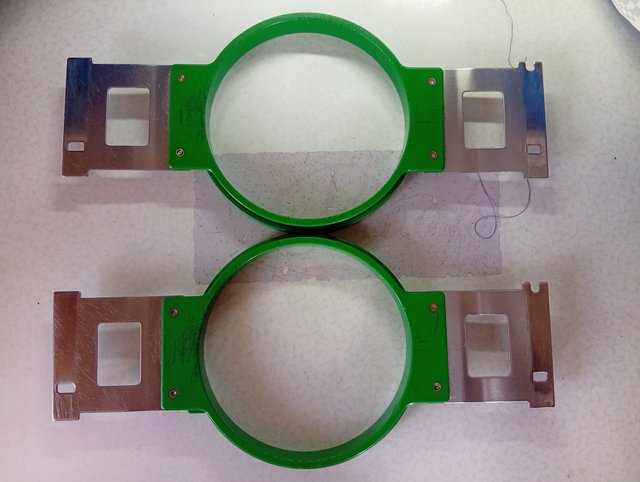
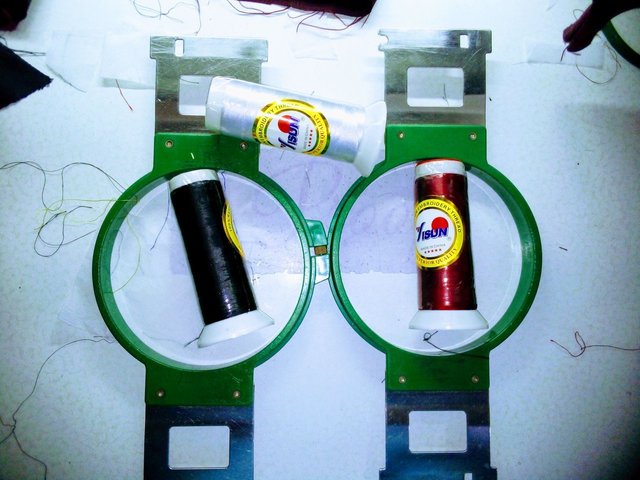
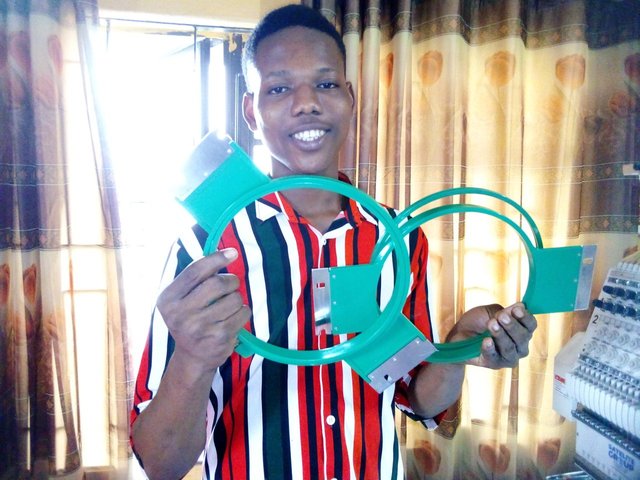
Step THREE was to Assemble my working material Including my plastic frames that will be fit for the placement of the Design and also my thread which was Blue, White and Red. After I was done I then considered the next Step.
- STEP FOUR
 |  |
|---|
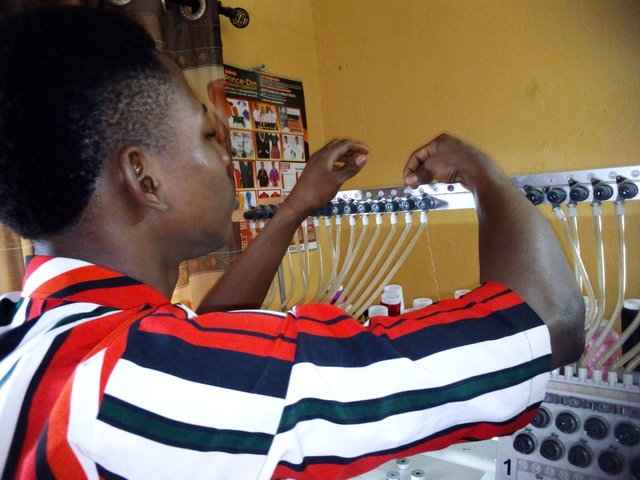
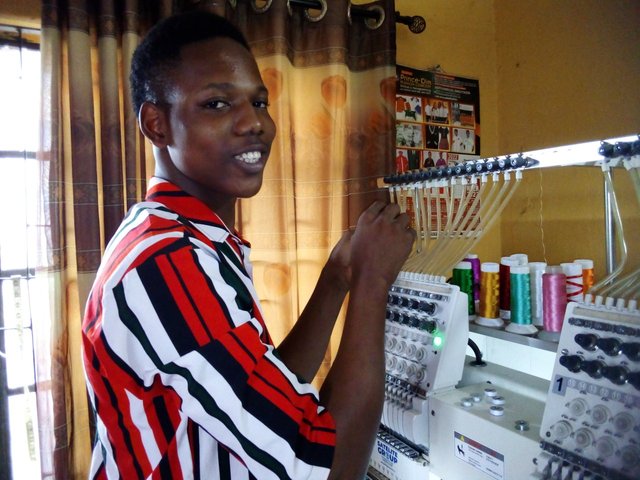
At this point, I added my thread to my monograming machine through some holes and columns, and finally I transferred the Design to the homepage of the monograming machine, added my colour function and the proper needle thus was done using my monograming machine and finally i moved I to the final Stage.
- STEP FIVE
 |  |
|---|
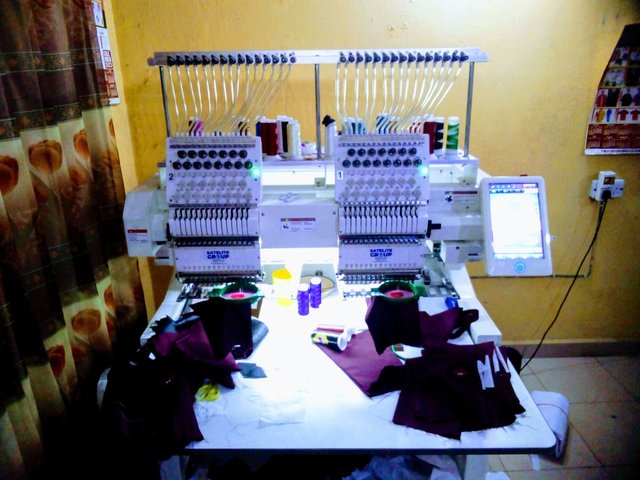
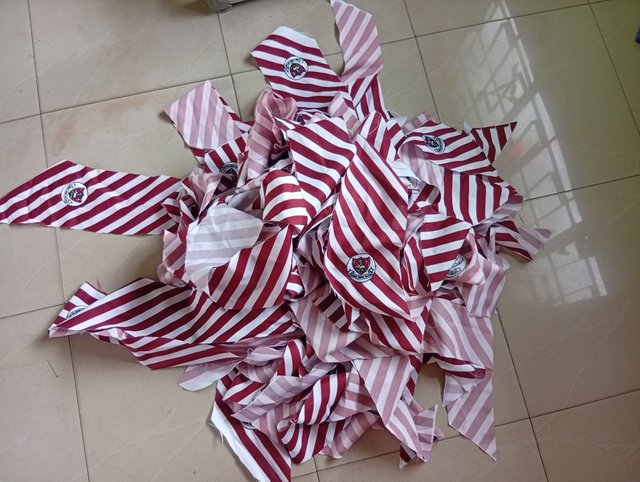
The Final Stage was to Hook the clothing material using my plastic frames and on the exact position it should be without making any mistake. And After I was done I added it to my monograming machine, trace the work using the dashboard which makes sure that the machine will place the Design at the exact position YOU want it to be, so After I was done I started my monograming and it started placing the Design.
- THE FINAL RESULT
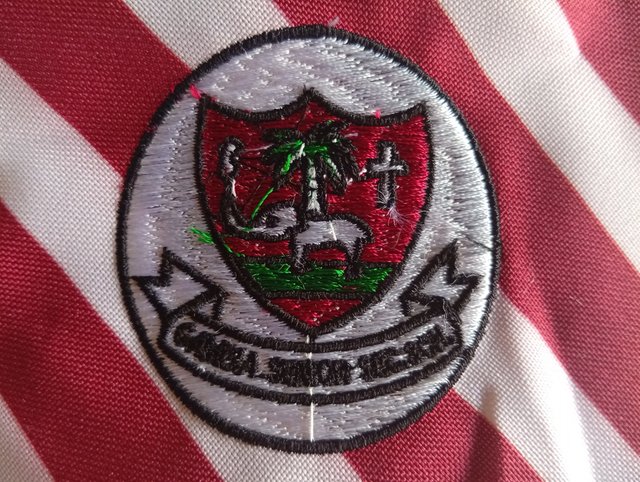 | 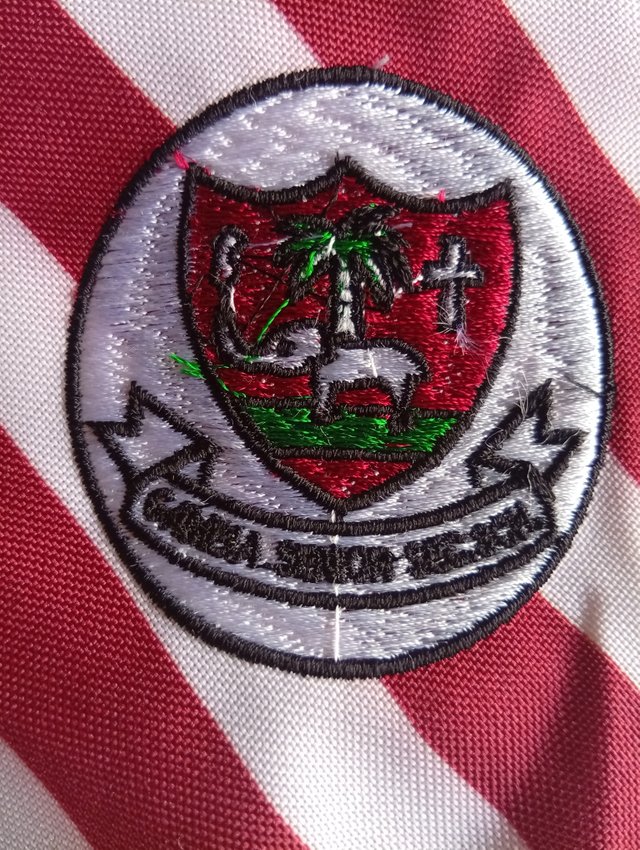 |
|---|
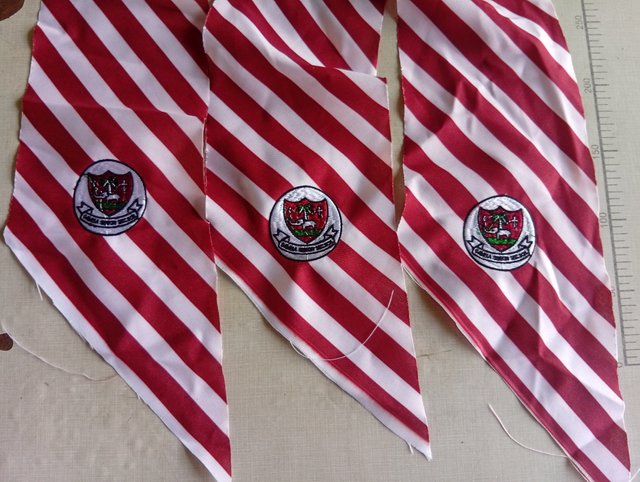
It ONLY took my monograming machine about 8 minutes to craft out this amazing Design, and the final results was really amazing and wonderful. It really looks so nice and special.
CONCLUSION |
|---|
I believe you all learnt A lot from this amazing content. Thanks for your VISITATION 😃 I Really Appreciate 😃. Am inviting @bossj23 @saintkelvin17 @josepha.
🔥 @Richy20 Care's 🔥 |
|---|
https://x.com/Manofgrace0001/status/1868046421305475165?t=TAhFsMA3SM1KDLfL9Fq-cg&s=19
Downvoting a post can decrease pending rewards and make it less visible. Common reasons:
Submit
Downvoting a post can decrease pending rewards and make it less visible. Common reasons:
Submit
Thanks for The Upvote
Downvoting a post can decrease pending rewards and make it less visible. Common reasons:
Submit
Such a unique and wonderful craft you have made, it's so amazing how you created such a colorful design. Nicely done and well done.
Downvoting a post can decrease pending rewards and make it less visible. Common reasons:
Submit