 Edited with Pixellap
Hello friend @steemkidss ,it's a pleasure to be here, but firstly I'll be thanking @mesola for organizing such amazing contest for fellow steemians to show case their wonderful talent and skills. I really love crafting, drawing and painting that's why I decided to participate on this contest but i guess it's my first time.
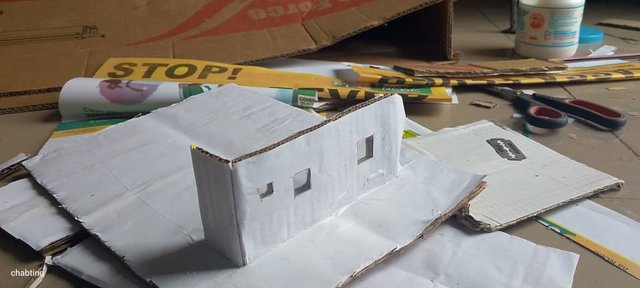
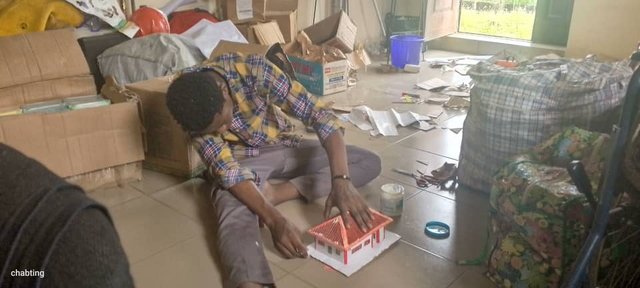
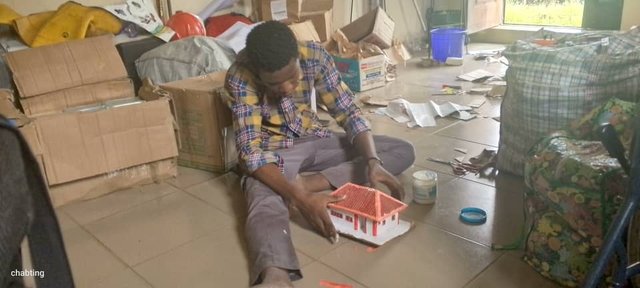
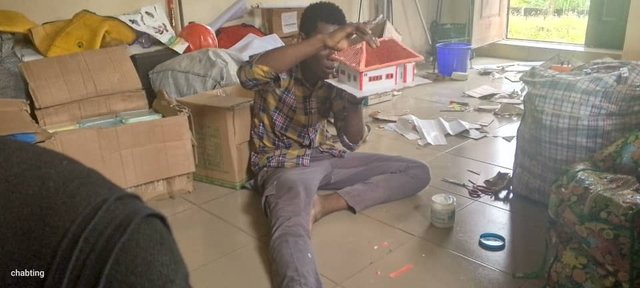
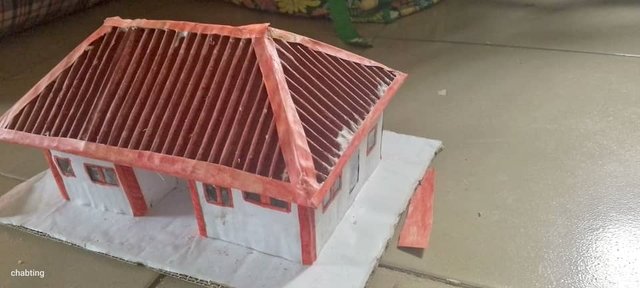
Today I made a blueprint of Red cross branch office Delta State honoring the branch as my first branch office for me to serve as a red cross volunteer. The impression came after I came across this contest and I decided to make something creative .
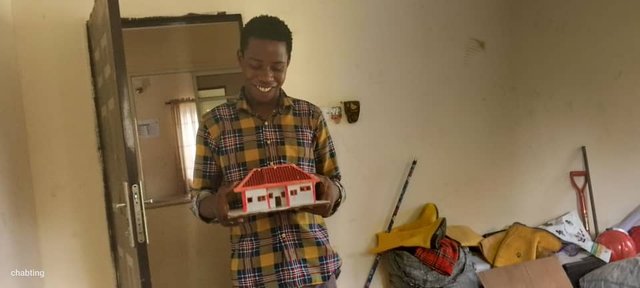
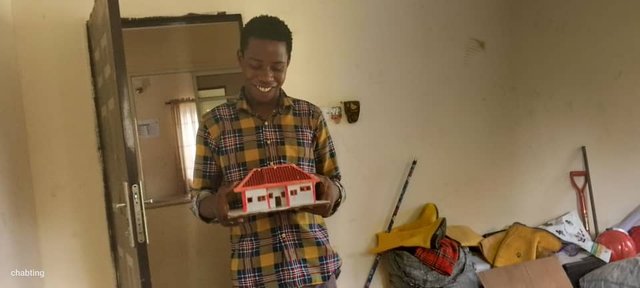
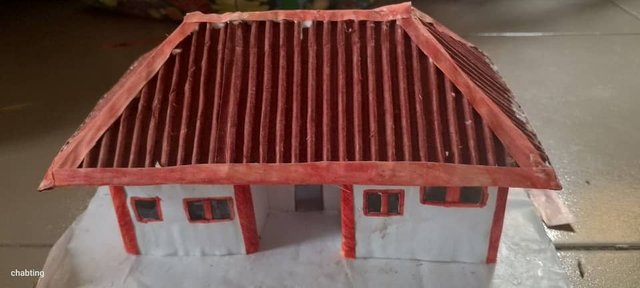 My blueprint of Delta State Red cross branch office .
Below I'll sharing some few steps and tools I used in making my blueprint .
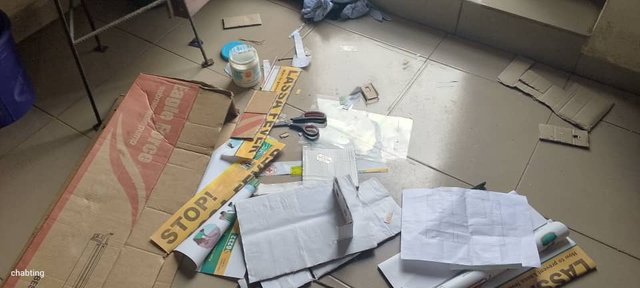
TOOLS/MATERIALS
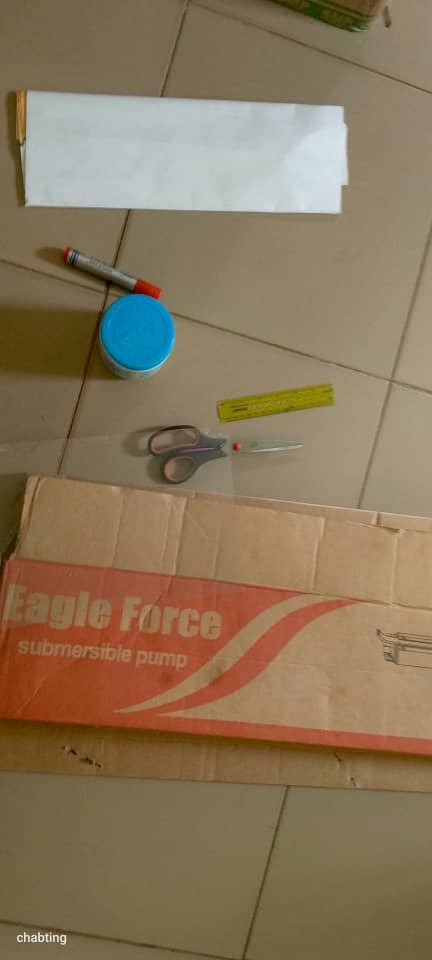
The tools is just common materials that's easy to get. They're
- Carton or straw board
- Top bond Gum
- Cardboard or art paper
- Pencil
- Eraser
- Ruler
- Razor blades
- Scissors
- Transparent flexible plastic for windows and doors
|
|
|
USES
Carton or straw board: The straw board is a hard paper board that's is used to make any art works in particular. The straw board is used to form walls of the blueprint, then carton came be of replacement if the straw board isn't available,and most cases carton are always used to make the roofing of the blueprint
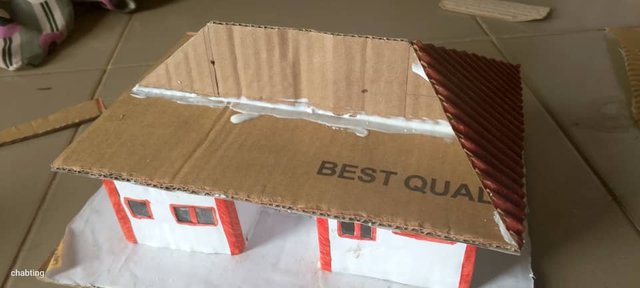
Top bond : the top bond here is a gum that's used to gum something but any types of gum can used , I used the top bond to gum the carton to form walls and also used it to gum the roofing of the blueprint
Cardboard or art paper: cardboard is used to add more beauty to the walls. In this case the cardboard and the straw board will be merged together using gum so that the walls can be attractive. Then most cases that the cardboard isn't available you can use a plane white art paper but you'll have to use marker to paint the art paper to make it colorful.
Pencil: pencil is always necessary to sketch out your walls and other parts and also to take note of measurements as well.
Eraser: Eraser is used to clear errors while using the pencil to sketch
Ruler: Ruler is one of the essential tools,it's used to make measurements of the walls and making your work looks accurate and neat.
Maker: The marker is used for colouration if you're using the art paper to merge with the carton or straw board to form walls
Razor blades: it's used to carve out the windows and door and to smaller cuts
Scissors: scissors is used to make bigger cuts, bigger cuts are cutting the straw board and cartons to form walls.
STEPS

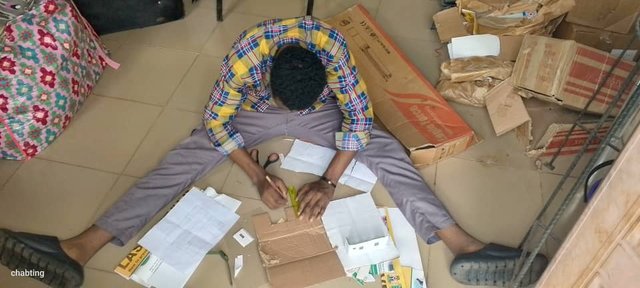
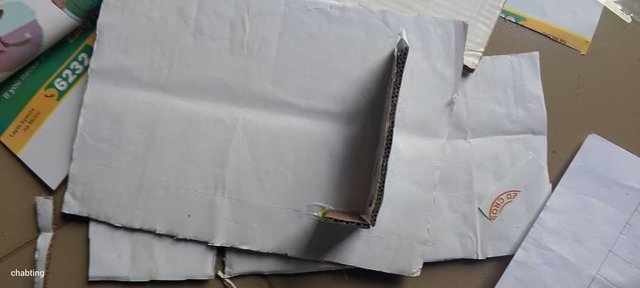
|
|
|
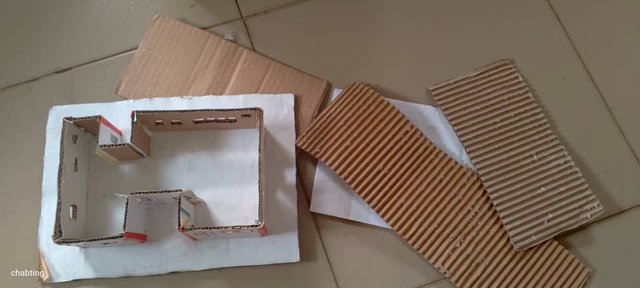
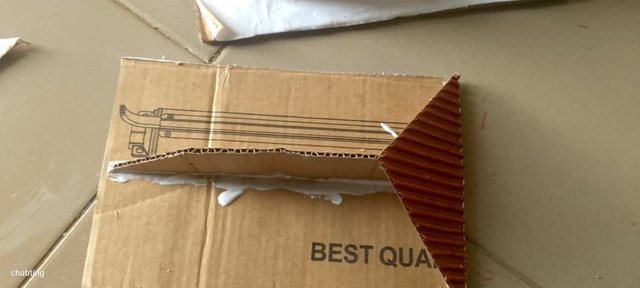
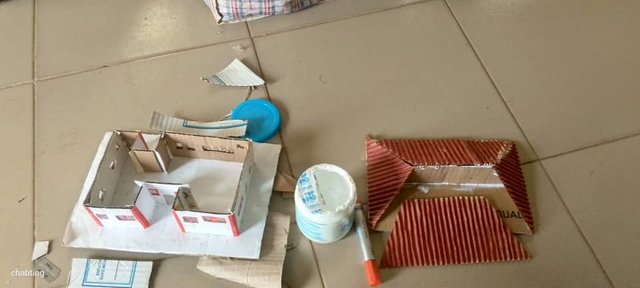
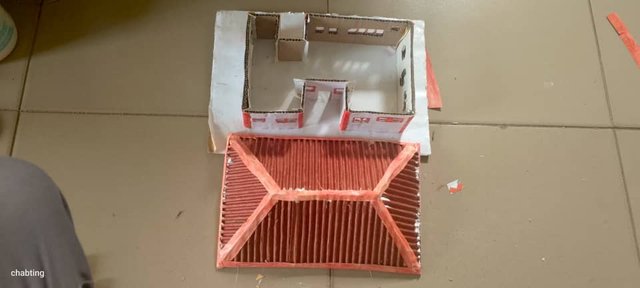
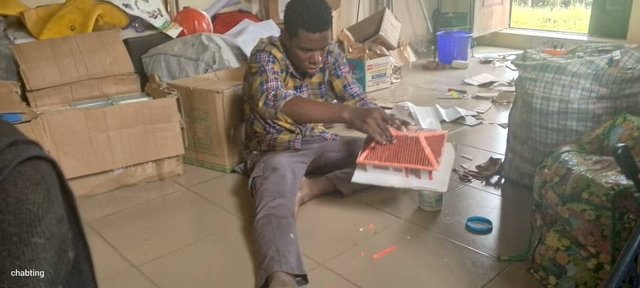
At this point I was done with all the walls so it was time to make the roof. Note whenever you're dealing with any paper crafts that have to do with gumming you've to give it some time to stick firmly together.
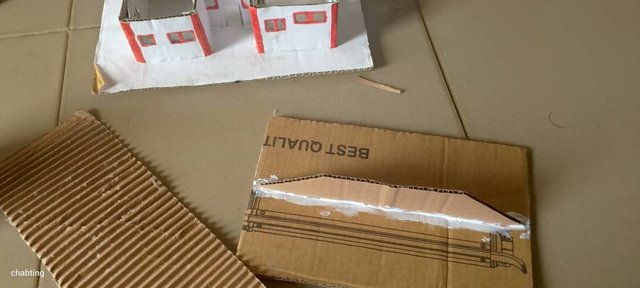
After that you'll color it with a marker and then you'll mount a triangle shaped carton on a plain carton so that you can be placing the pilled carton on it to be firm
|
|
|
|
|
|
|
|
|
|
|
|
|
|
|
Finally I was done with everything and I had to keep it to dry very well so that it won't pull out. It was really a stressful time for me making the blueprint though but I thank God I came out making it successfully
|
|
|
I'll love to invite some of my steemit friends to participate on this amazing contest @paul13,@bessie2023,@jozzie90,@dazzle55
Thank you for publishing an article in the Steem Kids & Parent community today. We have assessed your entry and we present the result of our assessment below.
MODs Comment/Recommendation:
😲 Wow, indeed this really looks so amazing and beautiful, you really have an incredible and outstanding skills/handwork. You have also given a well detailed description on how it was made. Thanks for sharing with us, It is highly Appreciated 😊
Remember to always share your post on Twitter. This POST LINK is a guide to that effect.
Downvoting a post can decrease pending rewards and make it less visible. Common reasons:
Submit
Thank you very much for reviewing my post, I really appreciate the meaning comment
Downvoting a post can decrease pending rewards and make it less visible. Common reasons:
Submit
اپ کی پوسٹ میں اتنی خوبصورتی کے ساتھ وضاحت کی گئی ہے کہ اپ نے کس طرح یہ ماڈل بنایا یہ ایک بہترین کوشش ہے میرا دل چاہ رہا ہے کہ میں خود بھی اپ کے طریقے سے ماڈل بناؤں اور اپنے بچوں کو دوں۔
Downvoting a post can decrease pending rewards and make it less visible. Common reasons:
Submit
Thank you very much for the wonderful comments, it'll really be nice if you us my steps to make something beautiful for your children
Downvoting a post can decrease pending rewards and make it less visible. Common reasons:
Submit
My twitter Link: https://x.com/emmizy_toflex/status/1866277247642206624?t=fSpCx3Wu2lNsKiMXscrFtQ&s=19
Downvoting a post can decrease pending rewards and make it less visible. Common reasons:
Submit
Always add the title of your post and the hashtag #steem #steemit $steem when sharing your article on Twitter
Downvoting a post can decrease pending rewards and make it less visible. Common reasons:
Submit
Downvoting a post can decrease pending rewards and make it less visible. Common reasons:
Submit
Thank you very much @solaymann ,I really appreciate
Downvoting a post can decrease pending rewards and make it less visible. Common reasons:
Submit
So amazing brother. yOU ARE SO SKILLfull. Keep steeming.
Downvoting a post can decrease pending rewards and make it less visible. Common reasons:
Submit
Thank you very much,I really appreciate the wonderful comments
Downvoting a post can decrease pending rewards and make it less visible. Common reasons:
Submit
Wow this is wonderful and your blueprint design is just so perfect. Nicely done and good job.
Downvoting a post can decrease pending rewards and make it less visible. Common reasons:
Submit