How is everyone? Hope everybody is doing well. I am also good by the grace of God. Today I have come before you with a DIY project. Today I will share making butterflies with colored paper. I hope you like it.
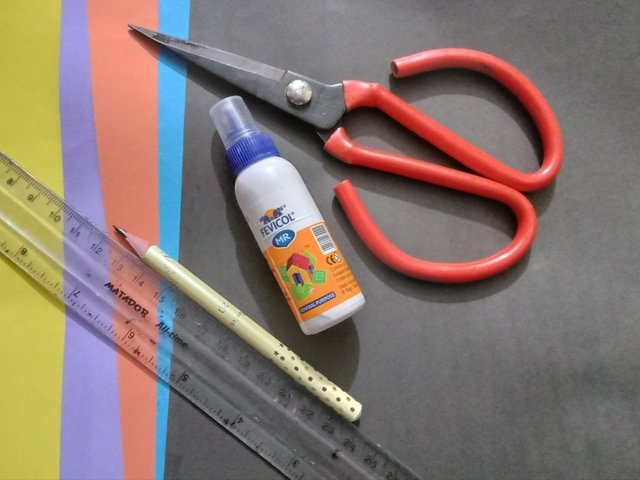
Necessary materials
- Colored paper
- Scissors
- Glue
- Scale
- Pencil
The first step:
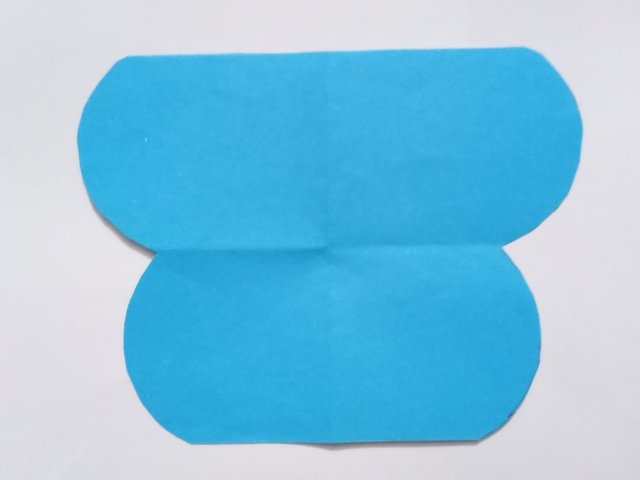
First I cut a piece of paper. Which is 16 cm in length and 10 cm in width. Then I folded the piece of paper along the middle. Then I drew the wings of a butterfly with a pencil in a round face of a box. Then I cut the butterfly according to the spots. I opened the fold after cutting.
Second step
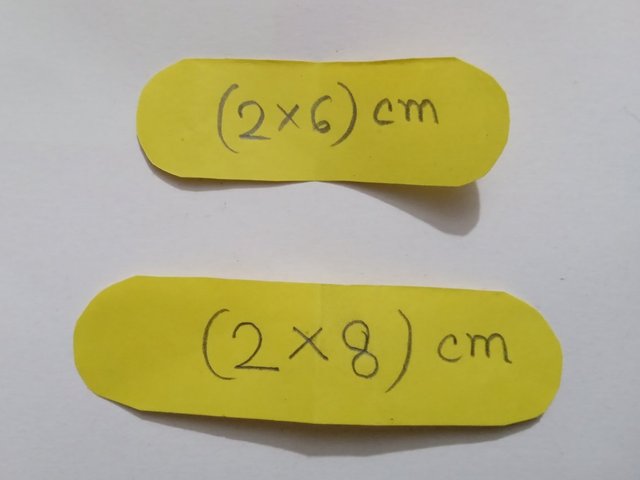
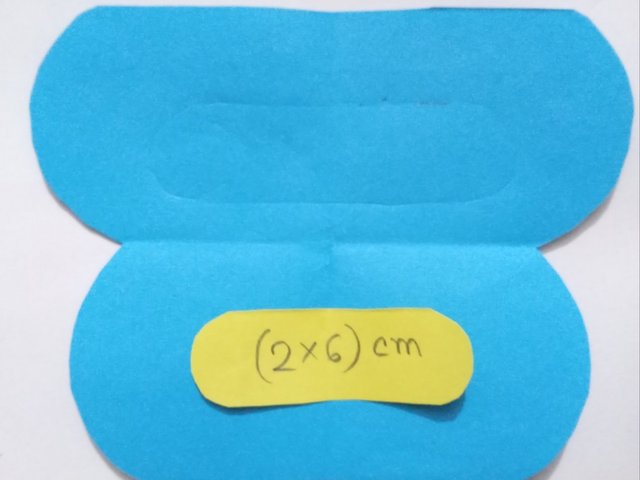
Then again I cut 2 small pieces of paper according to the measurement shown below. Then I scraped the small pieces of paper into the butterfly according to the size with a pen without ink according to the size. The upper part of the butterfly is the size of the larger paper and the lower part is the size of the smaller paper.
The third step
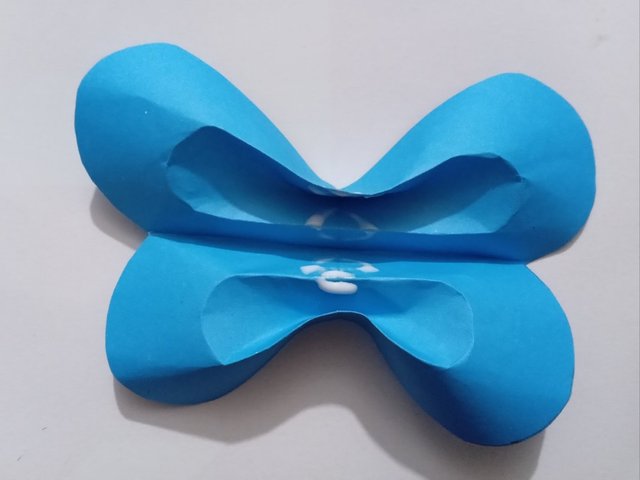
Then I darkened the spots with my nails according to the spots. This should be done with some caution. Otherwise the paper is likely to be torn. Then I glued all the folds together along the folds on the opposite side.
Fourth step
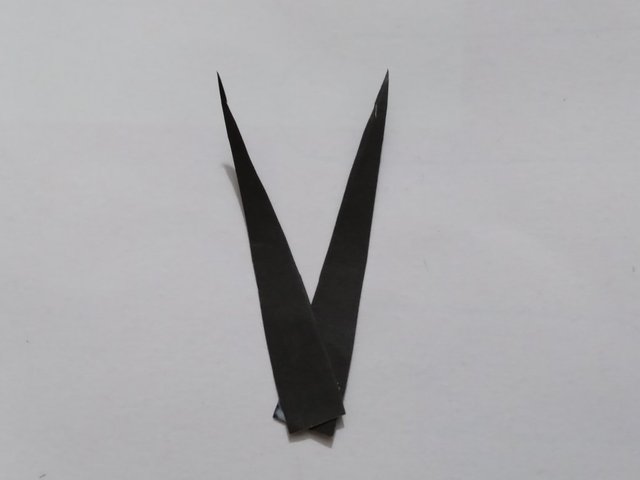
Then I cut two pieces of paper out of black colored paper.
The last step
Then I glue the thin sheets of paper to the back of the butterfly.
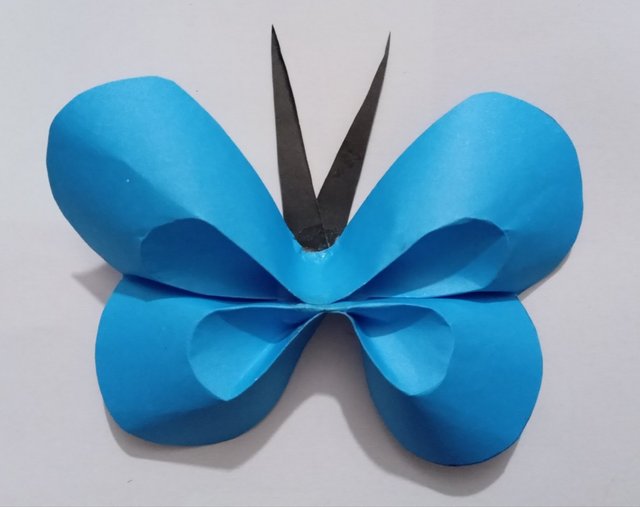
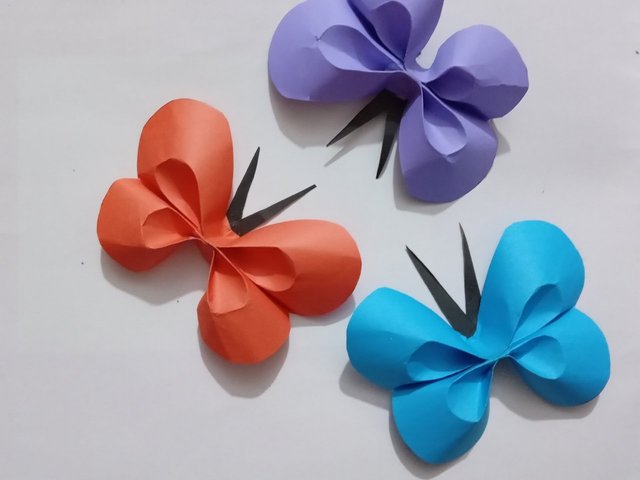
This is how my today's die project has completed. Here is the final output below:
Many thanks to everyone for reading this post. You must comment on how you like it. Everyone will be fine and healthy. Steem on.