 |
|---|
Hello friends, welcome once again to our graphic design beginners class. I trust you have been enjoying every bit of the lessons. In today's lesson we will be dealing with practical.
Well,I want to believe we have been practicing the former designs, if you have not been doing so, you might find it difficult relating with the way I do most of these things. Anyways its not too late, you can catch up with the lesson by visiting previous practical lessons, it shouldn't take you more than 30mins to run through them and understand.
...So last week a friend of mine asked me to help him with a design for his forex class. He had a design but wasn't satisfied with it so he had to reach out to me to help come up with something better. I had to do something with our popular canva app, just as seen below.
 |
|---|
I will be showing you how I arrived at this design.. smiles. Just get a cup of juice or something, relax and enjoy the ride with me. Shall we? I believe It's a yes as usual, so let's go....
The first and foremost is to choose your template although we not going to be using the stuffs on template,the most important thing we need is the size (dimension). I used an Instagram template for this work, a complete square shape with dimension 1:1. Do well to make the template blank by clearing all the elements on it.
Step 1:
After clearing all the elements your template, click on the "+" icon to introduce new elements. This time we are bringing in first a circle shape
 |  |  |
|---|
Step 2:
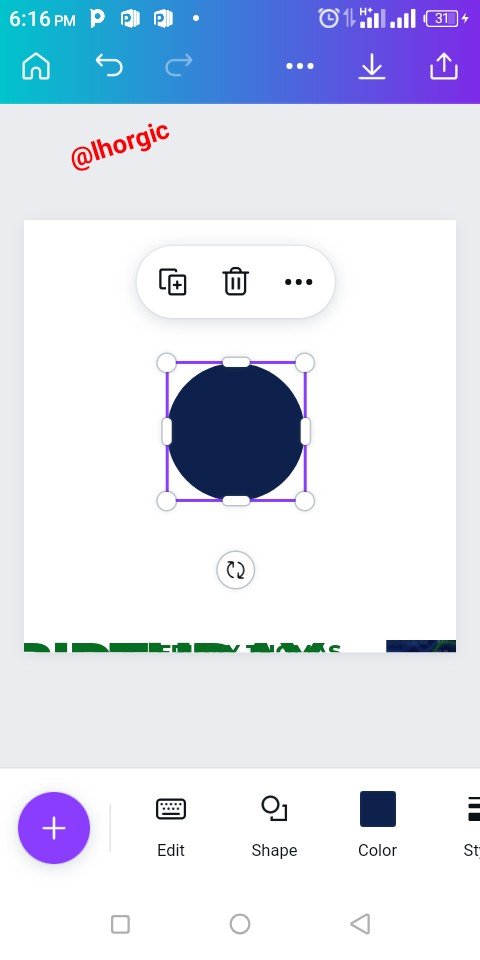
The circle shape is brought in, I then resized it by dragging the tip of the shape to increase it size. Afterwards I positioned it in the upper part of the workspace just as seen in the images below.
 |  |
|---|
Step 3:
I will be bringing in a frame to accommodate a background image for this design. To do that click the "+". Search for frame using the search bar under Elements and then select the circle frame.
 |  |  |
|---|
Step 4:
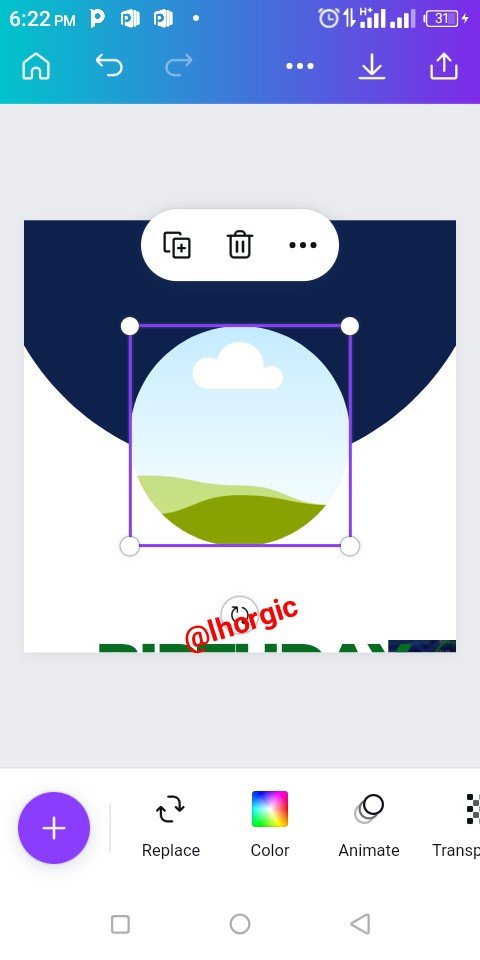
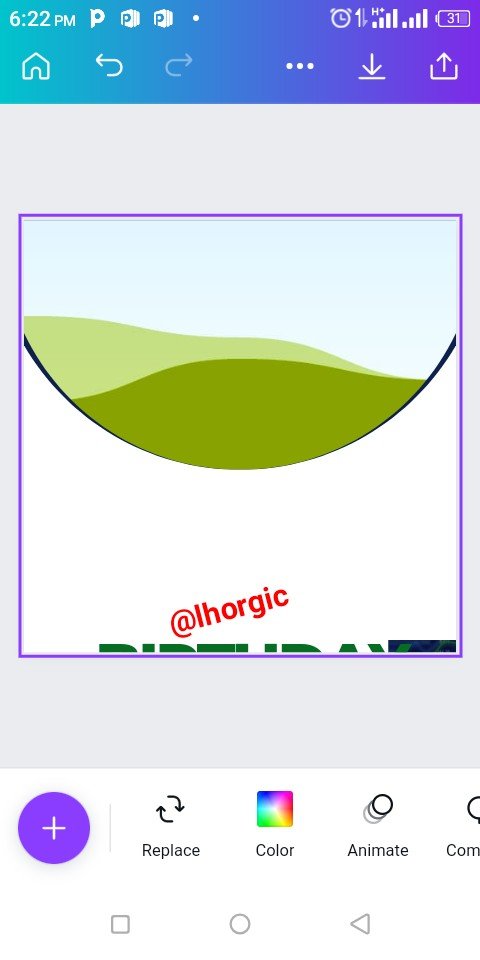
Now your frame is in, you then resize it by dragging the tip to increase it size. Kindly move and place it on top the circle shape we had earlier placed at the upper part of our workspace.
 |  |
|---|
Step 5:
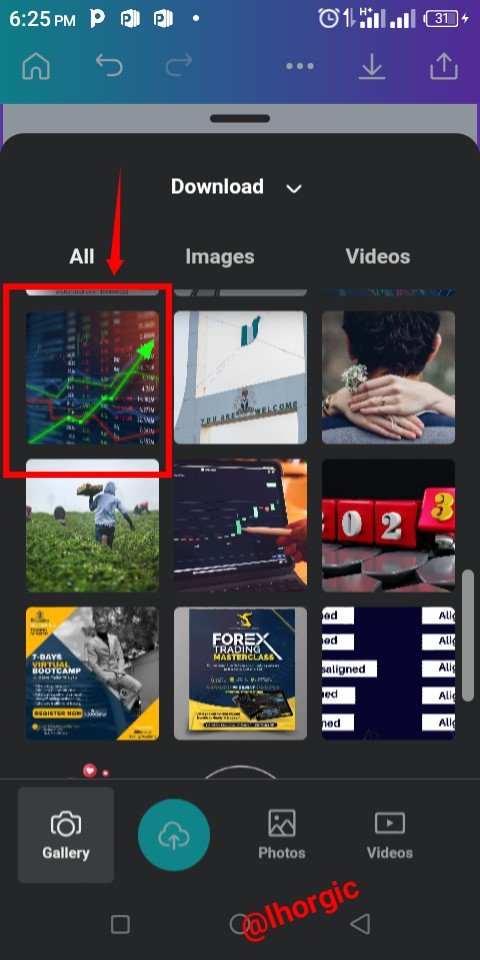
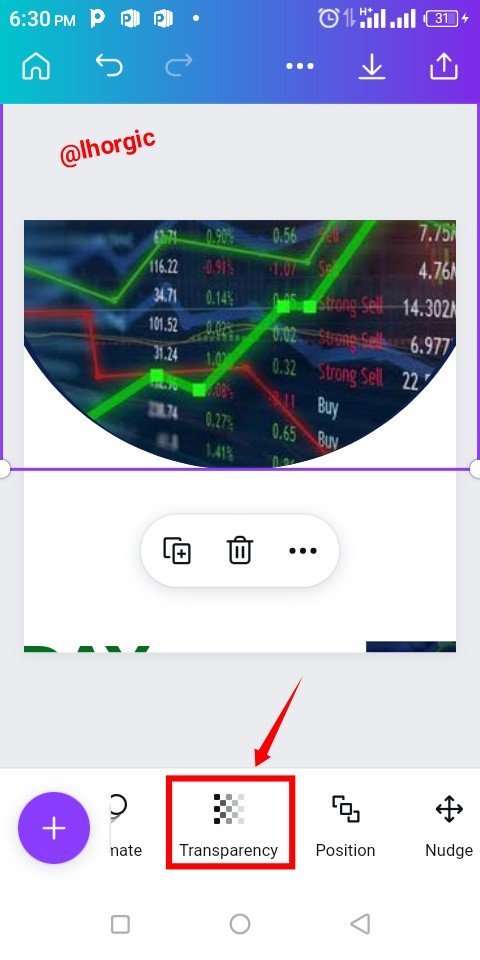
We will be bringing in the image we want to use on the frame. To do this click the replace icon.This takes you to your gallery, you then pick the image you have prepared for your design. Lastly, with the help of Transparency you can adjust the opacity (appearance) of the image i.e fade, so that other elements can blend in.
 |  |  |
|---|
Step 6:
Introduce your text,in this case we have WIZU FX ACADEMY. Place and position the text carefully on our image and then use the colour icon denoted with "A" to change the colour to white. The font used is called Montserrat (bold & semi-bold.)
 |  |  |
|---|
Step 7:
I noticed he does not have a logo, I decide to do something simple. Used the "+" to bring in a circle shape as usual, changed it color to an orange-like colour with hex code #EF9814. I then place the shape at the uppermost part of our workspace with the "WFX" as a wordmark logo.
 |  |  |
|---|
Step 8:
I will be Introducing an element called "brush". To do this, click on the "+" as usual and then under our element search for brush. Select from the ones offered for free just as seen below. When it's brought in kindly resize and choose your colour, in this case we would be using the orange-like colour.
 |  |  |
|---|
Step 9:
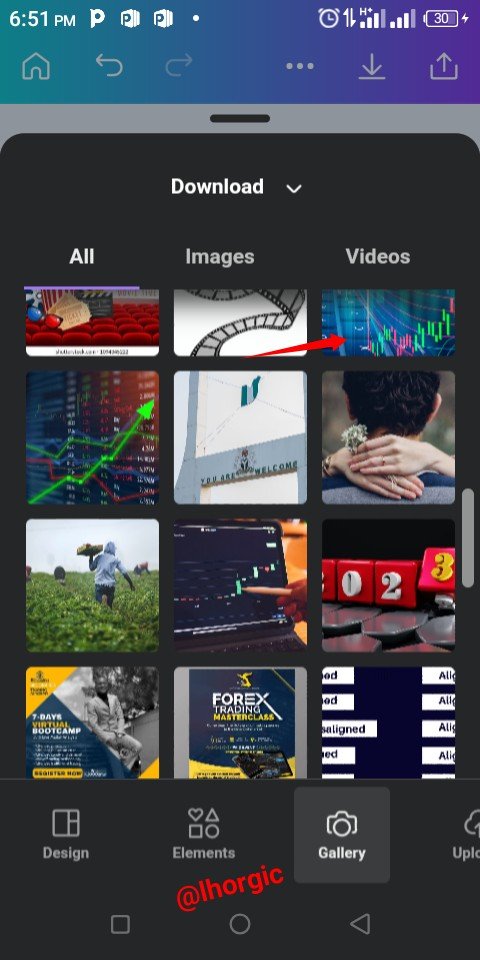
I will bring in another image to complement the white background. To do this click the "+" as usual, then go to your gallery to pick the Image to be used. Then it's brought in.
 |  |  |
|---|
Step 10:
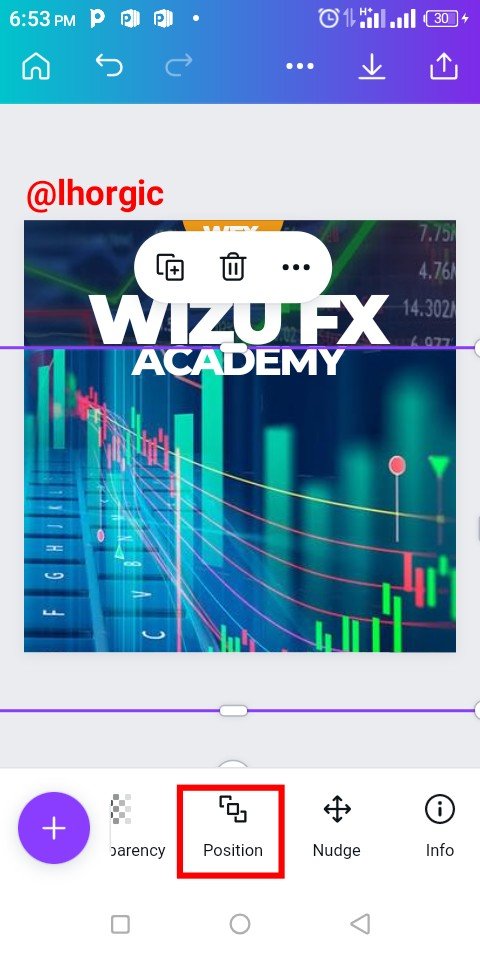
Enlarge the image to cover the white background and then position it to the back using position tool. Also do well to use the "Transparency tool" to make the image fade into the background. I set my transparency at 17%.
 |  |  |
|---|
Step 11
You can add other information such as "presents" and the text on the brush effect, do well to position it. Add text effect to make the text more visible. I used the lift text effect for my text..
 |  |
|---|
Step 12:
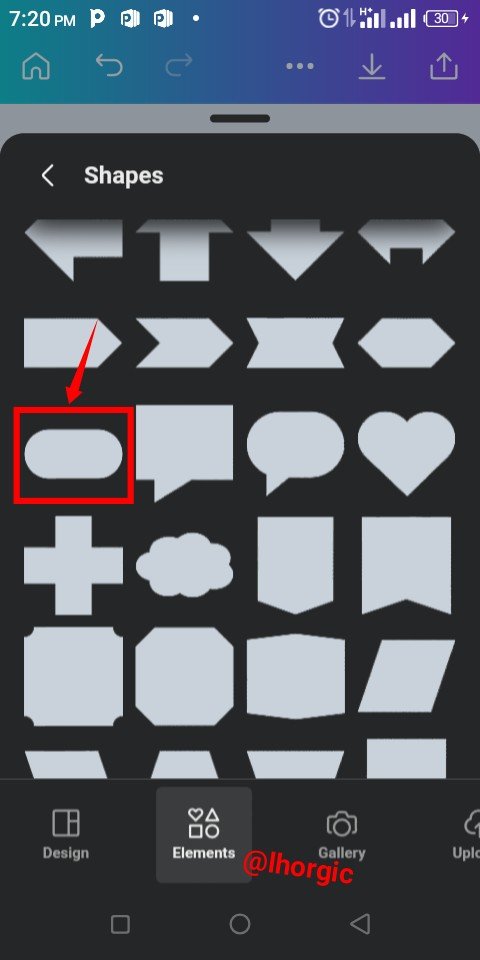
I added my "Course content" and place it on the selected shape. By now you should be able to locate shapes if you've be following. The same shape was duplicated enlarged and then placed systematically at the bottoms of our workspace.
I also imputed other information and arranged them systematically.
 |  |  |
|---|
Step 13:
I need a telephone icon for contact. I clickecd on the "+" as usual and then searched for telephone icon. I got the one I needed and then it appeared on our design. I then gave it my preferred colour and resized.
 |  |  |
|---|
Step 14:
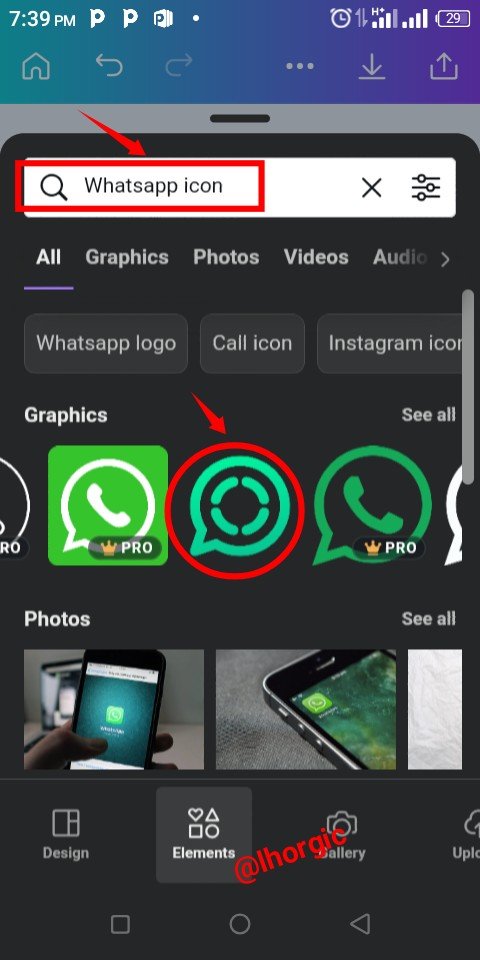
Repeat the same step for our WhatsApp icon.I searched and selected from the free to use icons. You might not need to change the colour just like me. I only resized to fit our design.
 |  |  |
|---|
Step 15:
The last element is the splash icon which I also searched for and resized to fit our design. And then finally added our text "Fee & Free". I made this stand out in order to make it ring a bell in the minds of our targeted audience.
 |  |  |
|---|
 |
|---|
This is where I will be wrapping up our lecture for today. I really appreciate you for coming this far with me. I trust you got value from this post. Feel free to share your thought on today's lesson. If there is anything you would love me to add to improve the lesson, be free to share.
If you missed the previous posts on this beginners class, kindly check them out here.
G101 introduction post
Lesson 1
Lesson 2
Lesson 3
Lesson 4
Lesson 5
Lesson 6
Lesson 7
Lesson 8
Graphic Instructor
@lhorgic♥️
Cc: @ubongudofot.
We support quality posts anywhere and any tags.
Curated by : @lhorgic
Downvoting a post can decrease pending rewards and make it less visible. Common reasons:
Submit