PENCIL PORTRAIT
STEP 1
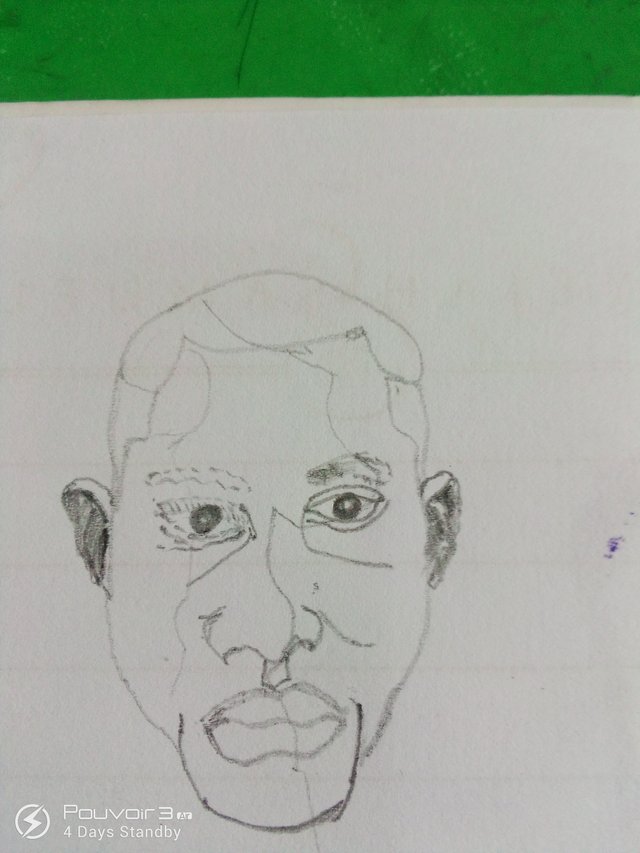
Draw the outline of the object you want to make on your paper, in this case a human face as you can see above. Then map the areas you want light to reflect.
STEP 2
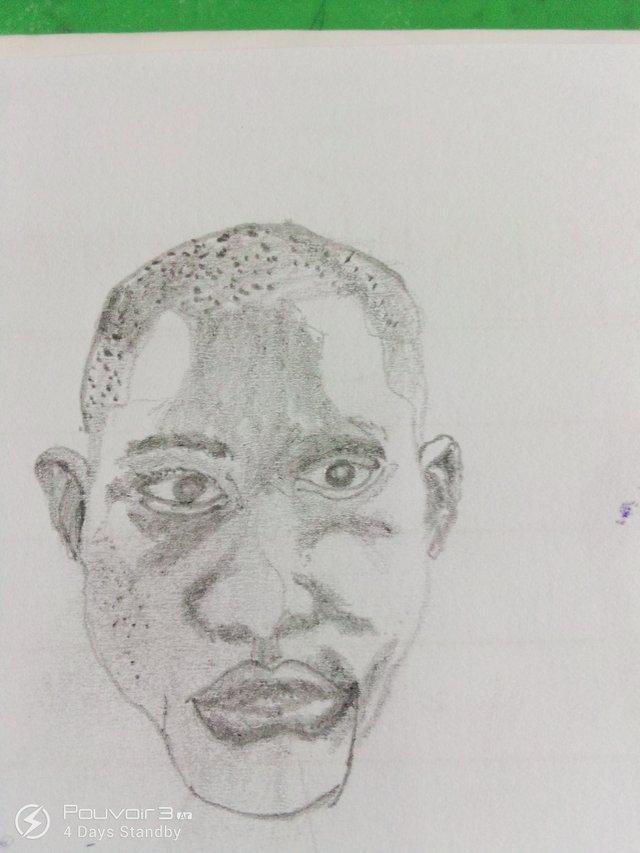
Start shading. Make sure you take note of the areas you mapped out by ignoring or giving only a light shade to this areas.
STEP 3
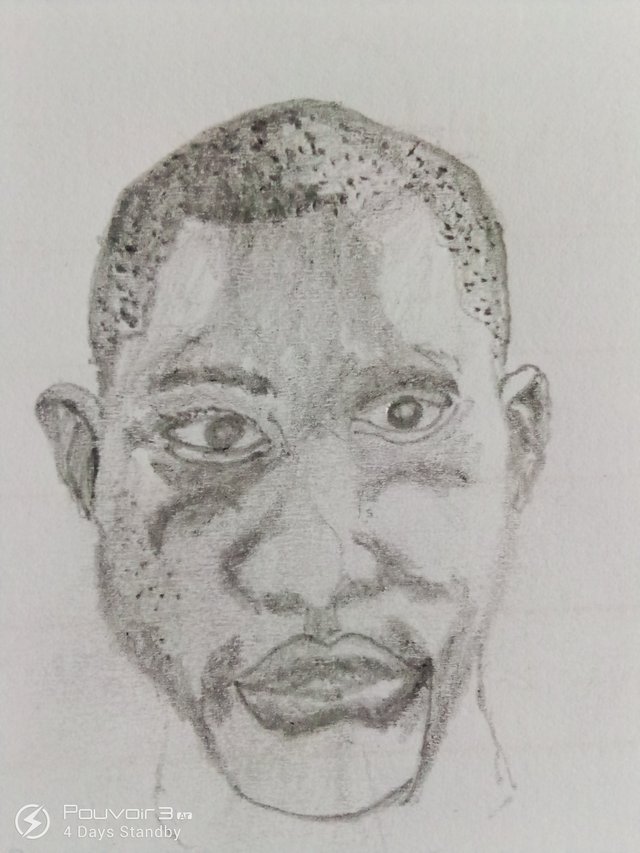
Keep adding more shading to areas that are not reflecting light, watch your tone(thickness of your pencil) so the difference would be clear.
STEP 4
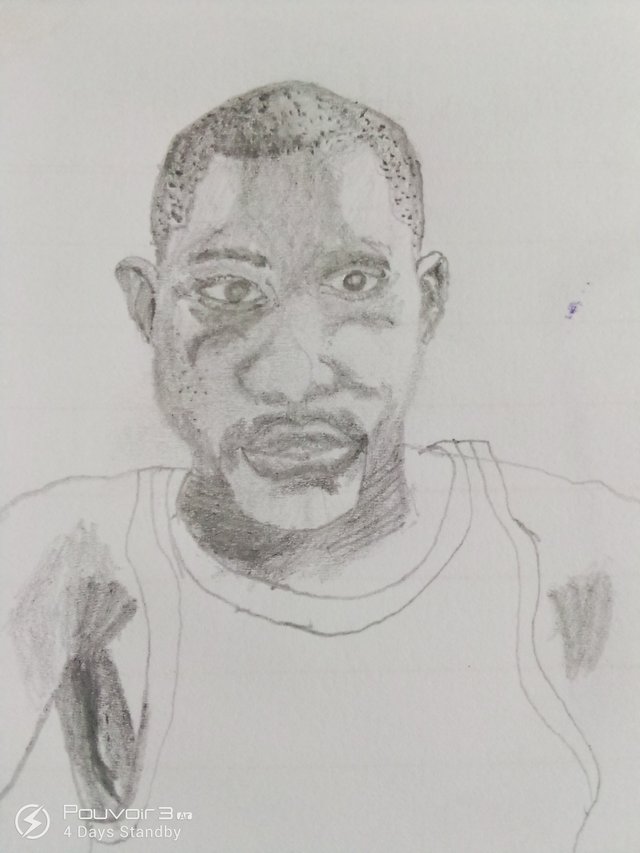
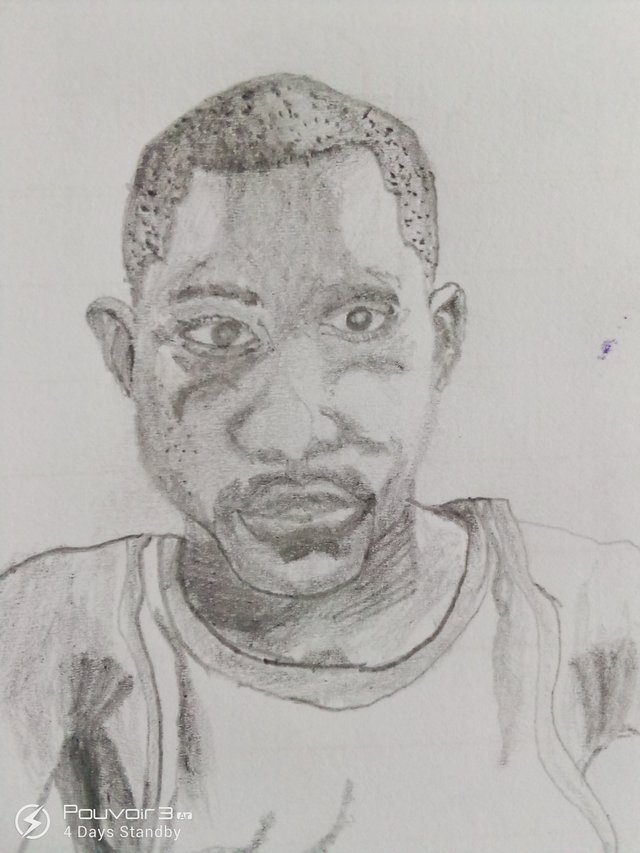
You add a new feature to your sculpture if you care, that's what I did above.
STEP 5
.jpg)
Add shading to whatever feature that you add to your object, this will enable you to bring out the reality of the object.
STEP 6

The real picture comes out!
Summary
Draw the shape of the object.
Map out areas that you will apply shade or dark areas.
Apply shading to those areas, giving attention to the tone of shading.
Let me know your opinion on the comment section.
You could also follow me for more creative post.
Downvoting a post can decrease pending rewards and make it less visible. Common reasons:
Submit