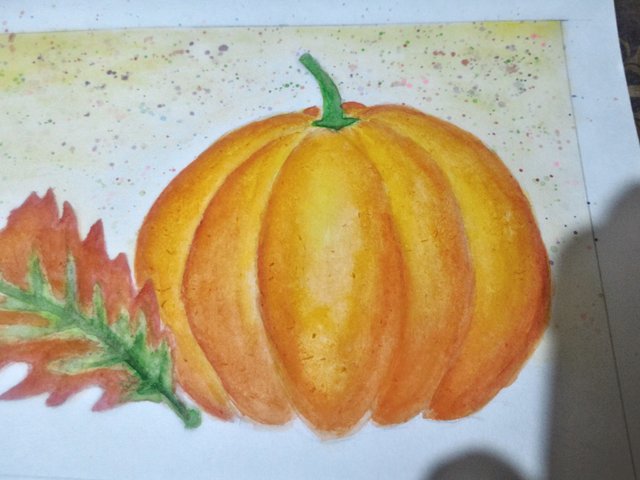
Hello everyone! Today I am going to share the art process on how I painted this artwork. It is a painting of pumpkin, oak leaf and acorn. The medium that I used to paint this is watercolour.
The art tutorial that inspired me to create this is by Lindsey (thefrugalcrafter). Click here to check her tutorial out. My pumpkin is completely different compared to hers but she is the one who inspired me to create this painting so I am sharing her link as a way of thanking her.
Tools and materials
- An art block that is suitable for watercolour
- Buncho water colours
- A small round brush
- 2 containers of water (one to mix paint and one to clean brush)
- A palette to mix paint
- A HB pencil to draw
- A dust free eraser to correct mistakes in drawing
- A tissue to absorb excess paint/water
Method

This is the drawing that I drew using a HB pencil.

I painted the background in yellow first. I tried to make a gradient effect by using varying amounts of water.

For the first time ever, I thought of trying out the colourful splash method to add some pattern to the background. I used different colours and just bumped my brush after picking the paint up to make the paint splash on the artwork.

Next, I painted the oak leaf in yellow and orange. I will use the other colours once they get dry by layering the paint so I don’t accidentally poke a hole in my artwork.

Then, I painted the pumpkin in orange. I mixed some yellow as well. I also painted the top part in green. I tried to give some darker shadings at the edges of the divisions of the pumpkin so it looks like it stands out.

So the first layer of the leaf dried up. I proceeded to add some red around the edges and some dark green in the middle parts to make the leaf nerves.

I added some orange to the leaf to make it look more vibrant. I also painted the acorn in golden brown and reddish brown along with a tiny amount of black.

Then, I went back to the pumpkin to add more layers to it. It looks a lot better now doesn’t it? That is because I included some red to make the shadows darker and lifted some of the paint in the middle sections of the partitions to create some highlights. This increased the overall contrast of the artwork as the pumpkin is the main subject of the painting.

I also added some reddish brown to the edges of the leaf to make it even darker than it already is. Since the leaf is not completely laid flat on the ground, I painted some dark shadows of the leaf on the ground so it looks more realistic. I used black at the very edges which are the closest to the leaf.
If you are planning on doing the same, please be mindful of how much paint you are using because even a small amount of excessive black can make the entire painting dull. In case you do make a mistake there, don’t panic! Just use the lifting technique and remove the paint as much as you like and reapply some paint to your liking.

I thought that I was done with the painting when I realized that I had some white gaps between the pumpkin and the ground surface.

I filled all of the white gaps up. By the way, I did add some minor details here and there to improve the painting. I was finally satisfied with the outcome and called the painting done.

This is how the painting looks under natural daylight. The previous picture was captured at night under artificial light while this was captured the next day with natural light alone. It does look a little different but I assure you that it is indeed the same painting with zero editing.

This is the last bit of my Halloween fever. I really wish that we celebrate it here where I live but it is generally not common as it is still a foreign thing in most areas here. Perhaps one day! Anyway, thank you for dropping by and I hope that you have a great day.