Saludos queridos integrantes de esta gran comunidad de SteemFoods, después de unos meses de inactividad debido a problemas de salud y situaciones personales hoy quiero mostrarles una receta fácil para hacer pan árabe conocido también como pan pita, para esta ocasión yo los use para preparar unos ricos enrollados (Shawarma), pero estos panes son tan versátiles que sirven para usarlos de acompañante de nuestras comidas, para preparar sándwiches, para comer con salsas o como bocadillos.
Greetings dear members of this great community of SteemFoods, after a few months of inactivity due to health problems and personal situations today I want to show you an easy recipe for making Arabic bread also known as pita bread, for this occasion I used them to prepare a rich rolled (Shawarma), but these breads are so versatile that serve to use them as an accompaniment to our meals, to prepare sandwiches, to eat with sauces or as snacks.
La preparación es muy sencilla y se conserva suave por mucho tiempo si se guardan correctamente. Creo que como la mayoría de los venezolanos además de ser fanáticos de las arepas somos amantes del pan o personalmente yo soy así jaja y este es un tipo de pan sin miga, con el que se preparan muchos platos de la gastronomía árabe que realmente son deliciosos.
The preparation is very simple and it keeps soft for a long time if stored properly. I think that as most Venezuelans besides being fans of arepas we are bread lovers or personally I am like that haha and this is a type of bread without crumbs, with which many dishes of Arabic cuisine are prepared that are really delicious.

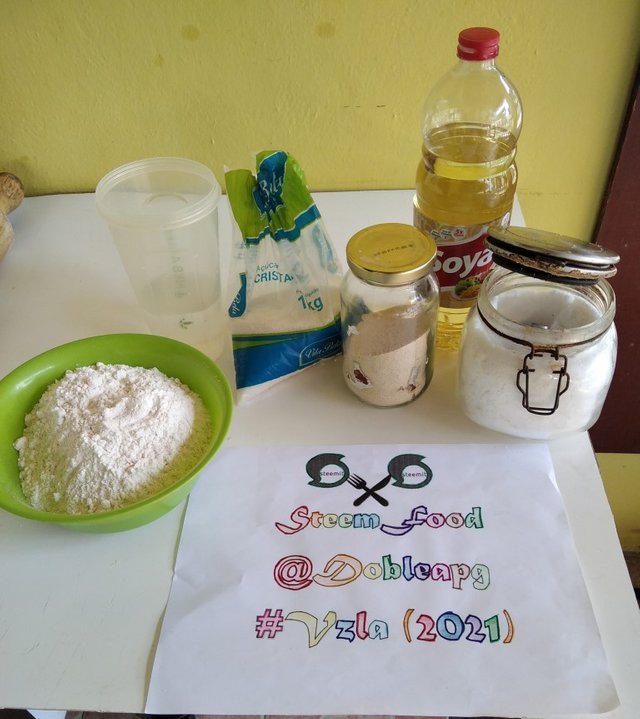
Ingredientes utilizado para la preparación

PREPARACIÓN // PREPARATION

Paso 1
Colocar los 125 ml de agua tibia en un bol o recipiente. Es importante que esté tibia y no caliente. Incorporarle el azúcar y la levadura. Revolver hasta que esta se disuelva y vea unas pequeñas burbujitas para luego dejar reposar de entre 5 y 10 minutos
- Step 1
Place 125 ml of warm water in a bowl or container. It is important that it is lukewarm and not hot. Add the sugar and yeast. Stir until it dissolves and you see some small bubbles and then let it rest for 5 to 10 minutes.
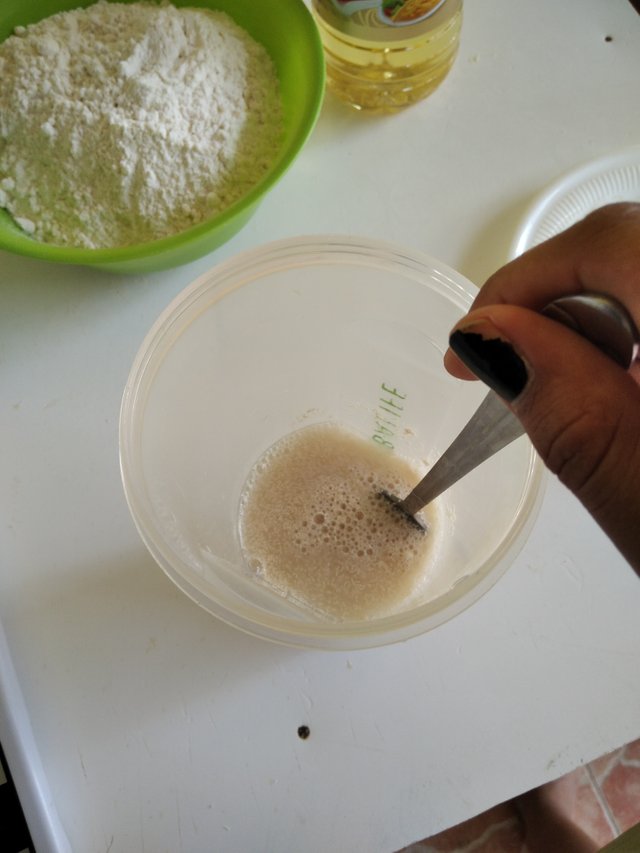
Proceso de activación de la levadura


Paso 2
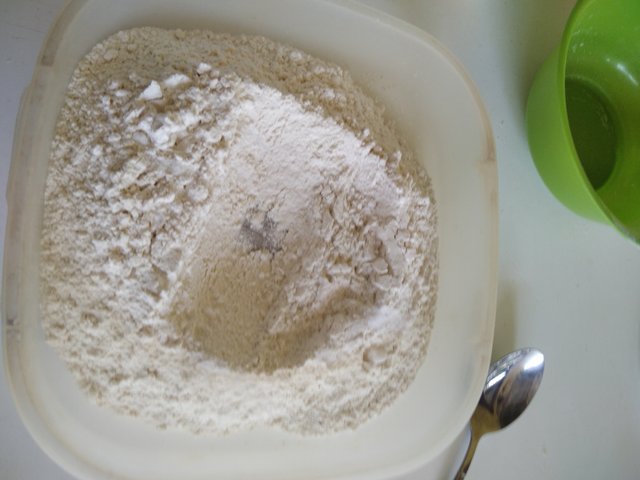
En otro recipiente o bol grande colocar la harina y añadir la sal, mezclar un poco y luego hacer un tipo volcán en la harina para añadir el aceite.
- Step 2
In another large bowl place the flour and add the salt, mix a little and then make a volcano in the flour to add the oil.


Paso 3
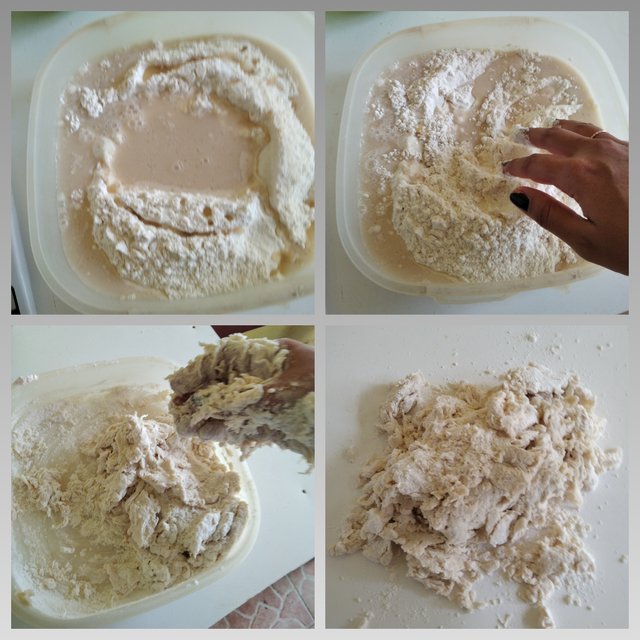
Añadir la mezcla que se reservo en el primer paso a la harina e integrar poco a poco los ingredientes. Volcar la masa sobre una mesa limpia y seca con un poco de harina y amasar durante unos cinco a diez minutos o hasta que se vuelva lisa y uniforme.
- Step 3
Add the mixture reserved in the first step to the flour and gradually integrate the ingredients. Turn the dough out onto a clean, dry table with a little flour and knead for about five to ten minutes or until it becomes smooth and uniform.


Paso 4
Después de amasar reservamos la masa en un recipiente, puede ser el mismo donde hicimos la preparación y lo tapamos con un paño durante 45 minutos, 1 hora o hasta que doble su tamaño.
Step 4
After kneading reserve the dough in a bowl, it can be the same where we did the preparation and cover it with a cloth for 45 minutes, 1 hour or until it doubles in size.
.jpg)


Paso 5
Cuando la masa haya doblado su tamaño la sacamos del reciente y le sacamos el aire, luego la estiramos con la ayuda de un rodillo y la enrollamos para que sea mas fácil dividirla en partes iguales dependiendo del tamaño de su preferencia, si tiene peso electrónico o de cocina pueden hacerlo mediante su peso, si no lo hacen al ojo por ciento. Yo lo dividí en 9 partes iguales para luego estirarlas haciendo un circulo. Hay que tener en cuenta que entre más se estire el círculo, más finos e hinchados te saldrán los panes, Y cuanto menos se estiren, más gorditos resultarán.
- Step 5
When the dough has doubled its size we take it out of the recent and we remove the air, then we stretch it with the help of a rolling pin and roll it to make it easier to divide it into equal parts depending on the size of your preference, if you have electronic or kitchen weight you can do it by weight, if not do it by eye percent. I divided it into 9 equal parts and then stretch them into a circle. Keep in mind that the more you stretch the circle, the thinner and puffier the loaves will be, and the less you stretch them, the fatter they will be.
.jpg)


Paso 6
Para este paso tenemos 2 opciones, podemos hacerlo horneado o en un sartén antiadherente, yo para esta oportunidad lo hice en sartén de la siguiente manera, después de estirar la masa lo más que pude los coloque en el sartén durante aproximadamente 3-4 minutos a fuego medio por cada lado o hasta que empezaran a dorar y así sucesivamente hasta que hice los 9 pancitos, no fue necesario poner harina ni aceite. Tambien hay que tener en cuenta que no hay que dejarlos mucho tiempo en la sartén porque se podrían tostar.
Step 6
For this step we have 2 options, we can do it baked or in a non-stick pan, for this opportunity I did it in a pan as follows, after stretching the dough as much as I could I put them in the pan for about 3-4 minutes over medium heat on each side or until they began to brown and so on until I made the 9 little breads, it was not necessary to put flour or oil. Also keep in mind that you should not leave them too long in the pan because they could get toasted.
.jpg)
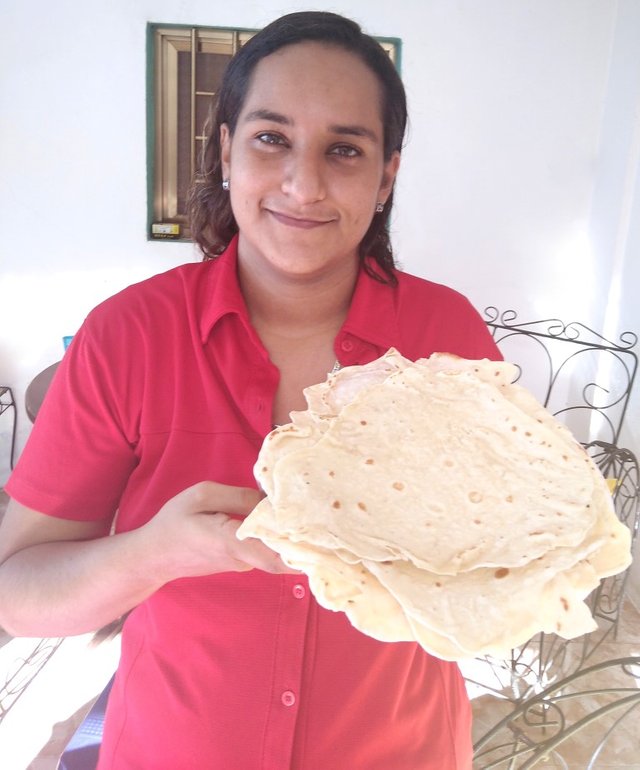
Así quedaron mis pancitos listos para degustar :D


Paso 6.1
En caso de preferir horneados lo que hay que hacer es poner el horno a precalentar y engrasar/enmantequillar una bandeja y rociarla con un poco de harina , colocar los discos ya aplanados con una distancia considerable entre cada uno. Debemos cocinarlos entre 7 y 9 minutos aunque esto va a depender de nuestro horno, el pan árabe se debe sacar blanco, porque si esperan a que esté tostado se les va a desarmar.
- Step 6.1
If you prefer to bake them in the oven, put the oven to preheat and grease/buttered a tray and sprinkle it with a little flour, place the flattened disks with a considerable distance between each one. We must cook them between 7 and 9 minutes although this will depend on our oven, the Arab bread should be taken out white, because if you wait until it is toasted it will fall apart.

Preparando las shawarmas con los pancitos recién hechos

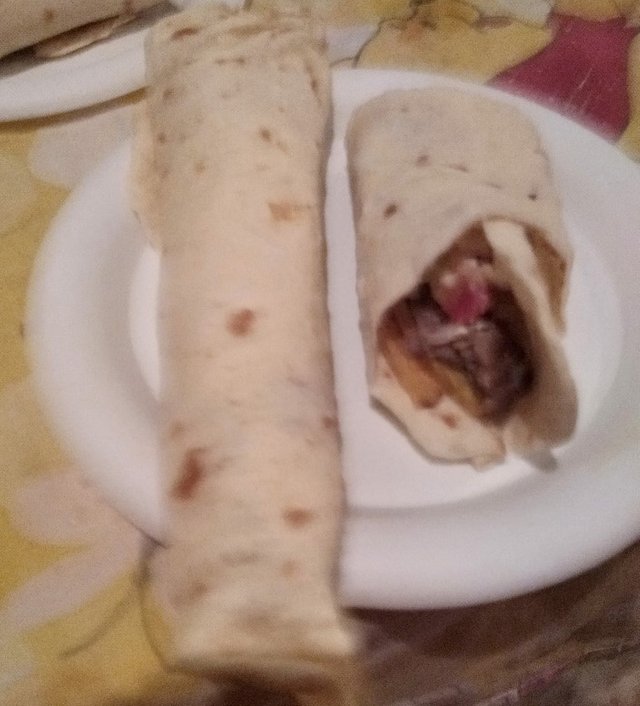
Después de hacer mis panes procedimos a hacer los ricos shawarmas para la cena, en esta oportunidad los hicimos de carne, así que aliñamos y condimentamos la carne y los armamos en forma de bastoncillos, para luego freírla, también pelamos y freímos unas papas y lavamos muy bien los vegetales, cuando tenia todos los ingredientes cocinados y preparados, empezamos con el armado en donde coloque todos los panes en el mesón y fue echándole las salsas y cada uno de los ingredientes correspondientes, para luego empezar a enrollarlos y envolverlos con papel de cocina. Y buen provecho!! Realmente quedaron exquisitos, esta receta como dije a un principio tiene bastante versatilidad para darle un buen uso!
After making my breads we proceeded to make the delicious shawarmas for dinner, this time we made them with meat, so we seasoned and seasoned the meat and we assembled them in the form of sticks, and then we fried them, we also peeled and fried some potatoes and washed the vegetables very well, When I had all the ingredients cooked and prepared, we started with the assembly where I placed all the breads on the counter and was pouring the sauces and each of the corresponding ingredients, and then start to roll them and wrap them with paper towels. And bon appetit! They really were exquisite, this recipe as I said at the beginning has enough versatility to give it a good use!

.jpg)

Hasta aquí mi receta de hoy, espero que le haya sido de su agrado mi post y que se animen a preparar esta receta tan versátil.
So far my recipe for today, I hope you have enjoyed my post and that you are encouraged to prepare this versatile recipe.
Fuentes:
Todas las fotos publicadas en esta receta fueron tomadas desde mi teléfono Redmi 8 exclusivamente para la comunidad de Steemit.
Los collage fueron realizados en fotojet y photoshop
El separador es de mi propiedad para la comunidad de food
Translated with DeepL (free version)
Sources:
Hi :
Thank you very much for sharing your quality content in detail on the SteemFoods Community. -We gave 60% support to this post on the steemitfoods account. Congratulations ! Keep producing content in the SteemFoods Community. :)
You can support the SteemFoods Community by delegating to the -steemitfoods account. You can quickly delegate using the links below.If you are already delegating,thanks for your support. It is an automatic information message.
Downvoting a post can decrease pending rewards and make it less visible. Common reasons:
Submit
Muchas gracias por el apoyo
Downvoting a post can decrease pending rewards and make it less visible. Common reasons:
Submit
Post compartido en Twitter:
Downvoting a post can decrease pending rewards and make it less visible. Common reasons:
Submit
Congratulations, your post has been upvoted by @dsc-r2cornell, which is the curating account for @R2cornell's Discord Community.
Enhorabuena, su "post" ha sido "up-voted" por @dsc-r2cornell, que es la "cuenta curating" de la Comunidad de la Discordia de @R2cornell.
Downvoting a post can decrease pending rewards and make it less visible. Common reasons:
Submit