¡Feliz martes queridos y respetados steemians!
Happy Tuesday dear and respected steemians!
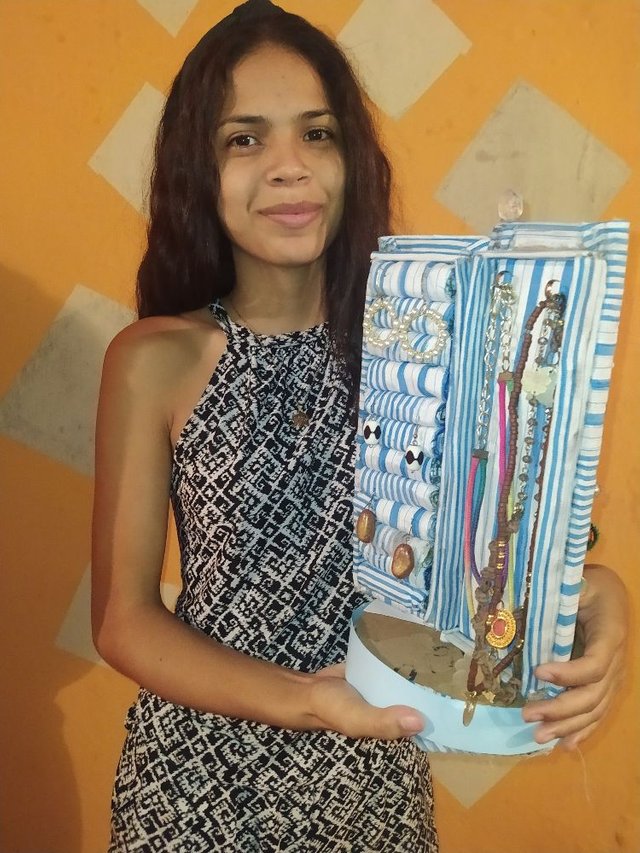
| Hoy les traigo una manualidad para guardar sus accesorios (zarcillos, relojes, collares...), para ser sincera fue muy complicada hacerla pero a pesar de que me costó bastante terminarla, quede complacida con el resultado final.
Antes de empezar quiero decirles que realizar este tipo de cosas nunca fue lo mío y me falta mucha creatividad, pero lo que descubrí a través de este blog fué lo importante que resulta probar cosas nuevas ya que a raíz de ello aprendes cosas sobre ti que no sabías o que no creías que eras capaz de hacer y es una experiencia de verdad maravillosa por mas pequeño que sea el avance o crecimiento de ti mismo. Lo que les quiero significar, es que nada es imposible sólo tienes que darte la oportunidad de aprender algo nuevo tengas la edad que tengas. Sin mas que decir
¡Comencemos! |
Today I bring you a craft to keep your accessories (earrings, watches, necklaces...), to be honest it was very complicated to make it but even though it took me quite a while to finish it, I was pleased with the final result.
Before I start I want to tell you that making this kind of things was never my thing and I lack a lot of creativity, but what I discovered through this blog was how important it is to try new things because you learn things about yourself that you did not know or did not think you were capable of doing and it is a truly wonderful experience no matter how small is the progress or growth of yourself. What I want to say is that nothing is impossible, you just have to give yourself the opportunity to learn something new no matter how old you are. Without further ado
Let's get started!
Pasos:
Steps:
| Primero cortemos 5 círculos de 22 1/2 cm de diámetro y abrimos un hueco en el medio de 4 de ellos. |
First let's cut 5 circles of 22 1/2 cm in diameter and open a hole in the middle of 4 of them.
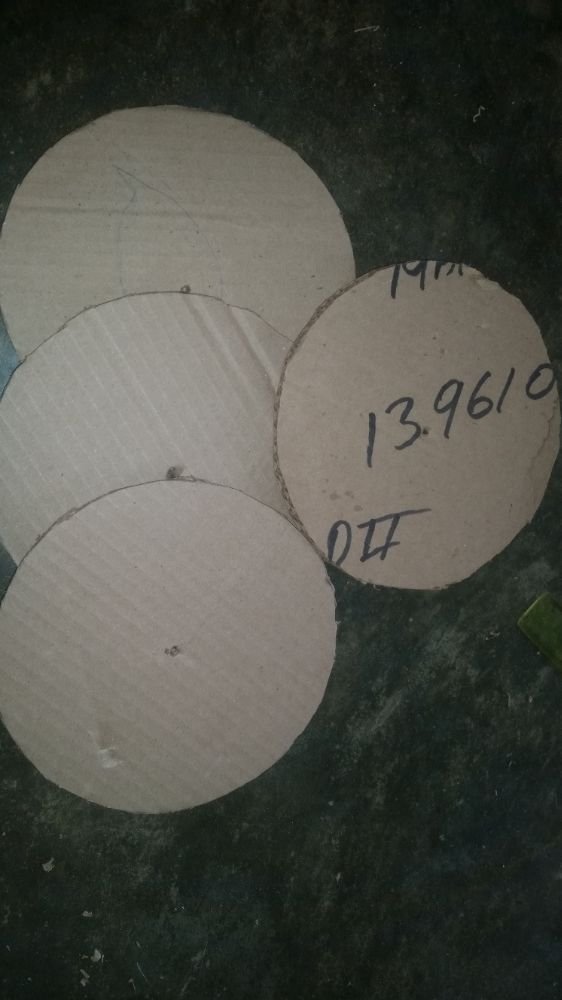
| Luego pegamos dos círculos y los tres restante los pegamos dejando en la parte de abajo el círculo que no tenía hueco en el medio. |
Then we glued two circles and the remaining three we glued leaving at the bottom the circle that had no hole in the middle.
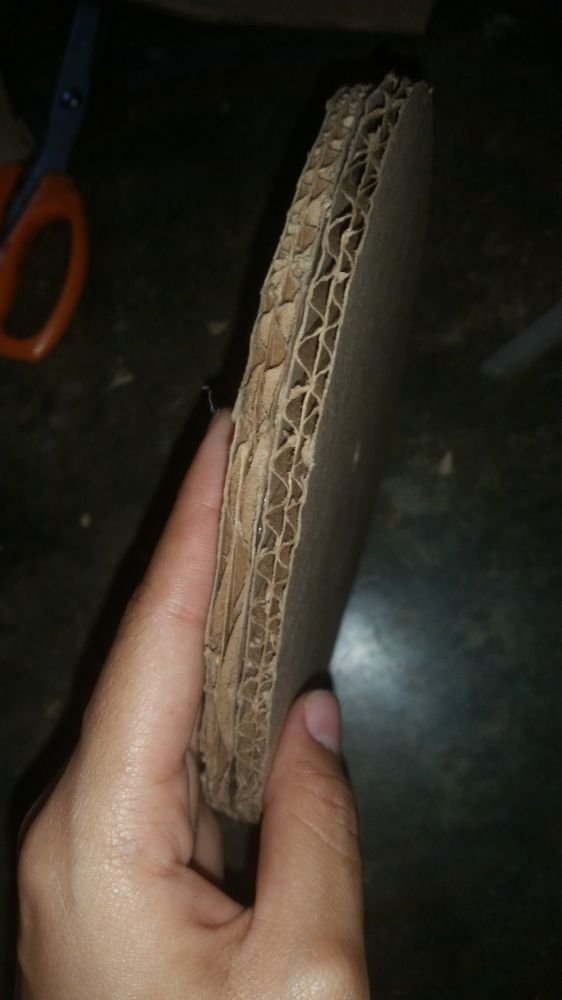
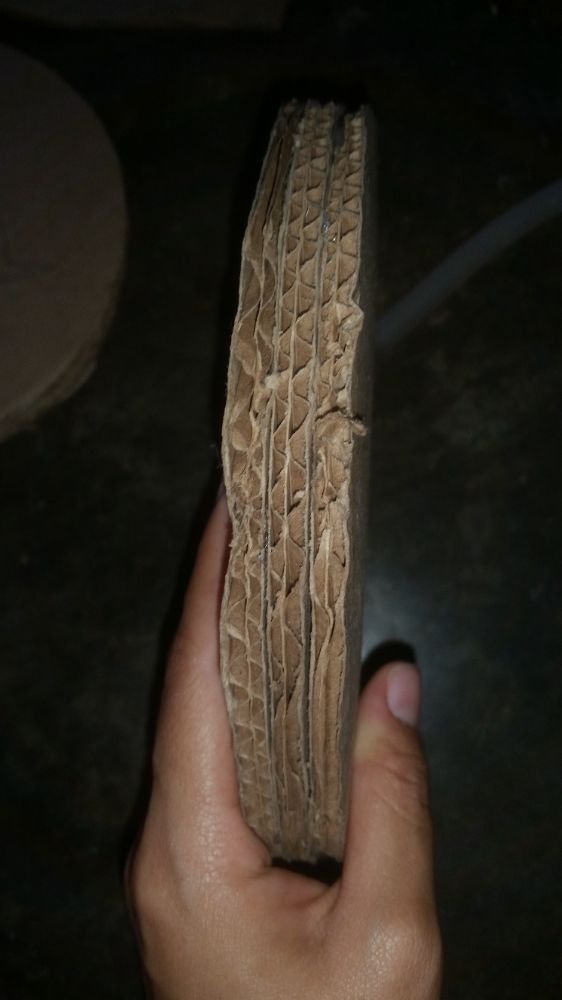
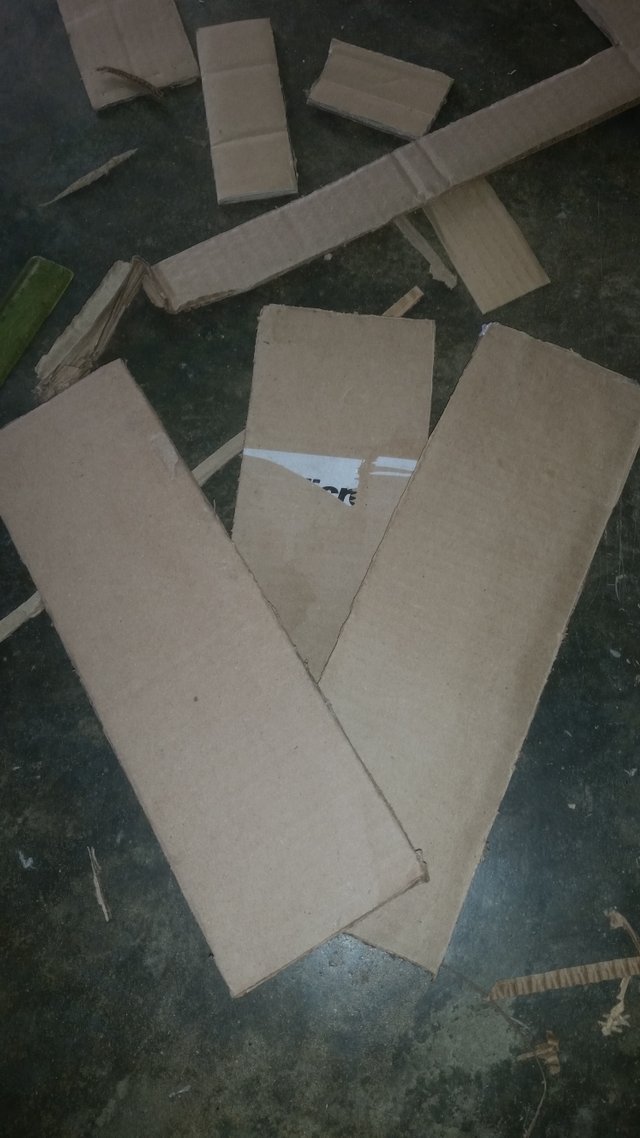
| Cortamos 6 piezas de cartón de 30 cm x 10 1/2 cm, las pegamos de 2 en 2. |
We cut 6 pieces of cardboard 30 cm x 10 1/2 cm, glue them 2 by 2.
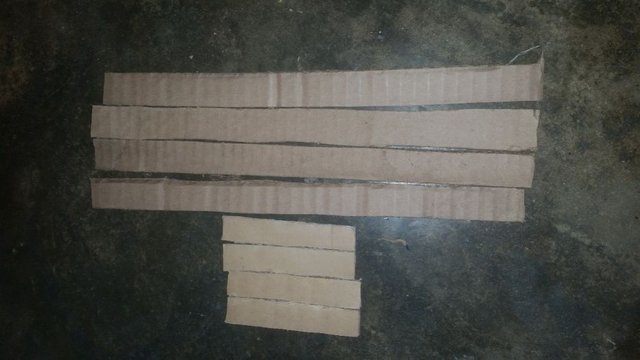
| Proseguimos a cortar 4 tiras de cartón de 1 1/2 cm y 4 tiras más cortas de 1 1/2 cm. |
We proceed to cut 4 strips of cardboard 1 1/2 cm and 4 shorter strips of 1 1/2 cm.
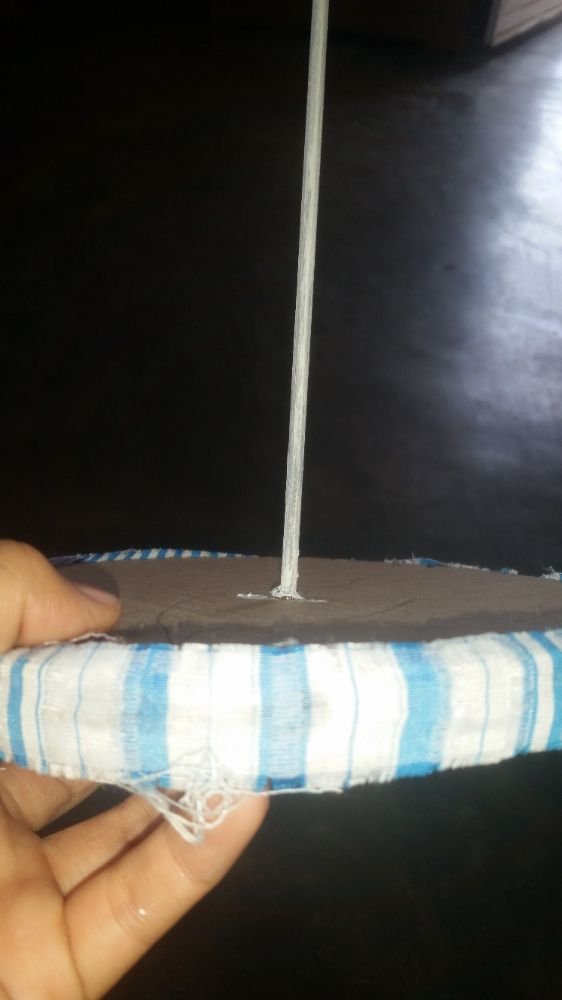
| Forramos alrededor del círculo de dos y pegamos en el medio un palo. |
We line around the circle of two and glue in the middle a stick.
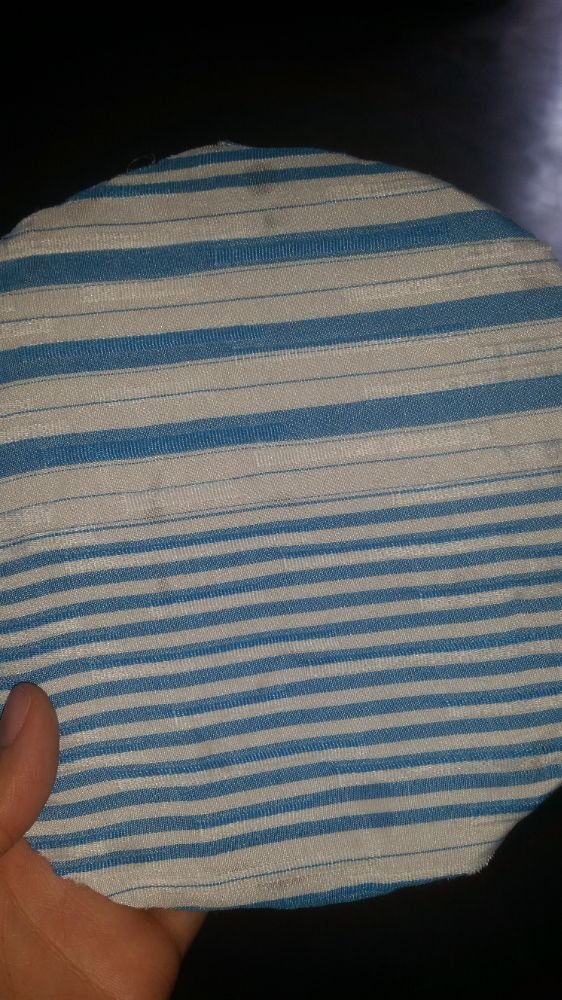
| Siguiente a eso forramos los tres círculos pegados en la parte de abajo. |
Next to that we line the three circles glued at the bottom.
| Forramos las 6 piezas pegadas de dos en dos, las 8 tiras cortadas y proseguimos a armarlo de la siguiente manera. |
We line the 6 pieces glued two by two, the 8 cut strips and proceed to assemble it as follows.
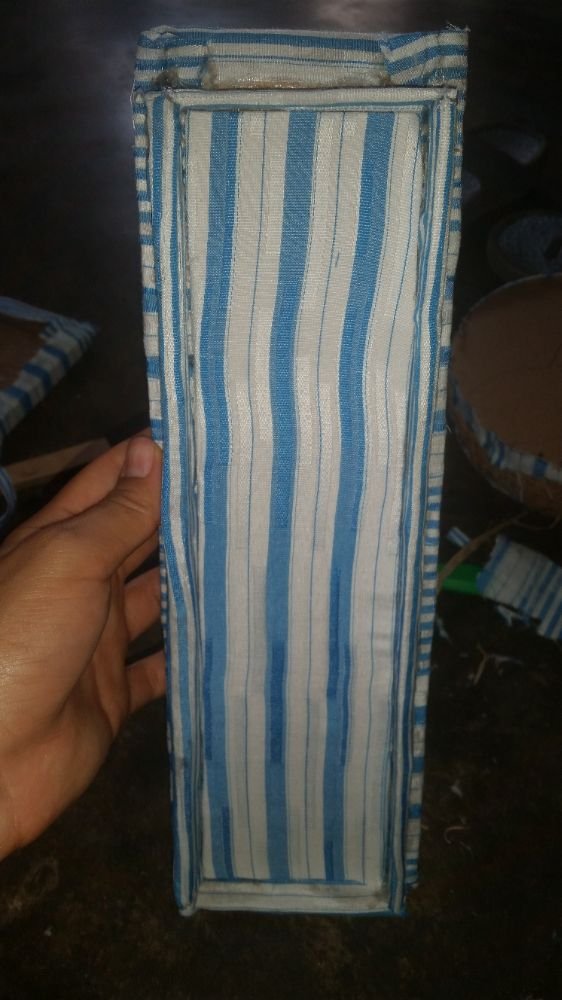

| Realizamos varios rollitos de tela y los pegamos en una de las columnas. |
We make several rolls of fabric and glue them to one of the columns.
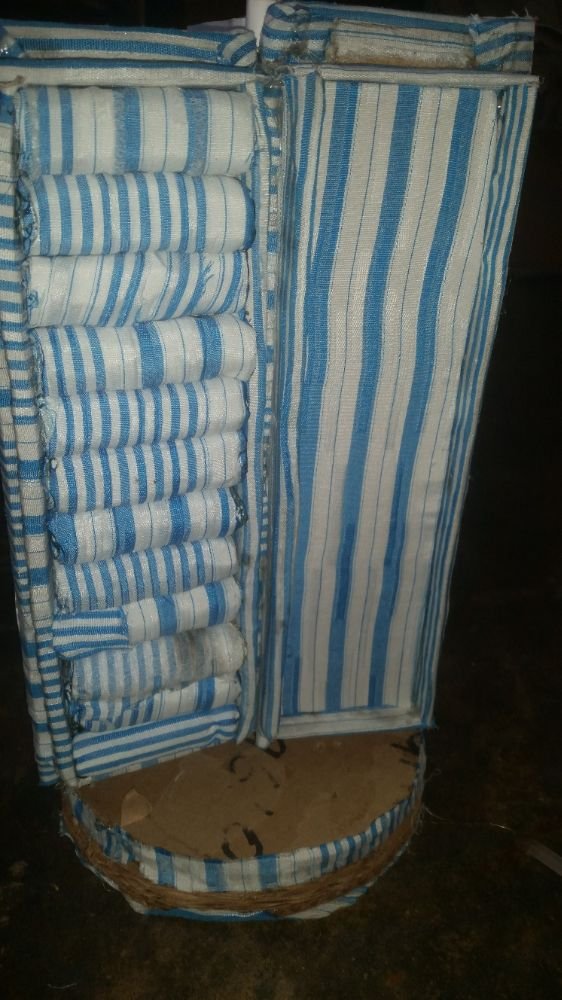
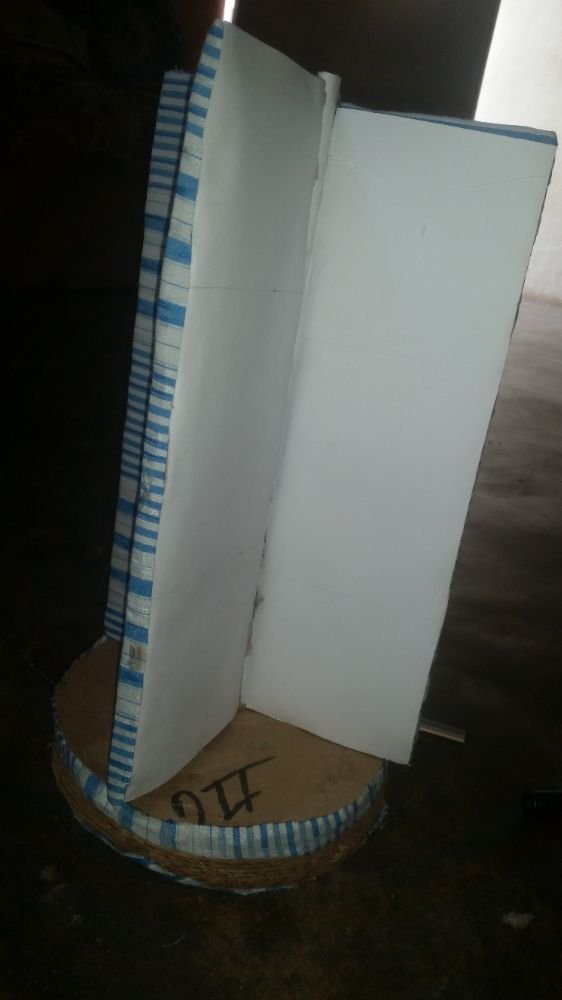
| Pegamos las tres columnas en el palo ya forrado y pegamos cartulina en dos de las caras de las columnas. |
We glue the three columns on the already lined stick and glue cardboard on two of the faces of the columns.
| Cortamos tres tiras de cartón y dos mini triángulos. |
Cortamos tres tiras de cartón y dos mini triángulos.
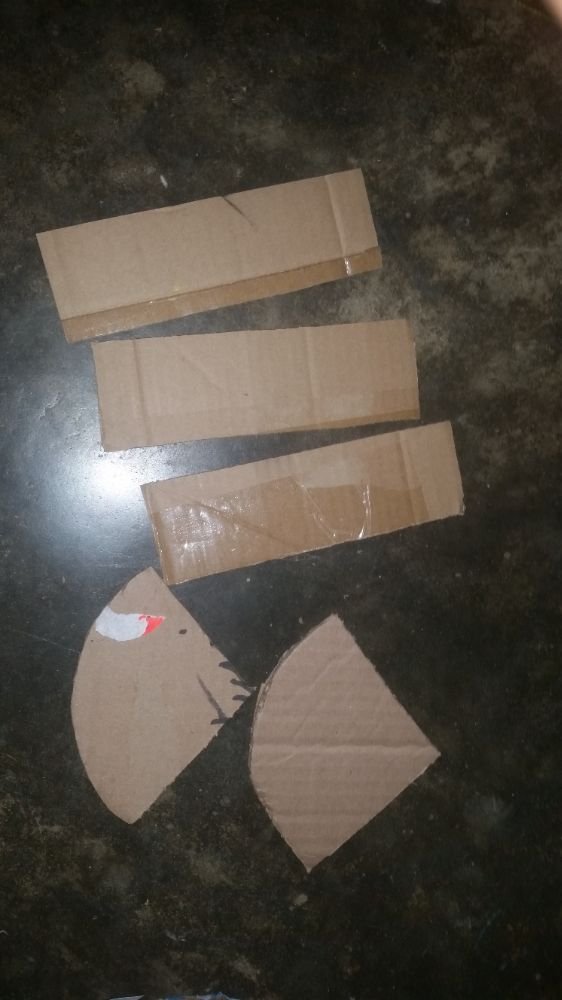
| Los forramos y lo pegamos en la columna en donde pegamos la cartulina blanca. |
We lined them and glued it to the column where we glued the white cardboard.
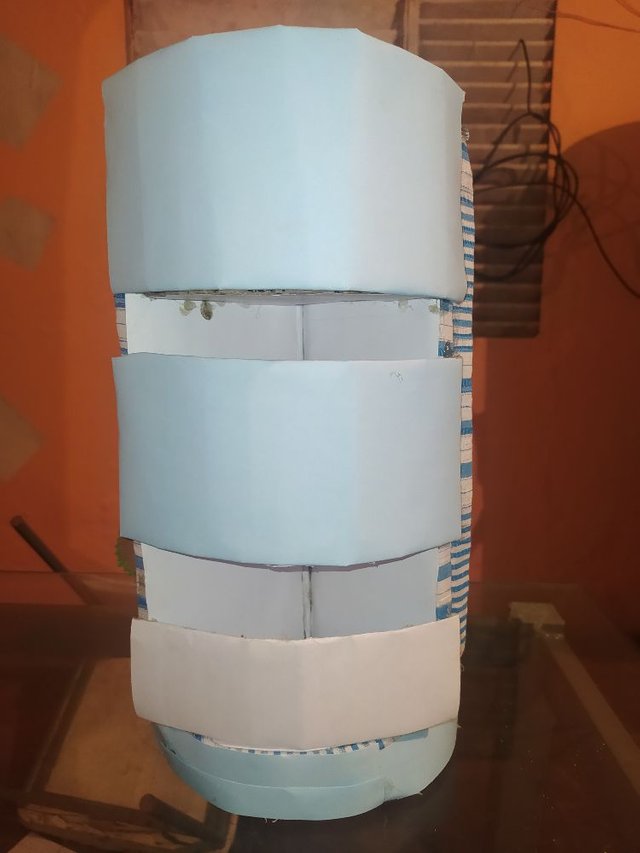
| Por último pegamos un piedra decorativa en la punta del palo del medio y agregamos los accesorios. |
Finally we glue a decorative stone on the tip of the middle stick and add the accessories.
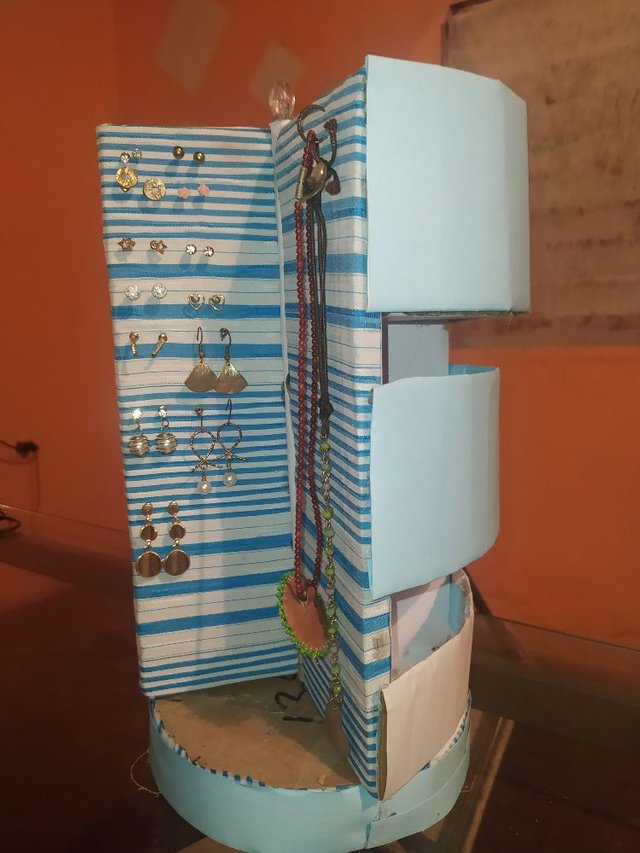
● Espero les haya gustado, nos vemos en otra entrada😉
Hope you liked it, see you in another post😉.
Translation with the Deepl app.
Fotos de mi propiedad.
Translation with the Deepl app.
Photos of my property.