
There’s nothing like a cold beer at the end of a long day. The only thing better is making it yourself!
If you’ve ever considered making your own beer, you may have been put off by complicated set-ups. Some enthusiasts have given up their entire garage to a complex array of shiny vessels and pipes! But if you’re patient, you can get great results with a far simpler process.
We’re going to show you how to do just that with our step-by-step guide. So let’s get started …
▫Tools And Equipment For Home Brewing
The easiest way to tackle home brewing is with a ready-made kit. Here’s what you need if you want to assemble everything from scratch.
🔺Brew sanitizer
🔺Pot with a capacity of at least 5 gallons (a large stockpot is ideal)
🔺Muslin grain sack
🔺Cooking thermometer
🔺Cheesecloth
🔺Kitchen twine
🔺1 sachet Wyeast 3711 French Saison yeast
Ice (optional)
🔺Hydrometer
🔺Carboy
🔺Airlock with a bung
🔺Funnel
🔺Siphon
🔺Priming sugar conditioning tablets
🔺Bottle filler
🔺Bottles and caps
🔺Bottle capper
▫You can use your own recipe, but we like this one:
🔺5 pounds Belgian Pilsen
🔺12 ounces German Wheat
🔺12 ounces Aromatic Malt
🔺8 ounces Special Roast (Lovibond 50)
🔺4 ounces Caramunich Malt
🔺3 gallons filtered water
🔺5 pounds Pilsen Light Liquid Malt Extract
🔺5 ounces Sorachi hops
🔺1 ounce Styrian Goldings hops
🔺2 ounces fresh peeled and sliced galangal or ginger
🔺10 grams toasted coriander seeds
🔺3 grams toasted grains of paradise
▫▫Extra filtered water – up to 2 gallons
Step By Step To Make Your Own Beer
🔹 Step 1: Clean Your Equipment
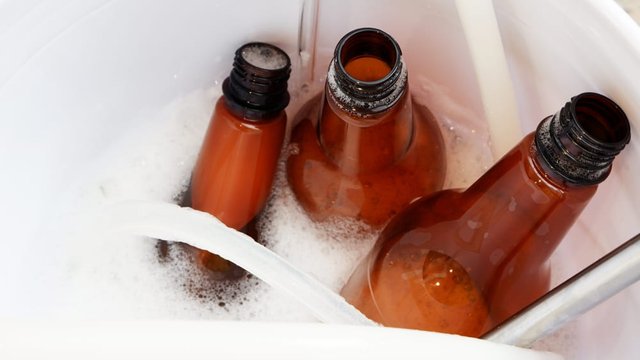
It’s very important that everything you’re going to be using for making and storing your beer is absolutely clean. The sweet liquid you’ll be making is very attractive to microbes. Those are hazardous to your health, and will make your beer taste unpleasant too.
Begin by cleaning all your equipment with soapy water. Then, just before you’re ready to start brewing, sanitize it using a brewing sanitizer.
❌Pro tip: Use a brewing sanitizer with a no-rinse formula to make cleaning quicker and easier.
🔹 Step 2. Prepare And Steep Your Grains
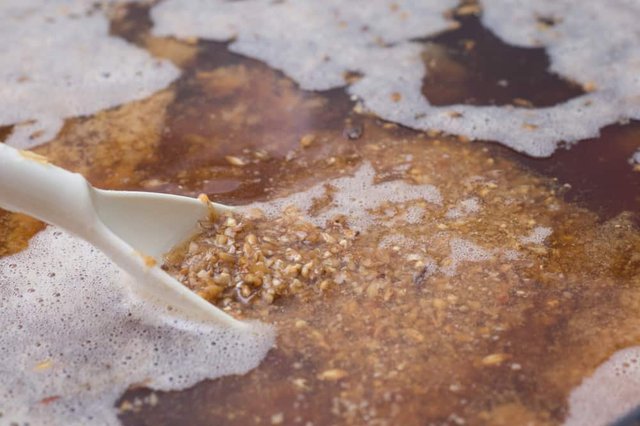
Crush all the grains you’ll be using. Now place them into your muslin grain sack and tie a knot in the top.
Add three gallons of water to your large pot and heat it to 160 degrees Fahrenheit. When it’s reached the correct temperature, place the grain sack inside. Steep it for one hour, maintaining the temperature at 160 degrees. Use your thermometer to check it every ten minutes.
When the hour is up, remove the grain sack from the water. Hold it above the pot and use four cups of hot water to rinse it. Let the water drain down into your pot.
When the sack has stopped dripping, discard it. The grains have done their job, and you’re ready for the next step.
🔹 Step 3. Add The Malt Extract And Spices
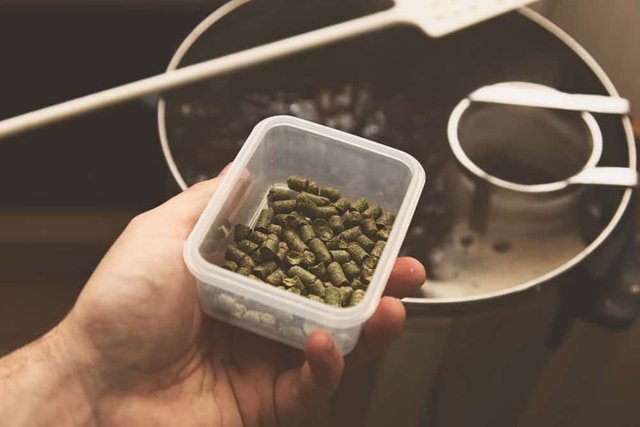
Bring the liquid in the pot to a boil. Then add the Pilsen Light Liquid Malt Extract and give it a stir. The sugary mixture you now have in your pot is known as wort.
Bring the wort back to the boil and add your sorachi hops. Set your timer for one hour, keeping the mixture on a rolling boil throughout.
When there’s 30 minutes left on your timer, prepare your spices. Take your cheesecloth and place the toasted coriander seeds, toasted grains of paradise and galangal (or ginger) on top. Now fold up the sides of the cheesecloth to make a bag, and secure it with twine.
When there’s 20 minutes left on your timer, add your bag of spices to the pot. And when there’s 10 minutes left, add the Styrian Goldings hops.
🔹Step 4. Cool And Decant The Wort
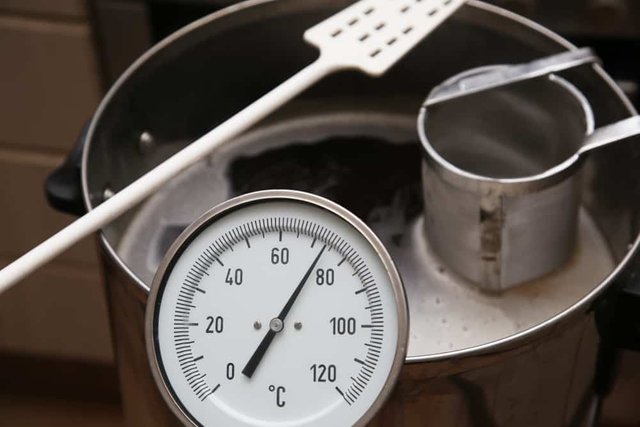
When your hour is up, cool the wort to 80 degrees Fahrenheit. A good way to do this is by preparing an ice bath for your pot. Just fill the bottom of your sink with ice and cold water.
Place the pot in the sink and wait, checking the temperature frequently. When it reaches 80 degrees Fahrenheit, remove the pot from the sink.
Place your funnel in the top of the carboy and pour in the wort. Now add in as much extra filtered water as you need for the liquid to reach the 5-gallon mark.
❌ Pro tip: Adding salt to the ice in your ice bath will help to keep it from melting.
🔹 Step 5. Take Your Original Gravity Reading
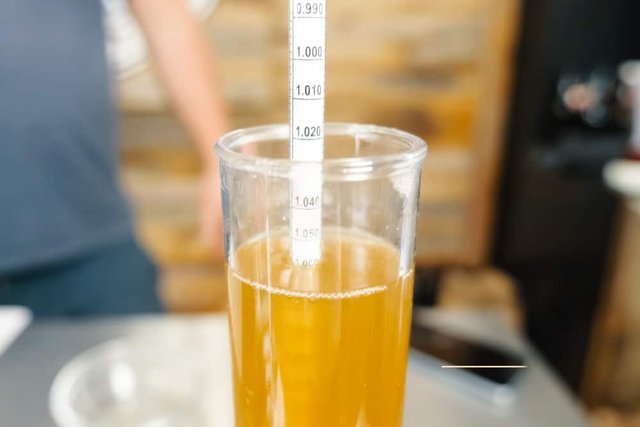
if you want to know the alcohol content of your beer, you now need to check its “Original Gravity”.
To do this, decant some of your wort into a sterilized testing container. There needs to be enough liquid for your hydrometer to be suspended completely inside.
Wait until all the bubbles have risen to the top, then insert your hydrometer. Now read off the measurement at the point the liquid has risen to on the gauge. You want to read the bottom of the meniscus (that’s the disc-like shape).
Make a note of the measurement and then check the temperature of your wort. Hydrometers are calibrated to measure the liquid at a temperature of 59 degrees.
If your wort is a different temperature, you’ll need to adjust the reading. This table from Kegerator.com shows you how to do it. After any adjustment that’s required, your measurement should be around 1.050.
❌ Pro tip: Place your hydrometer as close to the center of the wort as possible. This will give you the most accurate reading.
🔹 Step 6. Add The Yeast And Leave To Ferment
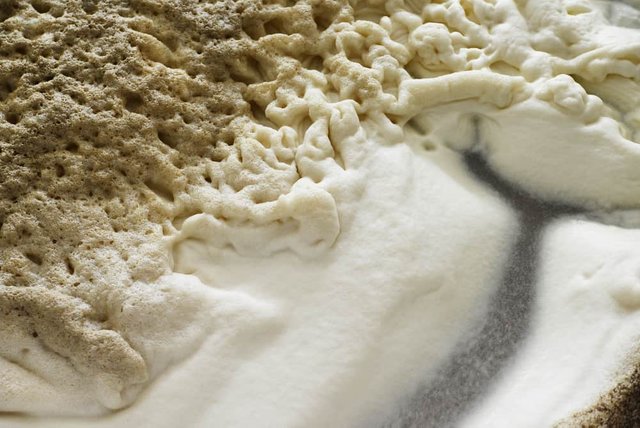
Place the airlock and bung into the neck. It’s now time to leave your beer to ferment. Place it in a dark place for 14 days to allow the yeast to do its job.
After a few days, you should see air bubbling in your airlock. There’ll also be a foamy head on top of your beer. At the bottom, the yeast will be forming into a thick cake.
🔹 Step 7. Measure The Final Gravity
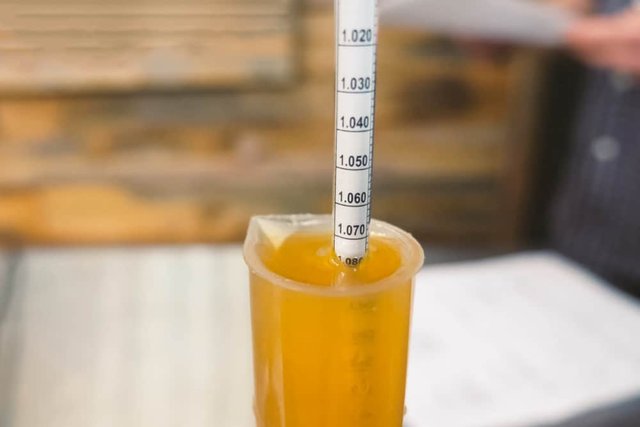
When the two weeks are up, it’s time to measure your beer’s Final Gravity.
Siphon off a sample of the beer and place it in a sanitized container. Insert your hydrometer, as you did to get the Original Gravity reading. Remember to adjust the figure according to the temperature of the liquid. The number this time should be around 1.009.
To calculate the alcohol content of your beer, you’ll need both the Original Gravity and Final Gravity readings. Subtract the Final Gravity from the Original Gravity and multiply the result by 131. That will give you the percentage of alcohol by volume (ABV) of your beer.
In this case, the result should be around 5.4%.
🔹 Step 8. Bottle Your Beer
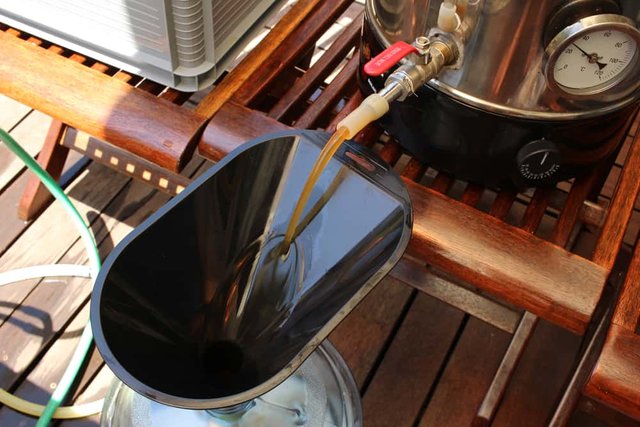
Your beer is now ready for bottling! Make sure both bottles and caps are sanitized before you do this.
You’ll also need to add priming sugar. The easiest way to do this is by using conditioning tablets made of corn starch. Add four or five to each bottle.
Fill your bottles using your auto-siphon and bottle filler. Remember to sanitize those first too!
Make sure you don’t touch the bottom of the carboy with the siphon. You want to keep it well away from that yeast cake. When the bottles are full, use your bottle capper to seal them. Then place them in a cardboard box and store them in a dark place for two to three weeks.
After that, they’re ready for drinking!
❌ Pro tip: Fill each bottle as full as possible before sealing. Any air inside will interact with your beer and cause the flavor to degrade over time.
❌❌❌ Extra Tips:
▫If you have a homebrew shop near you, save time by getting them to crack your grains for you. Most will do it for free.
▫If you’re buying a homebrew kit, check exactly what it contains. You may need to buy some elements, like the pot for heating your wort, separately.
▫As an alternative to an ice bath, you can purchase a special chiller to cool the wort. Simply place this into the wort and run cold water through it.
▫ When you pour your wort into the carboy, splash it around in the container. That will help mix it with oxygen, which will help fermentation.
▫ Aim to keep your beer at a temperature of around 68 degrees Fahrenheit during fermentation.
▫ Don’t skimp on the time you leave your bottled beer before drinking. This period allows the beer to become carbonated. Open it too soon, and you won’t get those lovely bubbles.
▫ Once you become more confident in home brewing, experiment with different grain mixtures. The beauty of this process is that it allows you to create the perfect beer for your tastes.
❤ Ready To Brew Your Own Beer?
We hope you’ve enjoyed our step-by-step guide to making your very own delicious beer!
The keys to great results are proper preparation and patience. Take time to ensure all your equipment is properly sanitised, and you won’t get any microbes interfering with the flavor. And when your beer is fermenting, leave it alone as much as possible.
When it’s ready, you’ll get great flavors – and you’ll have the satisfaction of knowing you did it all yourself. Cheers!