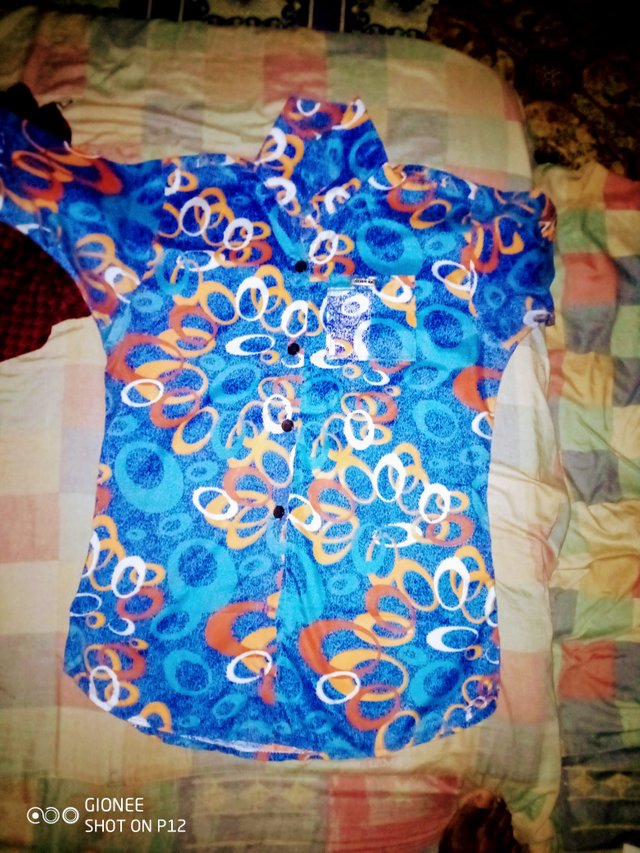
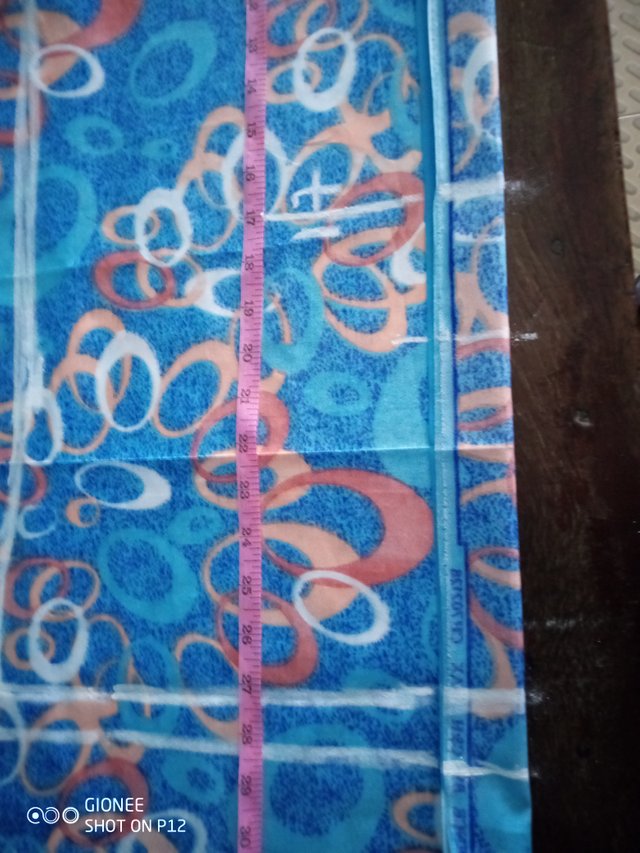
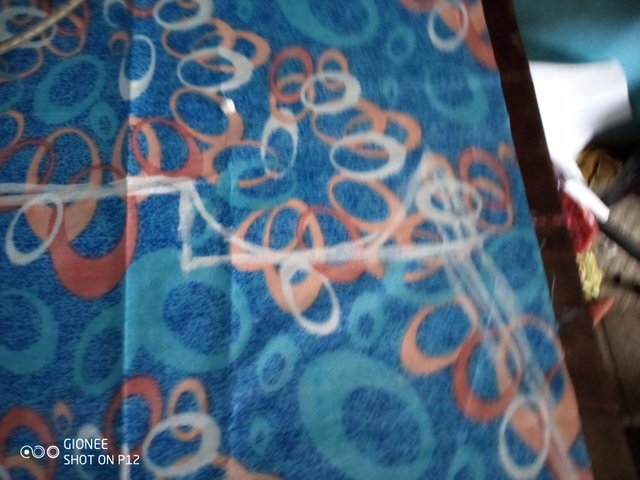
.Gather front and back bodice pieces and bring them to your sewing table. Cut your fabrics, the front and the back part of the shirt. Mark out the measurements in your fabrics
- Body lenght 25
- Chest/ buss 10/40
- Shoulder 9/38
- Sleeve length 10 + 1 allowance
- Shape
- Button line 2-2.5
Etc.
All in inches
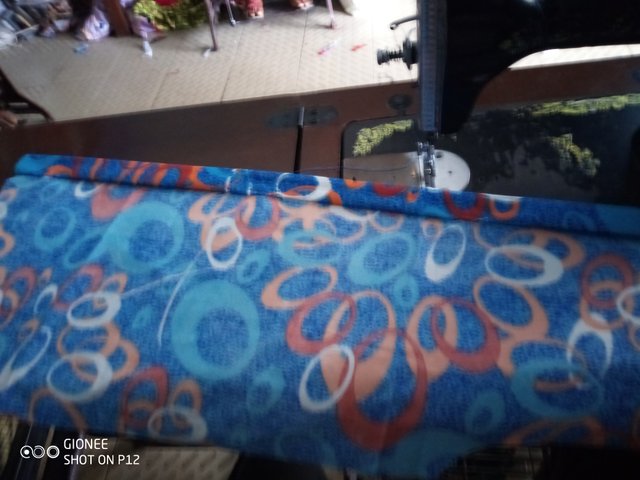
Stitch the shoulder seams together, right sides facing. Then, open the t-shirt so you can see both, front and back bodices.
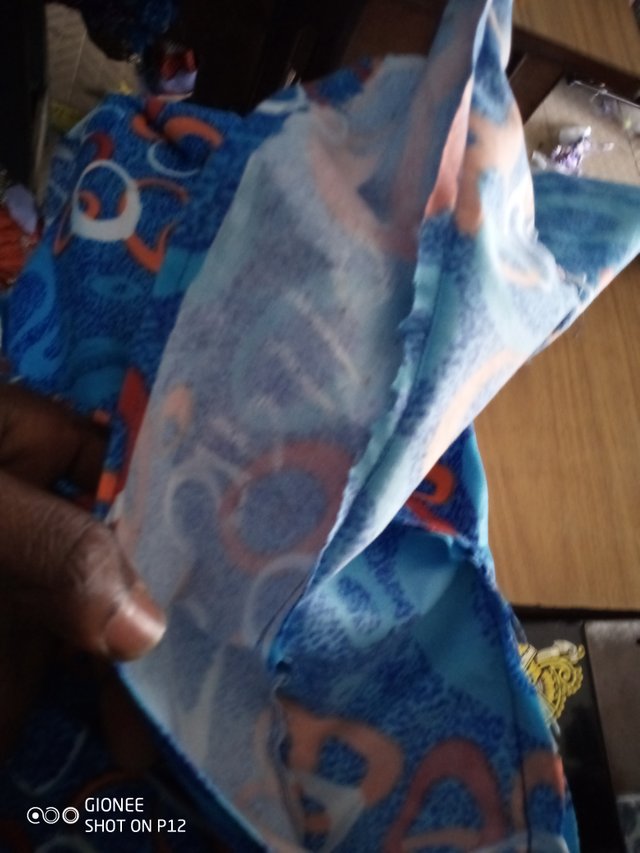
Add the sleeves to the side of the top.
Start pinning form the center of the cap and shoulder seams to the sides. Then, stitch them together with an overlocking stitch or zig zag stitch
b. After, adding the sleeves, fold the t-shirt again and stitch the sleeve sides and the bodice sides together, right sides facing. Then, press the seams flat.
NECKBAND:
Fold the neckband in half, lengthwise. Stitch it together and press flat.
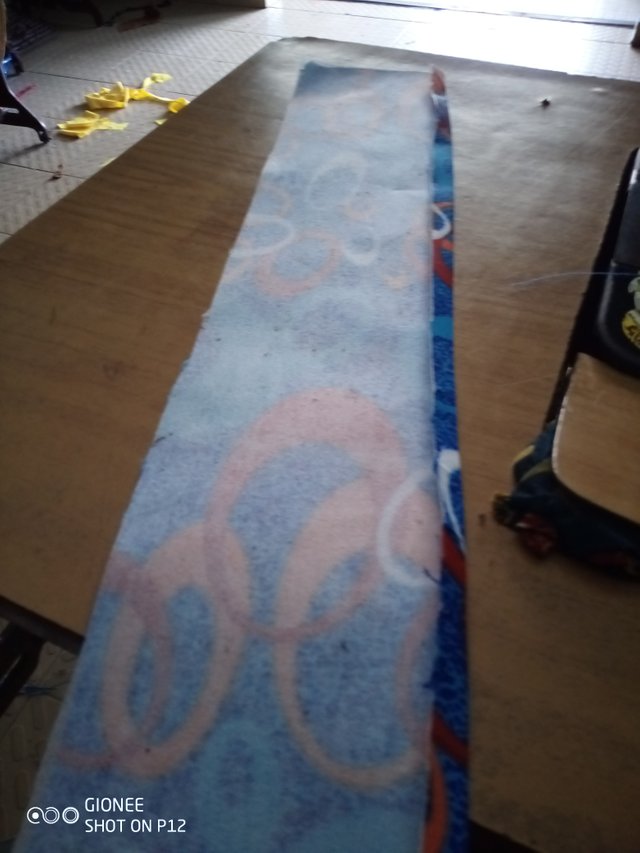
Then, fold the neckband again widthwise; press it flat.
Baste the neckband to the neckline. Remember that the neckband will need to stretch to adjust it to the neckline.
b. When the neckband is ready, use a zigzag or overlocking stitch or even straight stitches.
The neckline is always gum stain.
b. Then, press the neckband with the gumstain.
Stitch up the gumstainned and the second fabric, then turn and press again
. Remember you need to cut out 3 same length of fabric of 4-5 inch wide
Finally, fold the cuffs and the hemline 1 inch to the inside. Press it flat.
Now, zig zag the cuffs and hemline.
Finally stitich up the sides and shape, and Add up the buttons with 4inches spacing from each other, stitch the button holes
Finally weave.
And that is all!

Thank you for reading this post and we will see you next time