Background Image Source- Canva.com
Hello guys.
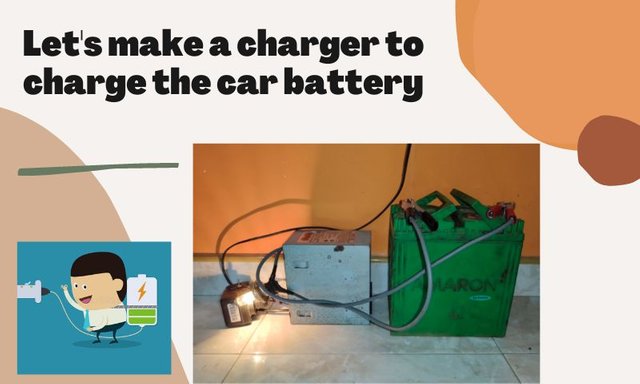
Today I will tell this community about one of my electronic devices. I will teach you how to easily make a car battery charger, which is very important to everyone. This is something we need a lot in our daily life. When our vehicle's battery is suddenly low, they have the ability to charge the battery from home using this device.
You need very few tools to make this. A few days ago I have shown you a device that provides electricity to the house and I designed this battery charger to charge the battery of that device. Our inverter batteries, bike batteries, car batteries, and all other 12v batteries can be charged well with this charger.
It usually takes us about 4 hours to charge an ampere battery with this device. It has the ability to charge batteries of the required amperage. Also, the charging time is determined by the amperage. So I will tell you how to make this battery charger.
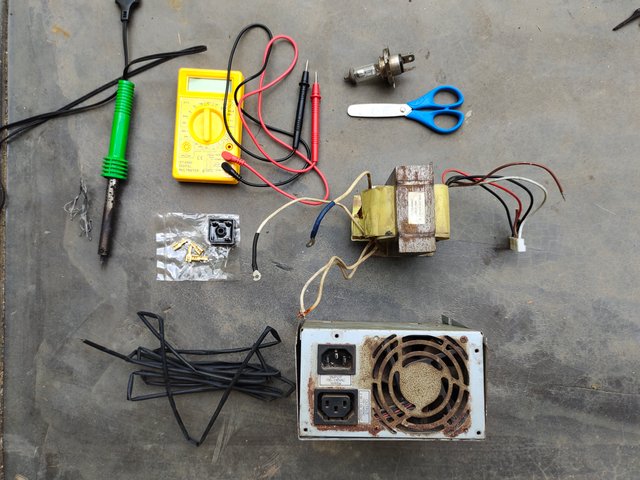
Let's see what ingredients are needed to create.
1 . Transformer
2 . Multimeter
3 . Wire tube
4 . Bulb 100w
5 . Battery Clip
6 . Power Supply Case
7 . Bouth
8 . Scissors
9 . Rectifier 35A
10 . Wire
2022 @donhal. All rights reserved.
Let's see how to create.
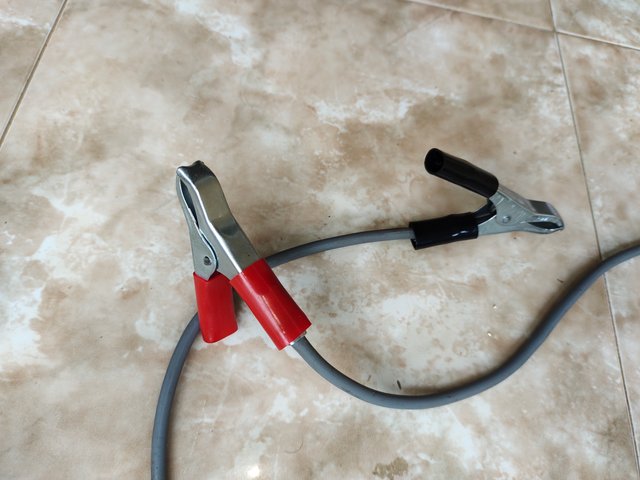
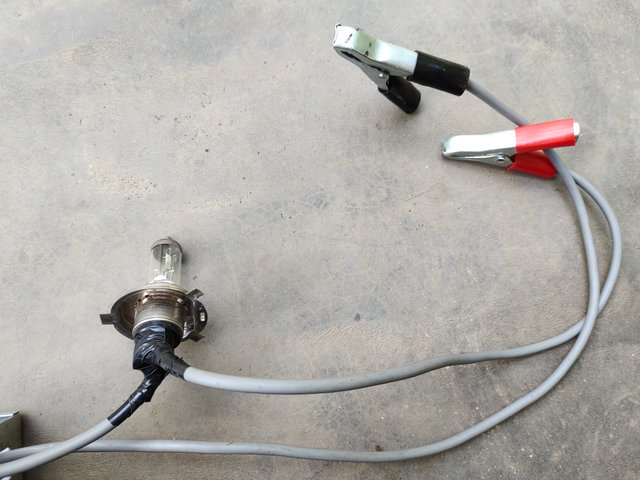
- First you need to connect two wires to the battery charger. It is important that we use two thick wires for it. When the battery is charging, the wire heats up excessively, so we use two slightly thicker wires for it. We need to set two battery clips to the two wires. Set the two battery clips to the wire and attach a 100w bulb to the positive wire. The bulb is used to ensure that the battery is fully charged. If the battery is fully charged, the installed bulb will turn off gradually.
2022 @donhal. All rights reserved.
After connecting the bulb to the wire we need to use a 12v transformer. Use a transformer from an old UPS if you want. Because the power of that transformer is high, it has the ability to charge the battery quickly. Use a computer power supply to mount the custom battery charger. Remove the internal parts of the power supply and take the casing separately. Set the transformer to that case.
After setting the transformer in the casing, use a rectifier for the battery charger. Use that rectifier for about 35A. Fix them properly using positive ends. After installing, install a fan on the side of the casing. The fan is used to prevent overheating.
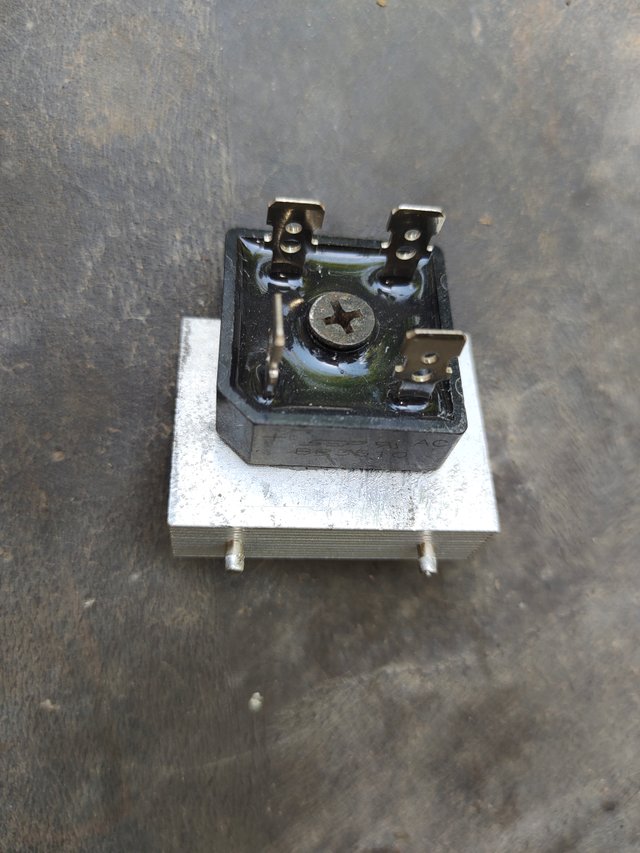
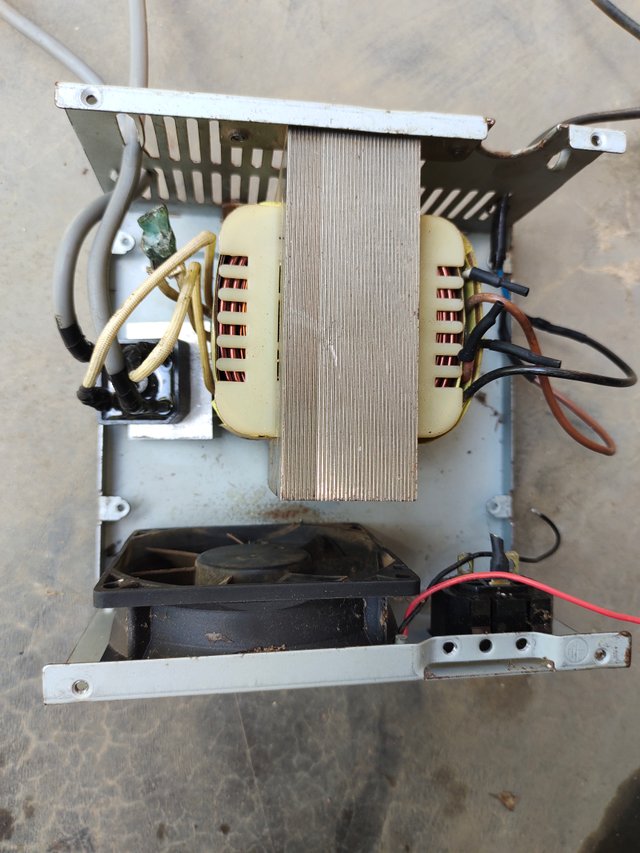
2022 @donhal. All rights reserved.
- After setting the rectifier and assembling it to the casing, set a separate phone charger for the fan. Set a 12v charger to the fan and set the fan as the transformer gets hot. After setting, fix the two wires correctly to the positive terminal and negative terminal of the battery charger. Arrange them properly and cover the casing. Close the casing well and connect the two ends of the charger that powers the fan and the two ends of the battery charger to one plug.
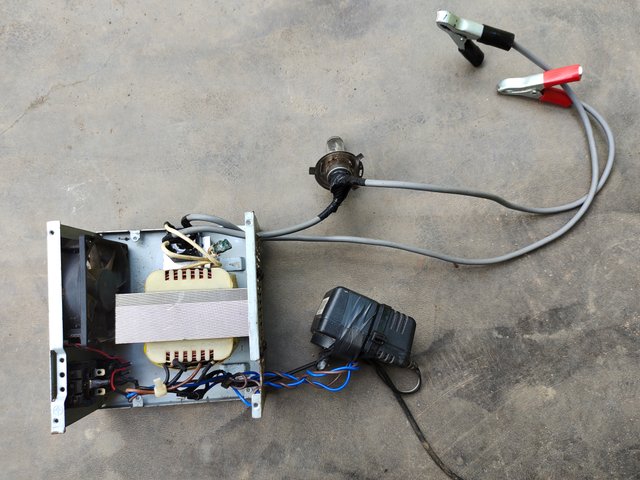
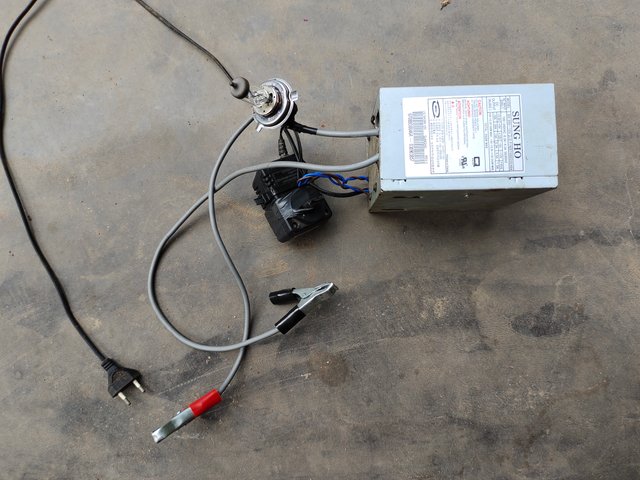
2022 @donhal. All rights reserved.
- Finally, arrange the ends in order and charge the battery properly by hitting the two battery clips on the positive and negative ends of the battery you want.
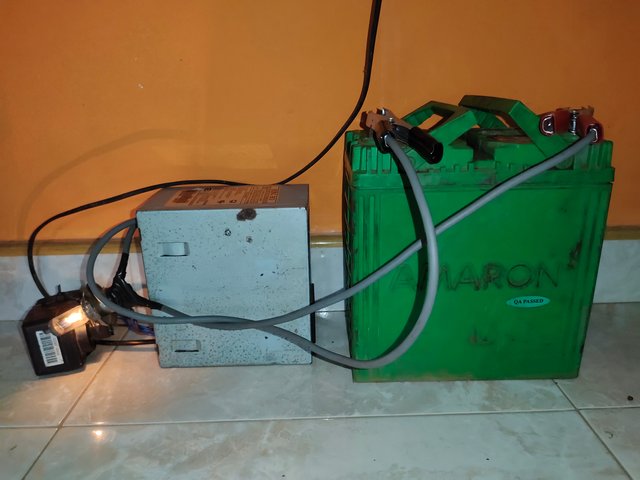
2022 @donhal. All rights reserved.
This way you can charge any battery with this device. See you in another post like this. God bless.
Thank you
If you dont yuse battery management system add another diode to positive side because transformer varied its output if tx output lower than battery battery current also go through the bidge and distroy your tx so add 5amp diode to positive lead after bridge rectifire
Downvoting a post can decrease pending rewards and make it less visible. Common reasons:
Submit
Thank you very much for your advice.
Downvoting a post can decrease pending rewards and make it less visible. Common reasons:
Submit
We support quality posts anywhere and any tags.
Curated by : @nadeesew
Downvoting a post can decrease pending rewards and make it less visible. Common reasons:
Submit
Thanks maam @nadeesew
Downvoting a post can decrease pending rewards and make it less visible. Common reasons:
Submit