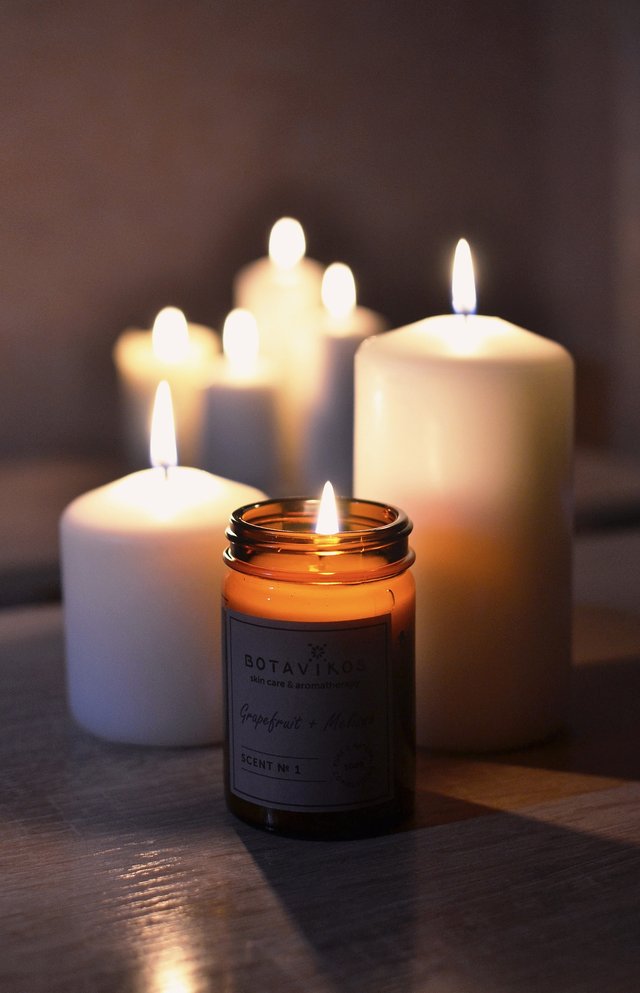
Here's a step-by-step guide on making homemade candles:
Materials:
Wax (soy, beeswax, or paraffin)
Candle wicks
Candle fragrance oils (optional)
Candle dye (optional)
Double boiler or a heatproof container and a pot
Thermometer
Stirring utensil
Scissors
Candle molds or jars
Hot glue gun or tape
Instructions:
Set up your work area. Cover the surface with a newspaper or a disposable tablecloth to avoid making a mess.
Prepare your molds or jars. If you're using candle molds, make sure to spray them with a mold release spray. If you're using jars, secure the wicks at the bottom center using hot glue gun or tape.
Measure the wax you'll need for your candles. Use a kitchen scale to measure the amount of wax you'll need for your molds or jars.
Melt the wax. Use a double boiler or a heatproof container and a pot to melt the wax. Place the wax in the top of the double boiler or in the heatproof container, and place it over the pot with water. Heat the water on low heat, stirring the wax occasionally until it has melted. If you're using a thermometer, the temperature of the wax should be between 160°F to 180°F (71°C to 82°C).
Add fragrance oils and dye (optional). If you want your candles scented and colored, add fragrance oils and dye to the melted wax. Make sure to follow the instructions for the amount of fragrance and dye to use. Stir the wax well to incorporate the oils and dye.
Insert the wicks. Once the wax has cooled down to around 130°F (54°C), insert the wicks into the center of the molds or jars. Hold the wick straight up while pouring the wax to prevent it from bending or moving.
Pour the wax. Carefully pour the melted wax into the molds or jars. Make sure to leave some space at the top of the molds or jars to prevent the wax from spilling over.
Let the candles cool down. Allow the candles to cool down completely, which usually takes a few hours.
Trim the wicks. Once the candles have cooled down, trim the wicks to about ¼ inch (0.6 cm) using scissors.
Enjoy your homemade candles!
