@arjinarahman ©
#Bangladesh 🇧🇩
As-salamu Alaikum.
Hello Steemians! Hope you all are doing well. Today, I am participating in an amazing contest in the "Steem For Ladies" community, organized by @ngoenyi ma'am.
Here is: Contest Link .
Let’s get started!
Crafting of a House for Panda |
|---|
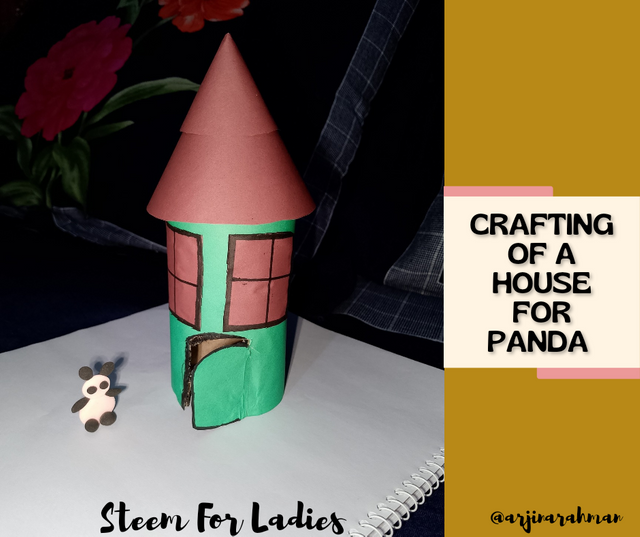
Designed with Canva Pro

 |
|---|
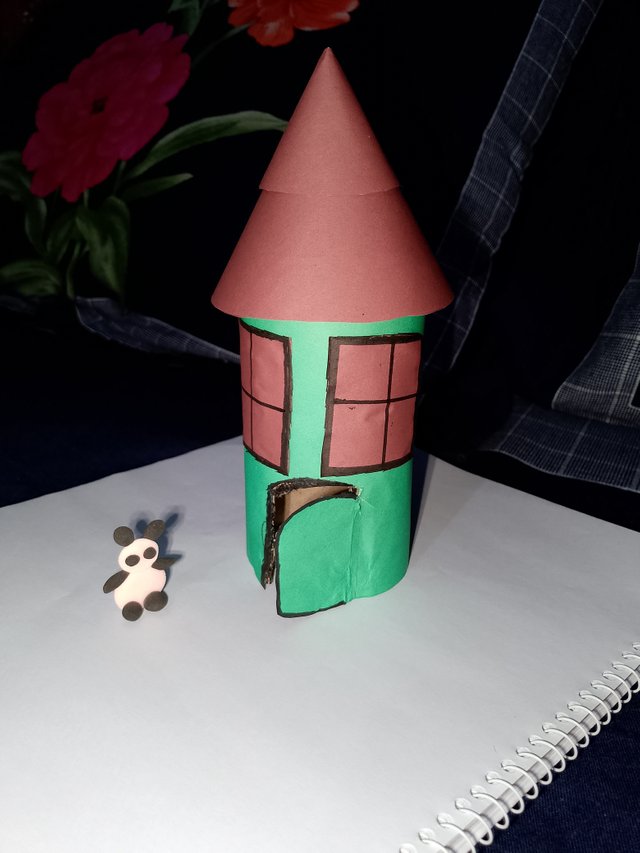
 | A Glimpse of My Craft |
|---|

Crafting Tools
🟥 Colour Paper
🟨 Pencil
🟩 Ruler
🟦 Scissors
🟪 Anti Cutter
⬛ Adhesive-Glue/Tape
🟫 Yarn
🟩 Clay

Today I will share paper and clay craft with you all. Without any delay, let's get started.
Step 01
 |  |
|---|---|
 |  |
 |  |
|---|
 |
|---|
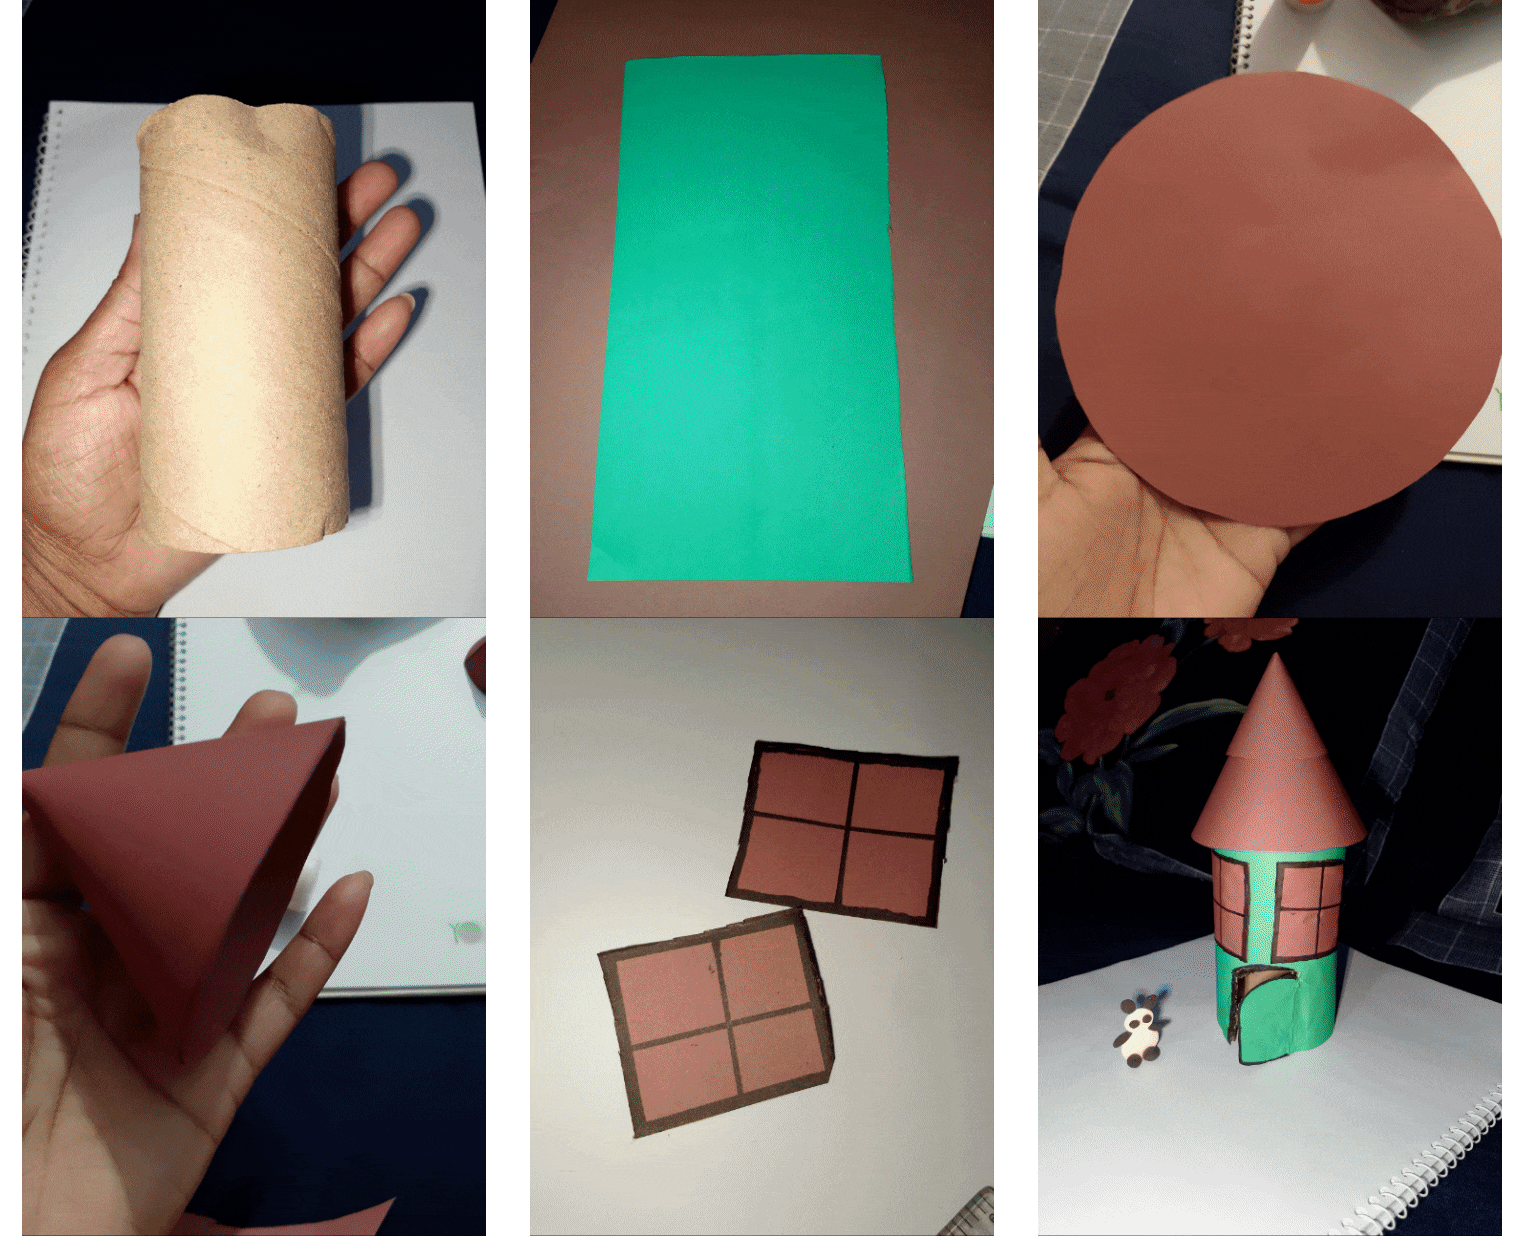
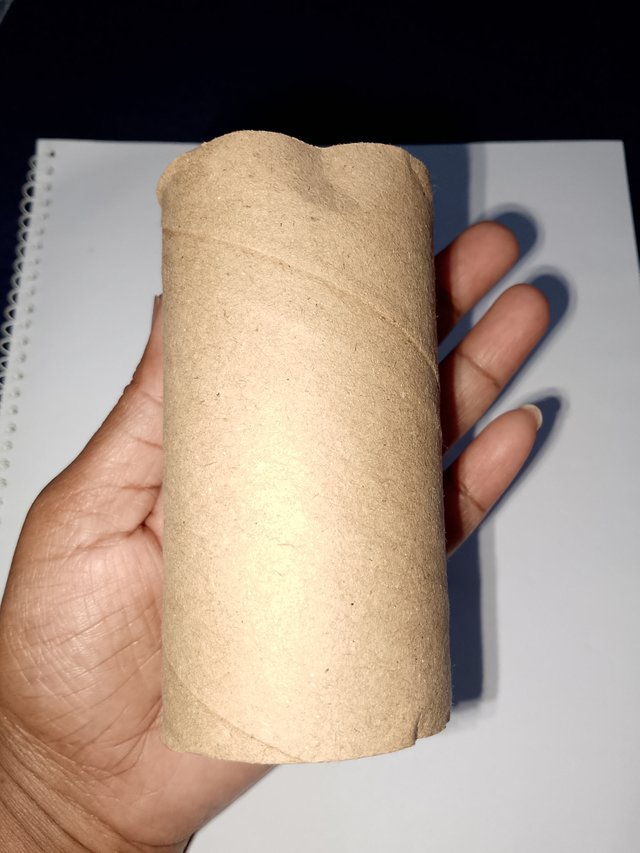
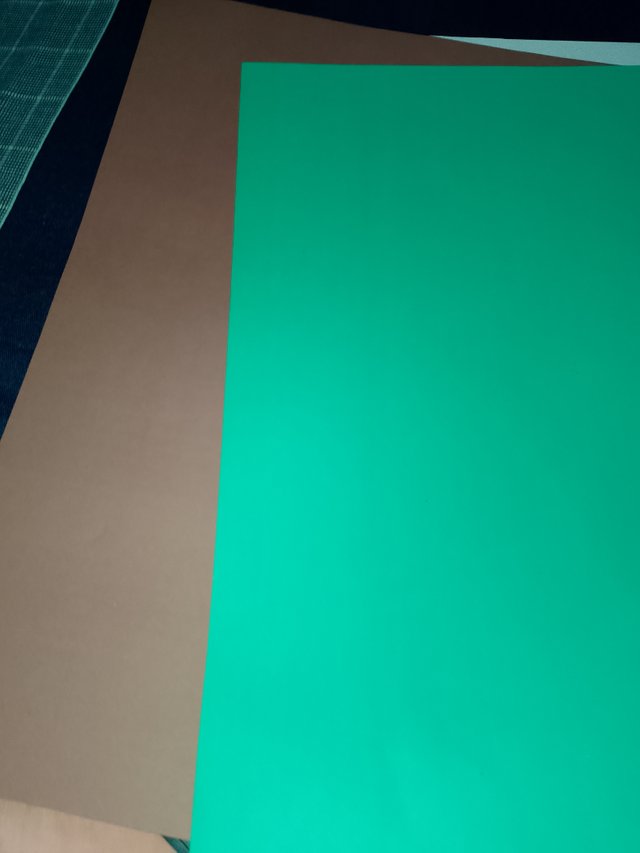
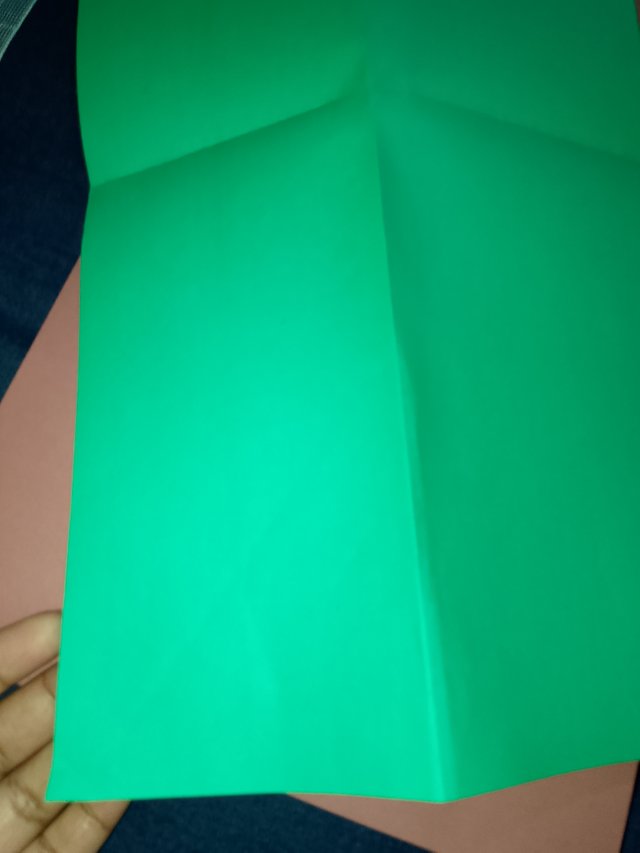
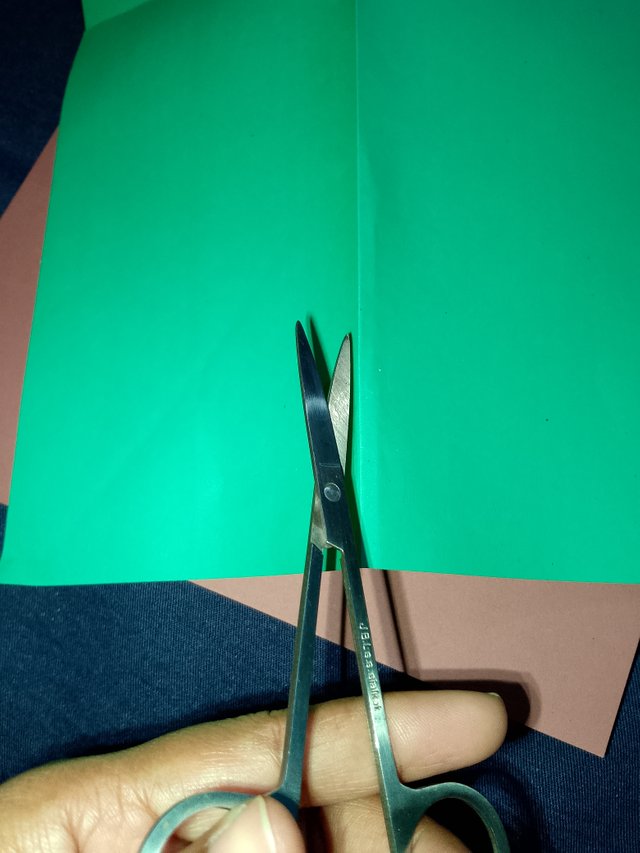
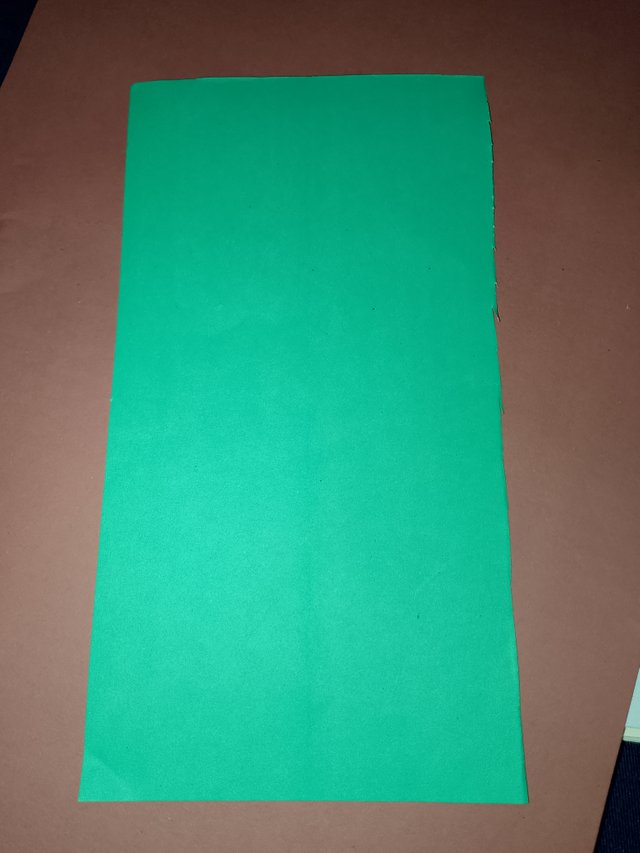
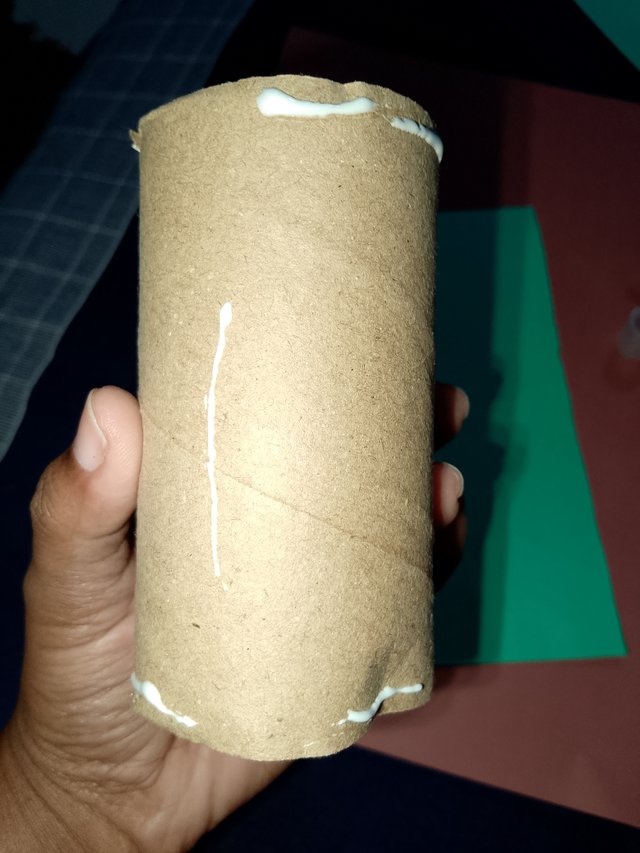
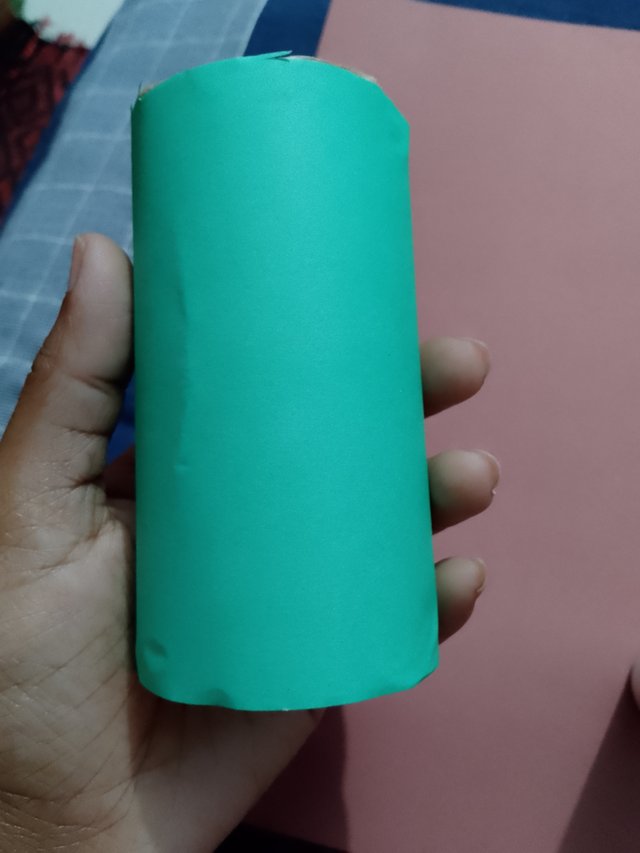
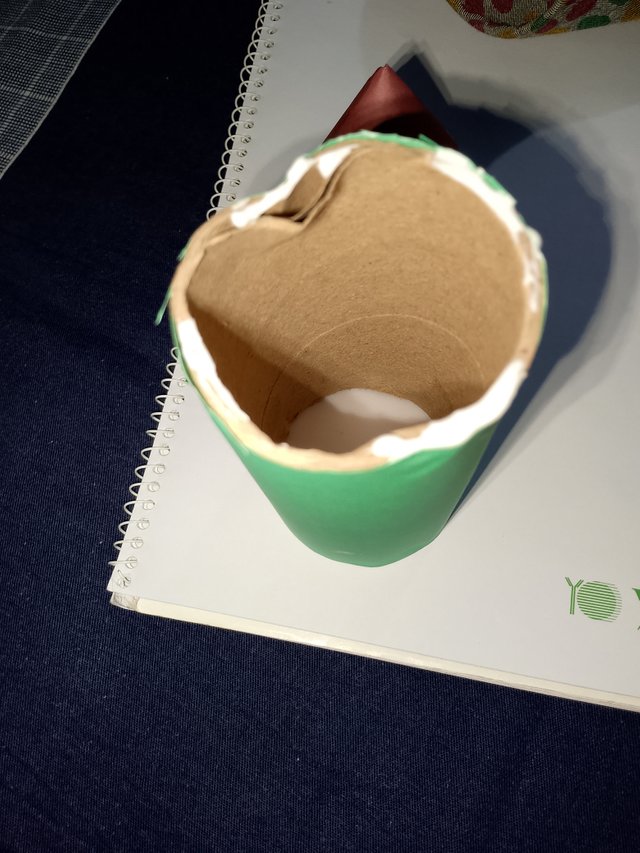
To make this craft, first, I took a tissue roll. Then I took two pieces of paper, one green and one brown. Now I will cut the green paper to a specific size with scissors. I will adjust this paper to the tissue roll. For that, I first apply glue to the roll. Then I nicely adjust the paper with the tissue roll.
Step 02
 |  |
|---|---|
 |  |
 |  |
|---|
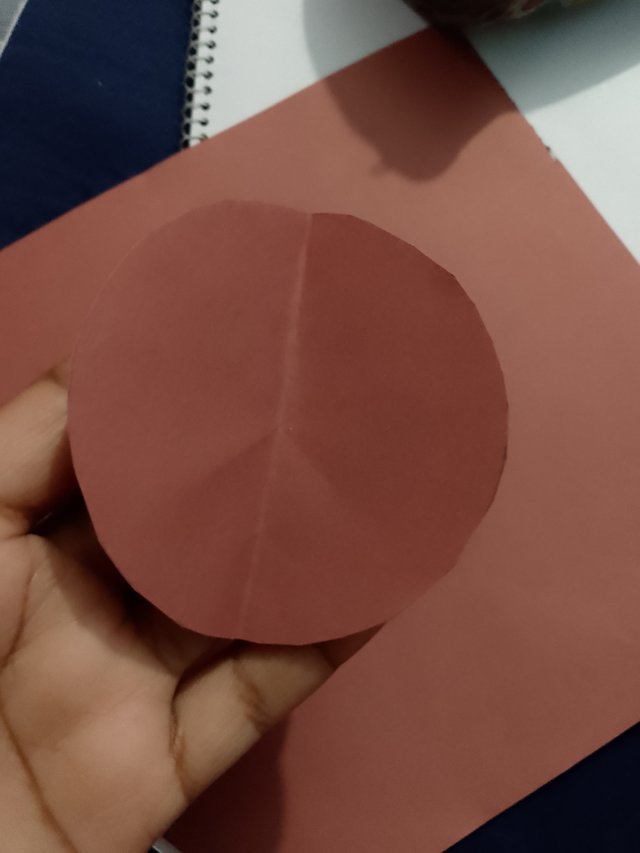
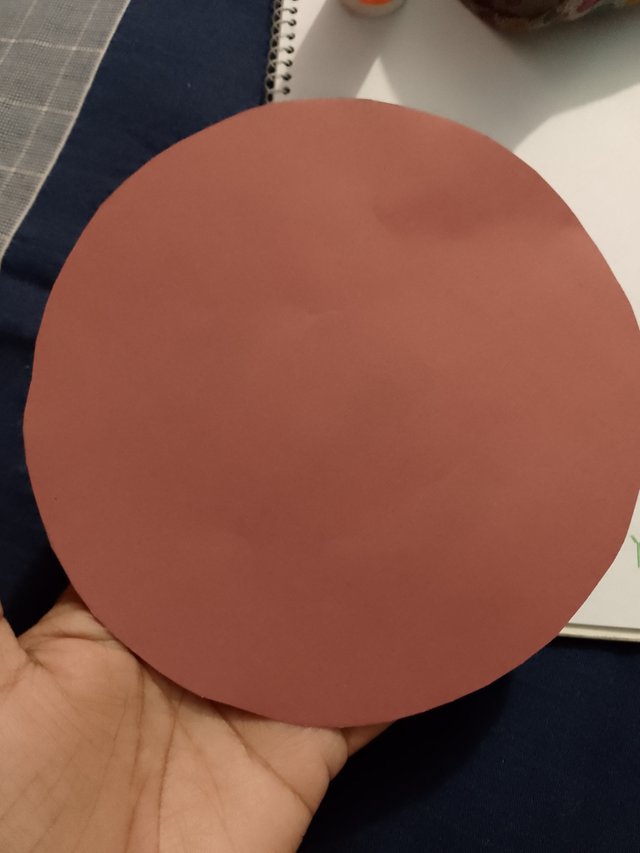
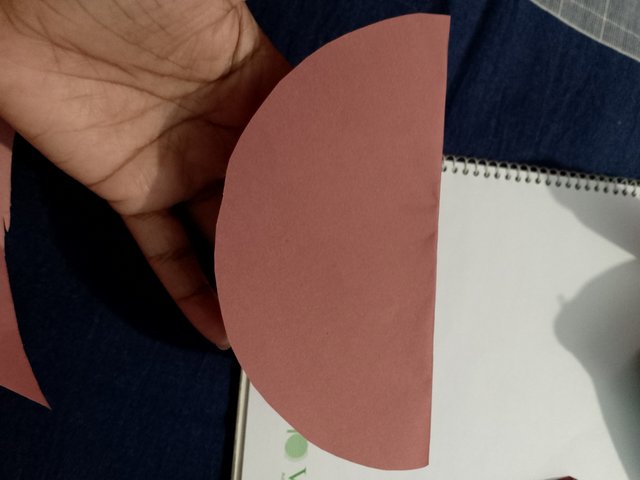
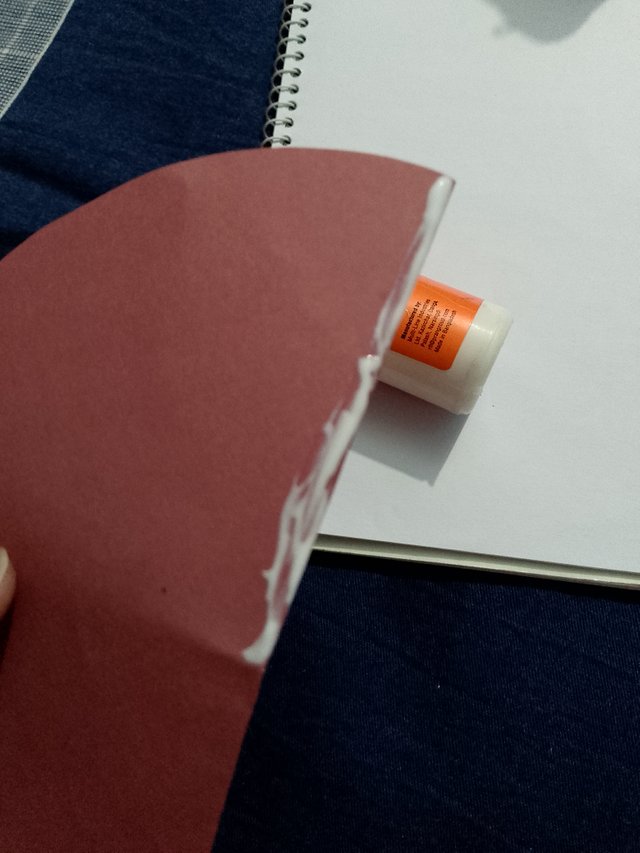
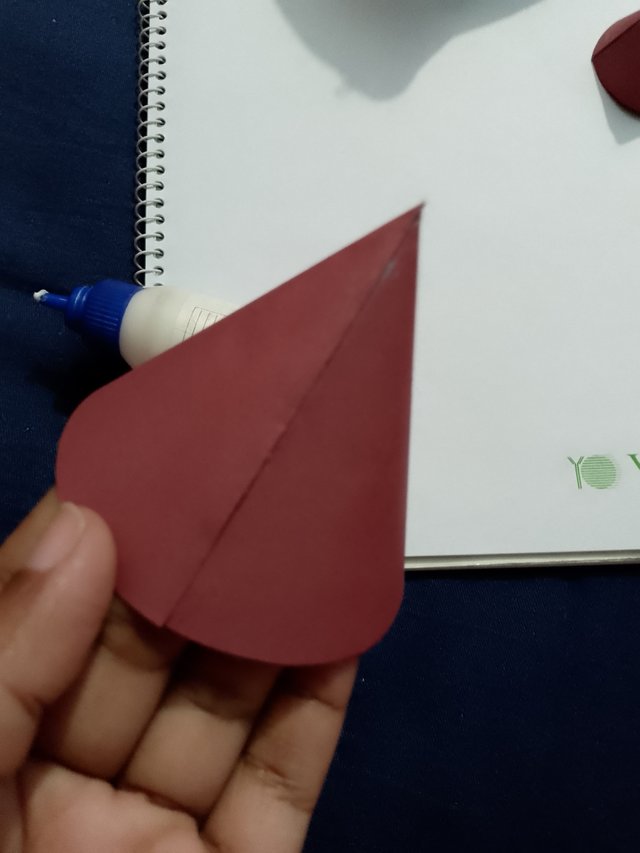
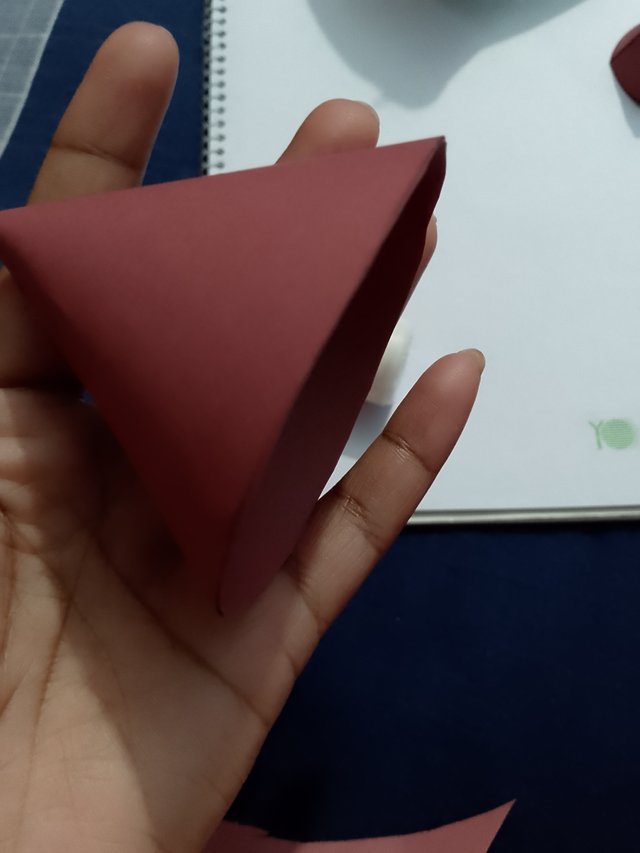
Now I take a brown-colored paper and use a ruler and compass to create two circles. Then, I cut them nicely with scissors to make one large circle and one small circle. Now I will fold them. After folding, I apply glue to half of it and then join it this way. It will look like a cone shape.
Step 03
 |  |  |
|---|
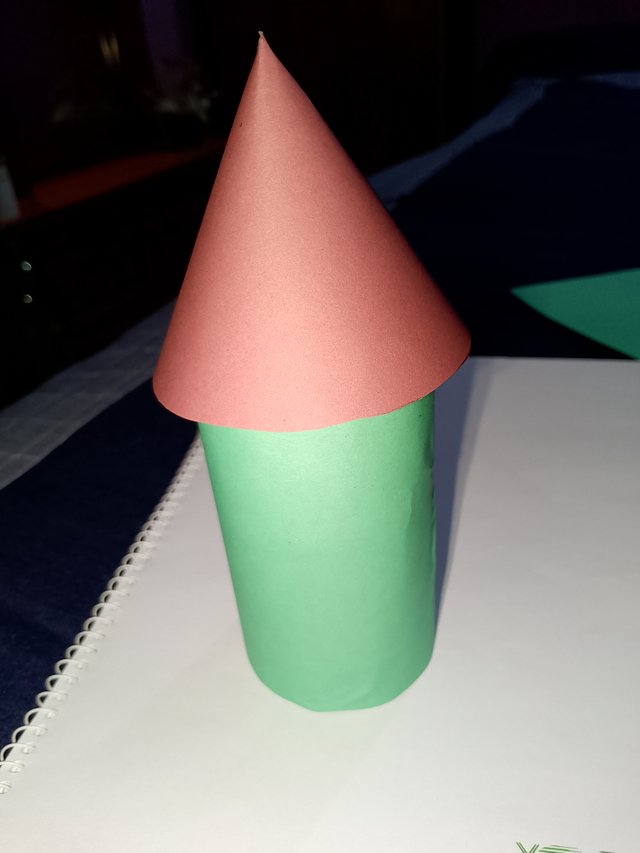
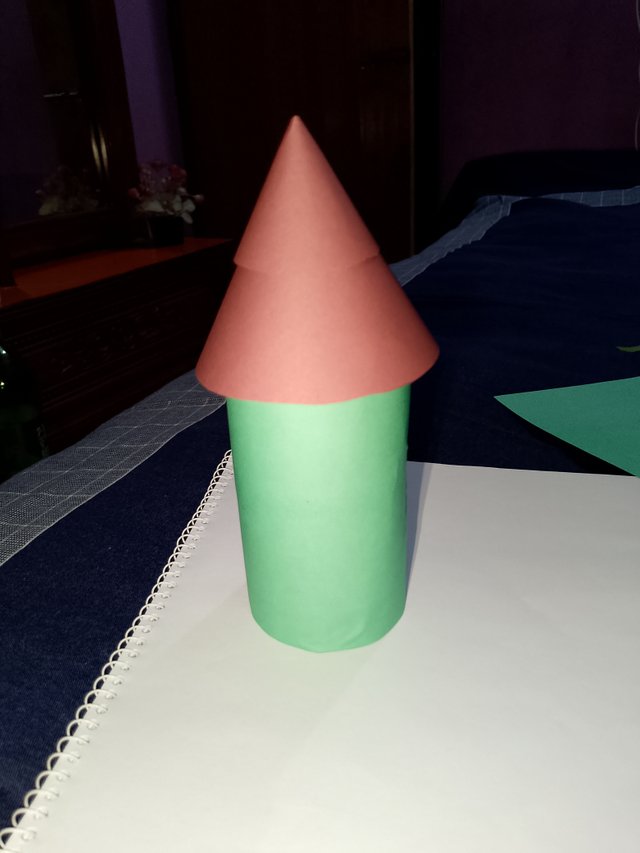
I apply glue to one side of the tissue roll. Now I set the two cones I made on top of it. First, I set the larger one. On top of that, I set the smaller one.
Step 04
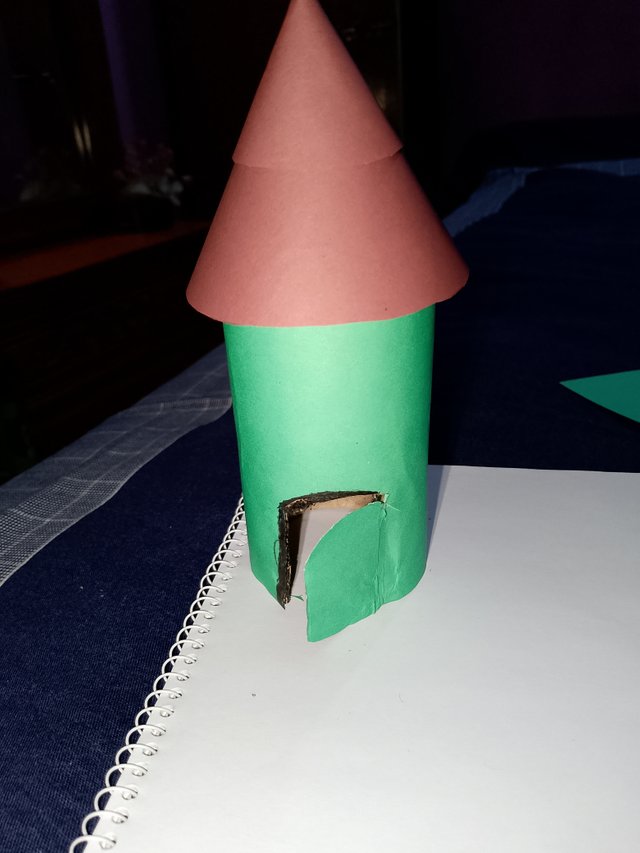 | Cut a door at the bottom side |
|---|
Now I use an anti-cutter to cut a door at the bottom. With the help of the anti-cutter, I have nicely cut the door.
Step 05
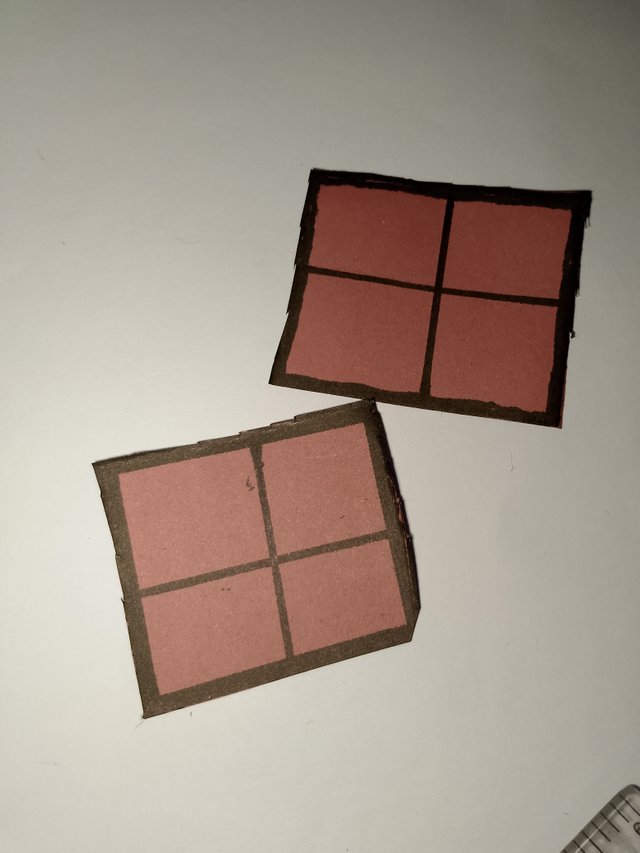 | Window Design |
|---|
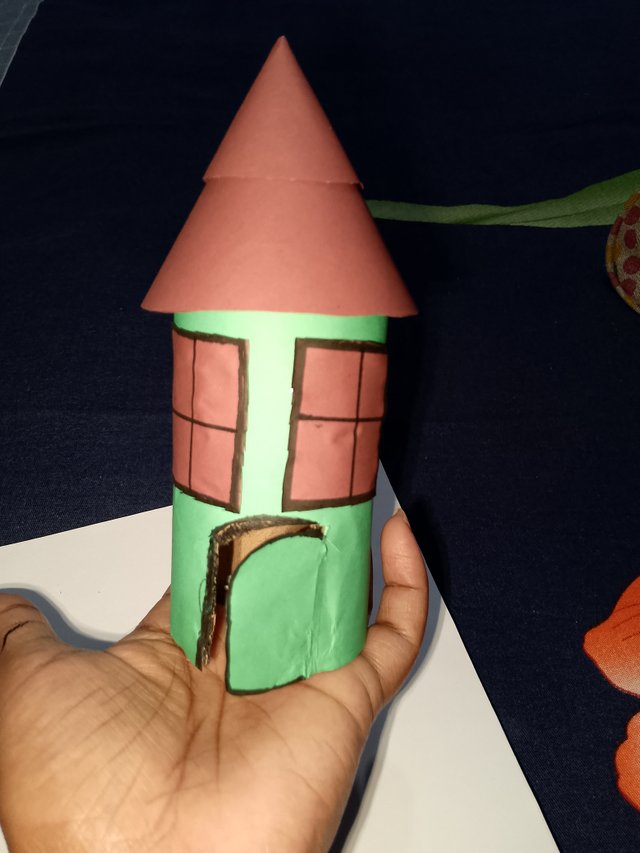 | 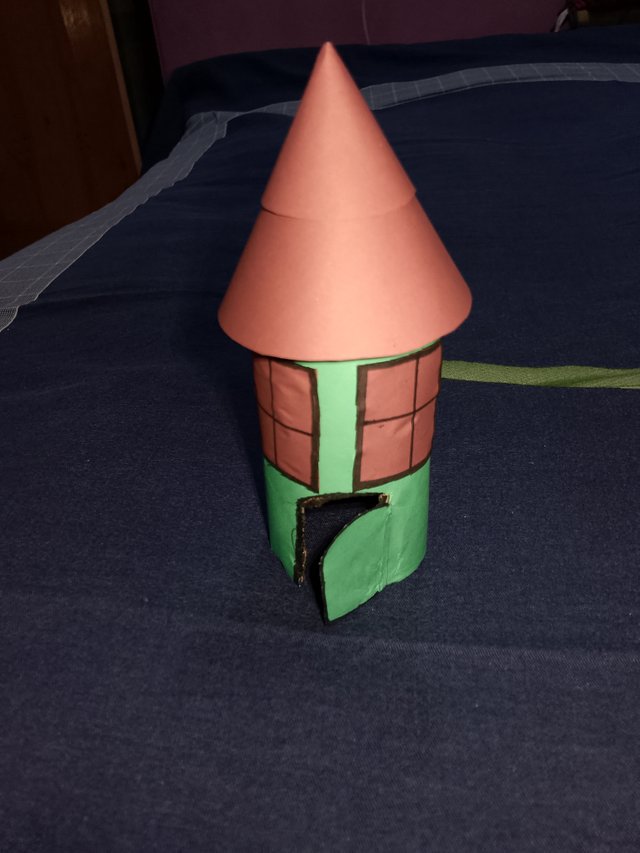 |
|---|
I have taken brown-colored paper and cut it into small pieces. Then, I created a black border around it with a marker. I will use these as windows. As you can see, I have set the windows with glue above the door of the house I made.
Step 06
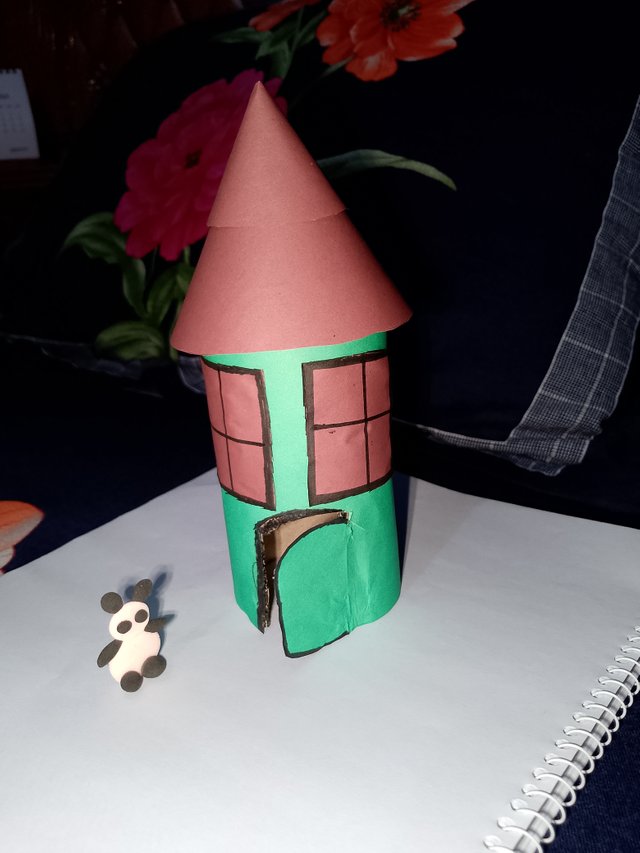
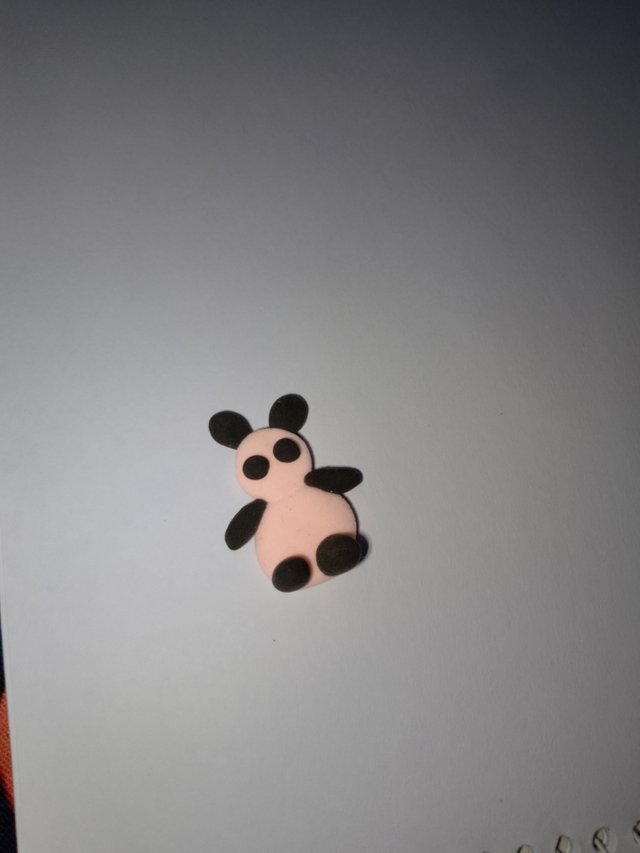 | Clay craft of a panda |
|---|
 |
|---|
Now I have made a small panda out of clay. Then, I placed the panda in front of the paper craft room I made. A beautiful paper craft house for my panda is now complete.
Step 07
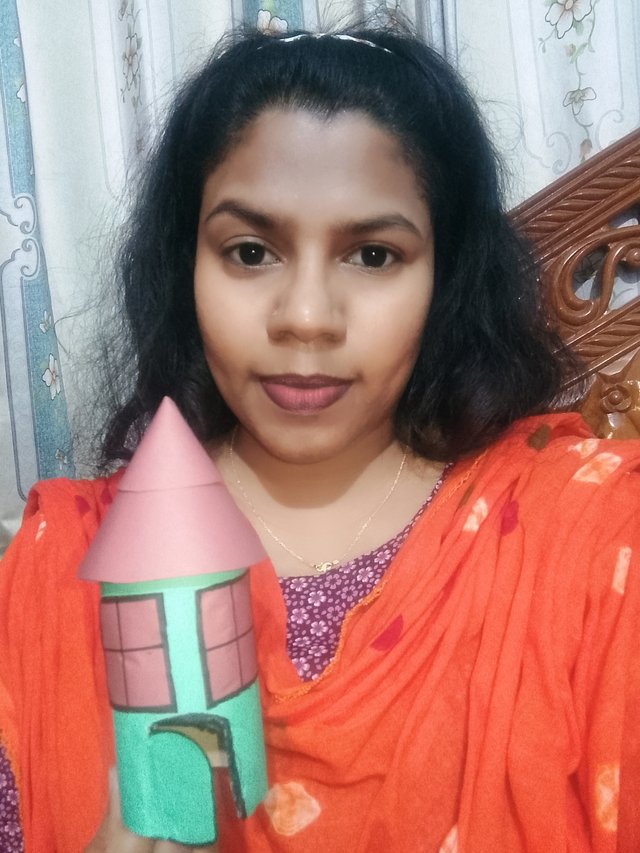 | Selfie with my craft |
|---|
Now I capture a selfie with my paper craft.
Don't forget to comment on how my paper and clay craft turned out. Thank you, everyone.

| Device Name | infinix |
|---|---|
| Captured by | @arjinarahman |
| Crafted by | @arjinarahman |
| Location | Narayanganj, Bangladesh |

I invite following users for the contest
@zoyabhatti06
@carmari
@vickyson


X/Twitter Promotion Link :
https://x.com/arjina_rahman/status/1874541318799806786
Downvoting a post can decrease pending rewards and make it less visible. Common reasons:
Submit
Downvoting a post can decrease pending rewards and make it less visible. Common reasons:
Submit
Thanks a lot @anailuj1992 ma'am for your kind support.
Downvoting a post can decrease pending rewards and make it less visible. Common reasons:
Submit
اپ کا بنایا ہوا ماڈل بہت خوبصورت ہے اور بہت صفائی سے بنایا گیا ہے بچوں کے لیے ایک بہترین کوشش ہے۔
Downvoting a post can decrease pending rewards and make it less visible. Common reasons:
Submit
Awwwn!
This is so beautiful.
Downvoting a post can decrease pending rewards and make it less visible. Common reasons:
Submit
Hola amiga @arjinarahman.
Encantada por su invitación 😊, muy bella su manualidad, y muy bien explicado el paso a paso.
Un bonito adorno para cualquier parte de nuestro hogar.
Muchos exitos en este desafío.
Downvoting a post can decrease pending rewards and make it less visible. Common reasons:
Submit
The house is so cute, I really appreciate learning how to make this.
I will show this to my children, I'm sure they will love it. Thanks for sharing and success in your entry.
Downvoting a post can decrease pending rewards and make it less visible. Common reasons:
Submit