09 December 2024
#Bangladesh 🇧🇩
As-salamu Alaikum.
Hello Steemians! This is @arjinarahman.
Hope you all are doing well. Today, I am participating in an amazing contest in the "Steem For Ladies" community, organized by @ngoenyi ma'am.
Here is: Contest Link .
Let’s get started!
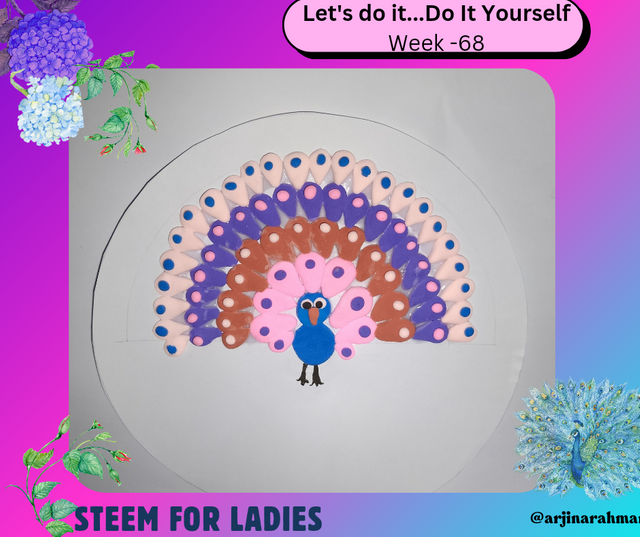
Crafting of a Colorful Peacock Made with Clay |
|---|
 |
|---|
Designed with Canva Pro

 |
|---|
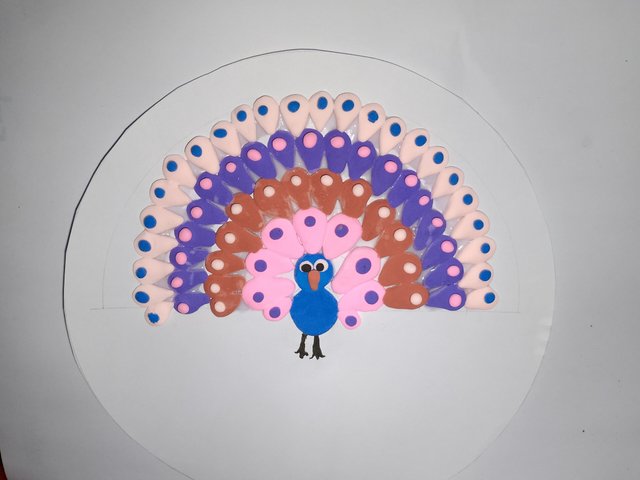
 | A Glimpse of My Painting |
|---|

Crafting Tools
🟥 Clay
🟦 Clay Cutters
🟪 Sculpting Tools
🟨 Rolling Pin
⬛ Adhesive-Glue
🟧 Scissor
🟩 Pencil Compass

Today, I am going to share a colorful peacock craft made with clay. Let’s not delay and take a look at how I created this colorful peacock.
Step 1
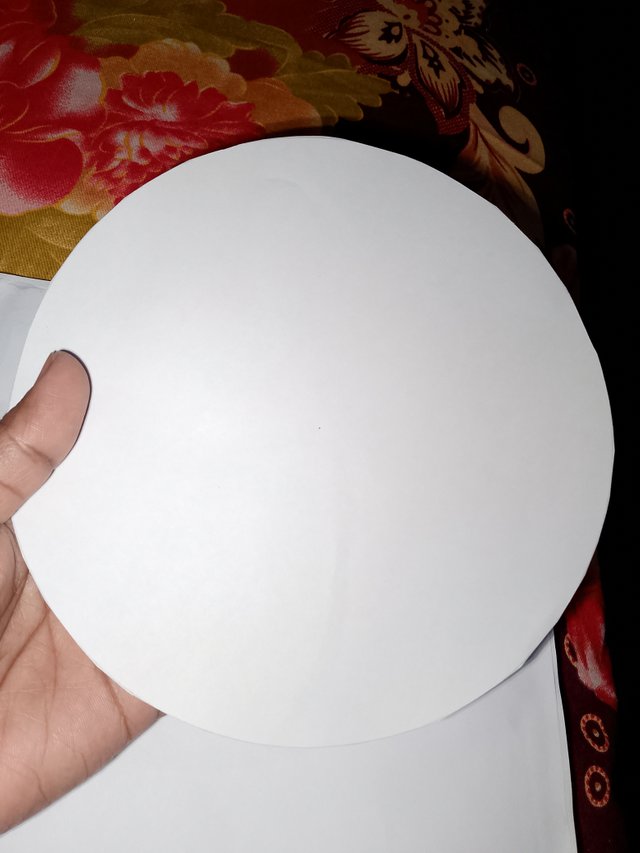 | Circle |
|---|
First, I drew a circle on a white piece of paper using a pencil and compass. Then, I neatly cut out the drawn circle using scissors.
Step 2
 |  |
|---|
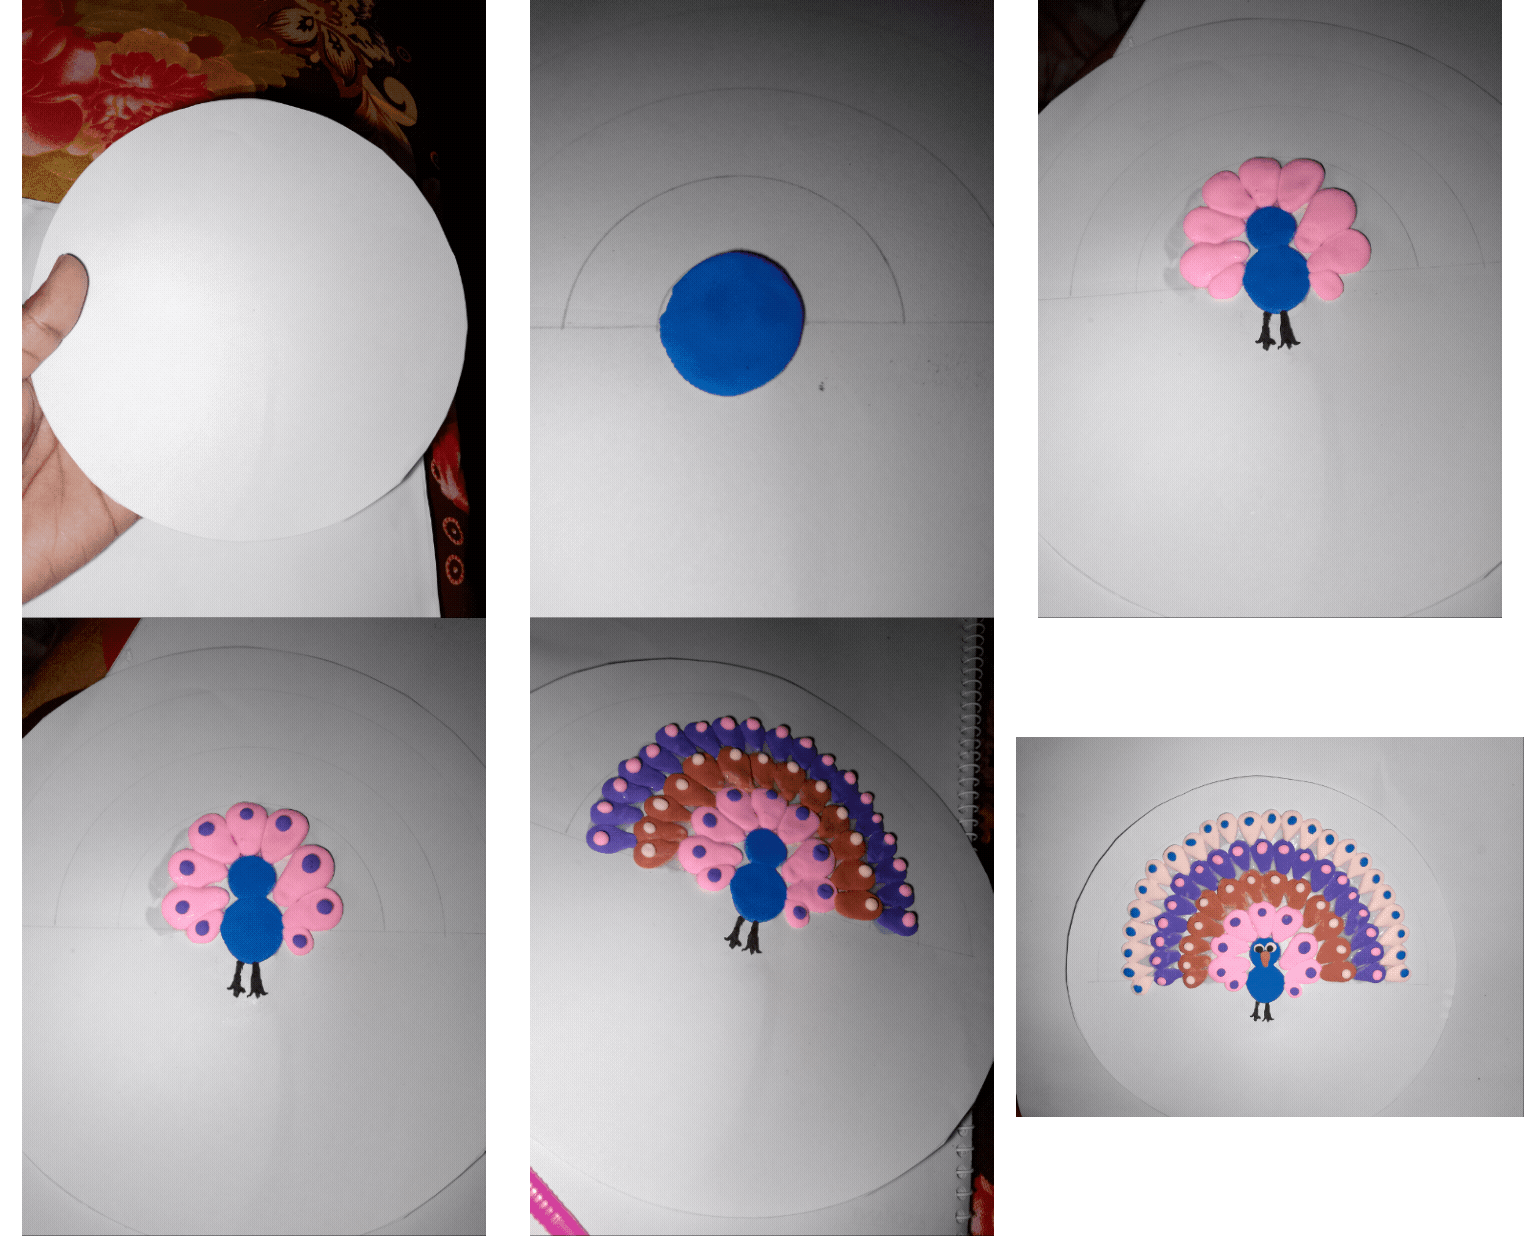
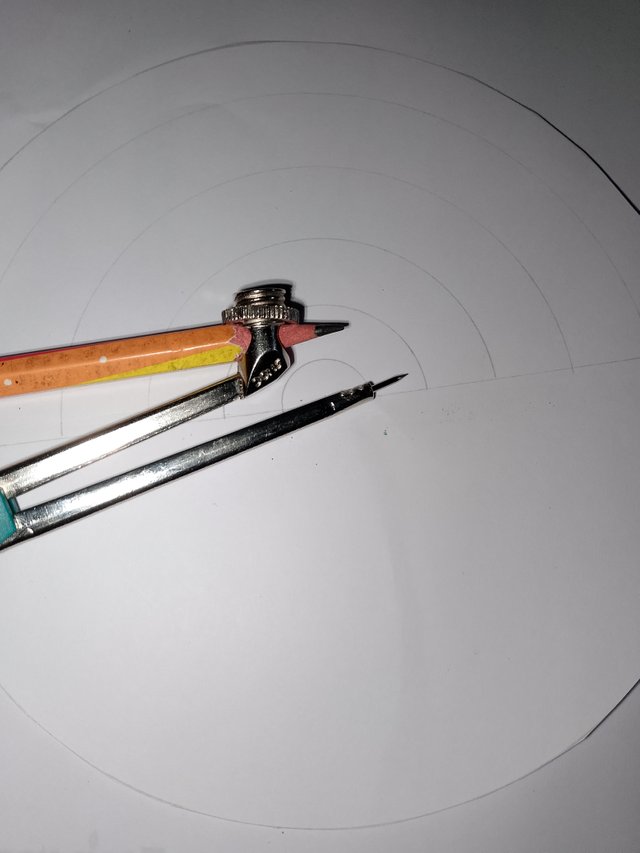
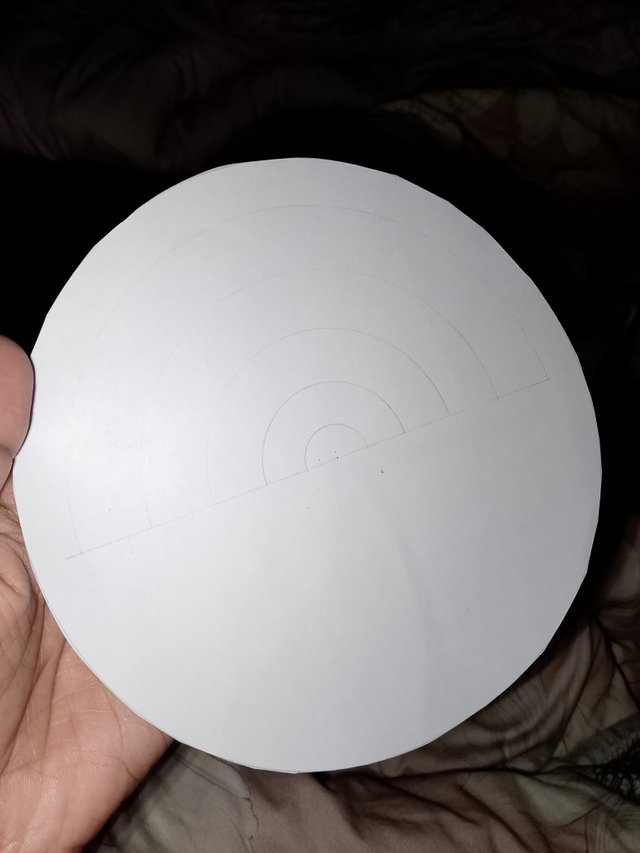
Next, I used a ruler to draw a straight line across the center of the circle. Within the semi-circular part, I used a compass to draw several semi-circular shapes to guide the creation of my peacock. Once the drawing was complete, I prepared the clay to start crafting the peacock.
Step 3
 |  |
|---|
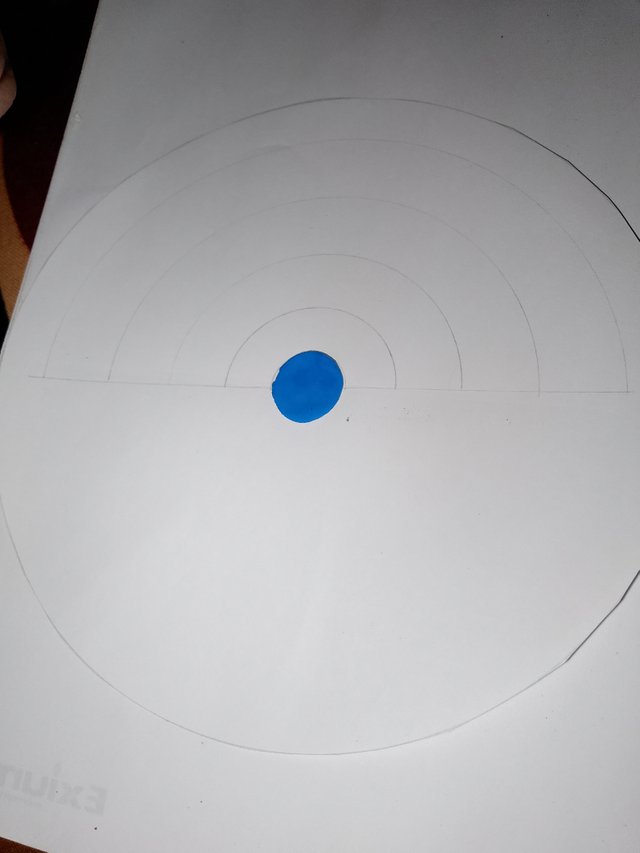
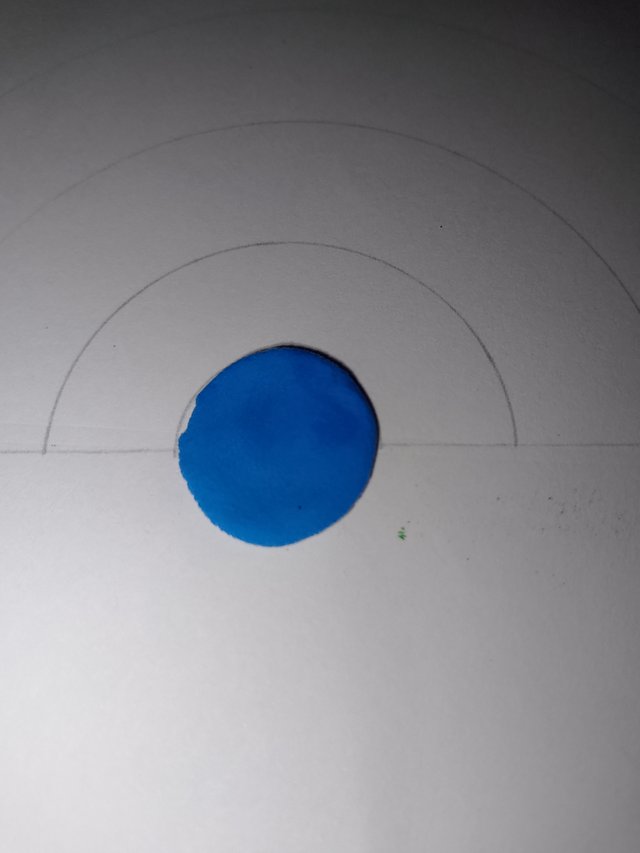
To begin, I took a small amount of blue clay and shaped it into a small circle. I attached this piece to the center point of my drawing with a little glue. Then, I made another small circle and placed it on top of the first circle using a bit of glue.
Step 4
| Two small legs | 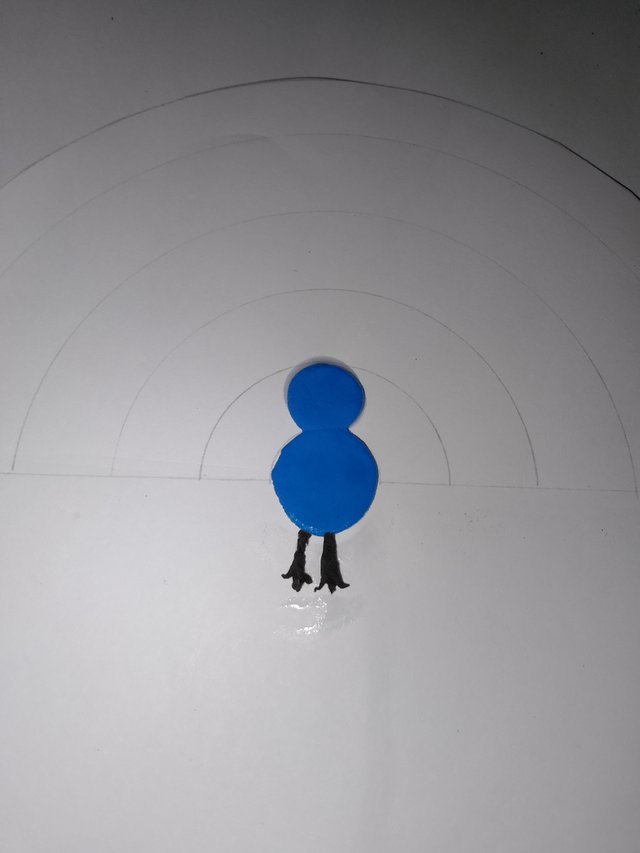 |
|---|
Next, I selected black clay to create the peacock’s legs. I made two small legs and attached them with glue to the bottom of the peacock.
Step 5
 |  |
|---|
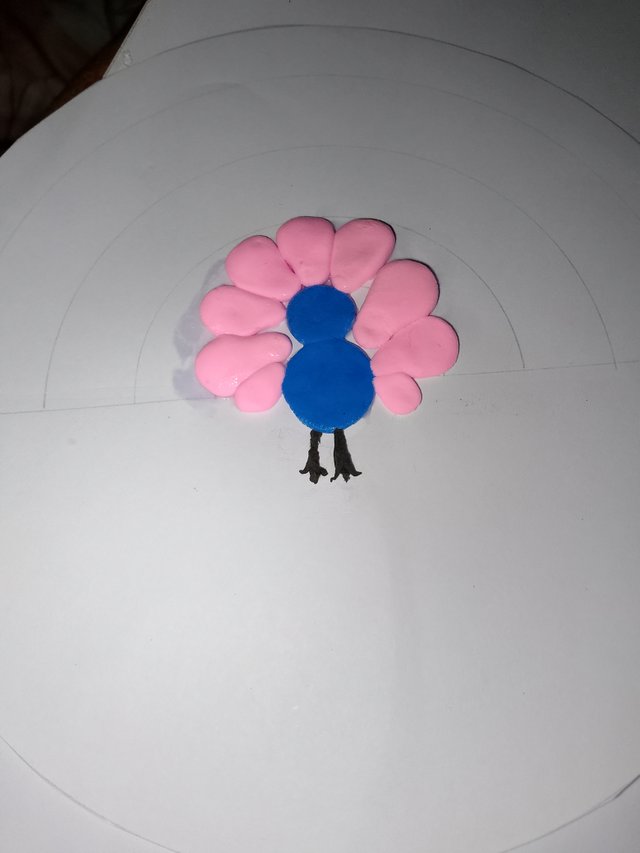
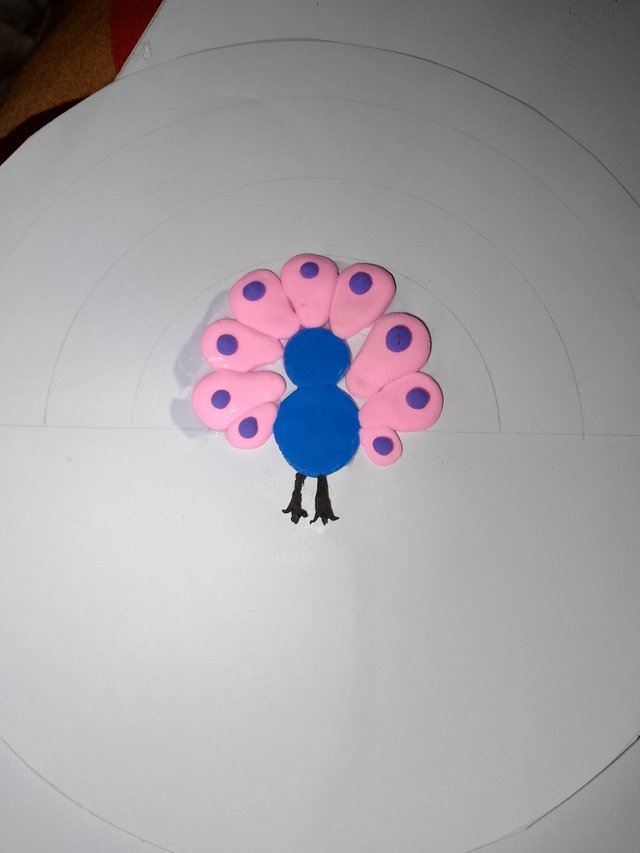
Using light pink clay, I created several balloon-like shapes to form the peacock’s wings. I glued these balloon-like shapes on either side above the peacock's head. Then, I took purple clay, created several small circular shapes, and attached them to the edges of the light pink clay.
Step 6
 |  |
|---|
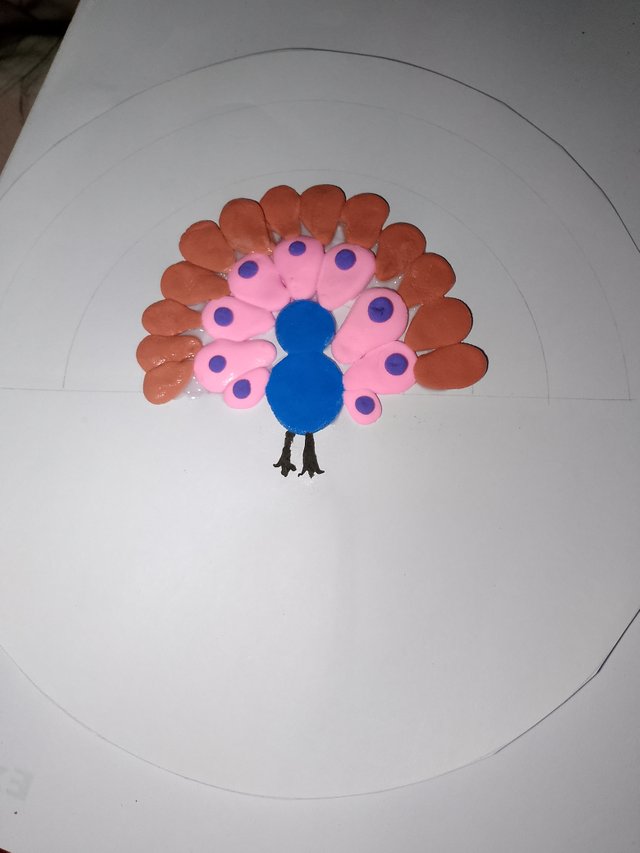
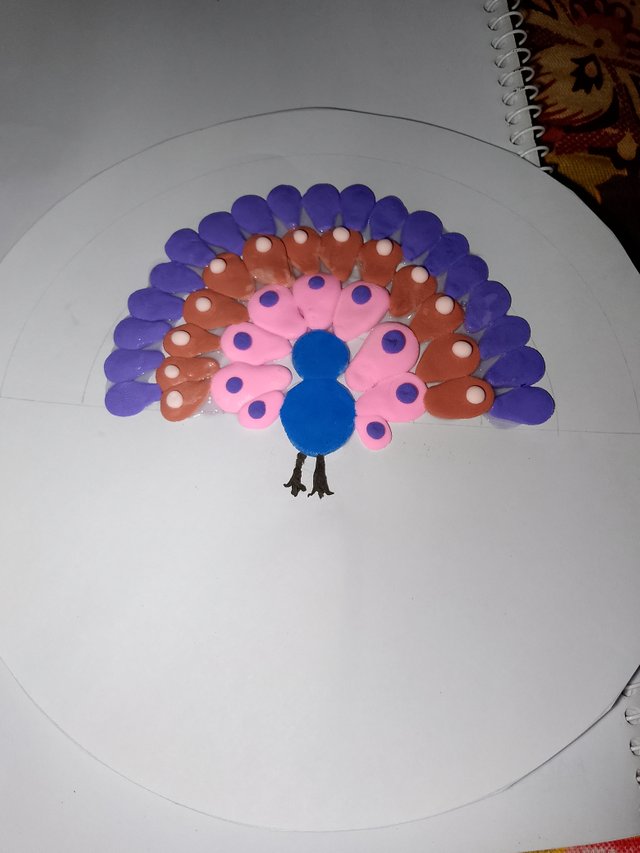
Now, I used brown clay to create more balloon-like shapes and attached them in the next layer after the light pink clay. At the edge of this layer, I added small circular shapes made from off-white clay.
Step 7
 |  |
|---|
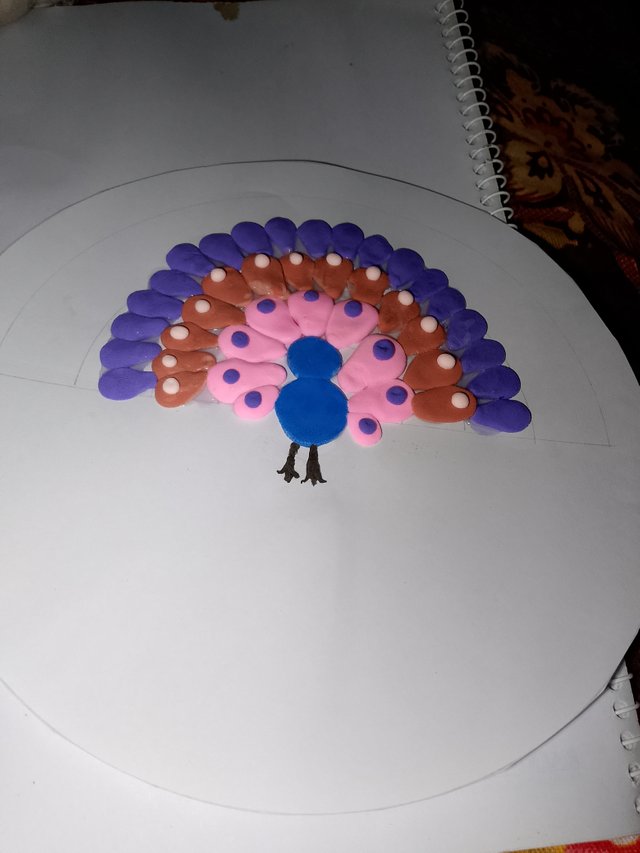
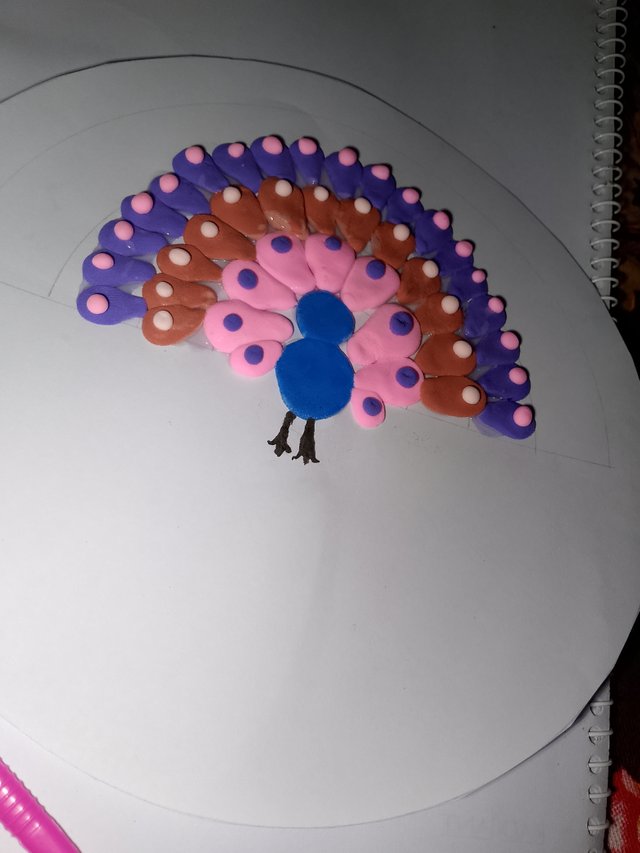
After the brown layer, I used purple clay again to create egg-shaped patterns and attached them with glue. At the end of this layer, I placed small circular pieces of pink clay.
Step 8
 |  |
|---|
 |  |
|---|
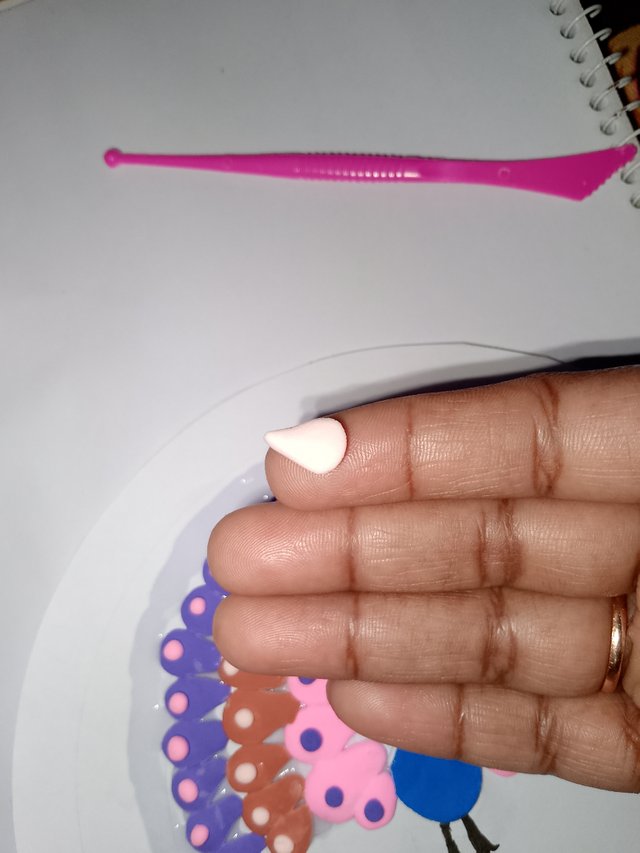
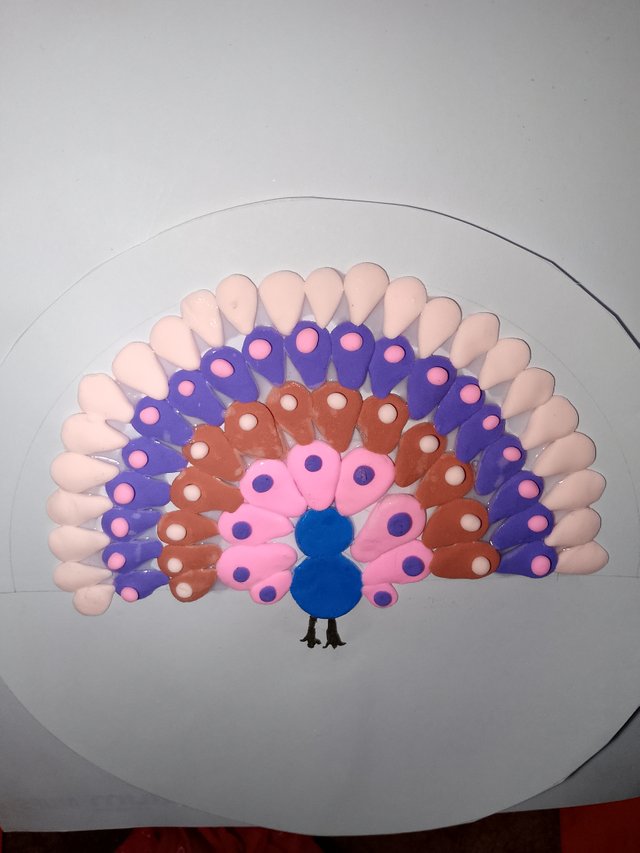
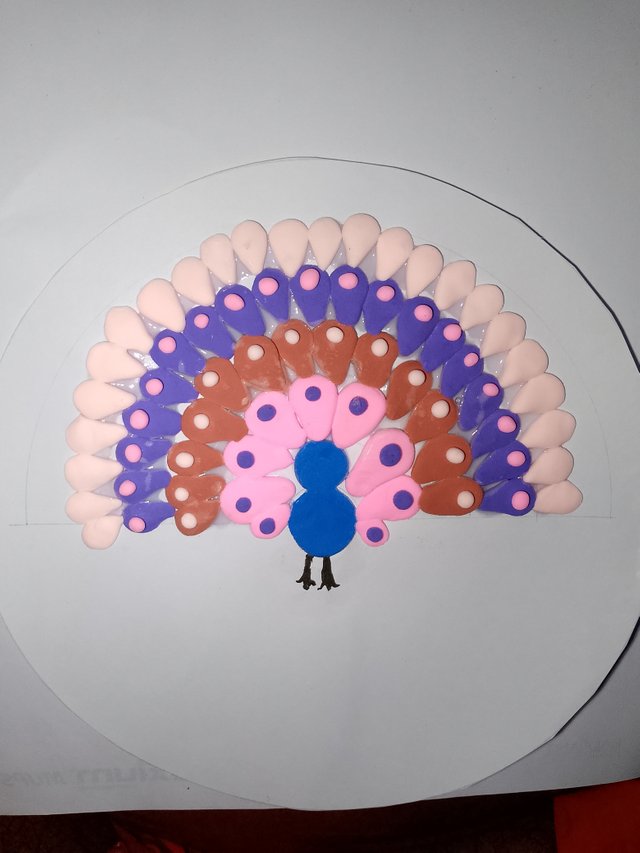
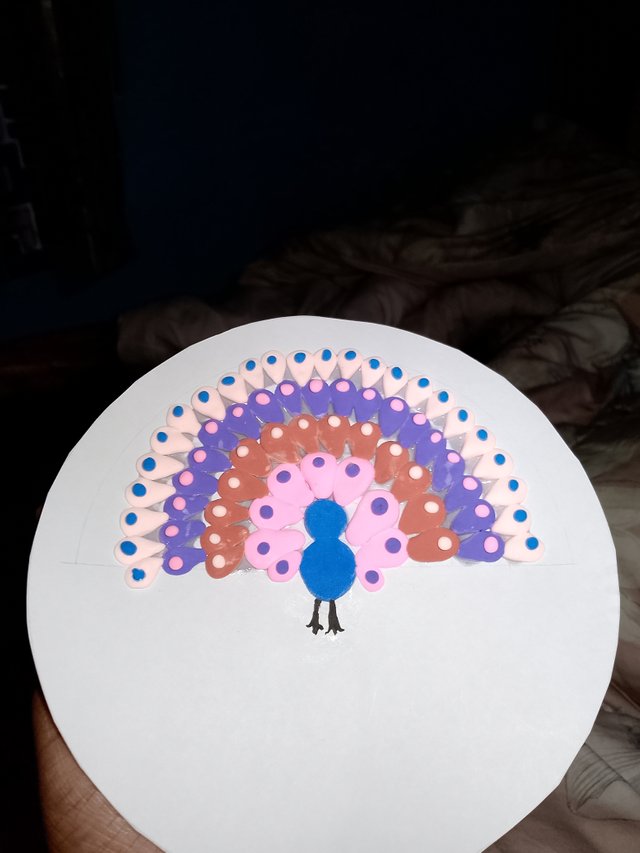
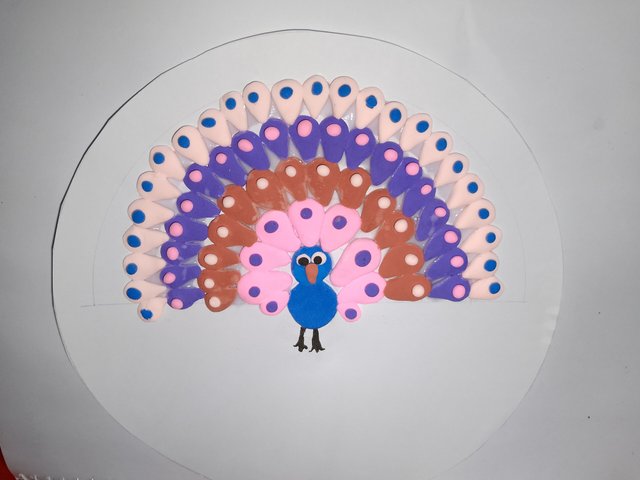
Next, I created balloon-shaped patterns using off-white clay and attached them after the purple layer. At the edge of these shapes, I added small circular blue clay pieces. By now, you can probably tell from the picture that the peacock’s colorful feathers have been completed.
Step 9
 | Completed my craft |
|---|
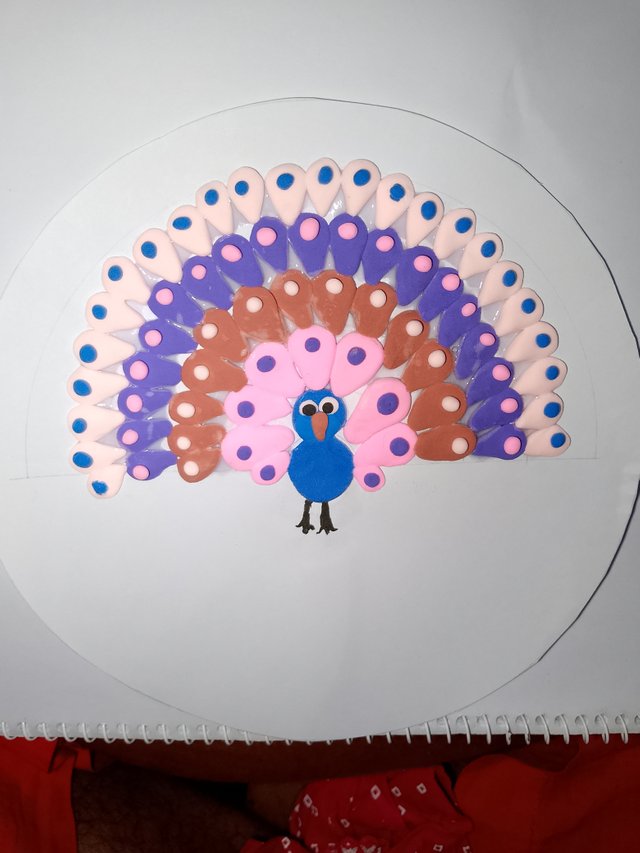
Now, I made the peacock’s eyes and beak. For the eyes, I used off-white clay to create a circular shape and added small black clay pieces to form the pupils. For the beak, I used brown clay.
Step 10
 |
|---|
| Selfie with my Crafting of clay | 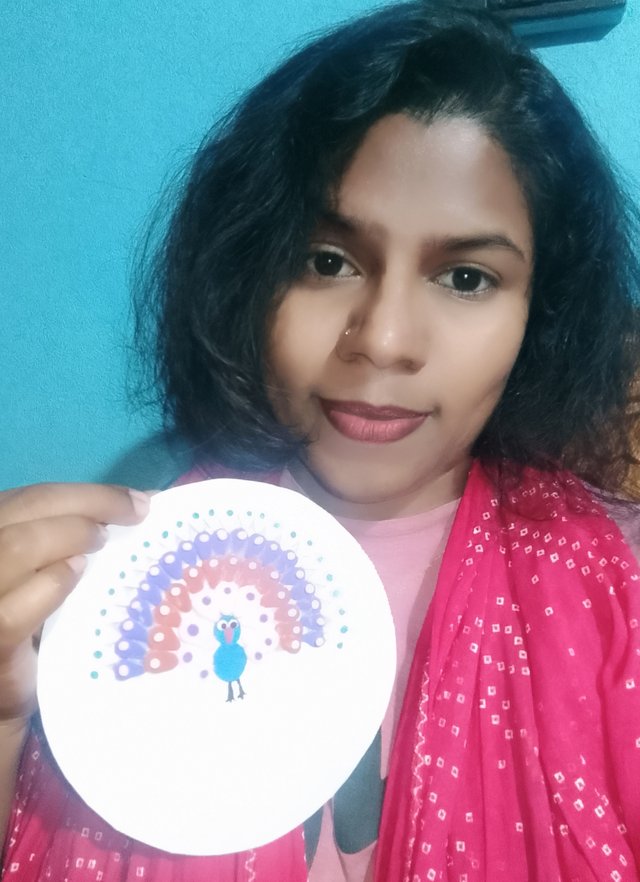 |
|---|
As you can see from the picture, my colorful clay peacock craft is now complete. I took a selfie with it to capture the moment. Let me know in the comments how you think my clay peacock turned out. Thank you, everyone!

| Device Name | infinix |
|---|---|
| Captured by | @arjinarahman |
| Crafted by | @arjinarahman |
| Location | Dinajpur, Bangladesh |

I invite following users for the contest
@zoyabhatti06
@suborna03
@pink-rin
@solperez


X/Twitter promotion link:
https://x.com/arjina_rahman/status/1866021363364007971
Downvoting a post can decrease pending rewards and make it less visible. Common reasons:
Submit
Hello Friend
I am really amazed with your creativity. You have created a very nice peacock specially the colors you have chosen in it are absolutely fantastic and second thing you have explained it very well.
Thanks for inviting me 😊 best of luck♥️✨
Downvoting a post can decrease pending rewards and make it less visible. Common reasons:
Submit
Thanks a lot dear.
Downvoting a post can decrease pending rewards and make it less visible. Common reasons:
Submit
Saludos gracias por compartir tu participación con nosotros te deseo el mayor de los éxitos.
Downvoting a post can decrease pending rewards and make it less visible. Common reasons:
Submit
How beautiful the peacock is!! I appreciate your effort in making such a colorful peacock.. keep it up..
Downvoting a post can decrease pending rewards and make it less visible. Common reasons:
Submit
Hola amiga adoro ese pavo real que has realizado a partir del reciclaje y paso a paso muy bien. Explicado y detallado
Downvoting a post can decrease pending rewards and make it less visible. Common reasons:
Submit
This is a beautiful drawing and craft by you. And you have taken time to share the steps. It is appreciated
Downvoting a post can decrease pending rewards and make it less visible. Common reasons:
Submit