Cordial salutation to All !
I want all of my friends and Steemians to cherish every moment of their lives. This contest, "Let's do it...Do It Yourself👉Craft, Creativity, Drawing, origami, DIY, Recycling, and more," is the reason I'm here today. Every week, the honorable Mam @ngoenyi organizes this contest. I really appreciate Mam and Steem For Ladies for organizing this wonderful contest. I'm really excited to perform again in it, so let's get started.
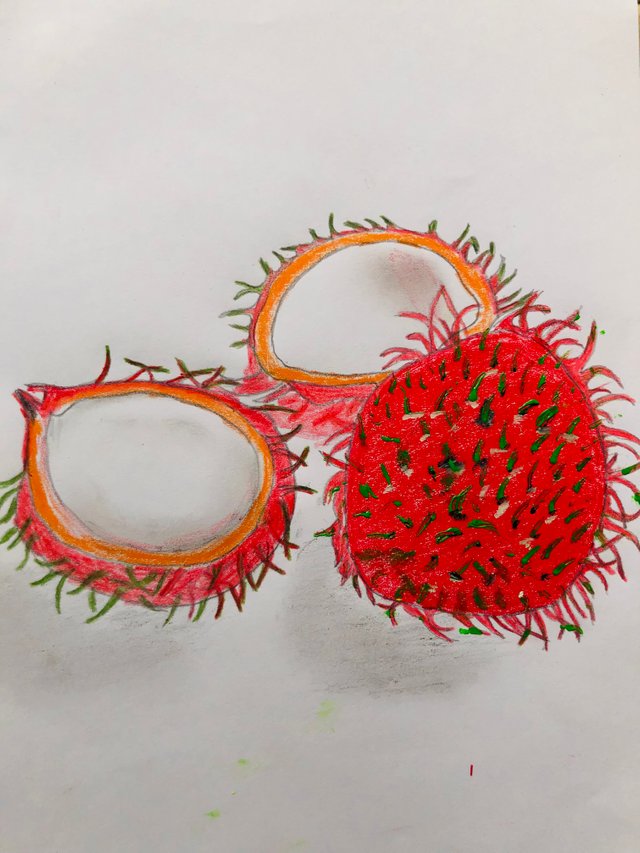
Today I will draw a Rambutan fruit to participate in this contest. This fruit looks like a litchi fruit in our country, but Rambutan's skin has deeper red long, soft spines. This tastes sweet and juicy, a very refreshing.
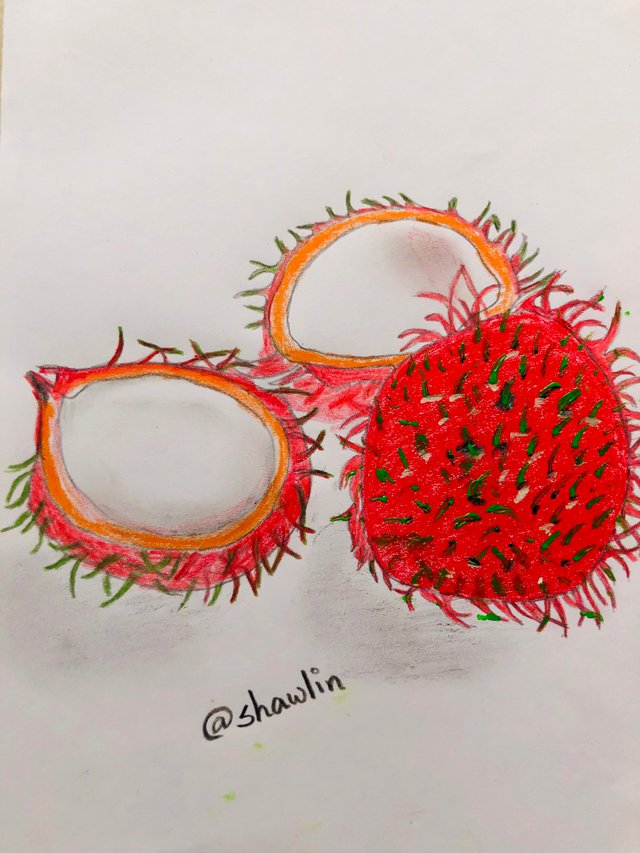
The material I used at the time of drawing .
| Username | Post link |
|---|---|
| 🎨 1 | White Paper |
| 🎨 2 | Color Pencil |
| 🎨 3 | Pencil |
| 🎨 4 | Eraser |
✏️Step 01 ✏️
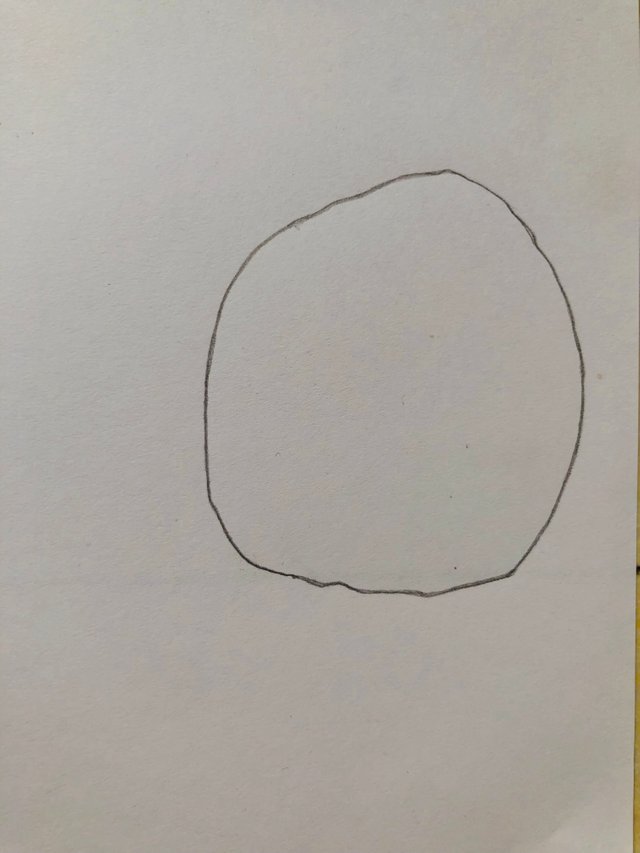
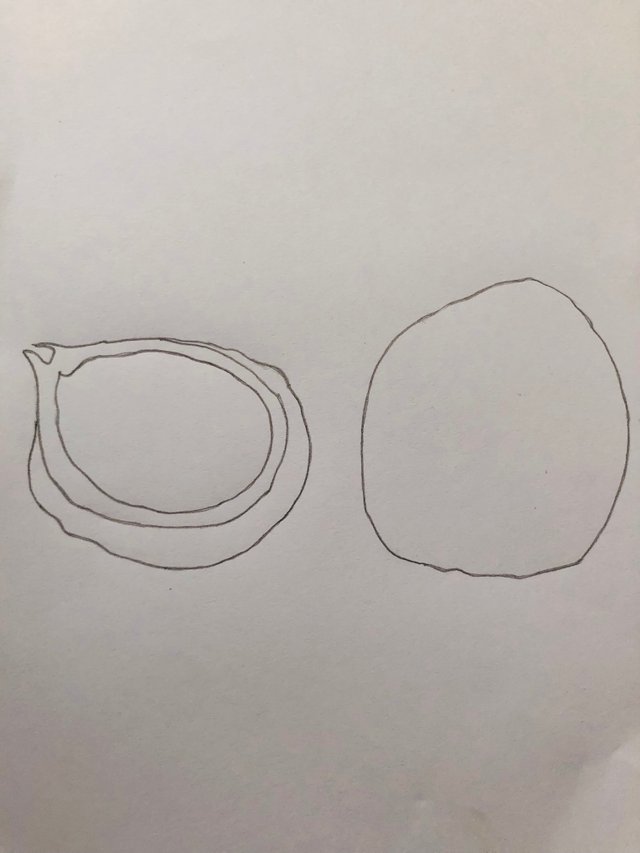
For drawing the rambutan fruit, I first drew the shape of a whole fruit using an oval shape. Next, I drew the shape of a half-cut rambutan fruit on its left side. In drawing this, I also drew another oval shape parallel to it and indicated the upper skin part by giving it a double border. The outer skin of this fruit is uneven and thorny shape, so I have added two thorny shapes to the front part of it.
 |
|---|
 |
|---|

✏️Step 02 ✏️
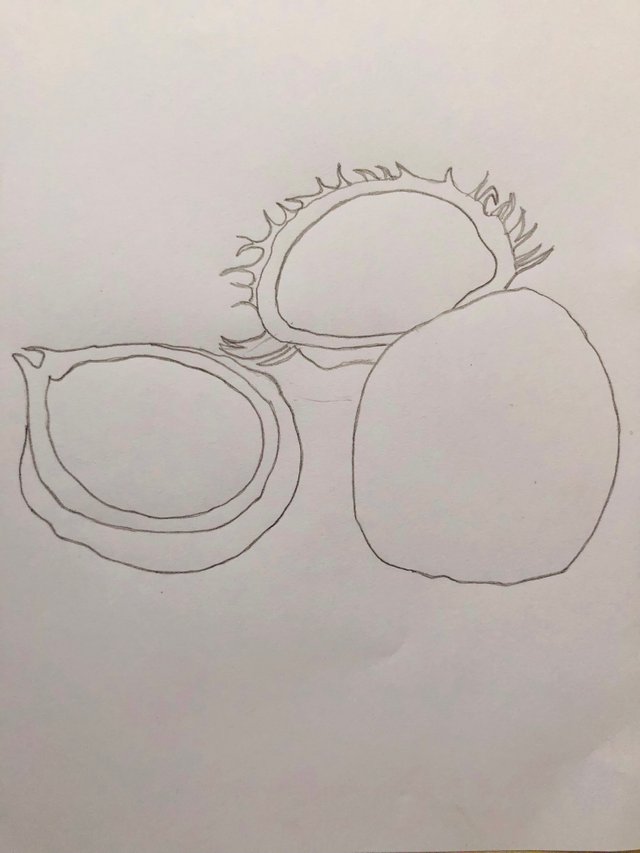
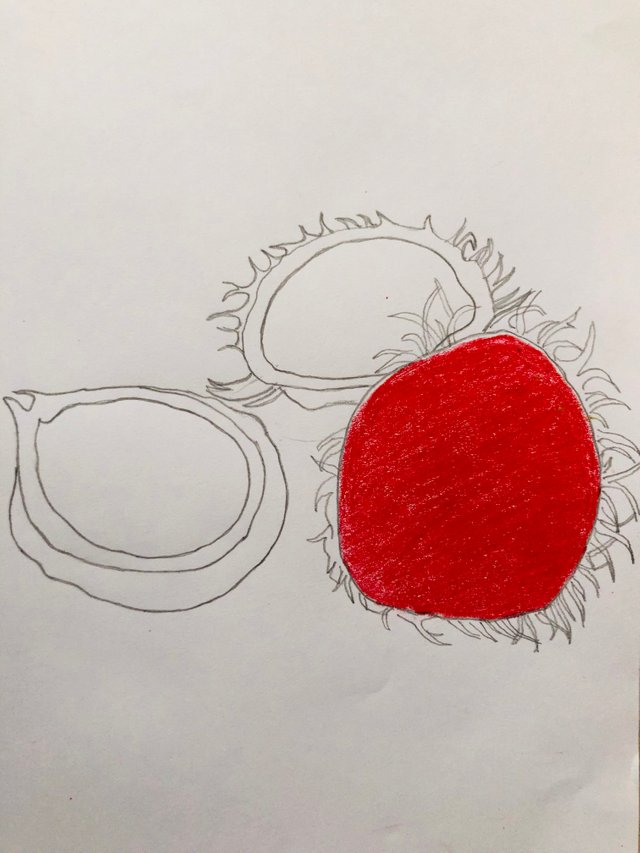
I have drawn another half-cut Rambutan fruit on top of both the long fruits drawn in the second step, which will be oval in shape too. I also drew the uneven parts of the skin on top of it. Then I painted the Rambutan fruit on the far right completely red.
 |
|---|
 |
|---|

✏️Step 03 ✏️
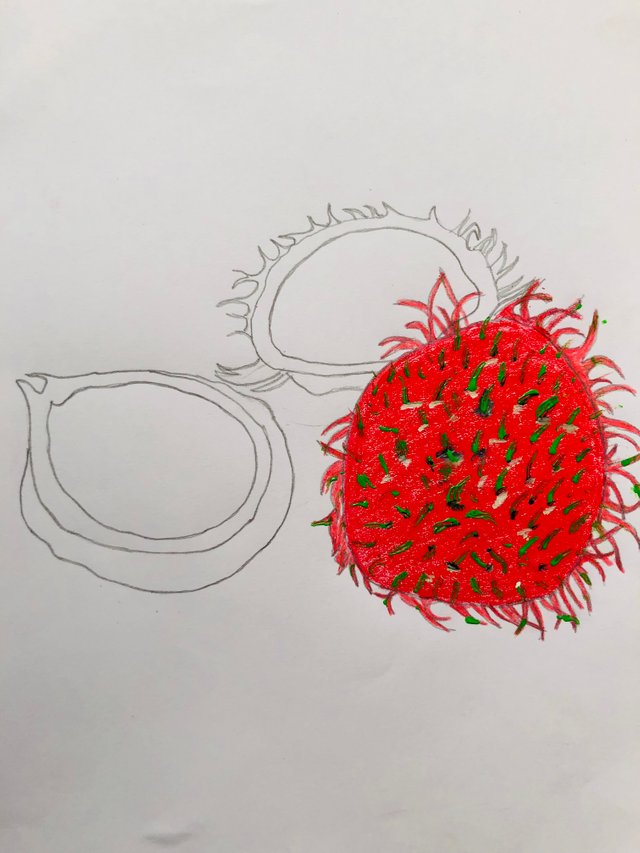
In the third step, I drew an uneven shape around the fruit with a red color and also drew thin lines on the skin of the fruit with a green color, which helped to make its whole body hairy.
 |
|---|

✏️Step 04 ✏️
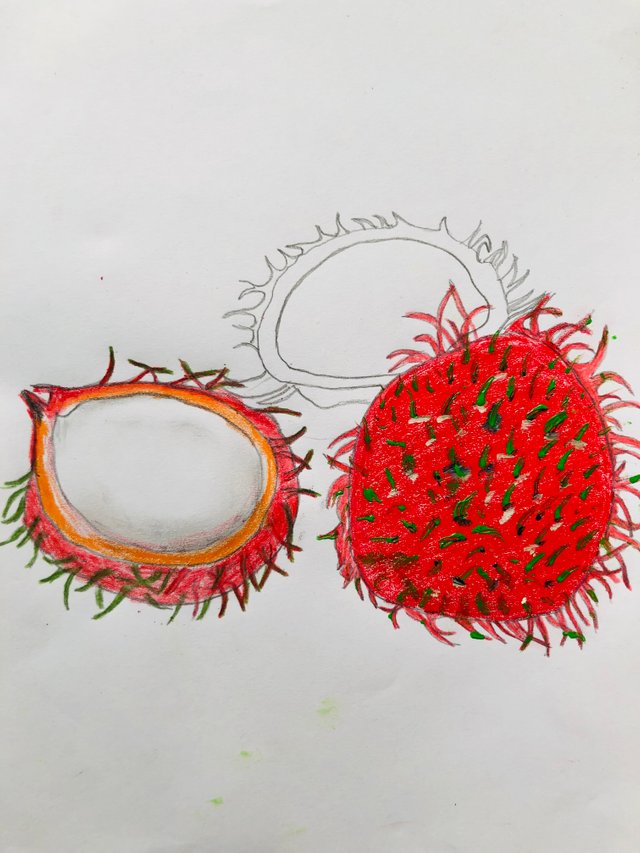
I have once painted the skin of the half-cut fruit next to it in red and the thin layer around the inner seed in orange. Along with that, I have also applied some short lines to make uneven spots on its outer skin in a combination of green and red. And I shaded it with a pencil to highlight the inside of the fruit seed.
 |
|---|

✏️Step 05 ✏️
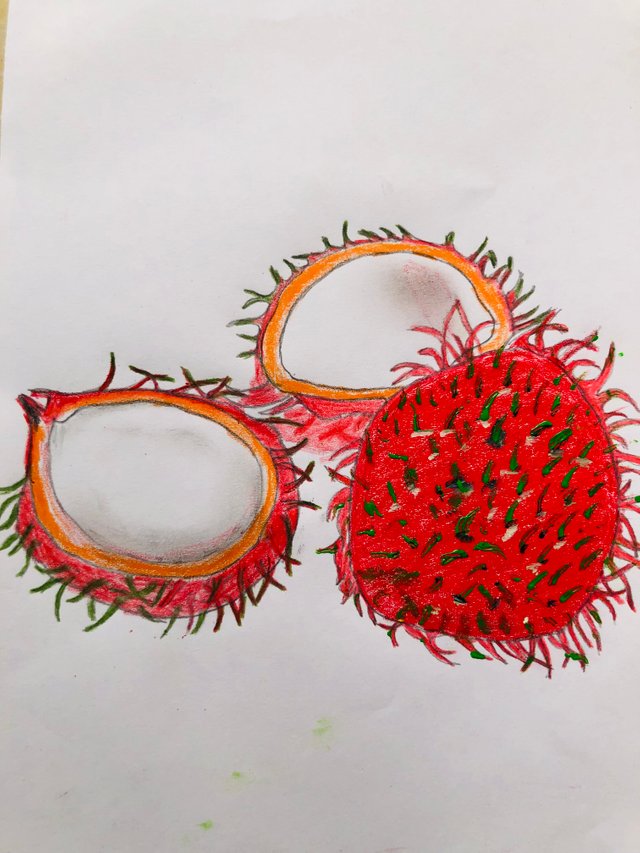
In the fifth step, similarly, on the half-cut fruit at the back, first using a thin layer of orange paint, the outer parts of the fruit are left with the help of red paint, and small lines are drawn on it in a combination of green and red.
 |
|---|

✏️Step 06 ✏️
Finally, an attempt has been made to highlight the shadows of both the drawn fruits by shading them with a pencil.
 |
|---|

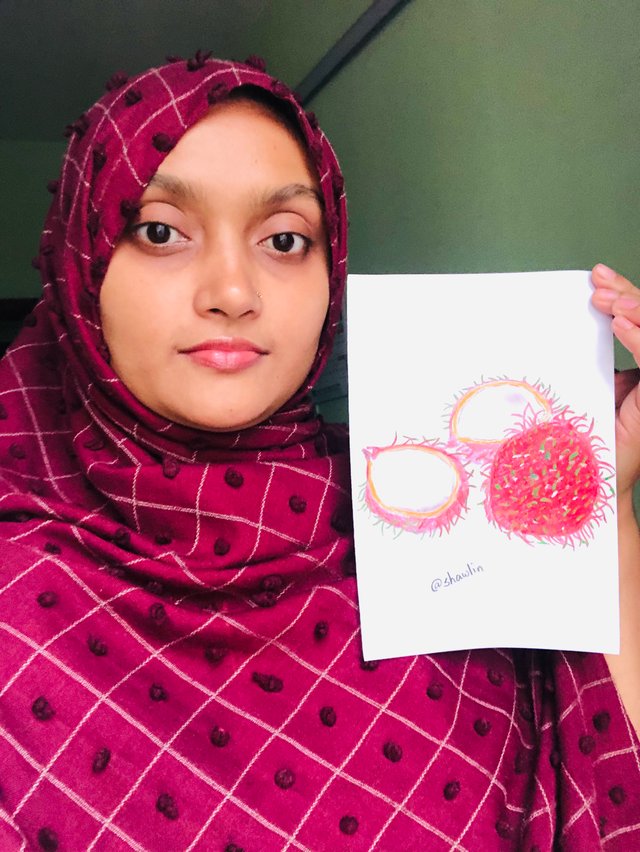
I want to invite my fellow Steemin @zoyabhatti06 , @nabilanusrat , and @afrinn before I leave.
Regards
@shawlin

https://x.com/showlinrimpy/status/1893627978396958739
Downvoting a post can decrease pending rewards and make it less visible. Common reasons:
Submit
Thank you for sharing on steem! I'm witness fuli, and I've given you a free upvote. If you'd like to support me, please consider voting at https://steemitwallet.com/~witnesses 🌟
Downvoting a post can decrease pending rewards and make it less visible. Common reasons:
Submit
Your drawing is so beautiful.. I wish you all the best..
Downvoting a post can decrease pending rewards and make it less visible. Common reasons:
Submit
I am glad to.see your beautiful drawing tutorial. Keep sharing your beautiful posts with all of us. Thank you for participating…..
Vote @pennsif.witness for growth across the Steemit platform through robust communication at all levels and targeted high yield developments with the resources available. Vote here
Downvoting a post can decrease pending rewards and make it less visible. Common reasons:
Submit