Greetings friends!!
This is @urmilanath650 from @bangladesh
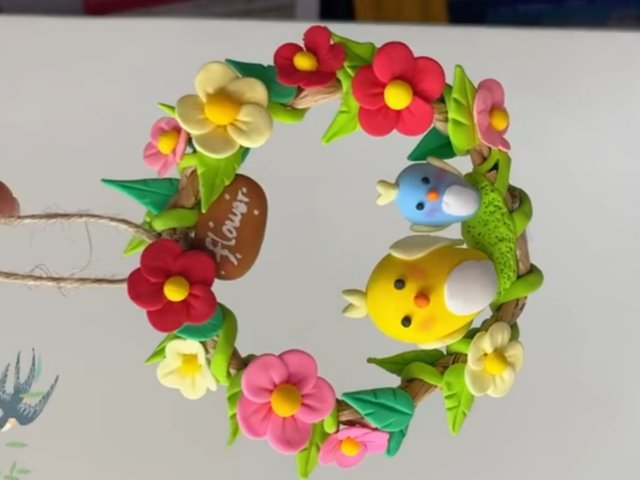
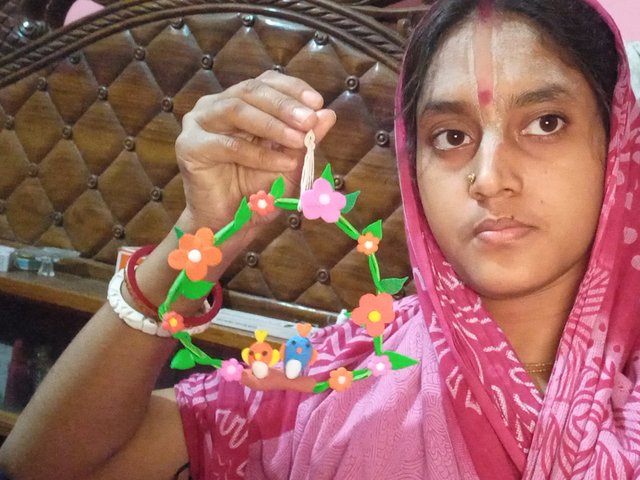
How are you friends?? Hope everyone is nice and fine by the mercy of Almighty Lord and so am I. Today I am going to share a beautiful and creative work with you by taking part in the contest organized by dear @ngoenyi. I have made a nice wall hanging craft with paper and colorful clay. Hope this cute craft will give you much pleasure. I would like to invite @walictd @firyfaiz and @muzack1 to participate in this nice contest.
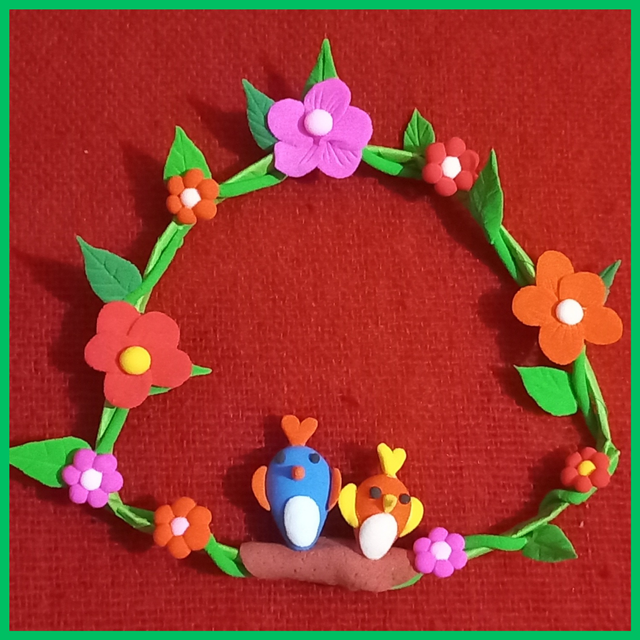
Let's start the craft preparation...
- Green color paper
- Green color clay
- Red color clay
- White color clay
- Black color clay
- Orange color clay
- Pink color clay
- Blue color clay
- Yellow color clay
- Brown color clay
- Baby pink color clay
- Glue
- Scissor
- Thread
- Scale
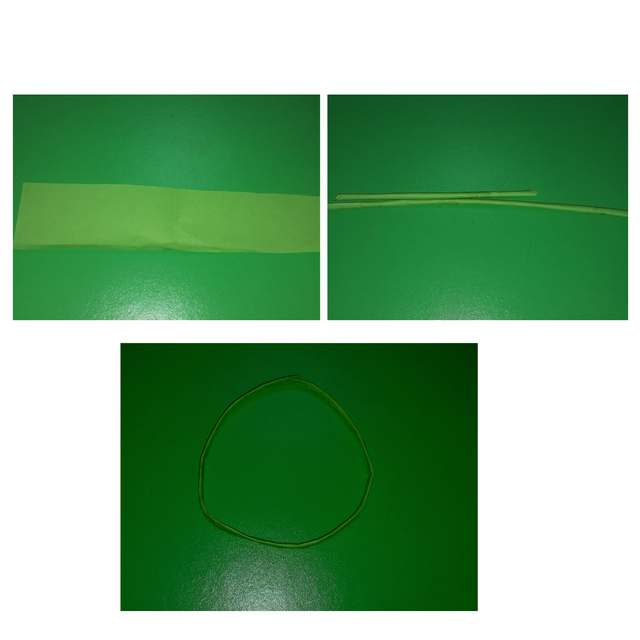
Cut a long rectangular shape from a green color paper. Roll the paper from one corner to make a cylindrical structure and attach the end with glue. Make another smaller cylindrical structure in this way. Join the two structures' ends with glue. Then make a circular structure with this joint cylinder shape.
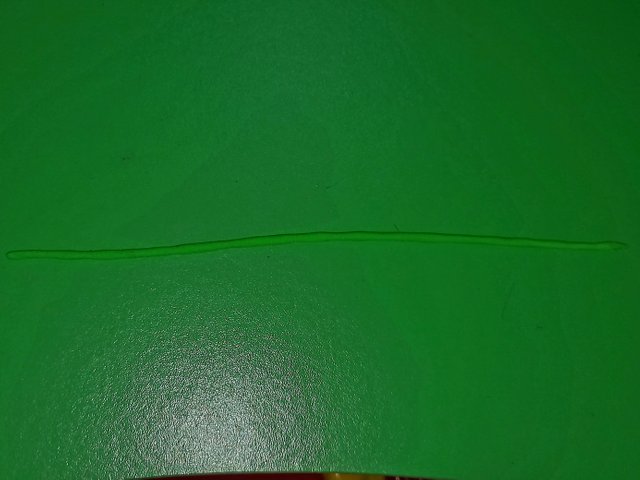
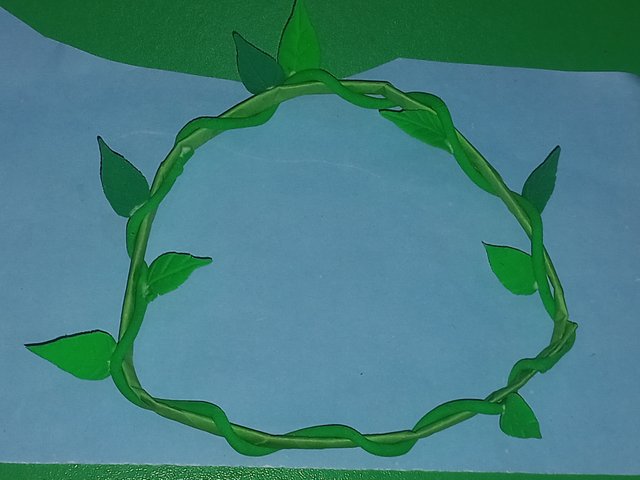
Then pick up a portion of green color clay and roll this nicely to make a long stick shape. Attach the stick's one end to any point of the paper base with glue and twist it surrounding the paper base; attach its other end with glue.
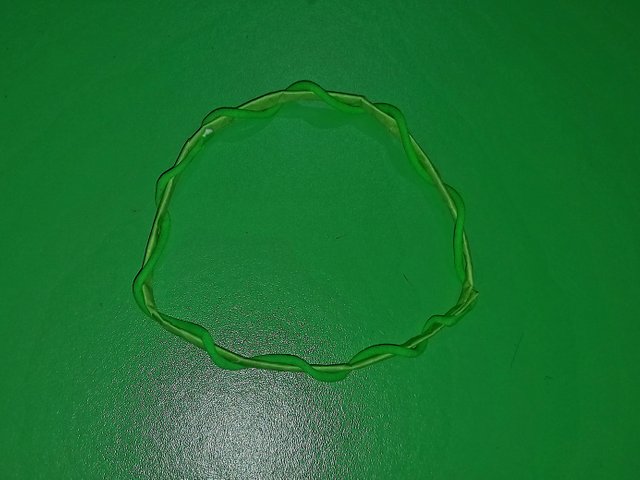
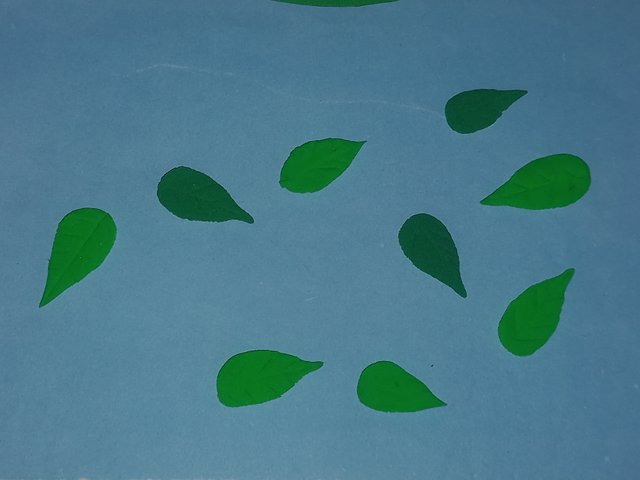
Now pick a small amount of green color clay and roll this to make a ball. Press the ball to give a leaf shape whose one end is narrow and the other end is broader. Make lines on the leaf surface with the help of a scale. Prepare several leaves in this way. Make some dark green color leaves by mixing blue and green color clay. Attach the leaves with the green round structure with glue.
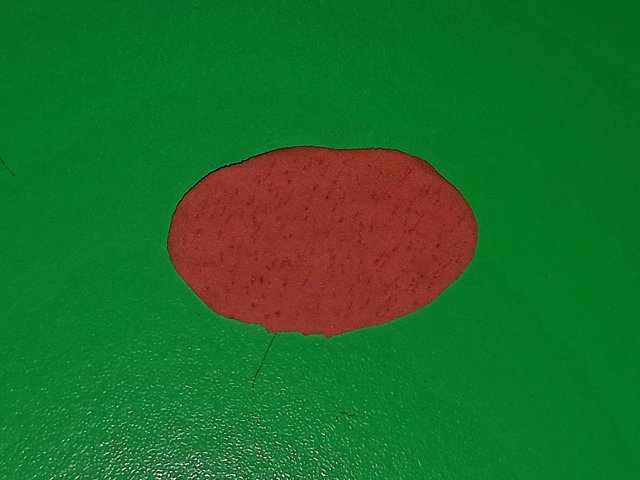
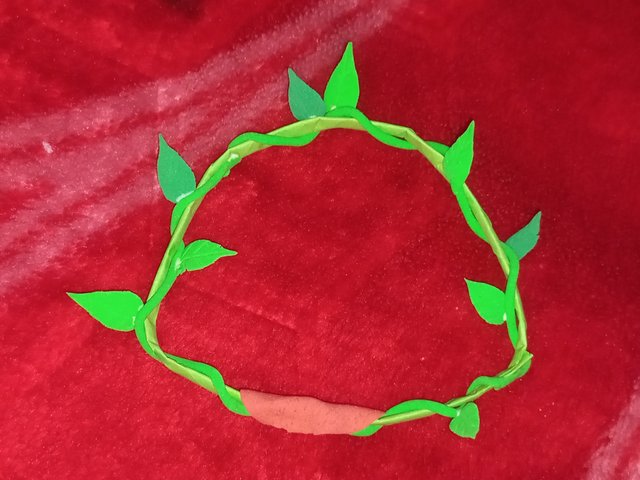
Next pick a small portion of brown color and a smaller portion of white color clay; mix these and make a flat oval shape by rolling and pressing the clay. Make small grooves on this structure using a scissor's tip. Attach the brown structure at the lower part of the green base.
Now make several flowers. Pick a little portion of white or baby pink color clay and roll it to make a ball. Make such 5-6 balls with different color clay like red, orange, pink. Attach the balls keeping the white one at the center. Make another type of flowers by making yellow or white color balls and attachment of flat petals of different colors surrounding the ball. Then attch the flowers at different positions of the base.
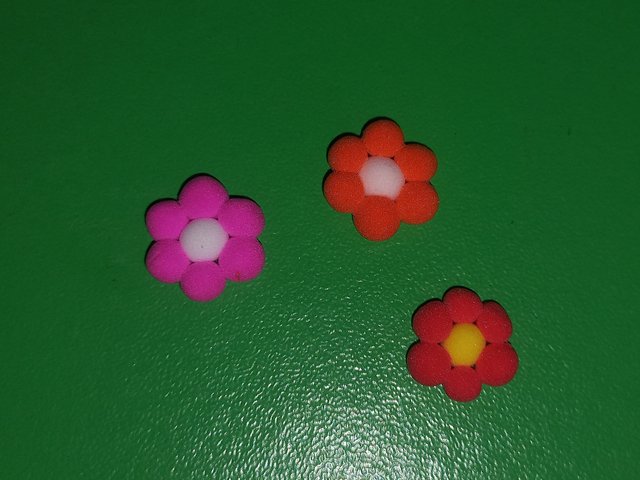
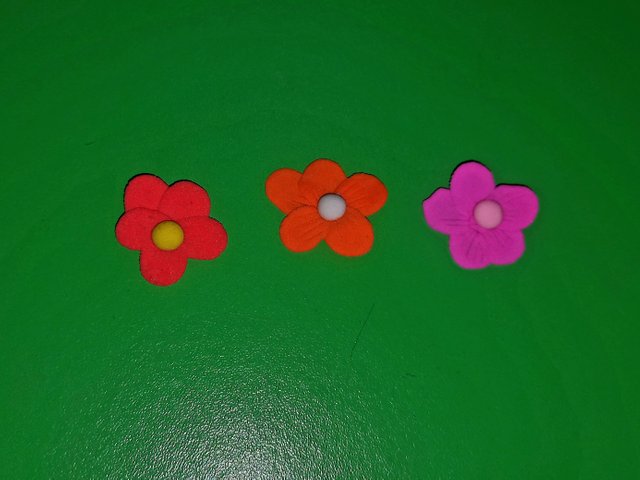
After that prepare two little birds. Take a small amount of orange color clay and transform it into a slightly cone like shape by rolling and pressing. Make a small beak with yellow color clay and two eyes with black color clay; attach these on the broader head portion of the bird. Make a small white oval shape and attach it on the belly position. Also make two yellow wings and attach tgese at two sides. Make another bird in this way with blue, orange, black and white color clay. At last attach the birds on the brown nest with glue. Using a thread, ake a hanging structure at the top of the frame.
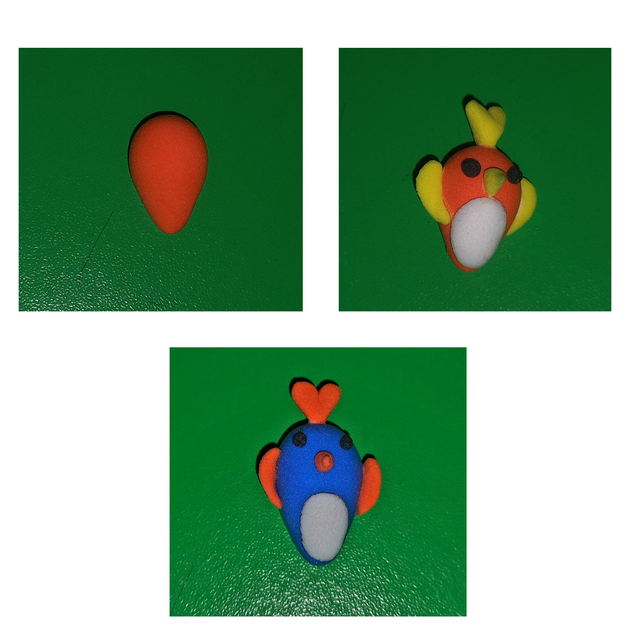
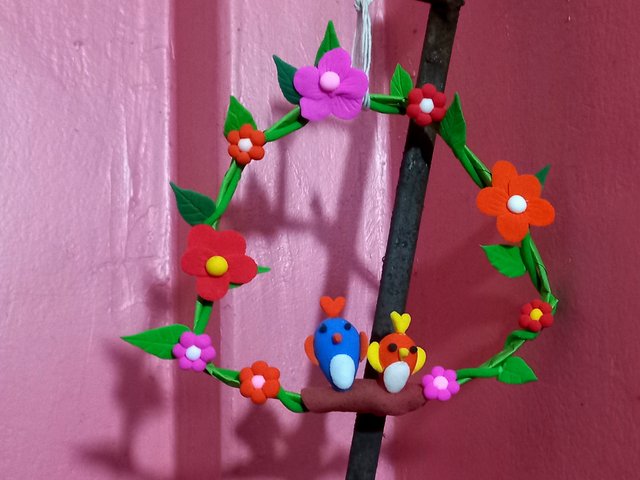
My beautiful craft preparation is finished now. Hope you all enjoy this so much and must try this at home by following the five steps that I have given above. I have got the idea of this nice craft from a pinterest reel.

x share https://x.com/urmilanath55/status/1868706679401165069
Downvoting a post can decrease pending rewards and make it less visible. Common reasons:
Submit
Saludos gracias por compartir tu participación con nosotros. Te deseo mucho éxito. Te recuerdo que para utilizar la etiqueta del Club5050 debes encender para poder estar elegible.
Downvoting a post can decrease pending rewards and make it less visible. Common reasons:
Submit
Thank you...
Downvoting a post can decrease pending rewards and make it less visible. Common reasons:
Submit
Downvoting a post can decrease pending rewards and make it less visible. Common reasons:
Submit
Thank you so much sir..
Downvoting a post can decrease pending rewards and make it less visible. Common reasons:
Submit
Bellísimo trabajo amiga nuestra creatividad no tiene límites, un trabajo muy bien realizado y con tu explicación lo haces ver muy sencillo, solo hay que tener paciencia para que nos salga tan bien como el que nos presentas
Suerte en tu participación
Downvoting a post can decrease pending rewards and make it less visible. Common reasons:
Submit
Thank you so much dear friend for your beautiful comment
Downvoting a post can decrease pending rewards and make it less visible. Common reasons:
Submit
Thanks for this creative Idea. The floor is beautiful. Am the birds look so cute
Downvoting a post can decrease pending rewards and make it less visible. Common reasons:
Submit
thank you mam
Downvoting a post can decrease pending rewards and make it less visible. Common reasons:
Submit