Designed With Canva.
It is always a joy for me whenever I have the opportunity to participate in the Steemit contest weekly and today I will be participating in the crypto academy community contest. Stay tune below.
Apply a sling on the arm and a splint on the finger of a sibling, child, or peer. Attach a picture of the application and explain the procedure in detail, highlighting key points for immobilization and stabilization.
I will be explaining in details the step by step process that I follow that needs to be attended to whenever I want to apply a sling to the arm and also a splint to the finger. For the purpose of this experience, I make use of the white clothe as to serve as the bandage and this are the process below.
Applying a Sling for the Arm
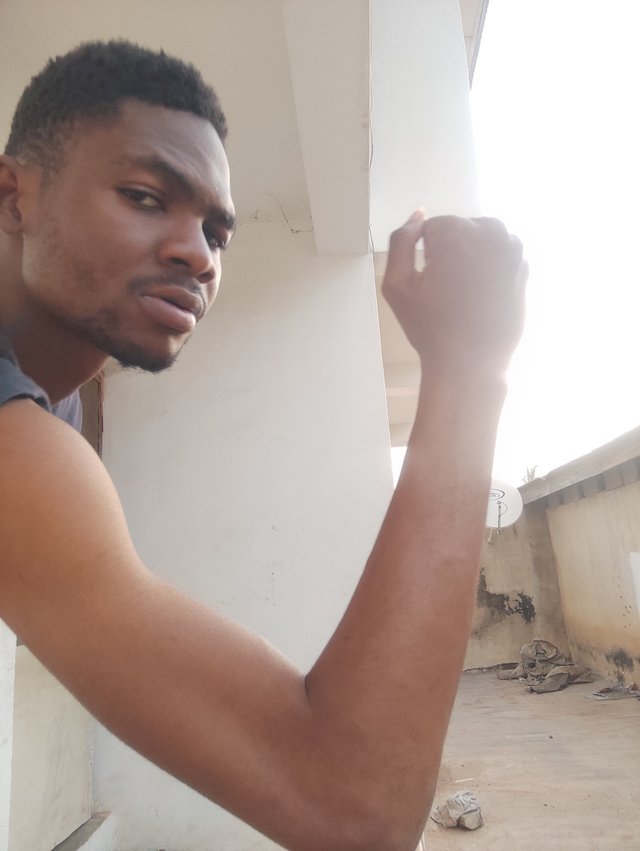
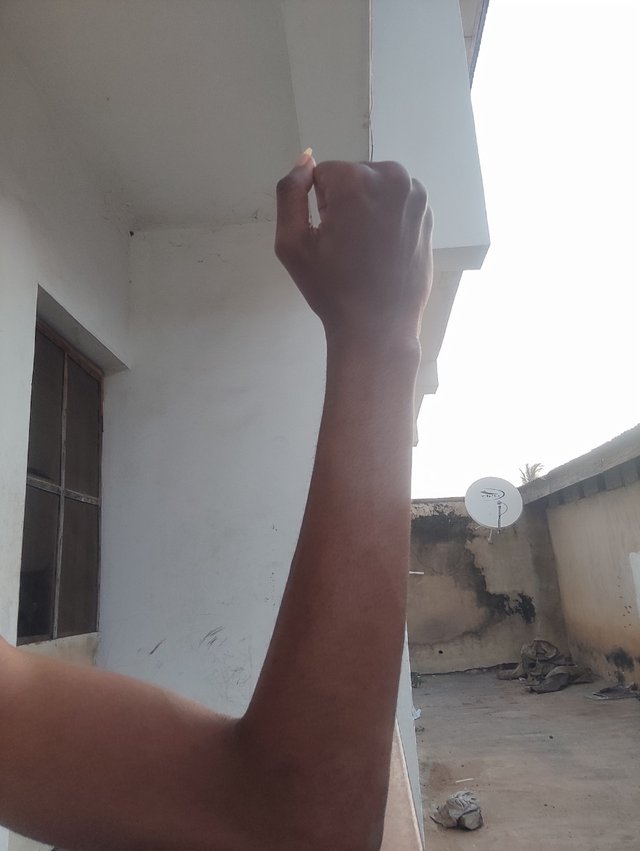
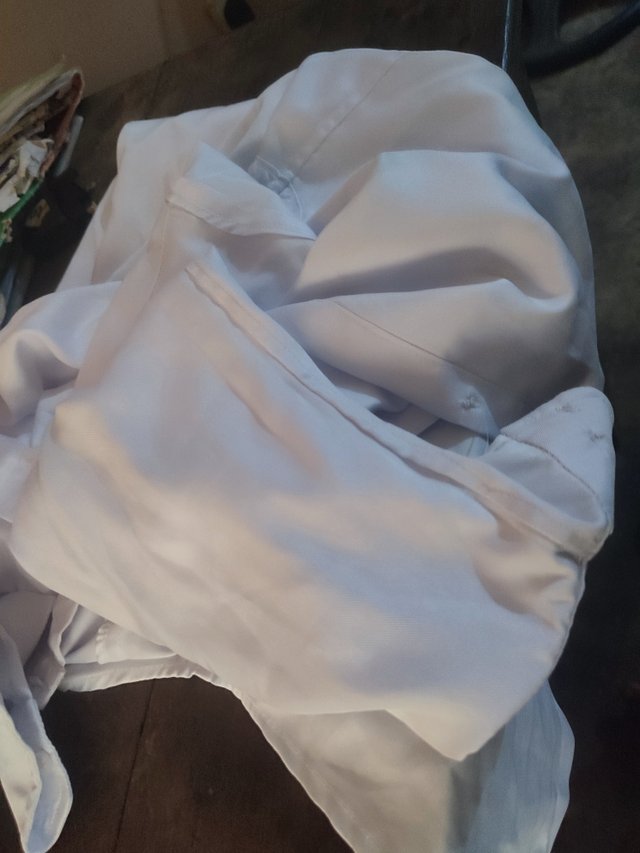
For this experience, like I said I make use of the white cloth to serve as the bandage and then I make use of the arm as you can see above.
Procedure.
Position the Arm: The first thing I will do is to make sure that the arm is actually well positioned. I make sure that the injured arm is positioned across the chest to still allow circulation.
Prepare the Sling: I make sure that I actually prepare the sling, for this I make use of the white cloth as sling.
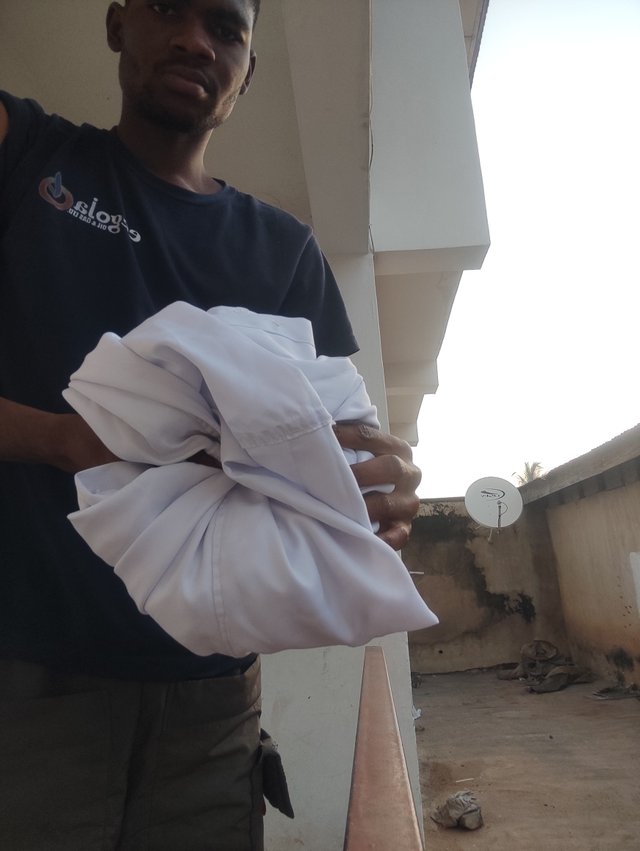
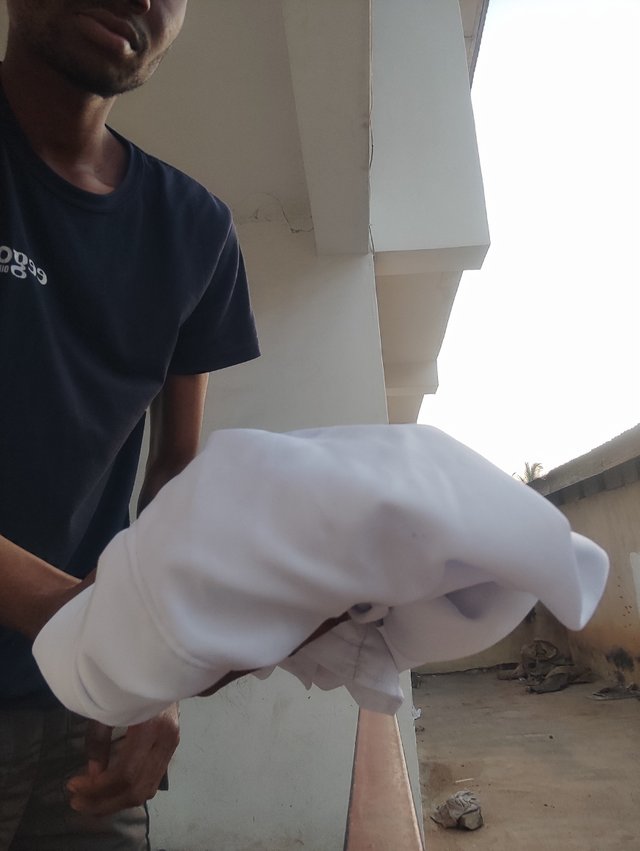
I gradually Tie the white clothe around the arm gently because I will assume that the arm is injured and so that it should not give the victim more pain. I need to do it gently.
I make sure that I wrap around the arm of that injured arm with the white clothe
- I make sure that I gently positioned the elbow so that it will be fully covered by the white clothe that is serving as the bandage.
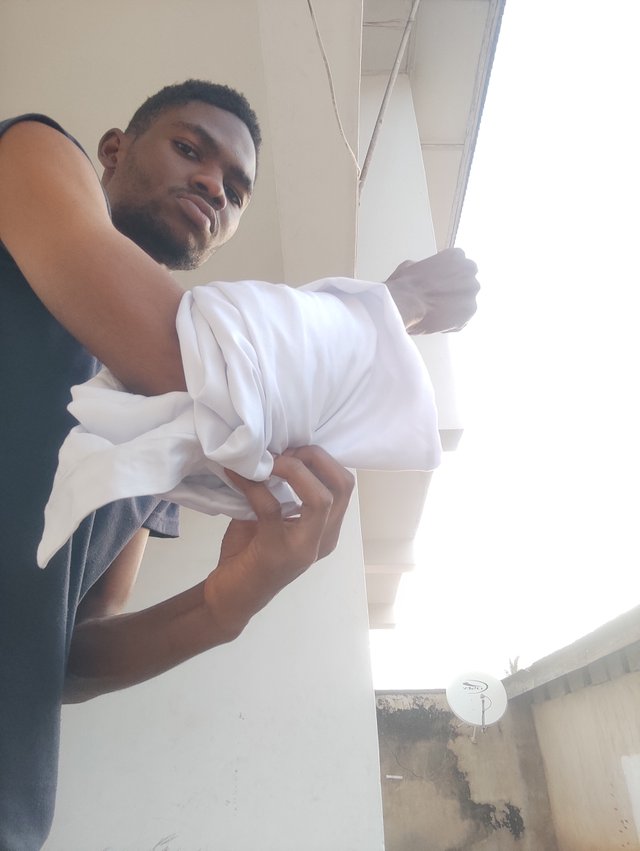
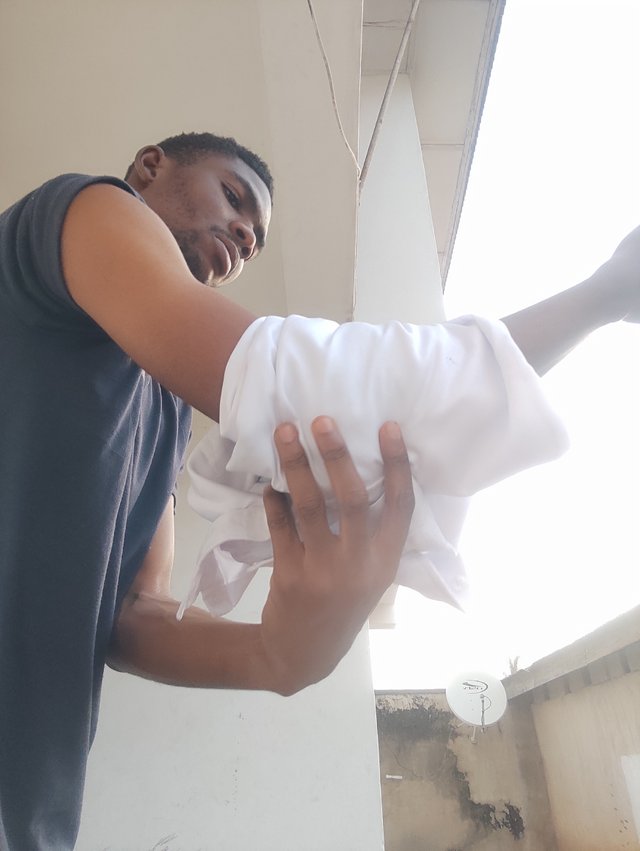
Then I asked the patient to see how he is faring. If there is a reduction in the pain or it increases.
I make sure that if there is a need to adjust the tieing of the white clothe that is serving as bandage so that it will reduce the pain.
- Then as time goes on, I continually check the arm to see whether it is improving or probably there might be some swelling.
Applying a Splint for the Finger
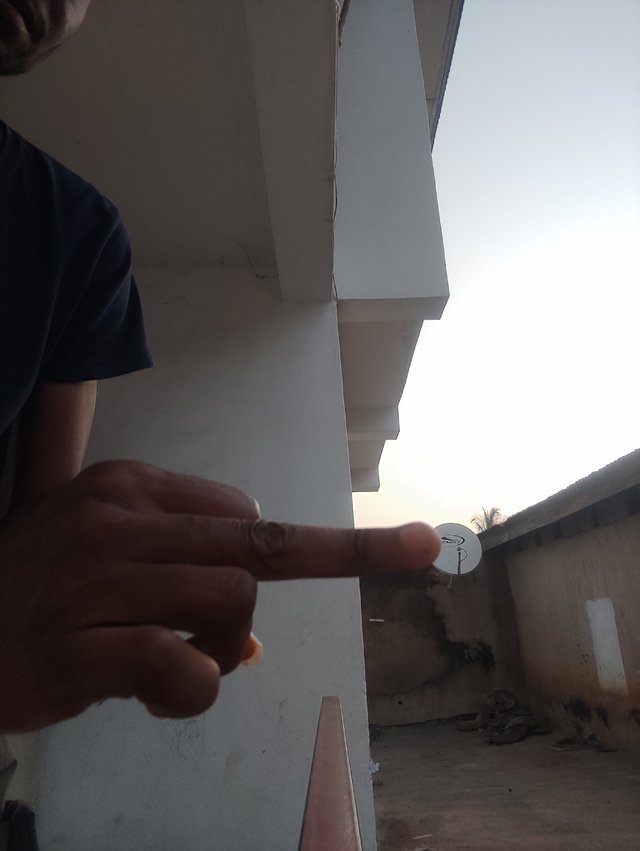

For applying splint to the finger, it is still the same procedure I applied for the arm just a little bit of difference which I will be talking about.
Procedure.
The first is for me to check the extend of the injury whether there is any open wound or deformity anywhere.
If I notice any wound, I make sure that I clear and clean the wound up.
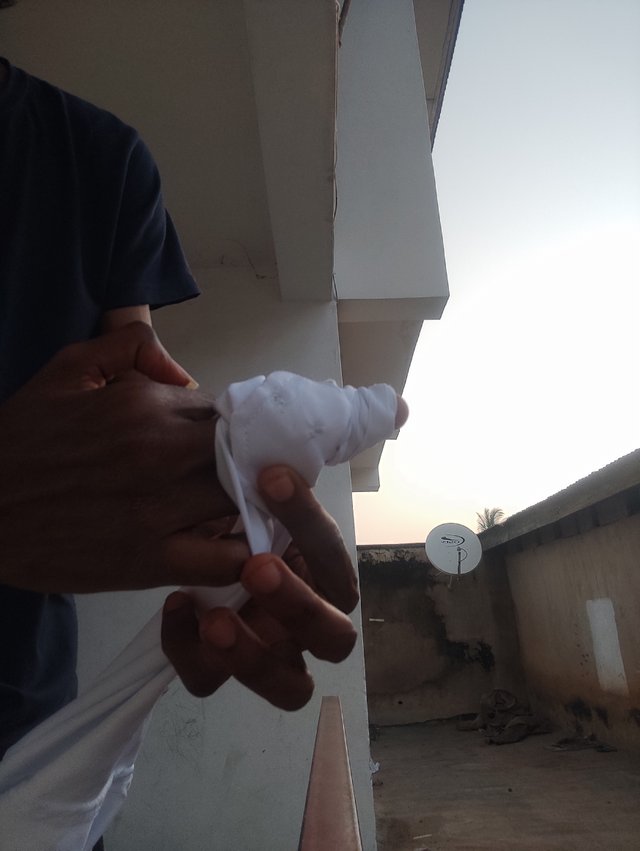

Then I gently align the finger by gently positioning the finger straight but I will position it in a way whereby I will not force it.
Then I gently apply the splint to the finger gently so that it will not cause more wounds.
Research the process of helmet extraction in the context of head and neck injuries, and explain why it is important to avoid removing the helmet immediately in the case of suspected spinal injuries. Include the steps for safe helmet removal if necessary.
Talking about Helmet extraction, I will like to say in case where there is injuries most especially the spinal type of injuries, it is necessary for us to know that it is a very sensitive procedure that will require one to be very careful so that it will not lead to more injury most especially to the cervical spine.
Why people always go against the instant removal of the helmet is because it allows stability for the head and the neck. What do I mean by that? One must be very careful because premature removal of the helmet can lead to more serious injuries most especially the injury that might even lead to paralysis and other dangerous complications.
Importance of Avoiding Immediate Helmet Removal
- Spinal Stabilization: This will be the first importance I will talk about. You need to know that the helmet helps to protect the head and the neck so that they will be in correct alignment that will also help to prevent spinal injuries.
Risk of Hyperextension: Another importance is that it helps to prevent hyperextension most especially when it is removed without not using the needed and proper way to do so.
Airway Access: The third one I will like to add to it is that it helps to enhance the airway access.
Steps for Safe Helmet Removal (If Necessary)
There are four major steps involved for the sage helmet removal which I believe needs to be followed strictly. I will be listing them below;
Preparation: This is the first step as it deals with you removing any strap and preparing people around that will help you in the helmet removal process.
Immobilization: The second one is Immobilization as it helps to stabilise the head and neck. You will need two rescuers for this.
Two-Person Technique: This is the third step and for many of us might sound new. But it helps to strategically position the first person to maintain the alignment while the second person will help to avoid hyperextension.
Post-Removal: This is the last step that will need spinal Immobilization immediately the helmet is removed.
How is C-spine stabilization done? Explain the procedure in detail, ensuring you include when and how to use head blocks or manual stabilization. Attach a photo or video of yourself demonstrating proper C-spine stabilization techniques.
When it actually comes to the cervical Spine stabilisation as it is called, I see it as the first aid procedure that helps to sustain and prevent the more injury happening around our spinal cord most especially when there is a neck or trauma case. It insist that the head and neck is actually placed in the right direction as it should be.
When to Perform C-Spine Stabilization
Talking and when to actually perform a C-Spine Stabilisation, I will say there are two instances which I will be talking about below;
Suspected Spinal Injury: Of course this will be the first instances I will be making mention of. Most times when there is a spinal injury which might happen because of falls or any vehicle accident.
Unconscious Victims: The second Instance is through when the victim is unconscious.
Visible Signs: The last situation is when we begin to see a more visible signs like when there is a twisting actually.
Manual C-Spine Stabilization.
When it comes to the Manual C-Spine Stabilisation, there are also four stages or steps involved which I will be talking about below also;
Prepare: This will be the first where we approach the victim and make sure that our positioning is correct for easy movement.
Stabilize the Head: There is a need for us to actually stabilise the head of the victim gently and we can make use of that without palms.
Neutral Alignment: The last is for us to actually deal with it through the neutral alignment. What do I really mean by that? We make sure that we are not forcing the head to position most especially when pain is felt.
Maintain Position: Lastly is that we make sure that we maintain the position. We make sure that we sustain the position until emergency services arrive for the final Stabilisation.
Using Head Blocks and Cervical Collars.
When it comes to the Head Blocks and Cervical Collars, there are two major stages involved which I will be talking about below;
Head Blocks: The first is the Head Block and in this situation, we make use of either foam or any plastic devices to prevent the lateral movement. We make use of that we position the victim effectively and gently and make sure that we did not twist the spine during the process as that is very important.
Cervical Collar: The last one I will like to talk about is the Cervical Collar. We majorly use the Cervical Collar just to immoblise the neck of the victim.
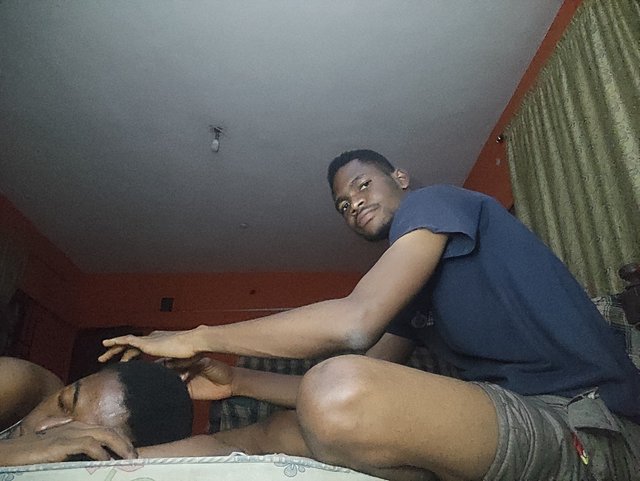
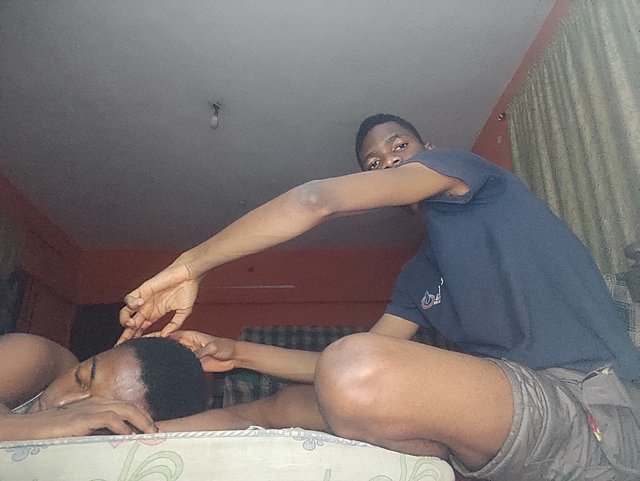
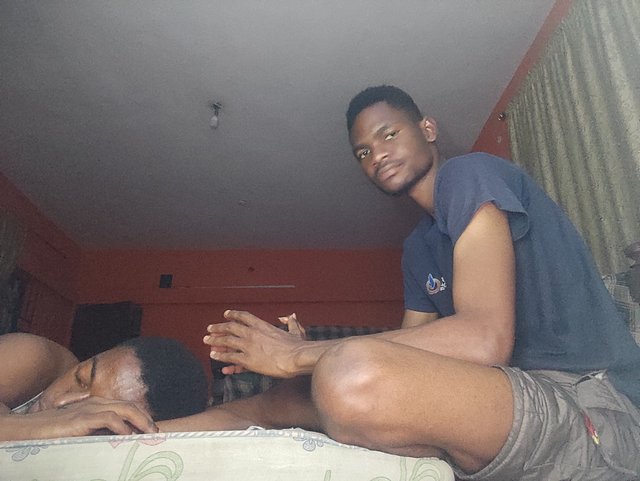
Well I was not able to actually get the video but these are some of the pictures below to demonstrate the manual Stabilisation I carried out on one of my peers. I make sure that I tell my peers to pretend as if he is unconscious. Then I gently placed my hand around his neck to perform the stabilisation.
Consider you encounter an unconscious person with a compound fracture on the arm, massive bleeding, no pulse at the distal radius, and restricted breathing. How will you prioritize and manage the situation? Describe each step in detail, including how you would control bleeding, stabilize the fracture, and address the breathing issue.
One of the things that we need to understand is that when we have situations like this, that means the patient is actually faced with a life threatening incident that he or she needs to quickly be responded to. These are some of the step by step that I believe needs to be followed.
Assess and Secure the Scene.
- This will certainly be the first step as I will make sure that the environment is first of all safe and secure for the victim.
- Then I will call the emergency services during that process of making sure the environment is safe.
Airway and Breathing
Then I make sure that I check for the Airway obstruction because that is very important.
Then next I will make sure that I also check the obstruction so that probably if the airway is blocked, I can be able to find the obstacle to it.
Then I will make sure that I check the breathing level of the victim by either looking, listening or even trying to check the chest movement.
Then when I noticed that the victim breathing is not enough, I can provide breathing for that victim.
Control Massive Bleeding (Circulation).
The next step is to help control the massive bleeding that is if it happens. How I will be able to do it is to actually apply a very direct pressure.
Then if necessary I also make use of a Tourniquet.
Then I actually elevate the limb to help reduce the blood flow.
Immobilize the Compound Fracture.
I make sure that I actually cover the wound so that it will not increase the wound
Then I will do the splinting of the limb also so that it will support the arm and prevent further injury.
Address Lack of Pulse
In some instances, there might be cases of lack of pulse so I will address it.
I will check for the Pulse and not even only the Pulse but also the Capillary Refill.
Then I make sure also that I check the immobilisation
Monitor and Maintain Care.
I will make sure that I actually prevent shock as it is very important
I will use a blanket to actually cover the victim and why I will be doing it is just to maintain the body temperature because it is very needed.
Then as time goes on, I will also pay attention to any sign and symptom on the victim.
Lastly I will make sure that I did not leave the victim until the emergency services arrived.
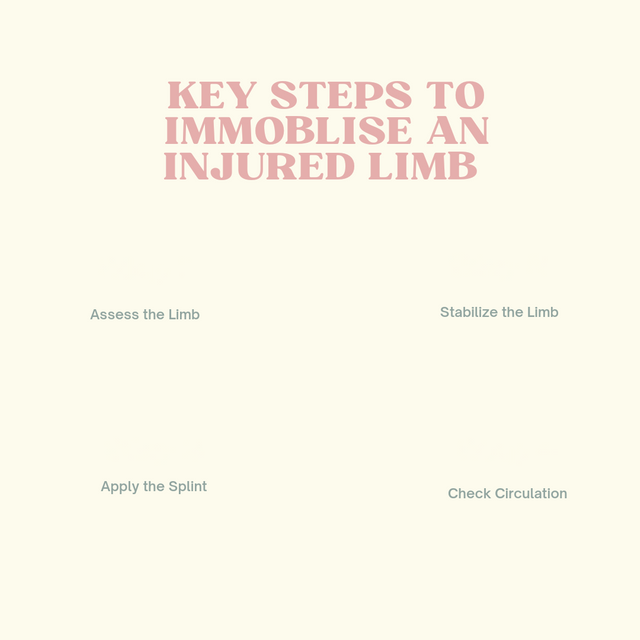
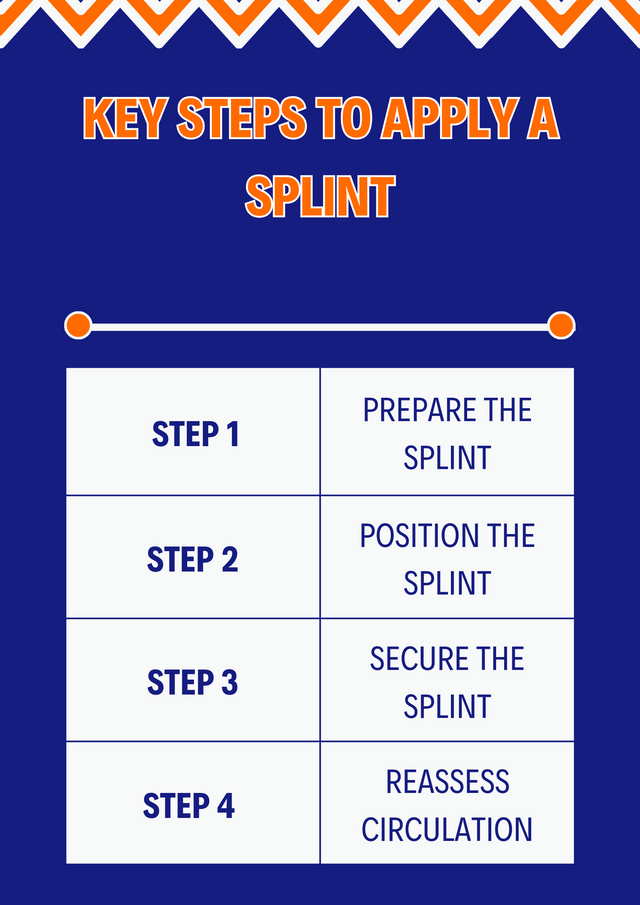
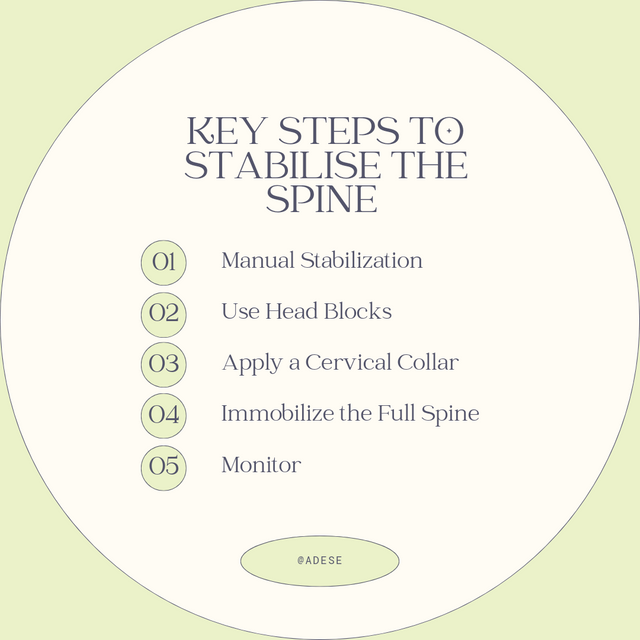
Create an infographic (visual illustration) on managing fractures. Your design should highlight key steps such as how to immobilize the injured limb, apply a splint, and stabilize the spine. Ensure the infographic is easy to understand and visually guides users through the process.
These are the infographics below.
Key Steps To Immoblise An Injured Limb
Key Steps To Apply A Splint
Key Steps To Stabilise The Spine
Thank you for this lecture, looking forward to more interesting and benefiting lectures in the more weeks to come
I invite @lovelystar , @newekemini5 and @okere-blessing to drop a very constructive comments on this post and also to participate in this contest.
Student Name: @adese
Overall grade: 9.3
Plagiarism Check: Pass
AI Use: No
General Feedback: The student has shown good understanding of the course and has come up with an excellent explanation on how to manage fractures. Good job.
Thank you.
Regards,
@huzaifanaveed1
Downvoting a post can decrease pending rewards and make it less visible. Common reasons:
Submit
Thank you so much for this
Downvoting a post can decrease pending rewards and make it less visible. Common reasons:
Submit
https://x.com/adenijiadeshin7/status/1859013749476388972?t=MNx8yqnpvUJjquAtT9Pe7g&s=19
Downvoting a post can decrease pending rewards and make it less visible. Common reasons:
Submit