Assalamualaikum Everyone. I am @imranhassan
From #Bangladesh
 Edit with Canva
| Introduction |
|---|
In today's post, I will show you how to repair a broken socket board and connect a 220V AC power card. I have done this with step-by-step pictures so that it is easy to understand and anyone can follow it.
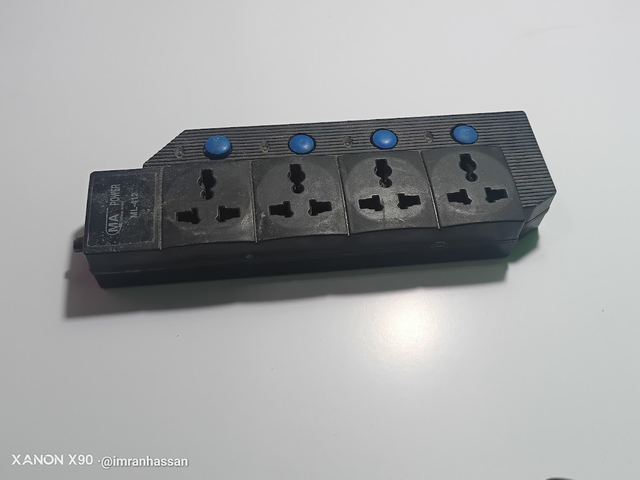
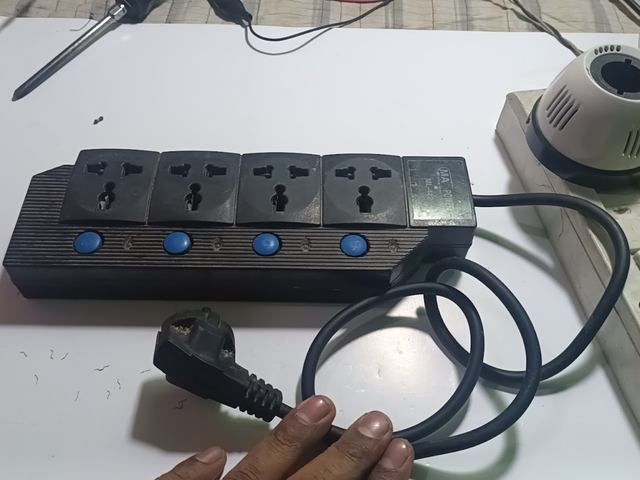
A few days ago, I picked up an old socket board from the street, which was completely damaged. I did not throw it away but brought it to my house and decided to fix it again. Besides, I had a 220V AC power cord, which I connected to the socket board. So let me start my tutorial post and show you step by step.
| I am going to start my tutorial post now. |
|---|
1. Initial inspection: problem identification
 |  |
|---|
 |  |
|---|
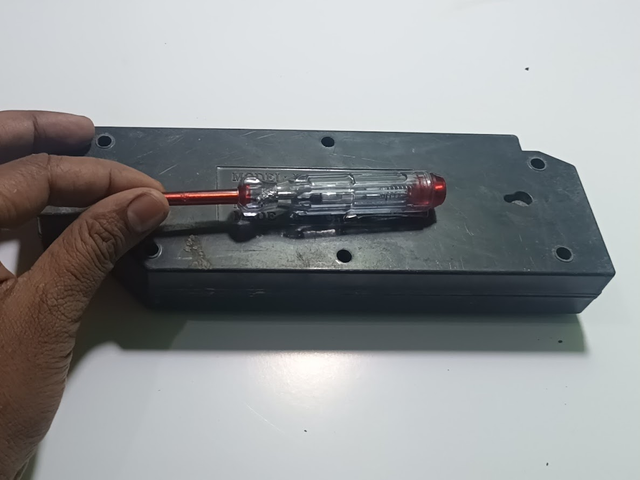
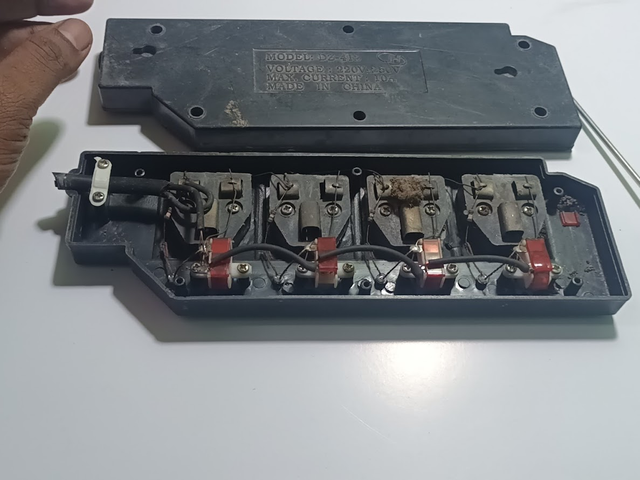
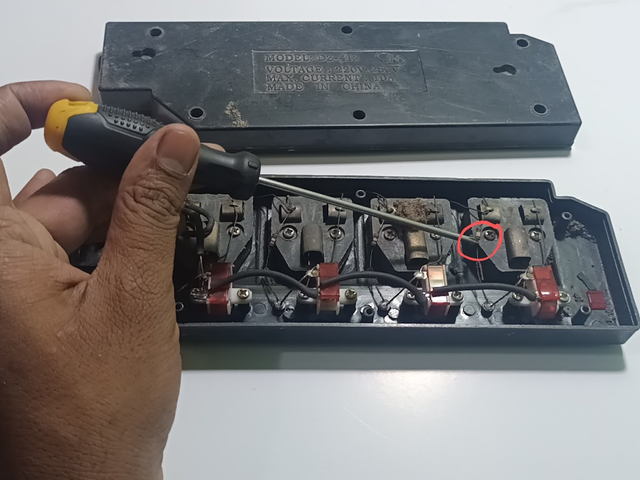
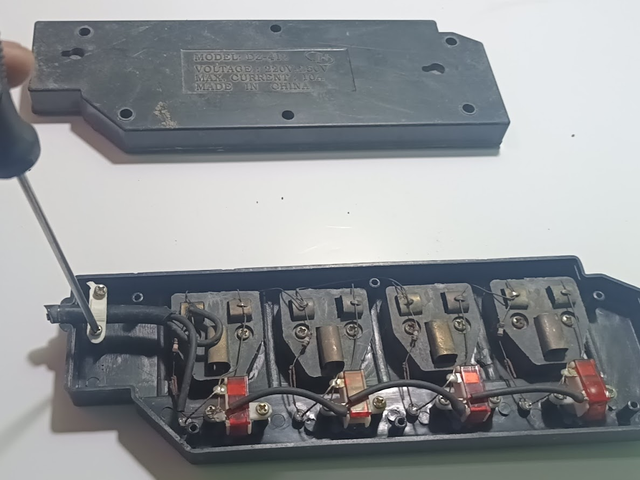
To fix the broken socket board, first I brought it to my work table. Then I removed the screws of the socket board with the help of a screwdriver. Then, I separated the back part of the socket board and put it on top. First, I saw that there was a lot of dirt inside the socket board, and probably water had entered it. As a result, some of the resistances had come off and the indicator lights were rusted.
2. Input line testing: error detection
 |  |
|---|
 |  |
|---|
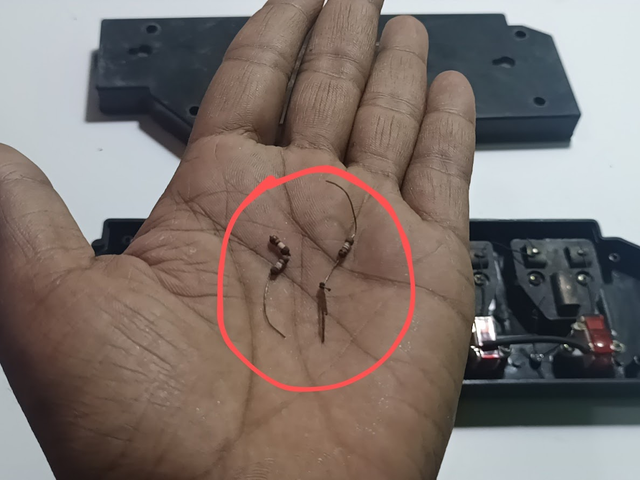
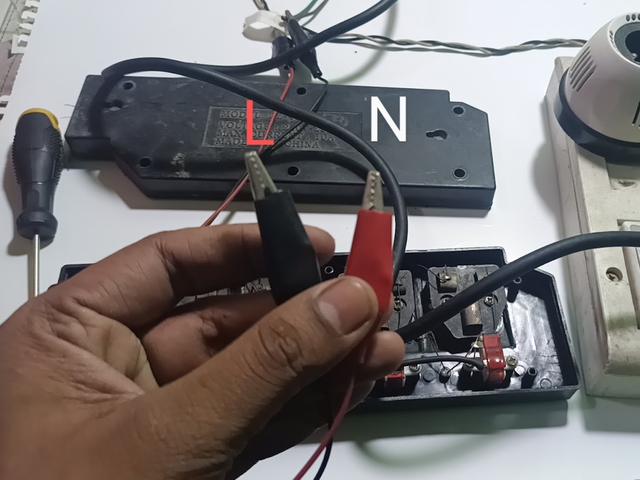
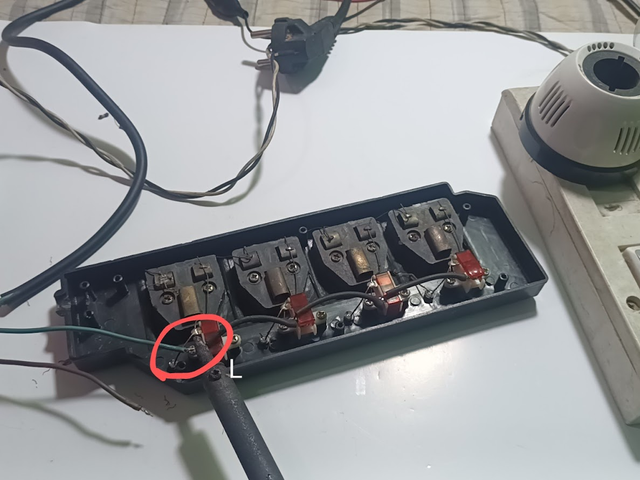
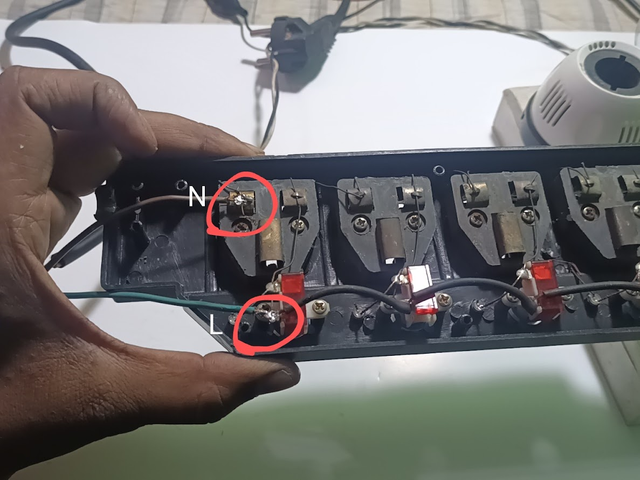
Then you can see the two lines "N" and "L," which are the 220 volt input voltage wires. Here one is locked and one part is cut. I am now opening that lock and throwing away the cut part. Then I will connect a new cord after a while. I can see that the 220 volt resistors of the indicator are broken. I took them in my hand and showed them to you. Then, I took a 220-volt AC cord using the series line to test the socket board. Then I took a connector that has four clips on each end. It works well for checking anything, and there is no hassle of connecting by hand.
3. Series Line Test: Preliminary Verification
 |  |
|---|
 |  |
|---|
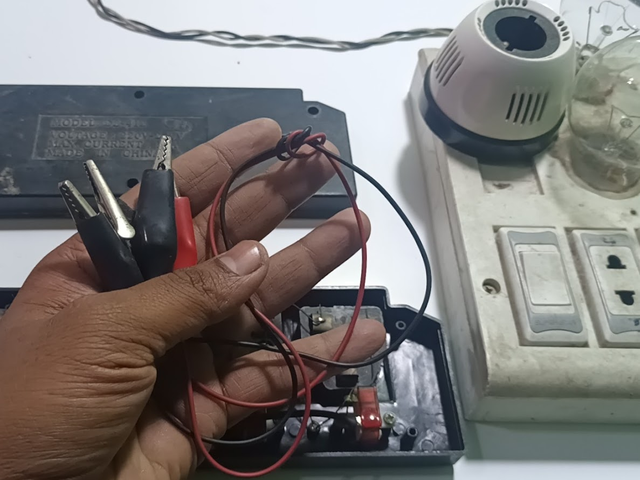
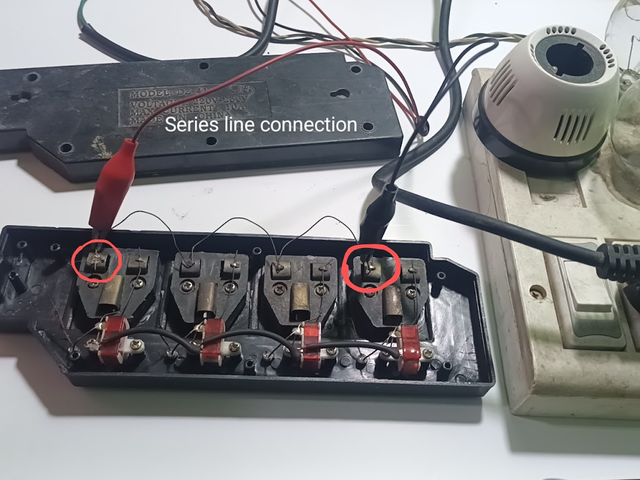
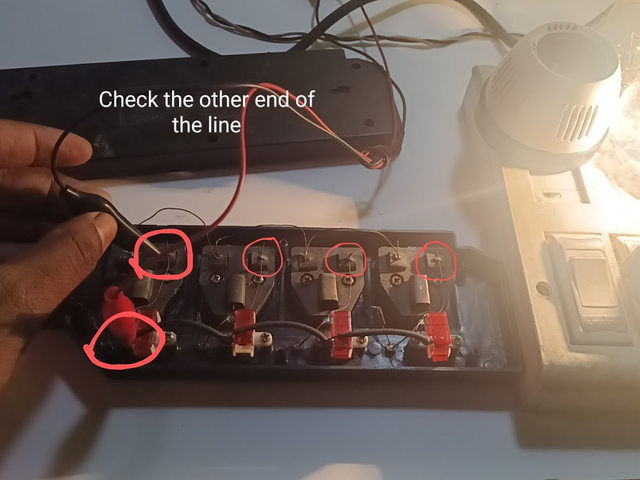
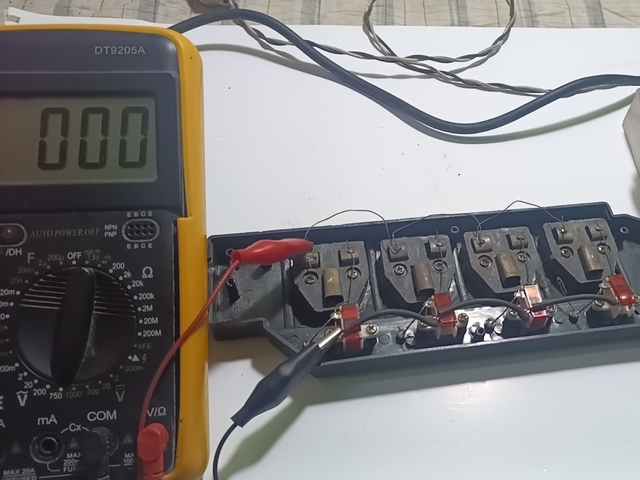
Then, I connected the 220 volt AC cord to the series line and directly took the input voltage. Then, I connected two series pins from one side of the line to the other side to check the "N" end of the socket board and tested it. After turning on the switch on the series board, my series light came on, and I confirmed that the "N" end was fine—there was no problem with the line. Next, I prepared to check the "L" end and will test the switches first.
4. Direct voltage test: Functionality verification
 |  |
|---|
 |  |
|---|
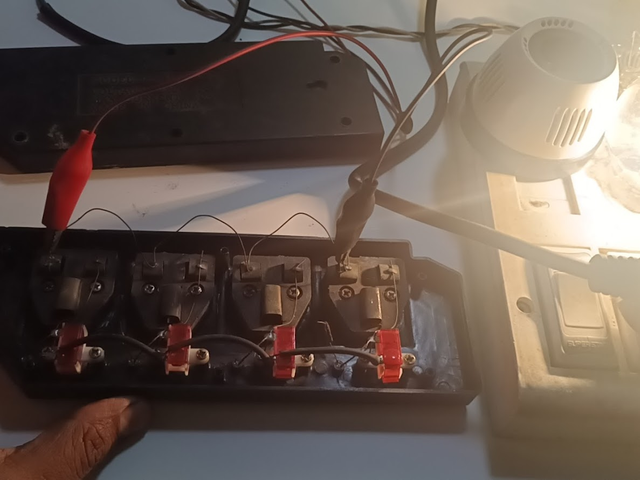
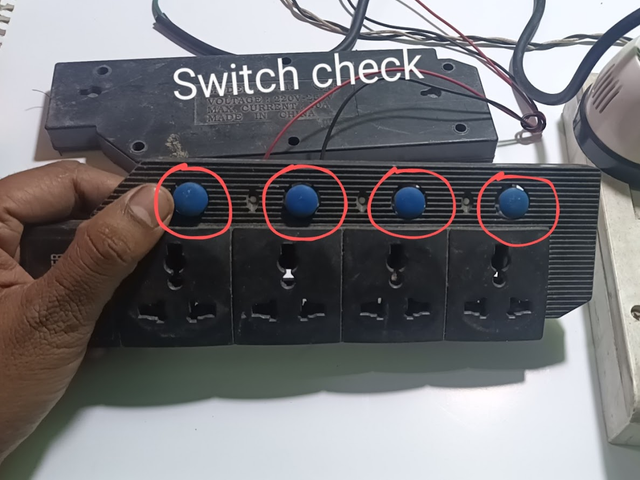
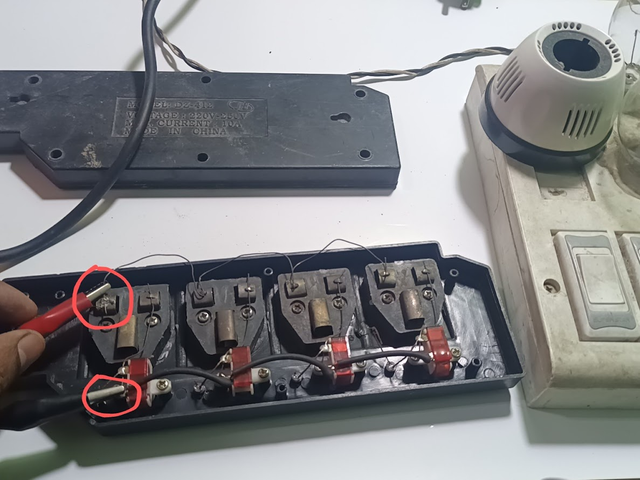
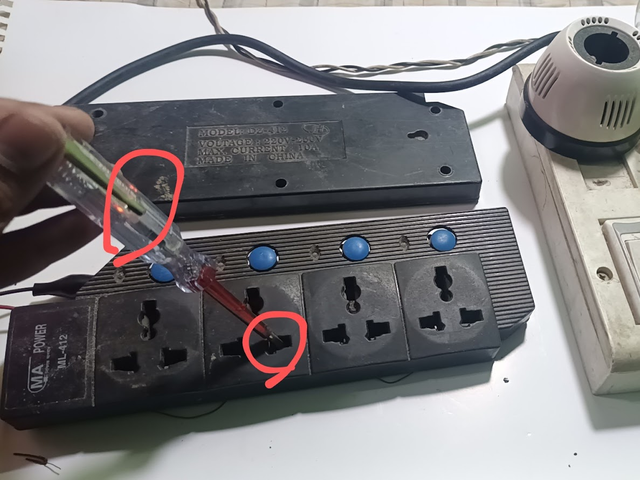
Then, I changed the line of the 220 volt connector of the series line and attached a clip to the "L" side of the line. Then, after connecting the line through the switch, I connected the wire of the series line to where the "L" line of the socket board is supposed to be connected. Next, my series line light is on, which means that current is flowing on both sides of the socket board and the switches are fine. Now, I will connect the input voltage directly to the socket board and insert one of the lines into the socket and check. As you can see, my tester has a line. Now, I will directly test the 220 volt AC input voltage using a multimeter.
5. Multimeter Test: Accurate Voltage Measurement
 |  |
|---|
 |  |
|---|
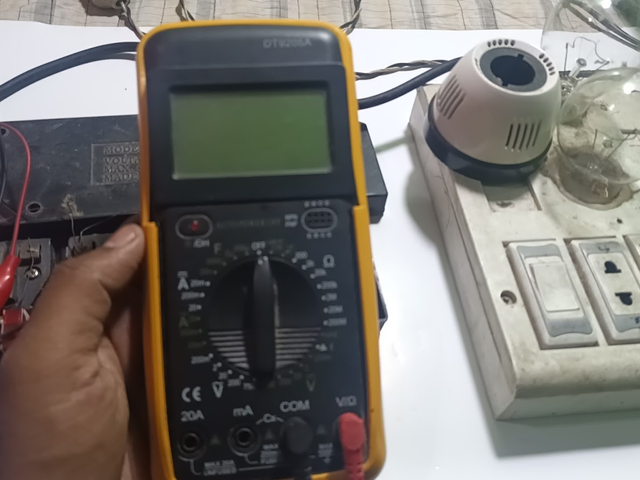
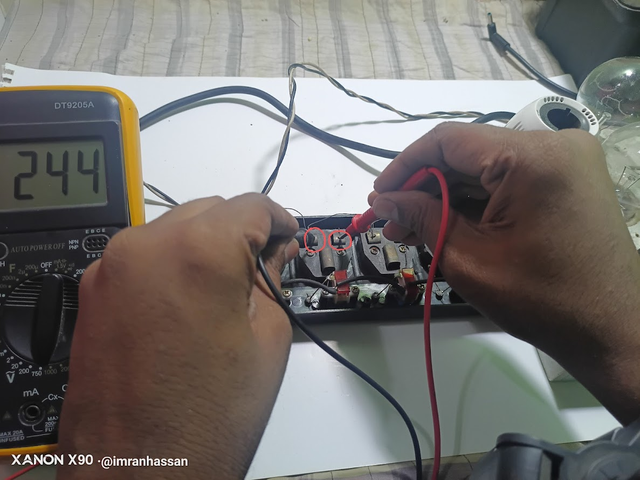
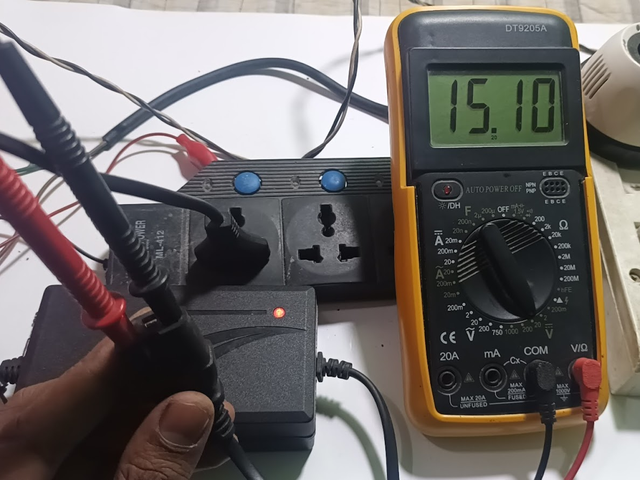
I have selected the 750-volt AC range with the multimeter. And I have connected the connectors to the neutral (N) end and the live (L) end of my socket board. Then, after I apply 220 volt AC power to the socket board, you can see that my multimeter is showing 244 volt AC current. And we know that the current in our house is from 180 volt AC to 260 volt. Then I will check with a direct load. I have taken a 12 volt power supply and connected it to the line. My DC 12 volt power supply is getting output voltage, and it is working. And here it shows 15.10 volts. That means my socket board is fine and it is passing current nicely. This socket board is fit for use.
6. Final addition: Repairs done
 |  |
|---|
 |  |
|---|
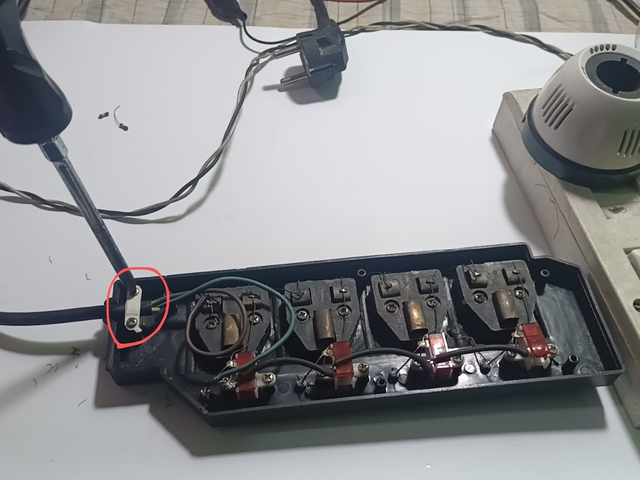
Then you saw, earlier I took a cord for an AC 220 volt input voltage. I soldered the two ends of that cord, the live (L) side and the neutral (N) side, with a soldering iron. Then there was a lock here to hold the AC cord. I attached it with two screws. Then I attached the back parts of the socket board and secured the screws with six screws.
7. Validation and motivation: Do your own thing
 |  |  |
|---|
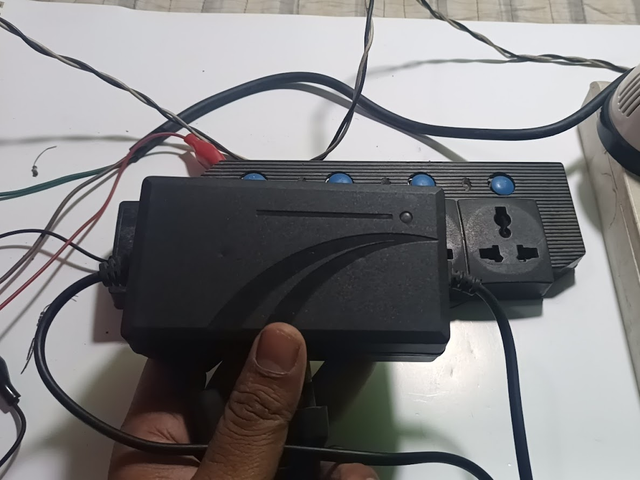
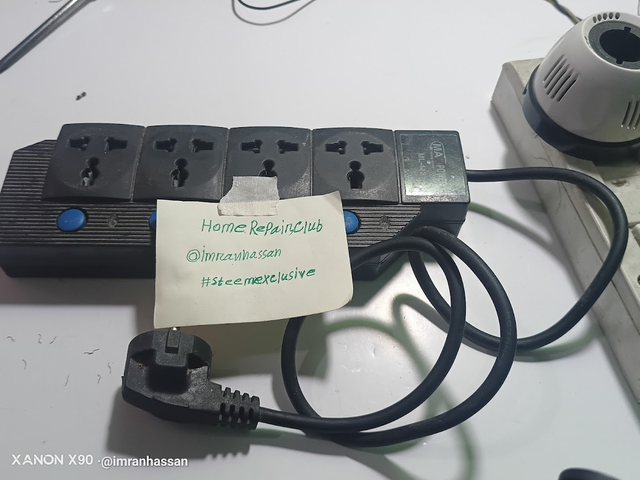
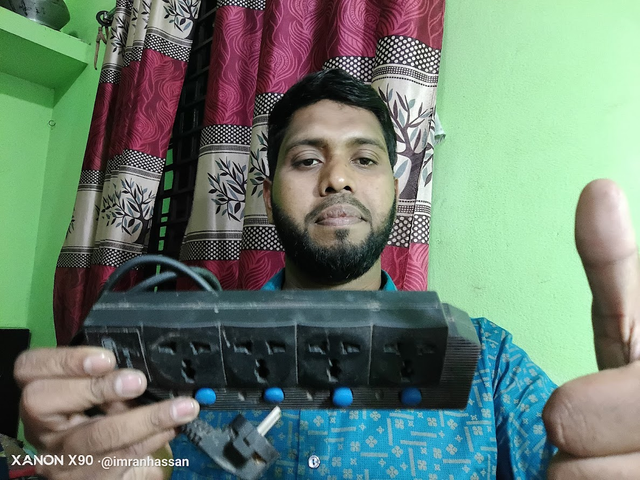
Finally, my socket board is completely repaired; you can see how nice it looks. I attached an AC code, and it looks clean, and it is now fit for service. To verify the authenticity, I took a picture of my work with my club name and my username. And as per the community guidelines, I took a selfie with my work. I hope that in the future, none of you will throw away these socket boards if they have any problems, but will try to fix them yourself. If you watch the video provided here, you will understand more easily.
| Appliance | Socket Board |
|---|---|
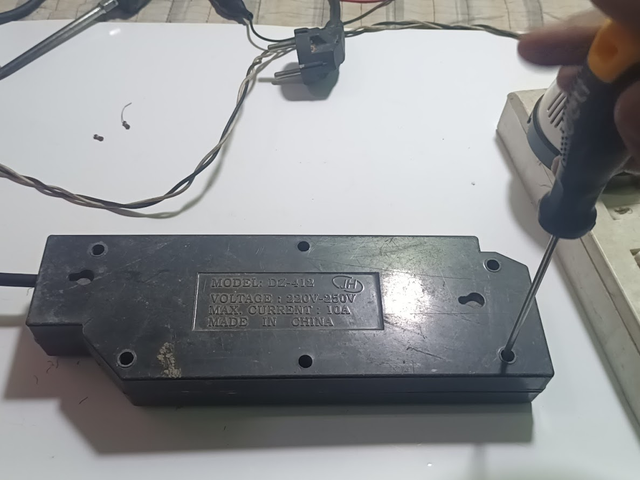
| Model | DZ-412 |
| Voltage | 220V-250V |
| Max. Current | 10A |
| Made In | China |
| Failure | AC Input Voltage Problem |
| Solution | Description |
|---|---|
| AC Cord Replacement | A new AC cord was installed to resolve the input voltage issue. |
| Internal Cleaning | The internal components were thoroughly cleaned to remove dirt and debris. |
| These courses and challenges will run from today until 11.59pm UTC, on Sunday, March 2nd, 2025. |
|---|
Here are our selection criteria for the Home Repair Club; if you want, you can read the post and understand it: Clubes de Aprendizaje de Steemit Temporada 23 | Introducción y Bienvenida al Home Repair Club
I invite you to join the Home Repair Club. @ariful2
@ratelmay @g784cb
Photography Details: 📱DeviceWalton Xanon x90
Best regards
@imranhassan
My friend @rmm31

https://x.com/ImranHosen98536/status/1896135330287509647
Downvoting a post can decrease pending rewards and make it less visible. Common reasons:
Submit
También me ha sucedido que encontro artefactos botados y los termino recuperando.
Por lo visto el daño estuvo en el cable de entrada y en las resistencias de indicadores de encendido, estás resistencia no hacen una función vital para el funcionamiento de la regleta.
Realizaste un trabajo completo con una sólida explicación y soporte de video.
Downvoting a post can decrease pending rewards and make it less visible. Common reasons:
Submit
Dear @rmm31 brother, thank you for your comment. Many things really seem like waste, but if repaired properly, they can be used like new again. I sometimes collect old and broken electronics from various shops, repair them and make them usable. This is not only for learning, but also very useful from a practical point of view. 😊
If you have any such experience, definitely let me know, we can learn something better by sharing it together.

Downvoting a post can decrease pending rewards and make it less visible. Common reasons:
Submit