
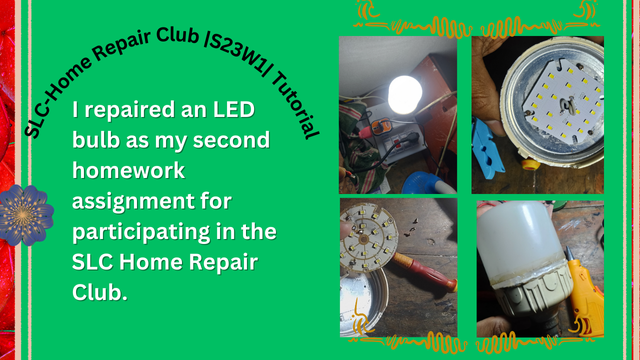
My Dear friends, how are you all? Hope everyone is well by the grace of Allah Taala. Alhamdulillah I am fine too. Dear friends, Today I came to participate in the The 23rd season of Steemians Learning Club,SLC-Home Repair Club|S23W1.
@imranhassan ,
@rmm31 Sir is in charge of SLC Home Repair Club.They are both advising us on this.As per the suggestion, today I completed an LED bulb repair job to participate in the SLC Home Repair Club.

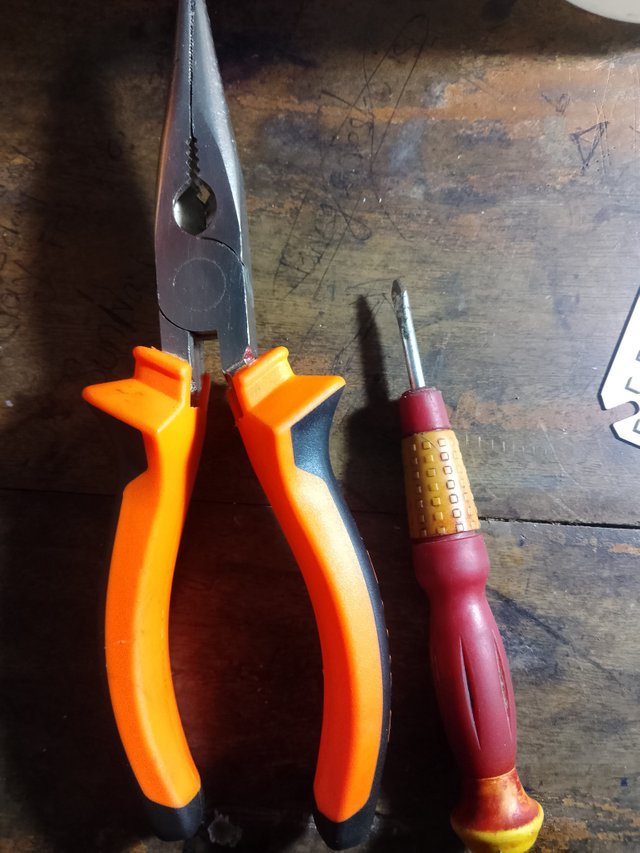
To start any work, some materials are required, some of the materials needed to repair the LED bulb are described below.
| Necessary goods👇🏾 |
|---|
| 🟤LED bulb without light |
| 🟤 LED bulb AC circuit |
| 🟤 Tatal |
| 🟤 Rang&razon |
| 🟤 Glue gan |
| 🟤 Pilas and screwdriver |
STEP 1
I collected an old LED bulb for LED bulb repair.It was inside my house when I said collect.This bucket was used in my yard.I'm keeping the ball at home because it's broken.I was thinking about fixing it.Not fixed.When I found out that there was a competition going on at the SLC Home Repair Club to repair various types of electronic devices,Then I decided to fix it.
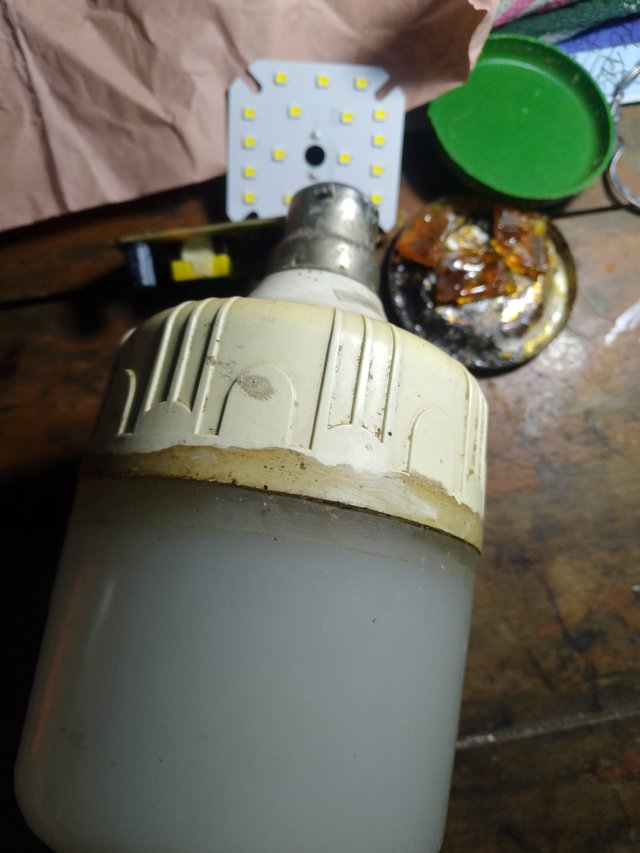
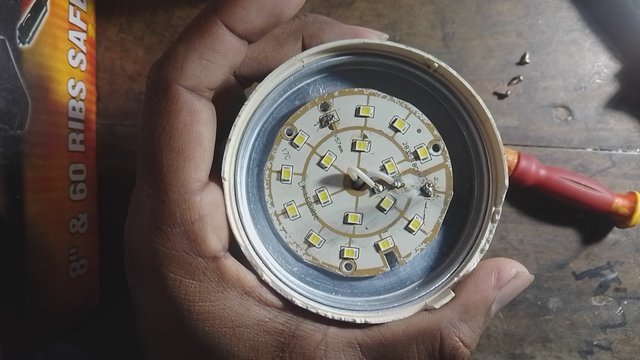
I first opened the bucket to repair the bulb and checked it yesterday. I saw that the bucket was damaged.Last night I bought an LED AC circuit bulb for just 15 taka.I sat down to work in the morning with the necessary tools and the bulb to fix the bulb.First I gave my tatal a hit of current.Then I checked the lines on the series board.
STEP 2
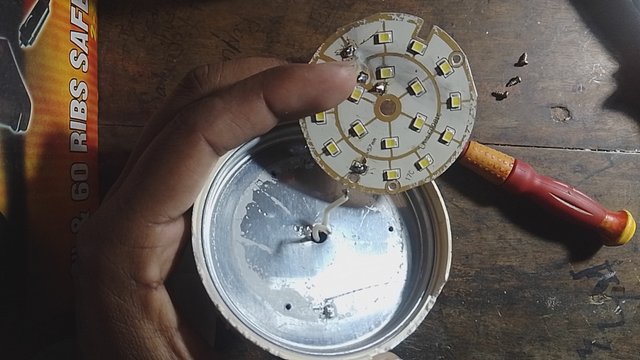
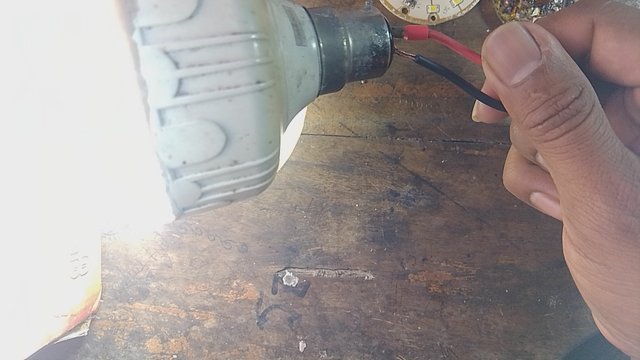
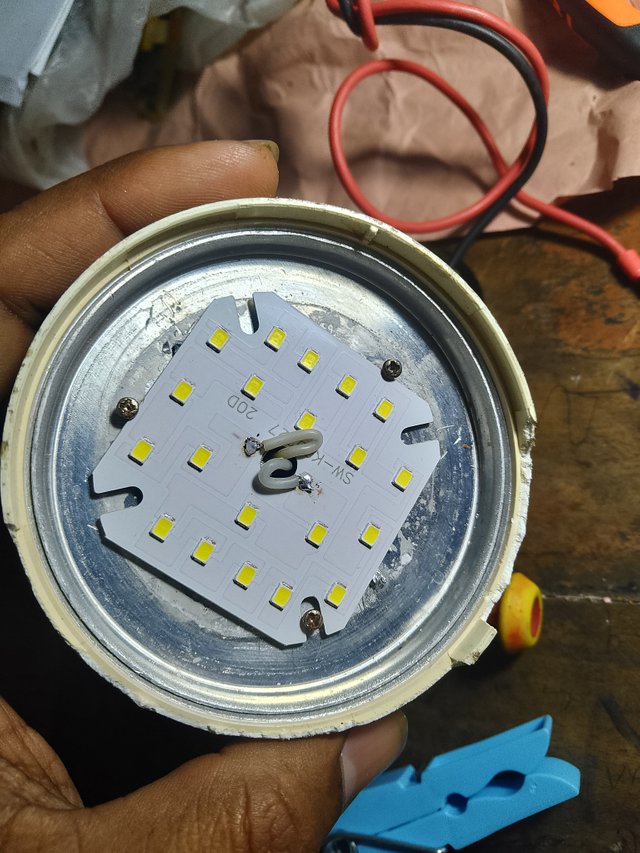
Before opening the LED AC circuit of the bulb, I rechecked the bucket with the series line.What I couldn't show in the picture is in the video below.Then I unscrew the nuts of the AC circuit of the bulb with a screwdriver.Then, using a soldering iron, the two negative and positive wires connected to the circuit were removed.The wire cannot be opened without giving a hit to the wire.I was already giving Tatal a hit.
STEP 3
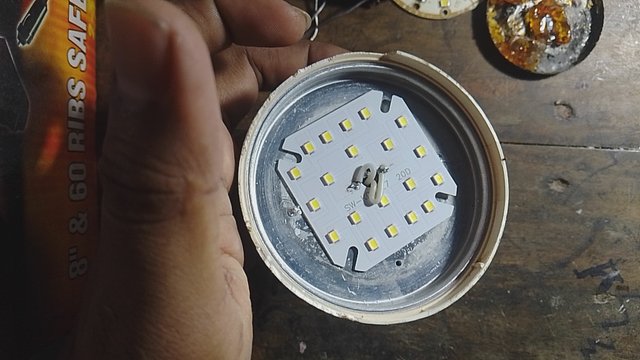
After removing the old LED AC circuit of the bulb, I re-soldered the new LED AC circuit that I brought last night with solder.That is, he checked his two negatives and positives with a tautal.Then I put it on.Before installing the bucket, I also checked whether the circuit inside the bulb was good using a series board, and then installed the bulb.Once the circuit is installed, connect the line from the output of the series board to the back of the bulb and check if the bulb lights up.Then I saw that the bucket was fixed and giving off light.
STEP 4
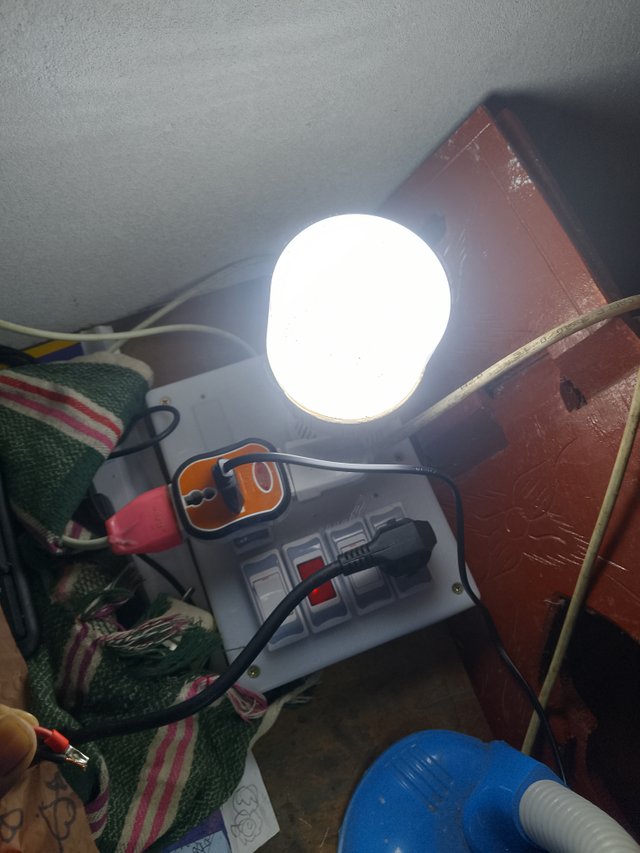
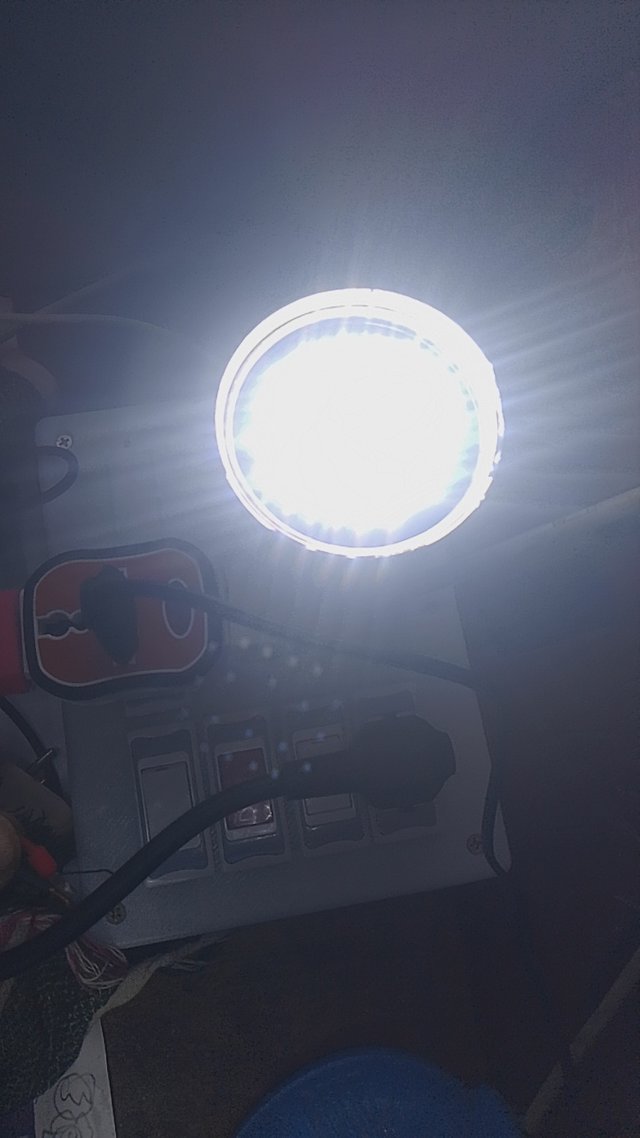
To check the bulb thoroughly, I placed the bulb in the bulb holder on the series board and checked it. The picture shows that the bulb is lighting up nicely.
STEP 5
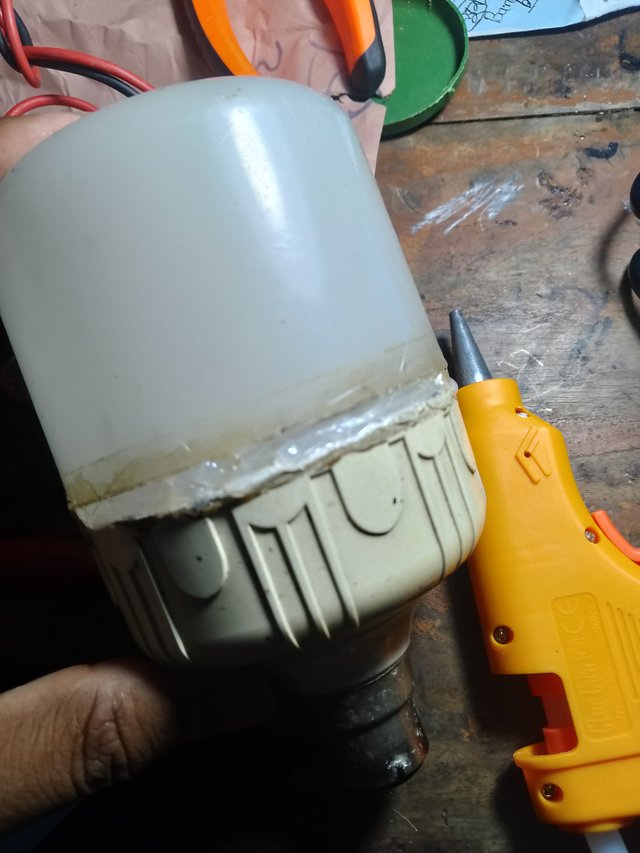
The bulb was glued to the outside so it would be installed outside.Now, when I try to open the bulb to repair it, some of the light plastic on the side breaks and becomes hollow.So use a glue gun to seal the broken parts of the bulb.And apply the glue in such a way that no insects can get inside the bulb.Because insects try to get inside the bulb.If there is a small gap, insects will enter and there will be less light.So I closed the gaps with a glue gun.Before applying glue, I carefully attached the bulb nuts so that the bulb would not move.This is how I finished repairing my LED bulb.
STEP 6
I videotaped the entire process, from opening the bulb to applying the glue.I am sharing that video below. You can see the complete process of repairing the bulb in the video.
Video




This is a very educational post of yours. I have learned a lot through this post. Thank you for sharing these things.
Downvoting a post can decrease pending rewards and make it less visible. Common reasons:
Submit
https://x.com/KalidSyful53290/status/1893664995499512032?t=wKxnUd50xf-_cpyi5bOzZw&s=19
Downvoting a post can decrease pending rewards and make it less visible. Common reasons:
Submit