Good evening everyone!how are you all??Hope you are all very well. I am also good with your prayers.You are having a good time on this beautiful winter evening. Winter evenings and mornings are both quite pleasant. I am having a good time with my sons and daughters. Moreover, now the year is over, so everyone's schools and madrassas are closed, everyone is doing well together at home.
Friends, I have come to you with a post. Today I am going to post among you paper making designs. As a child, I used to see people decorate their houses with these designs. They used to make different designs with different colored paper and sell them for 2 taka, 3 taka and 5 taka. At that time, I wanted to buy it very much, but I could never buy it. Because then even 5 taka was very expensive.
But my father told me that my father used to buy it and I used to hang it in the corner of the room in front of the door in the middle of the room and it used to increase the beauty of the room. going The designs are still decorated in various wedding ceremonies, especially in village houses, one or two are still seen occasionally.
Anyway friends without further ado sharing with you this paper design I will share with you step by step how I made it.
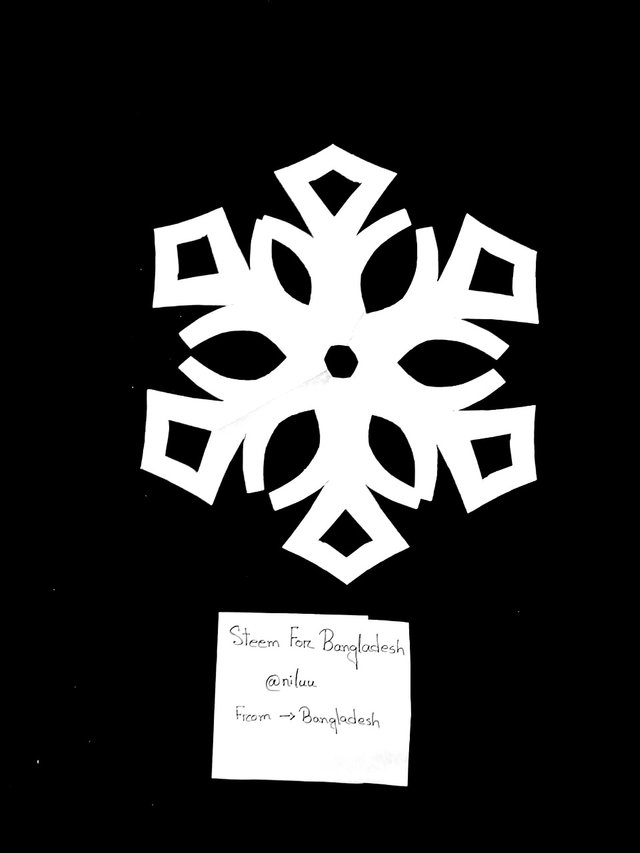
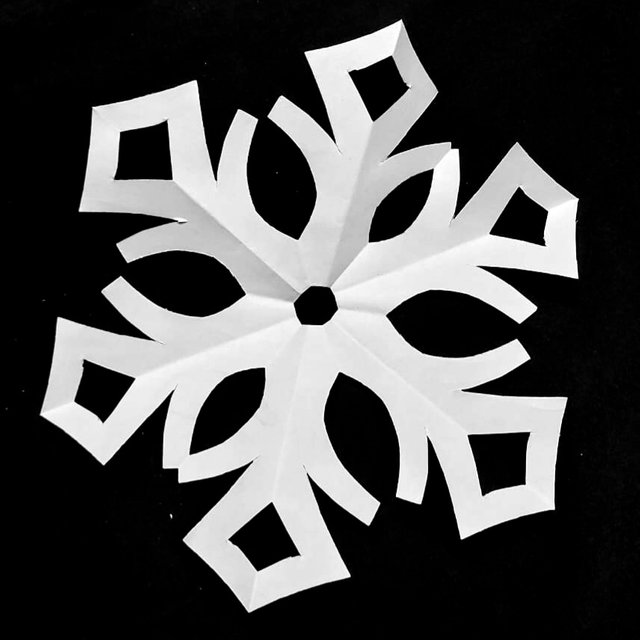
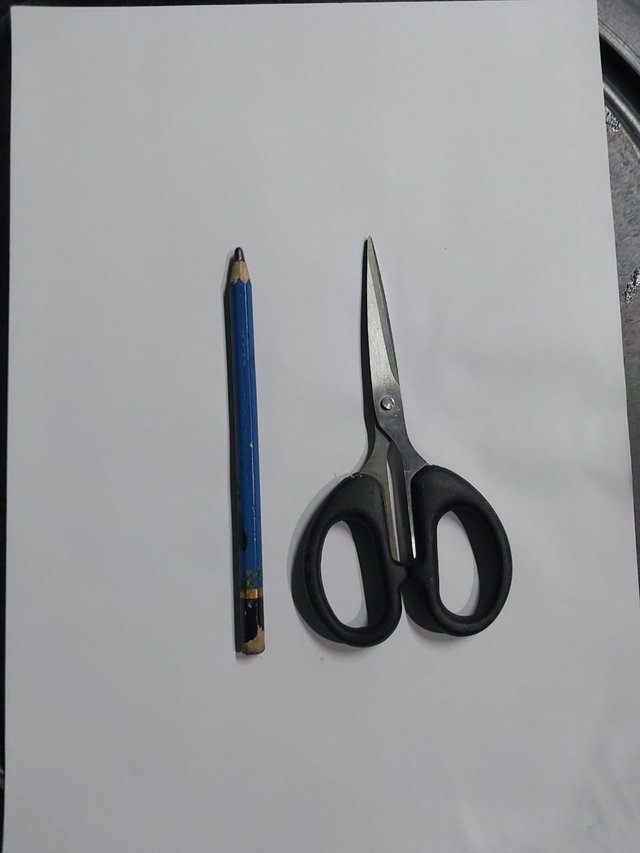
- paper
- Pencil
- Kechi
- First I will take a square piece of paper, and fold another one at an angle. Then I'll take another fold at an angle.
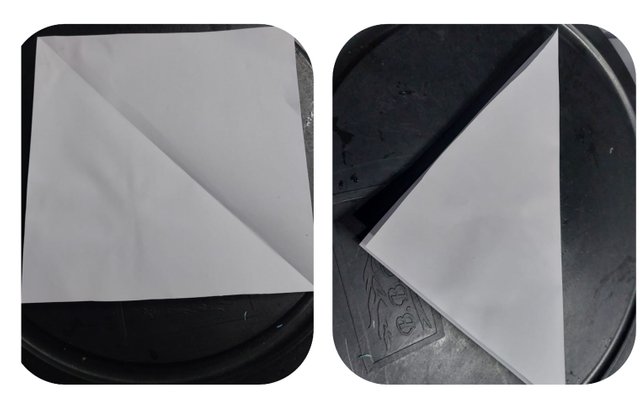
*Then I will take two more folds from both sides. In this way, I will give a total of four fries from the beginning.
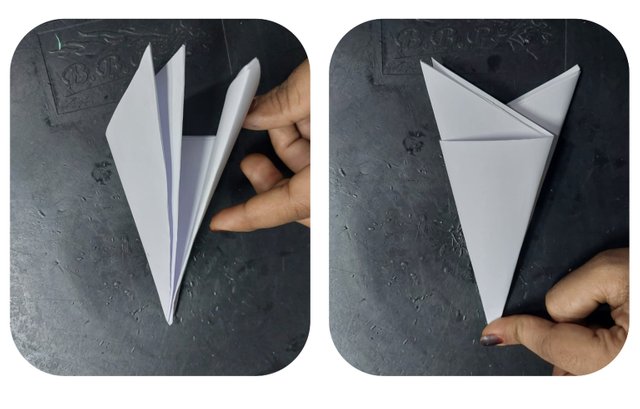
- Next I cut the bottom corners with scissors to make them even and draw a design with a pencil. If you want, you can get a design of your choice.
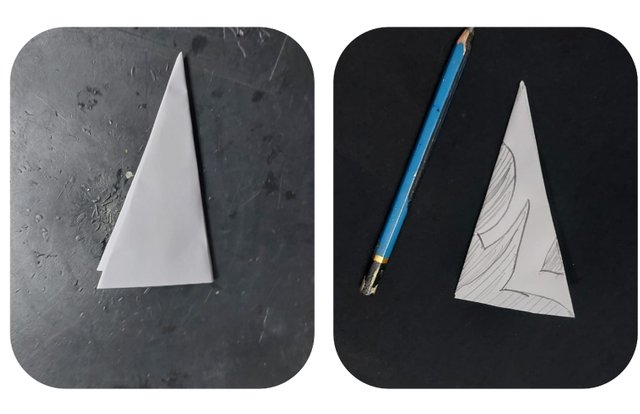
- Then I cut out the designs above the pencil marks with scissors. Be careful cutting.
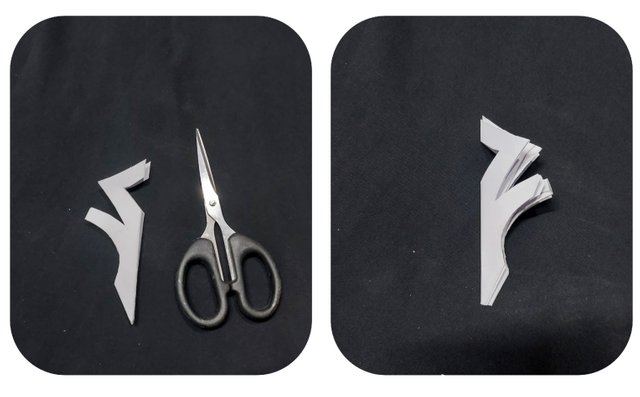
- Then I will start opening the designs little by little. Open slowly, if you open too hard, it will tear.
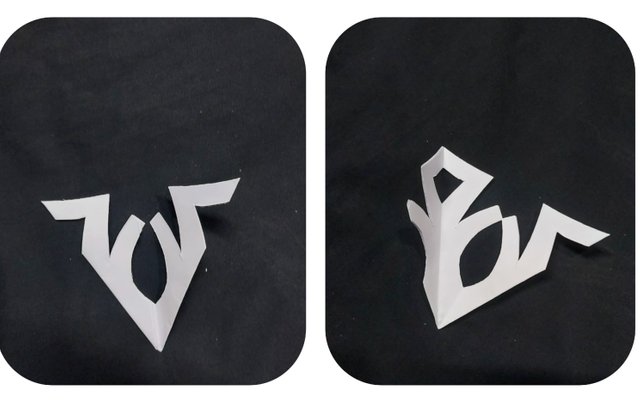
- In this way I will slowly unfold the entire design.
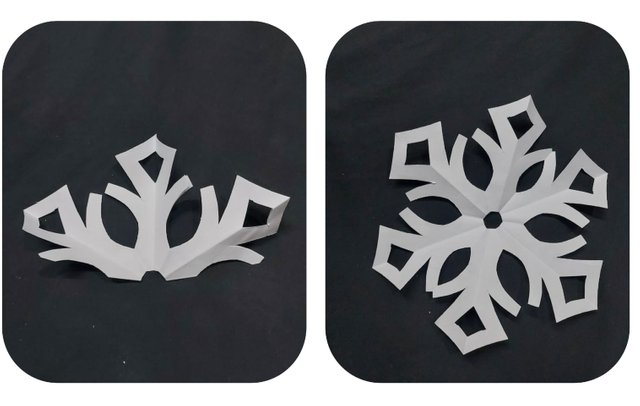


| Hope everyone likes this diy post ( handbag ) I made. Be sure to comment how you like it. If you make a mistake, you will be sorry. |
|---|
Upvoted. Thank You for sending some of your rewards to @null. It will make Steem stronger.
Downvoting a post can decrease pending rewards and make it less visible. Common reasons:
Submit
Very simple but looks great.
Downvoting a post can decrease pending rewards and make it less visible. Common reasons:
Submit
Hi, Greetings, Good to see you Here:)
Downvoting a post can decrease pending rewards and make it less visible. Common reasons:
Submit
It's a pretty beautiful papercraft creation. How to make this paper design has been really beautifully explained, step by step. I'll make an effort to make it. My best wishes are with you.
Downvoting a post can decrease pending rewards and make it less visible. Common reasons:
Submit