How are you all? Hope you all are doing well by God's grace. Alhamdulillah I am also well by his mercy. I am very new to this community and this platform. So at first I will have some mistakes. I hope everyone will look at me kindly. I will follow all the rules and regulations and continue my activities insha Allah. Hope everyone will help me and everyone will support me.
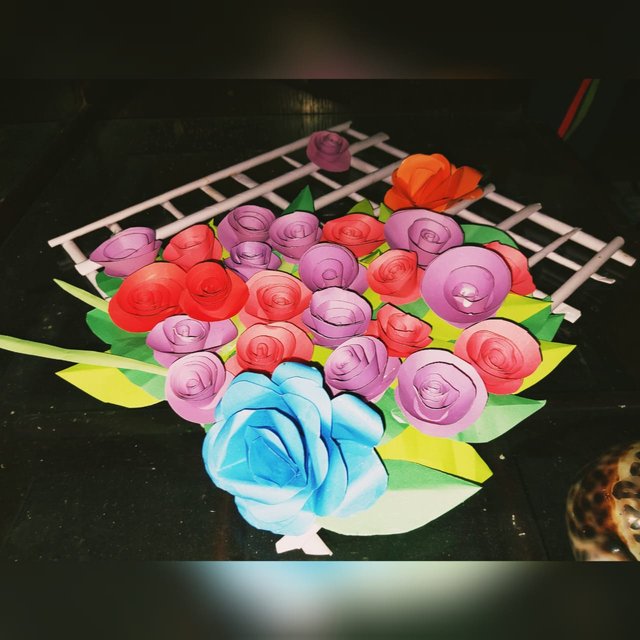
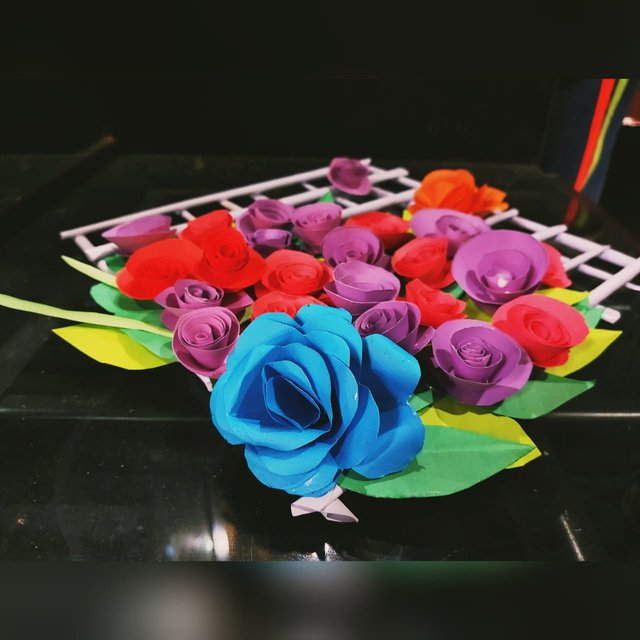
Today I will share with you Wallmat made of colored paper.Making walmate takes a lot of time and patience. If done with a little time, it can look very beautiful and enhance the beauty of the house. It looks very beautiful when hung on the wall of the room.Today I will share with you for the first time how to make a Walmate. The flowers and leaves have to be made very carefully. So let's not talk about how to make it. I have presented below the step by step process of making walmate which will be easy for you to understand. So let's get started.
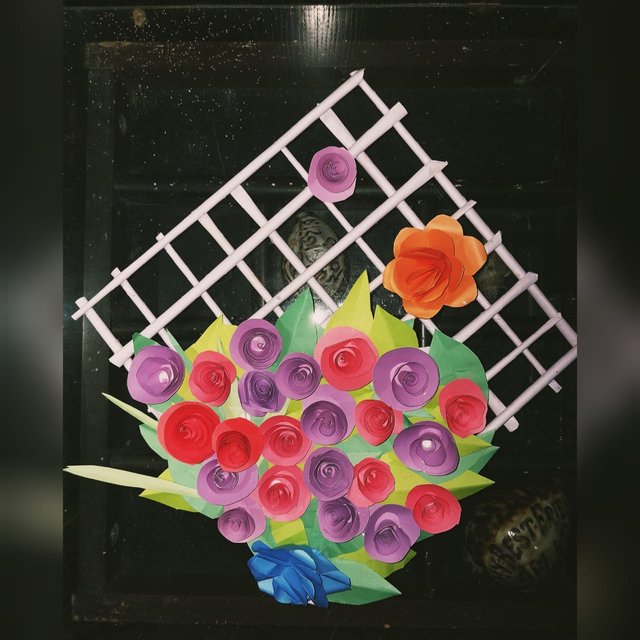
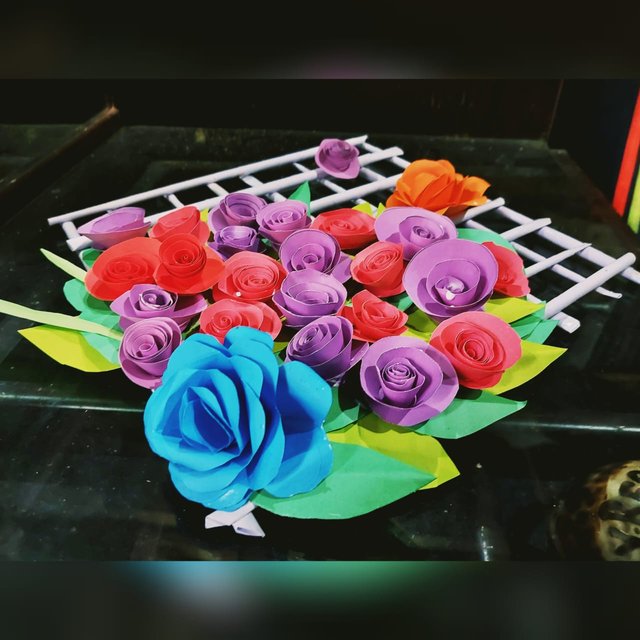
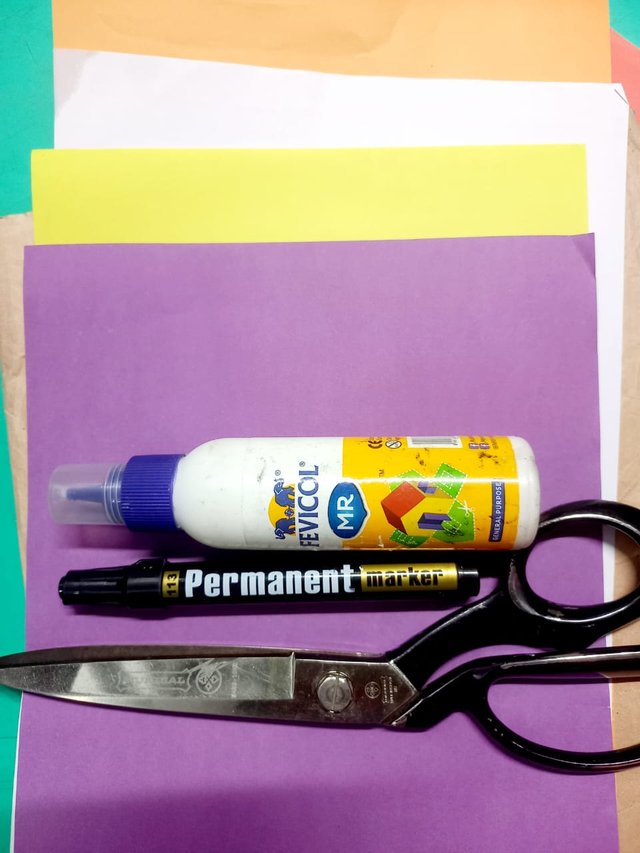
- Colored paper
- Scissors
- Glue
- Pencil or marker
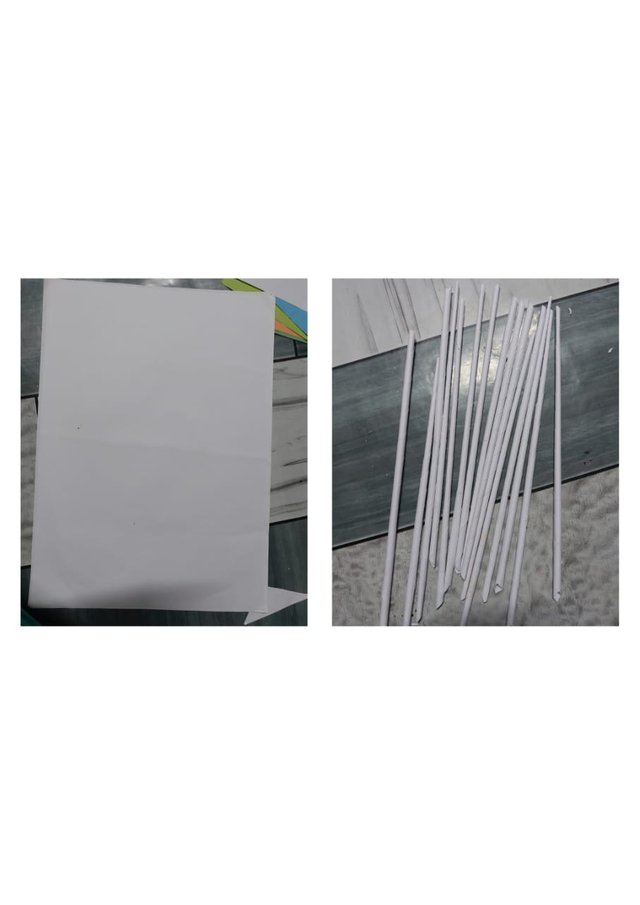
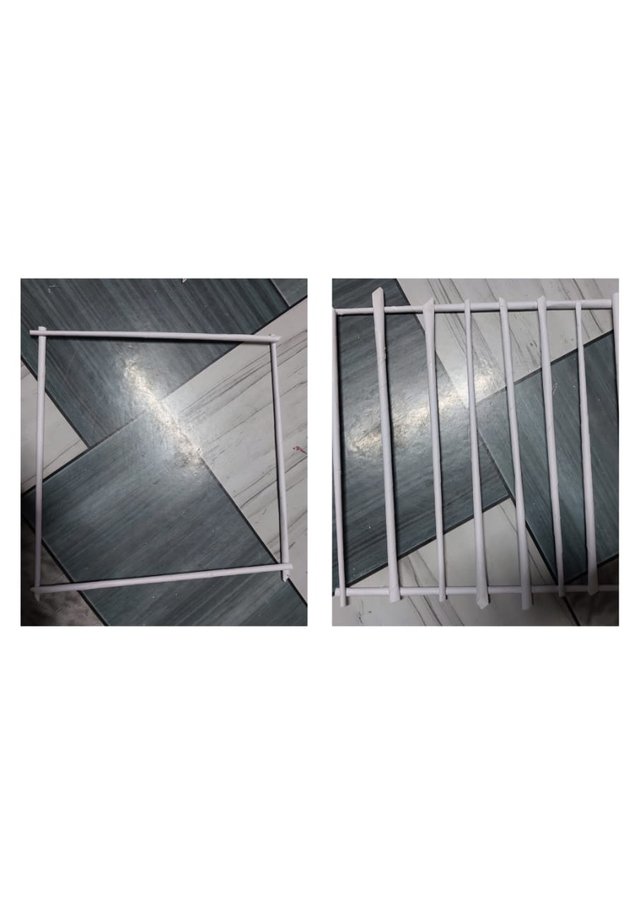
- First I cut the white paper into pieces and made 16 sticks lengthwise
- Now I made the sticks like a house and placed five sticks in the middle. The work must be completed with glue very carefully.
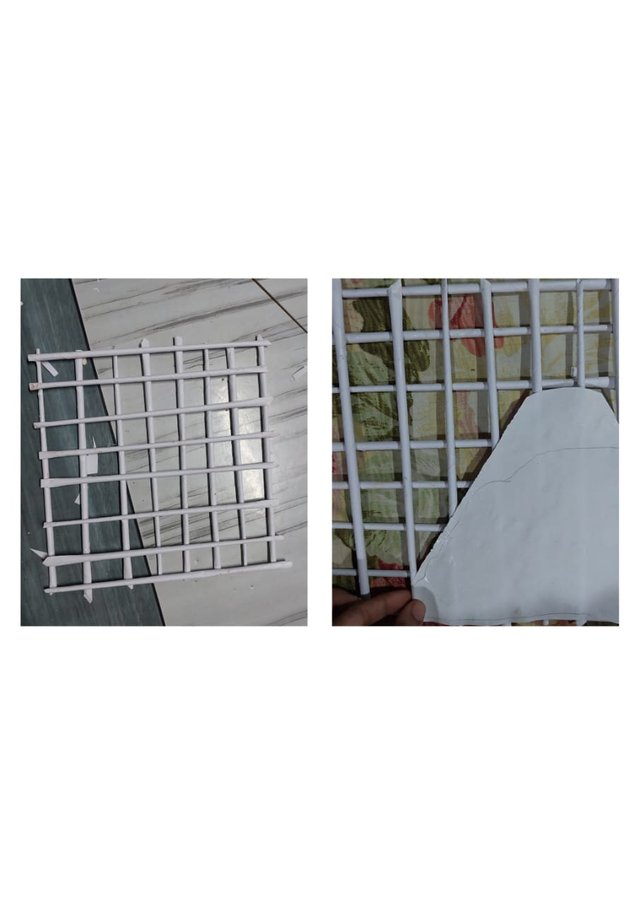
- Then I placed five more sticks vertically. I made a circle like the picture below. Then I put it on a triangular paper in the corner.
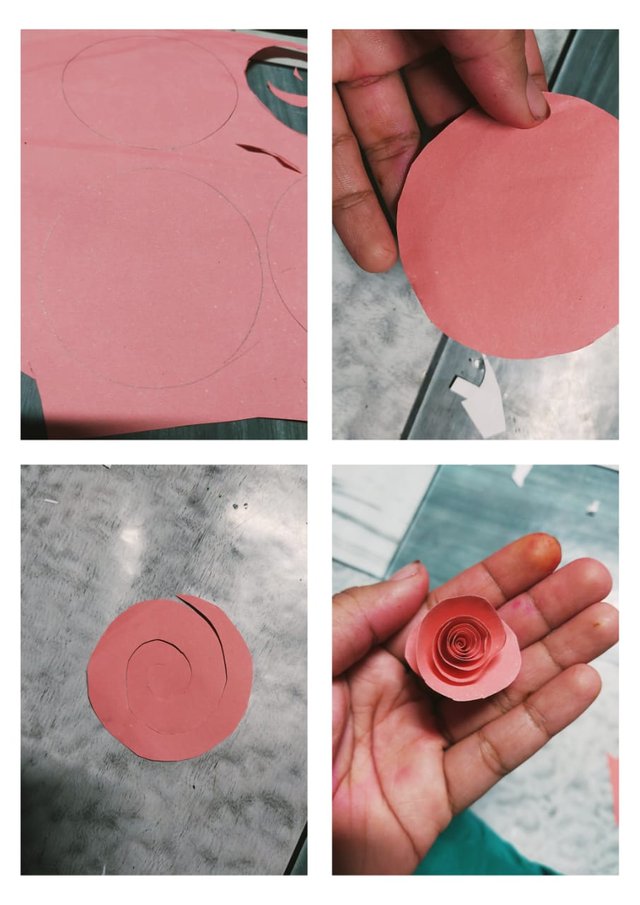
- Now take a red colored paper and draw a circle 5 cm inside the paper. Then cut the circle round with glass. Next, I cut the round circle again. And twisted and made a rose flower as shown in the picture below.
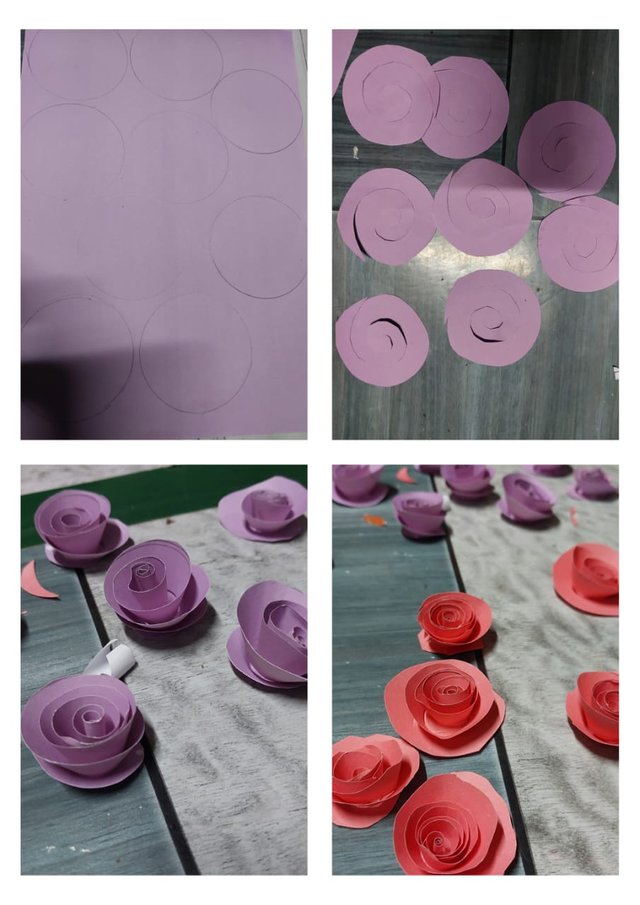
- In the same way I made purple and red colored ekushti flowers.
- Now I made 25 green leaves.
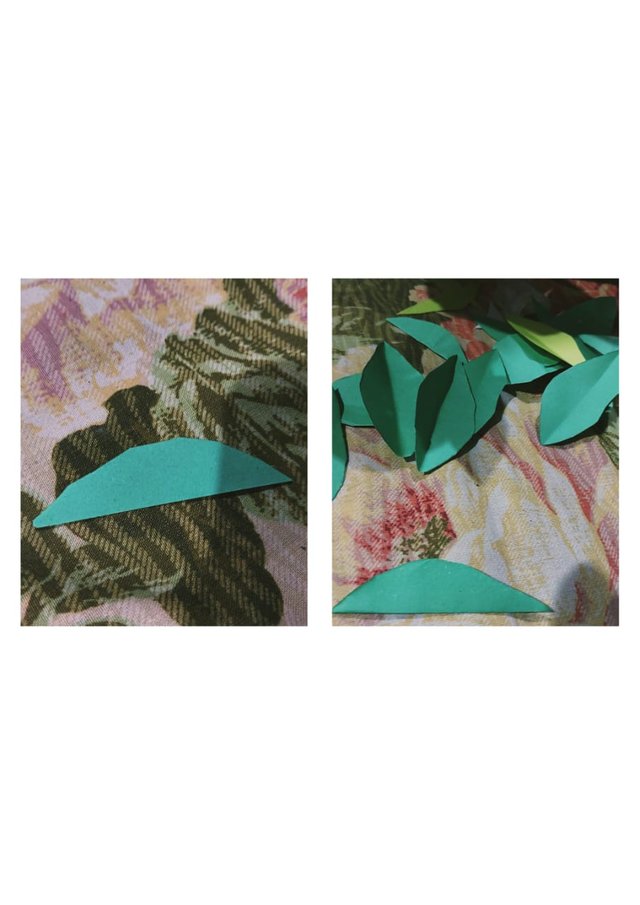
- Then I put the leaves in between with Walmate as shown in the picture below.
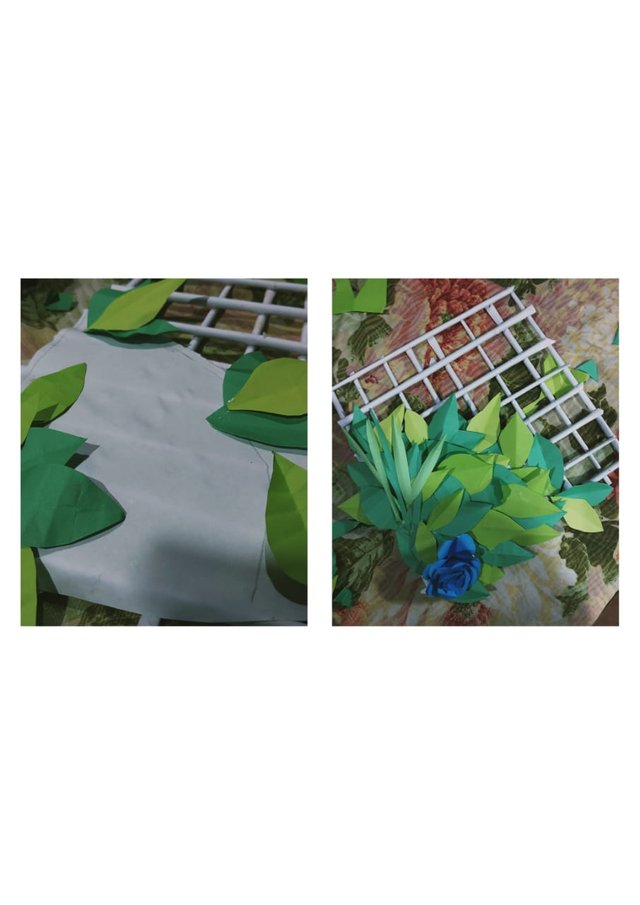
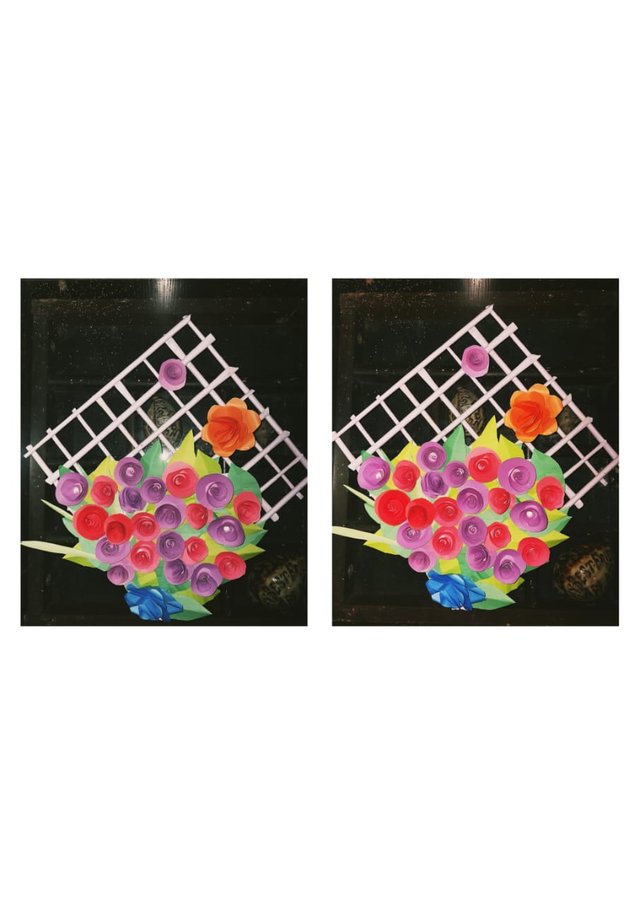
- Then I placed the flowers one by one in the middle of the leaves.
Hi, Greetings, Good to see you Here:)
Downvoting a post can decrease pending rewards and make it less visible. Common reasons:
Submit