Good afternoon steemians, hope we are doing good. Actually, my business today in this awesome community is on how to apply the markdown styles used in writing in steemit. Hope you'll find it educating. Let's check it out.
MARKDOWN STYLES
In other to make a well arranged and matured post in this platform, there are some patterns of writing that's adviced to be used. All thanks to @bright15 for his guide and advice since I joined this platform. Below are some of the regularly used markdown styles in steemit.
APPLYING MARKDOWN STYLES
1. To center a text
To center a word or text, you'll use < then write center and close with>, then write the word you want to write in the center then use <, / write center and close with >.
Example;
INPUT:

OUTPUT:
2. List
In creating a list, you can use number or * before writing your desired word.
Example;
INPUT:

OUTPUT:
- Messi
- Ronaldo
3. Heading
Heading works in steemit using the symbol (#). When you place the (#) in front of the word or the text then give just a space then you will see the size you want, just note that the more (#) you put will determine the size of the text you get.
Example;
INPUT:

OUTPUT:
Blockchain
Blockchain
Blockchain
Blockchain
Blockchain
4. Bold, italics or strike through
Bold: use two **, then write the desired word and close with two ** .
Italics: use one *, then write the desired word and close with one *.
Strike through: use two ~~, then write the desired word and close with two ~~.
Example;
INPUT:

OUTPUT:
Write
Post
Earn
5. Subscript
In writing subscript, firstly use < then write sub close it with > write the text you wish to write in subscript, then use <, / write sub and close with >
Example;
INPUT:

OUTPUT:
I study Medicine in school
6. Justify Text
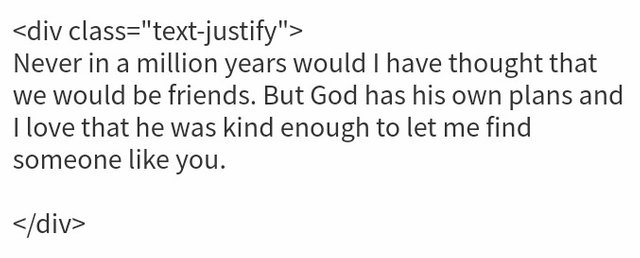
To justify a text i.e to make your write up look arranged from the beginning to the end, use < and then write div give space and write class then use =, " then write text-justify, use " and close with > after writing the text, close with <, / write div and close with >
Example;
INPUT:

OUTPUT:
7. Adding images and sourcing images
If you want to add image that's your own, all you have to is click the place you wish to put the image, then click on "selecting them".
It will lead you to your gallery, choose the image and upload.
If the image isn't yours, repeat the above procedure, then below the image use [ and write source and close with ], then use ( paste the link and close with).
Example;
INPUT:

OUTPUT:
8. To write in grey color
To write in grey, you'll first use < write code then close with> write the word you intend to write in grey, and use <, / write code and close with>.
Example;
INPUT:

OUTPUT:
Obi is a boy
9. Alignment of text/ images into two cells
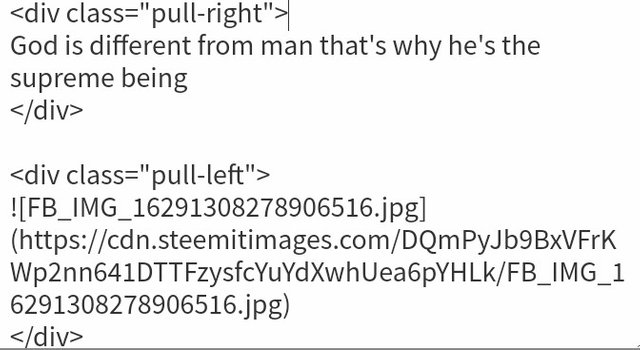
First, use < write div, class then use =, ", write pull-right" then close with > then write the text you wish to write, and close with <, /, write div and >.
Repeat the process above but this time use pull-left not pull right.
Example;
INPUT:

OUTPUT:
God is different from man that's why he's the supreme being

10. Table
In creating a table, firstly you write the thing you wish to write in the first column, then use |, write the second column.
Under it, use ---------- | ----------, you can the write on the first column, use | before writing on the second column.
Example;
INPUT:

OUTPUT:
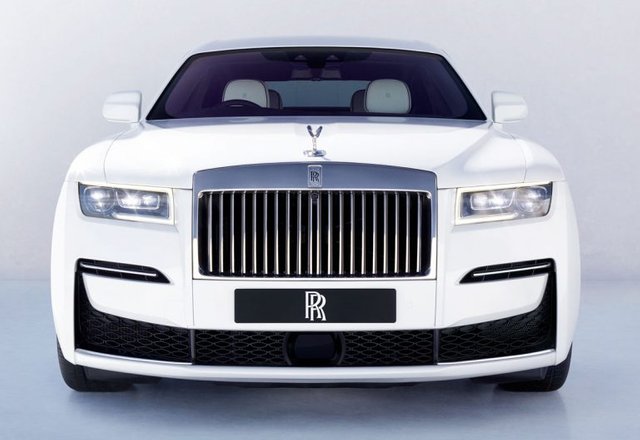
| Names of fruits | Names of cars |
|---|---|
| Mango | Spider |
| Sugar cane | Bugatti |
| Pineapple | Camry |
| Cashew | Lexus |
Thanks you'll for reading my achievement 4. I really appreciate everyone.


Hi, @jqube,
Your post has been supported by @bright-obias from the Steem Greeter Team.
Downvoting a post can decrease pending rewards and make it less visible. Common reasons:
Submit