Hola😁 steemians
It's good to write again after I have completed my Achievement 1 - 3 post so far and now in this Achievement 4 which I will be talking about the application of markdown styles used in the steemit world. I hope you find what I have just put down very informative and educating.

Steemit has discovered the ways of bringing up it's members on how to blog and this lesson started from my;
Achievement 1 - about personal introduction.
Achievement 2 - about the keys used in steemit and the security.
Achievement 3 - all about plagiarism which is most considered in steem if you want to be a great steemian.
Achievement 4 - my current discussion which talks about applying the markdown styles.
In other to make your post look very stupendous and well arranged, and make it very easy to read by my fellow steemians on this platform, there are some method of writing that should be taken into consideration which is formally known as the markdown styles in steemit.
APPLYING MARKDOWN STYLES
1. HEADINGS
Heading works perfectly in steemit using the hash symbol (#). When you place the (#) in front of a text or word then give a space, your desired size appears. Note, the more (#) you put at the front of a text or words determines the size you will get. For example;
Input:

Output:
kontrola
kontrola
kontrola
kontrola
2. TO BREAK A PAGE
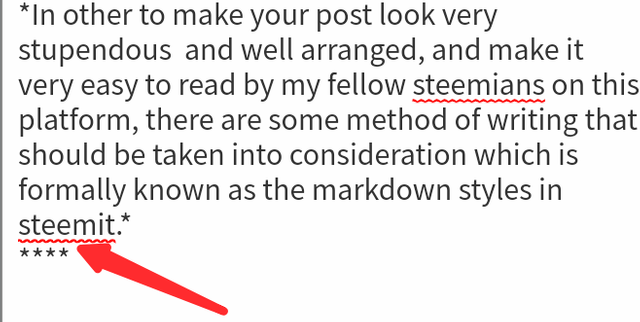
Just the use of four asterisks (****) brings a line that breaks the page.
It is the simplest markdown style in steemit. For example;
Input:
Output:
In other to make your post look very stupendous and well arranged, and make it very easy to read by my fellow steemians on this platform, there are some method of writing that should be taken into consideration which is formally known as the markdown styles in steemit.
Below are some of the normally used markdown styles in steemit.
3. BOLD, ITALICS, STRIKE.
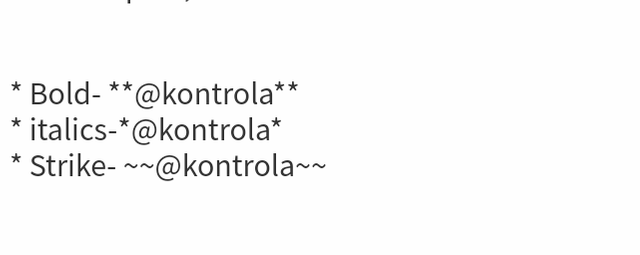
- Bold: input two asterisks, then write your desired word and close with two asterisks also( ** ........ ** ).
- Italics: input one asterisks, then write your desired word and close with one asterisk ( * ........ * ).
- Strike: input two tildes, then write your desired word and close with two tildes ( ~~ ........ ~~ ). For example,
Inputs:
Output:
4. TEXT JUSTIFY
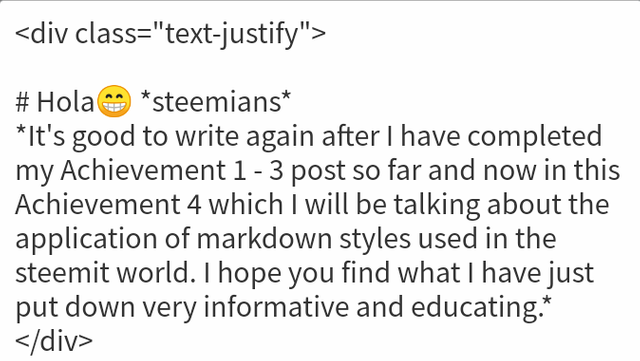
To justify a text is to make it look more stupendous and well arranged from the beginning of the work to the ending using < and then writing div give a space and then write class and the use
= "text-justify" and close it with > which will be the beginning of your writing after that you close with </ then you write div and close with > which ends your write up, for example:
Output:
It's good to write again after I have completed my Achievement 1 - 3 post so far and now in this Achievement 4 which I will be talking about the application of markdown styles used in the steemit world. I hope you find what I have just put down very informative and educating.
5. TO CENTER A TEXT
To centralize, you'll use < then write center and close with>, then write your desired word and then use < / write center and close with >. For example,
Input:

Output:
6. ADDING IMAGES AND SOURCING IMAGES
If you want to add your image, all you have to is click the place you wish to put the image, then click on selecting them.
It will lead you to your gallery, choose the image and upload.
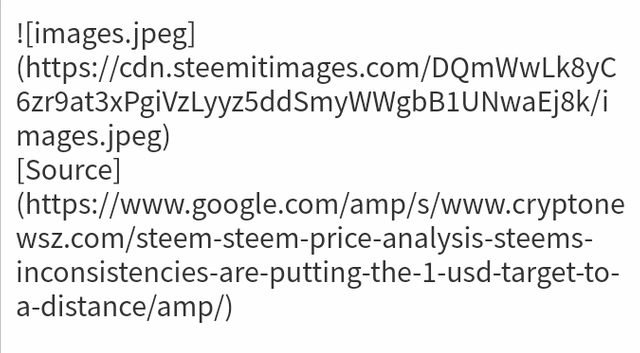
If the image isn't yours, repeat the above procedure, then below the image use [ and write image source and close with ], then use ( paste the link where you got the image from and close with). For example,
Input:
Output:
7. TABLE
To create a table, firstly you write the thing you wish to write in the first column, then use | and then write something in the second column.
Under it, use ---------- | ----------, if you write on the first column, use | before writing on the second column. Example
Input:
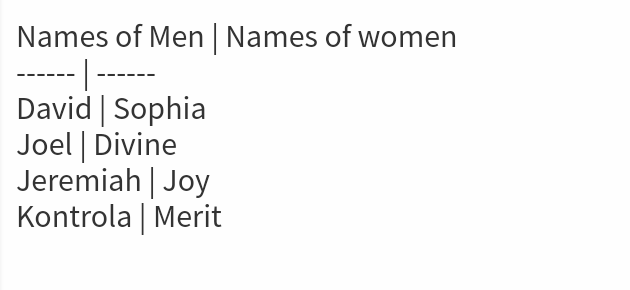
Output:
| Names of Men | Names of women |
|---|---|
| David | Sophia |
| Joel | Divine |
| Jeremiah | Joy |
| Kontrola | Merit |
8.APPLYING NUMBERS AND BULLET
To number a text, you just have to add the desired number where needed. But in the case of adding a bullet, use the asterisk symbol where needed or at the beginning of the text then give a space.
For better understanding check below;
Input:

Output:
- Kontrola
- Kontrola
9. ALIGHNMENT OF TEXT/ IMAGES INTO TWO CELLS
First, use < write div, class then use =, ", write pull-right" then close with > then write the text you wish to write, and close with <, /, write div and >.
Repeat the process above but this time use pull-left not pull right. For example,
Input:
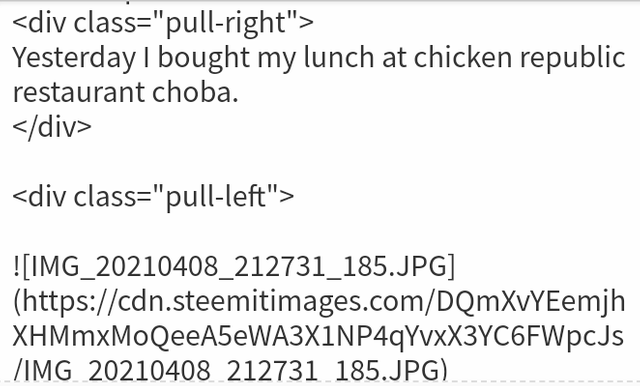
Output:
10. SUBSCRIPT
To apply subscript, firstly use < then write sub close it with > write your desired text in subscript, then use < / write sub and close with >
Example,
Input:

Output:
Yesterday I bought my lunch at chicken republic restaurant choba
There are actually more markdown styles but these are the ones am conversant with in this achievement. Thank you all for reading through my achievement 4 post.
Steem on, steemians
Regards to:
Cc:
@steemcurator02
@belenguerra
@fendit
@steemcurator03
@cryptokannon

