Hello steemians i'm so excited that i have finished the previous achievement(Content ETIQUETTE), here I will be exploring to my understanding what apply markdown style in steemit means and to apply them. I will be so happy with you'll if y'all spend time on my achievement 4 post.
Steemit has a marshal or ordered way of bringing up new members on how to write properly with some symbols to keep matured work which is seen as the Markdown Styles.
MARKDOWN STYLES IN STEEMIT
First Markdown styles can be seen as those various symbols or writeup with symbols that help to make you work clean, organized and accurate.
Below are some types of markdown involves is steemit platform.
APPLYING MARKDOWN STYLES
1 . HEADING: Heading work in steemit is done using the hash symbol (#). When you include hash(#) in front of a text or word then give a space, your desired size appears due to number of hash(#) included. Note that the more you place the hash(#) symbols at the front of the text or word the more the size decreases to your desired size.
Example
Input

Output
Heading
Heading
Heading
Heading
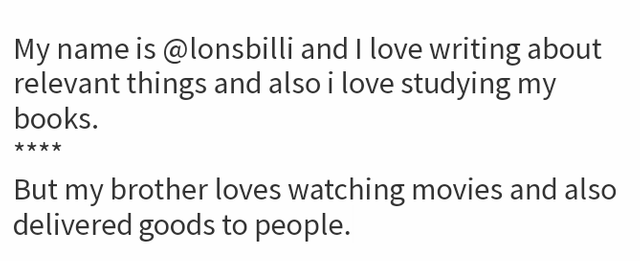
2 . To Break A Page: The use of four asterisks (****) helps to break a page or make a straight horizontal line appear at the point the asterisks is been placed which will break the text.
It the simplest markdown style and mostly used by steemian. For example;
Input
Output
My name is @lonsbilli and I love writing about relevant things and also i love studying my books.
But my brother loves watching movies and also delivered goods to people.
3 . Bold, Italic, strike
▪Bold:This can be used by using two asterisks at the beginning of a write up then and then close with two asterisks. E.g ( ** ........ ** ).
▪Italics: This includes inputing one asterisks at the beginning of a write up and then close with one asterisk. E.g ( * ........ * ).
▪Strike : This includes the use of two tildes at the beginning of a write up and then close with two tildes ( ~~ ........ ~~ ). For example,
Input

Output
- Bold- Steemcurator03
- Italic- Steemcurator03
Strike- Steemcurator03
4 . To Center Text : To centralize, you'll use < then write center and close with>, then write your desired word and then use < / write center and close with >. For example,
Input

Output
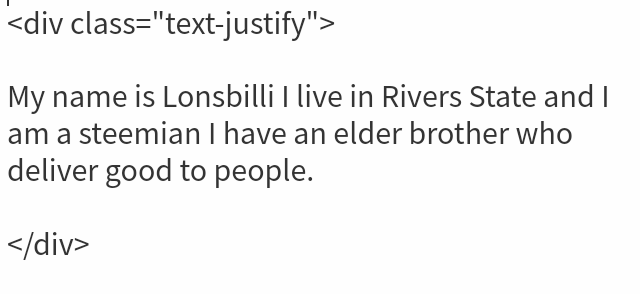
5 . To Justify Text: justify a text i.e to make it look well arranged from beginning to the end, use < and then write div give space and write class then use = "text-justify" and close with> which will be at the beginning of your write up and after your write up, you close with </ write div and close with> which ends your write up. For example
Input
Output
My name is Lonsbilli I live in Rivers State and I am a steemian I have an elder brother who deliver good to people.
6 . Adding Images and How To Source Images : If you want to add your image, all you have to is click the place you wish to put the image, then click on selecting them.
It will lead you to your gallery, choose the image and upload.
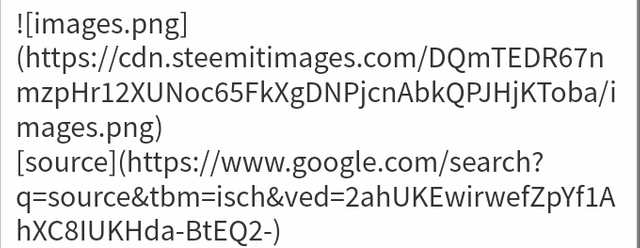
If the image isn't yours, repeat the above procedure, then below the image use [ and write image source and close with ], then use ( paste the link where you got the image from and close with). For example,
Input
Output
7 . To Create A Table : To create a table, firstly you write the thing you wish to write in the first column, then use | and then write something in the second column.
Under it, use ---------- | ----------, if you write on the first column, use | before writing on the second column. Example
Input

Output
| Items | Prices |
|---|---|
| Clothes | $50 |
| Indomie | $5 |
| Tea | $2 |
| Shoe | $4 |
| School books | $70 |
8 . Applying Number and Bullet : To number a text, you just have to add the desired number where needed. But in the case of adding a bullet, use the asterisk symbol at the beginning of the text then give a space.
Input

Output
- Achievement 4
- Achievement 4
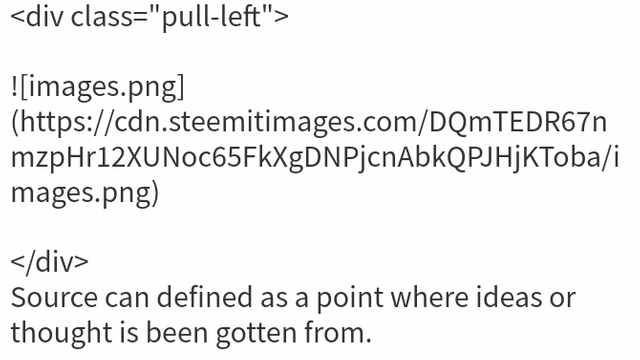
9 . How To Align Text and Images : First, use < write div, class then use =, ", write pull-right" then close with > then write the text you wish to write, and close with <, /, write div and >.
Note that you can also use "pull-left".
Input
Output

Note: it must not be text to image or image to text alignment only, you can also align an image to image or text to text the same way.
There are many more markdown styles but the ones listed and explained above are the I'm familiar with and can really tell about it which I just did. Thanks you'll for spending your precious time on my achievement 4 post.
Cc:
@cryptokannon
@bright-obias
@steemcurator03
@belenguerra

Well done @wisdom12, you've successfully completed your Achievement 4 task....keep on blogging steemian....🤗 You can now move to your achievement5task1 post but wait until it is verified by the greeter teams.
Downvoting a post can decrease pending rewards and make it less visible. Common reasons:
Submit
Hello. For this achievement you need to make a simple post, applying the markdown. The goal is not to make a list of codes, the goal is to apply those in a post of any topic. Please do this to be verified.
Downvoting a post can decrease pending rewards and make it less visible. Common reasons:
Submit