Hello and welcome friends of steemit
This time I want to share with you an automotive repair job which I did a while ago at my job site and which was a gratifying experience for me.
I tell you a little about what I do. I am currently an automotive preparer and my job is to repair aesthetic defects in automobiles as requested by the client. In my job it is common to receive cars hit or collided by another car, or overturned. In other words, cars that have suffered a traffic accident. Some jobs are simple and fast with respect to time. Still others are more complicated due to the severity of the damage.
This time I will show you a job that based on my experience classifies it as a simple job. And taking advantage of the fact that I am going to have free time, I want to share in several posts some of the work I've done.
Here we start. A car arrived at my job site with a fault in the back of it, specifically in the rear bumper.
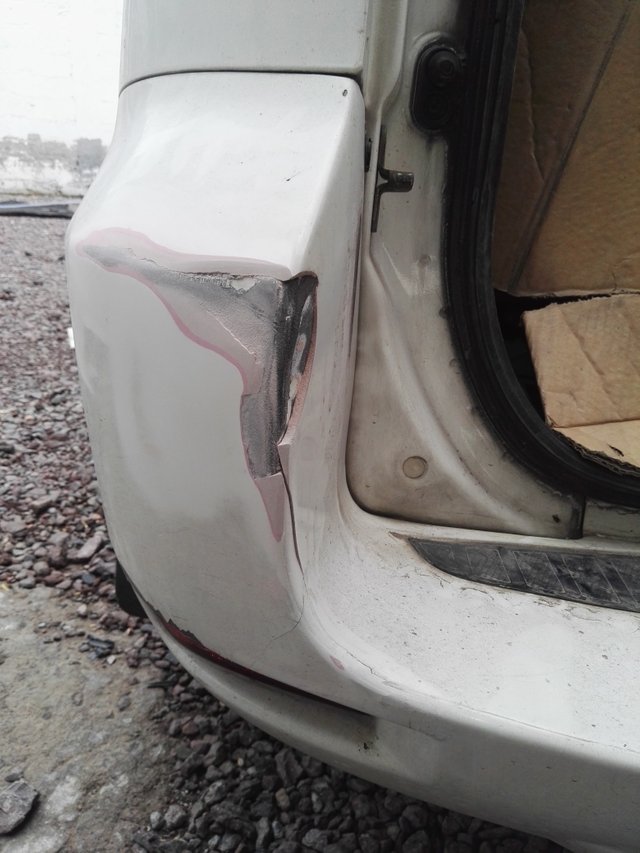
Here we can clearly see that it had been previously repaired because it has putty, which is a product used to correct imperfections. However in this case you have a large amount which means that you had serious damage previously
This time, it is advisable not to delve into the problem because it would get complicated, so what I did was repair the condition as follows.
First sand the affected surface with abrasive sandpaper to remove traces of impurities on it and also to generate adhesion.
Wondering adherence for what? Well, because to repair the fault I need to apply the product that I mentioned above, I'm talking about the putty. I'm going to apply putty to correct the fault and for that I need the fault to be a little mutilated by the sandpaper so that there is adhesion between the putty and the surface
As shown in this image
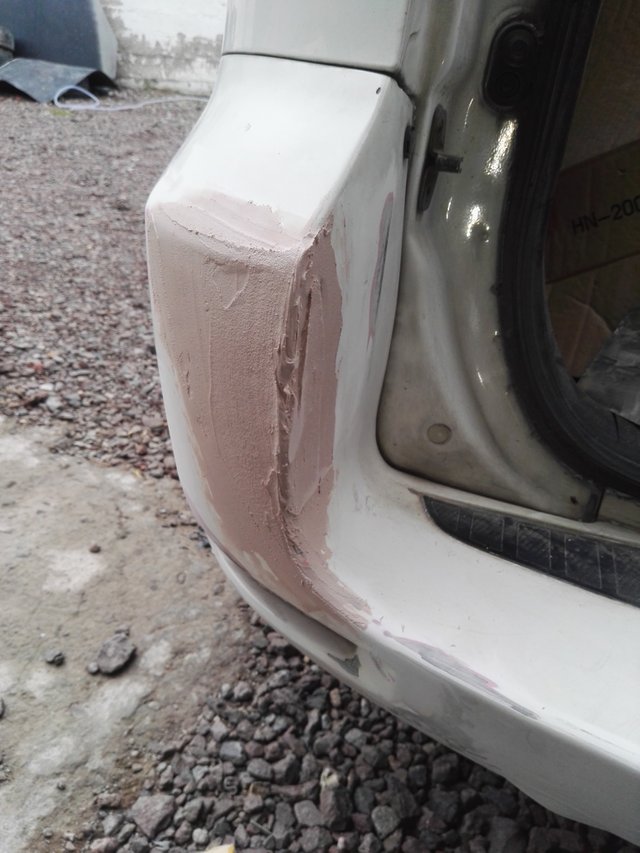
once applied the product we wait a few minutes for it to dry by chemical reaction. When dried, this product becomes hardened and with the help of several sandpaper we can give it the correct shape.
as seen in this image.
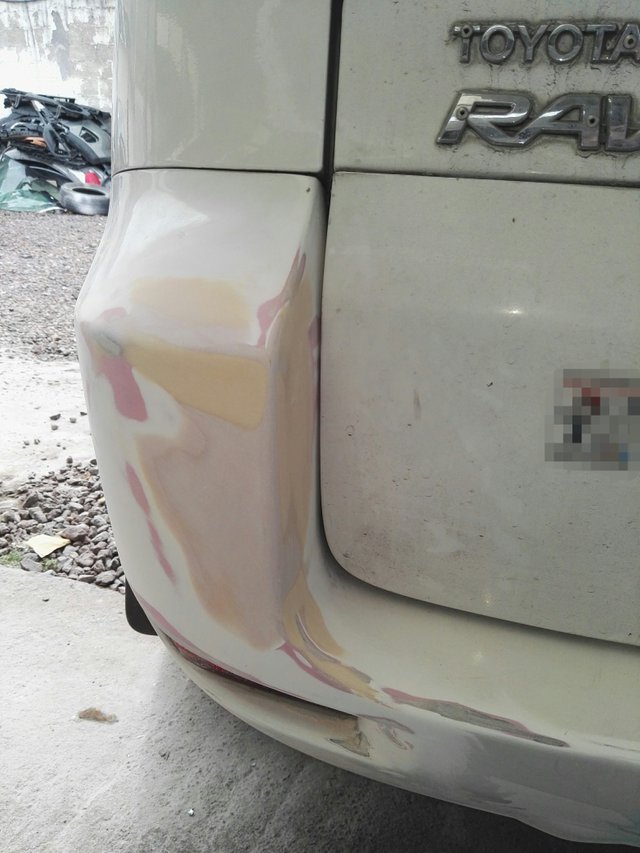
Now that the failure is corrected, what follows is to apply a product called a background. It is what is a protective base against moisture and at the same time serves as a bonding base for paint
This base is applied in a liquid way with the help of a paint gun and takes 2 to 4 hours to dry
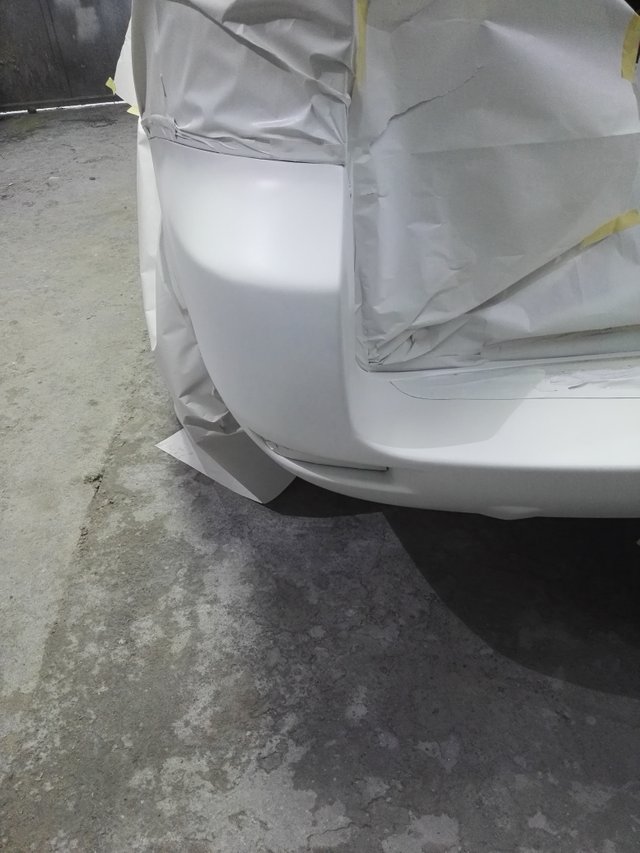
once the base (bottom) is dry we sand it with some fine sandpaper to smooth it and give it a fine finish, in this way the paint that is applied to it will be fine
In this case, the color of the car is white and once the base has been smoothed, what is done is to cover with paper the parts near the part that the paint is going to be applied so that they are not painted, because those parts are without details .
Next, the paint is applied to the sanded base and 4 coats of paint are given to completely cover the color.
as shown in this image.
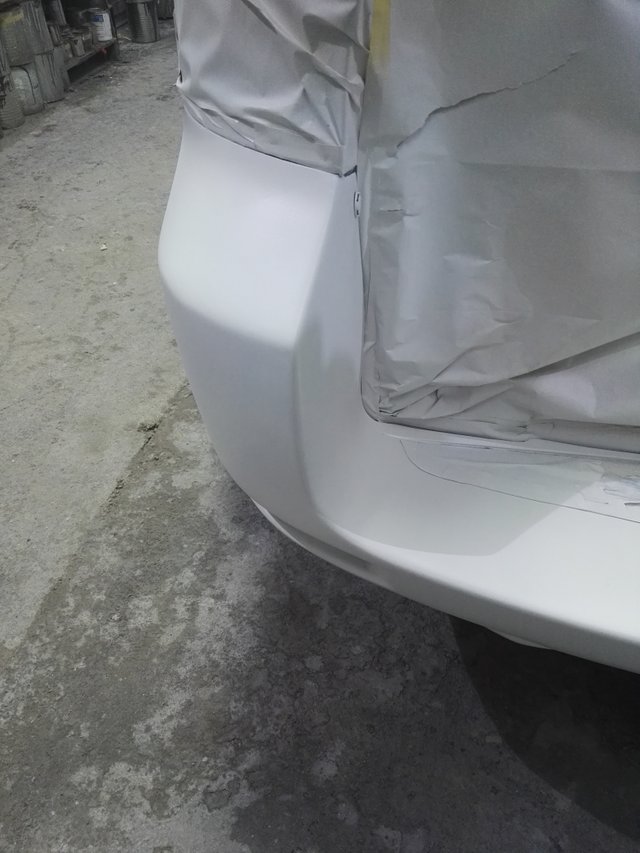
finally what is missing is to apply a product called varnish on top of the paint, apply 2 coats of this product and let it dry for 24 hours and that product is what gives the painted piece its shine.
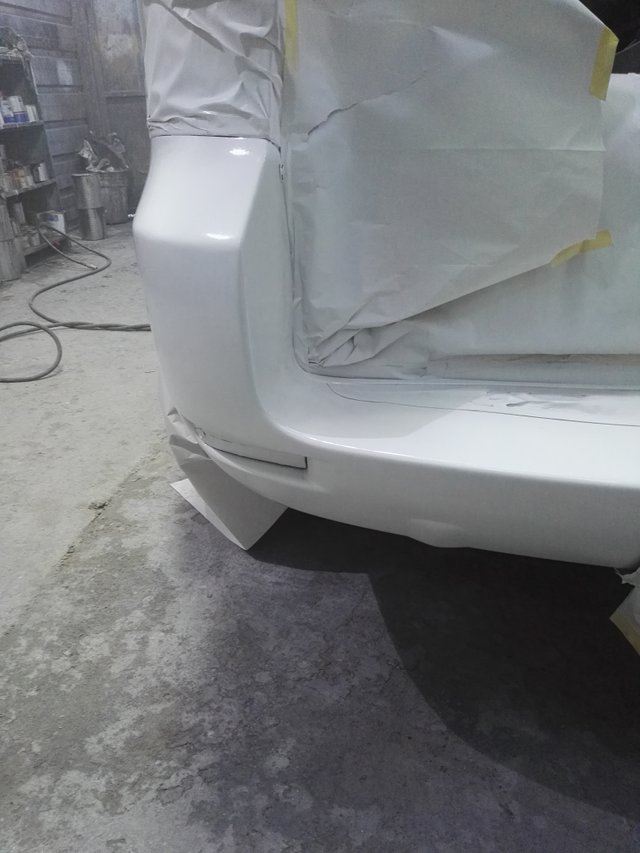
up to here today's post. If you liked let me know in the comments.
if you found it interesting and want to see more content with this let me know, and if you can support me it would be excellent
a treat and it will be until next time