Greetings friends!!
This is @urmilanath650 from @bangladesh
Hi!! How are you?? Hope all of my steemian friends are well by the grace of Almighty Krishna and so am I. Although it is difficult to become relaxed and tension free in this competitive and complex world we have to keep ourselves happy and healthy by anyway to move forward. Ok today I am here to share an amazing paper art with you. And this is quilling paper art. It is the art of paper quilling done on paper. Hope you all will enjoy this nice work.
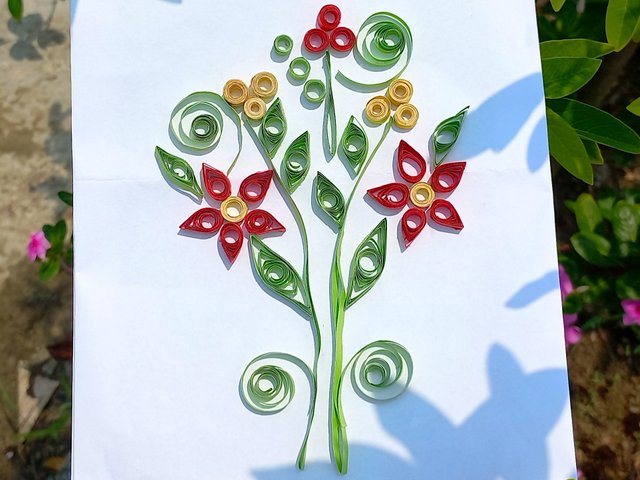
Let's see the procedure and make the quilling art....
- White paper
- Red color paper
- Yellow color paper
- Green color paper
- Scissor
- Glue
- Slender stick like pen vial
Take a A4 size yellow color paper and cut several long and slender pieces of paper using scissor. Roll the yellow papers around the pen vial to make small circular shapes. Attach the ends with glue.
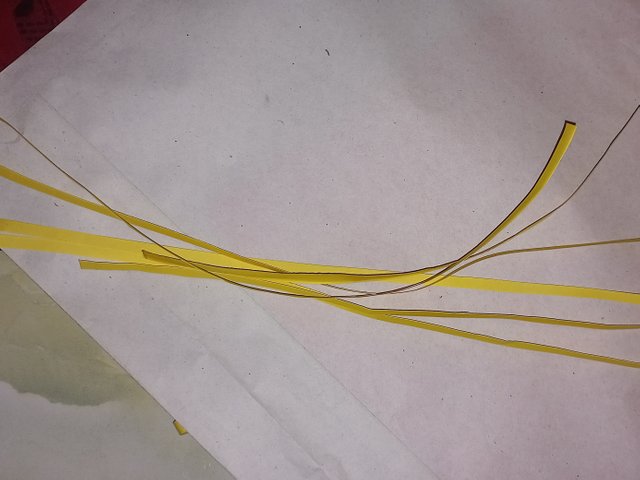
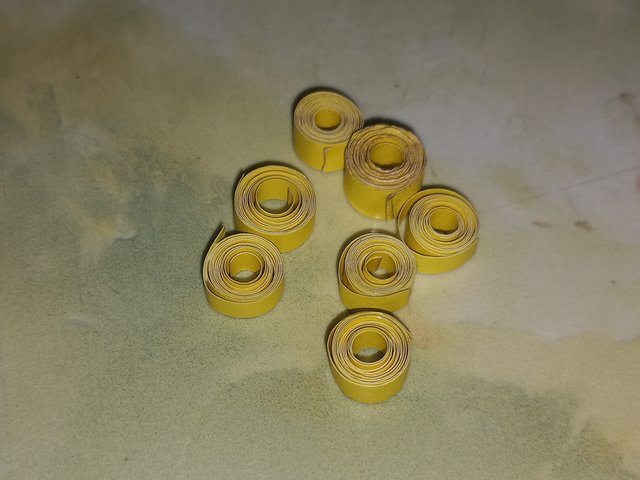
Cut ten long and slender pieces of red paper in the same way as like as step 1. Then roll around pen vial. After slightly opening the rolled paper attach with glue and then press one side of the rolls to make flower's petal shapes.
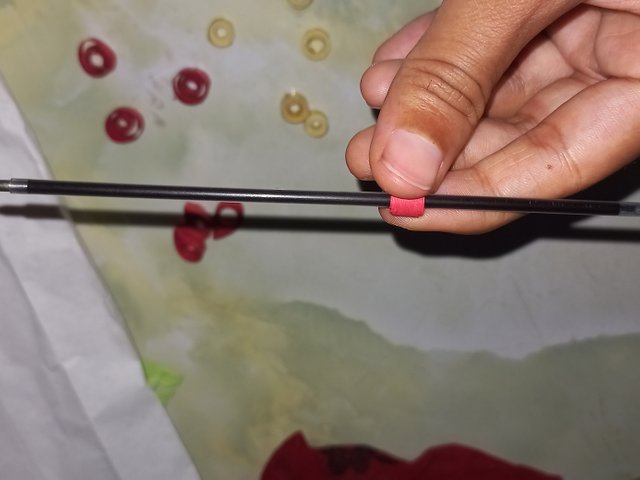
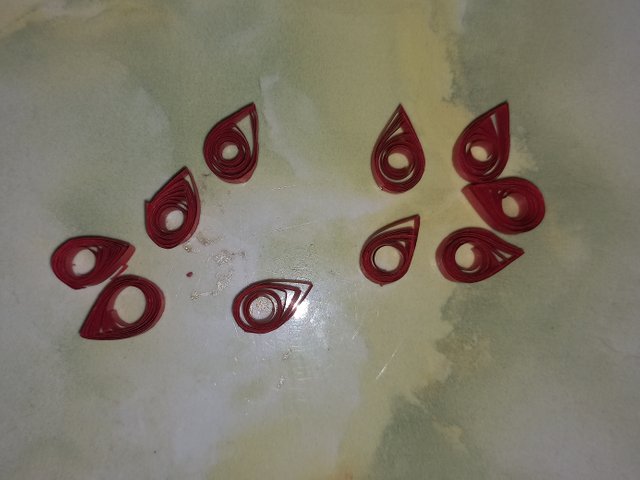
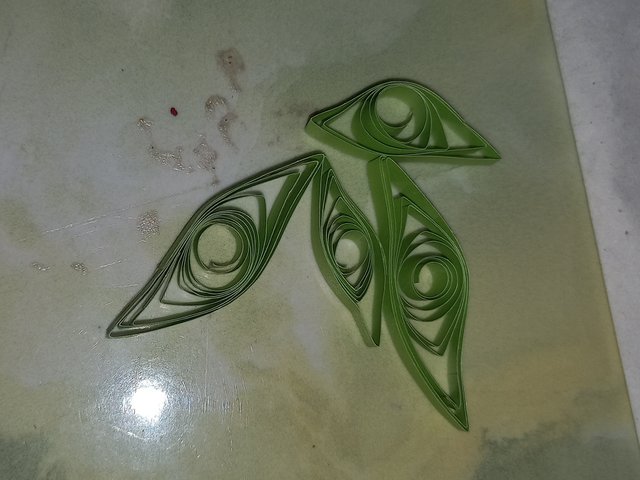
Take a green color paper; cul slender pieces and make rolls. Make the rolls free in some extend. Attach the ends with glue and then press from two opposite sites to make leaf shapes. For long leaves attach two pieces of papers with glue.
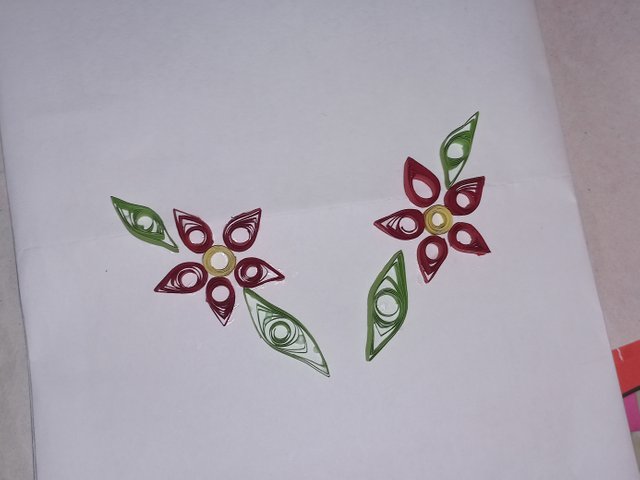
Now attach the yellow rolls and the red petals around the yellow roll on a white paper to art two flowers. Attach the green leaves near the flowers using glue.
Now cut more green slender pieces of paper and fold two pieces at the middle. Attach with glue. Roll three more green pieces and make mostly free the rolls to make creepers. Then attach the creepers and long branches on the white paper.
Attach three yellow rolls on the top of one branch and three more yellow rolls on the top of another branch to art yellow flowers. Attach two leaves in both sides.
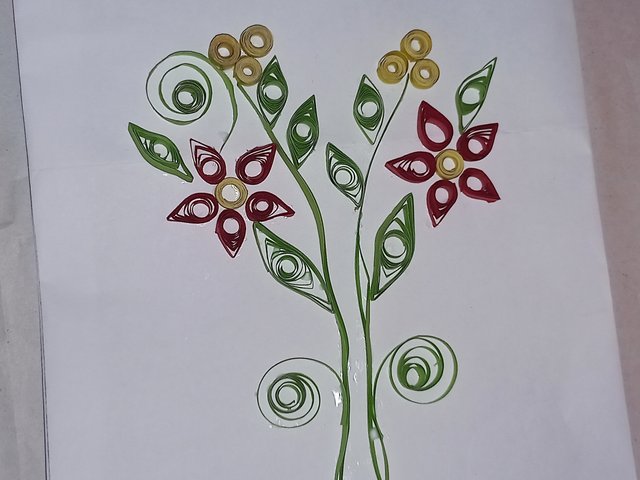
Make three red rolls, three green rolls and a green small branch. Attach the green branch at upper side. And then attach the red rolls on its top to art red flower. Attach three green rolls at one side of the red flower.

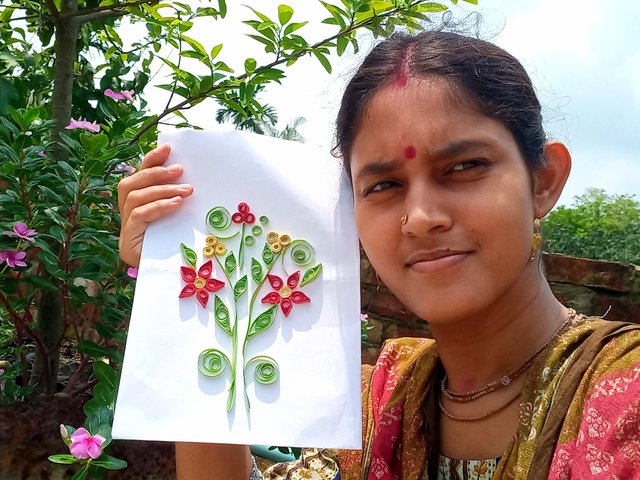
The beautiful quilling paper art is completed now. I have explained the details of this flower art in the above five steps. Hope you all understand the process and must try at home. Also hope that you really enjoy this work so much.
I have got the idea from youtube many years ago. I used to make such quilling art with my younger sister. After many years I have tried this again to share with you. It takes time but it is beautiful and eye-catching to decorate your wall.
I am ending here. Your amusement is my pleasure. Please keep me in your prayers and I wish you all the best.
Regards,
@urmilanath650

X share https://x.com/urmilanath55/status/1796445080485773787
Downvoting a post can decrease pending rewards and make it less visible. Common reasons:
Submit
I'm really fascinated to see this. You made a beautiful papercraft today.
Downvoting a post can decrease pending rewards and make it less visible. Common reasons:
Submit
Thank you so much💗
Downvoting a post can decrease pending rewards and make it less visible. Common reasons:
Submit
Definitely so unique diy post. You share step by step and make perfectly. I like your diy post. Thanks for sharing friend
Downvoting a post can decrease pending rewards and make it less visible. Common reasons:
Submit
Thanks you so much friend 💗
Downvoting a post can decrease pending rewards and make it less visible. Common reasons:
Submit