Hello Everyone,
I hope all will be fine and happy by the grace of Allah Almighty and will be form of the goodness.
Today I will post about SIZ Tutorial | How to Change Photo Background with the Help of Polish App? it is very interesting topic i hope you really like it.
- So, let's start...
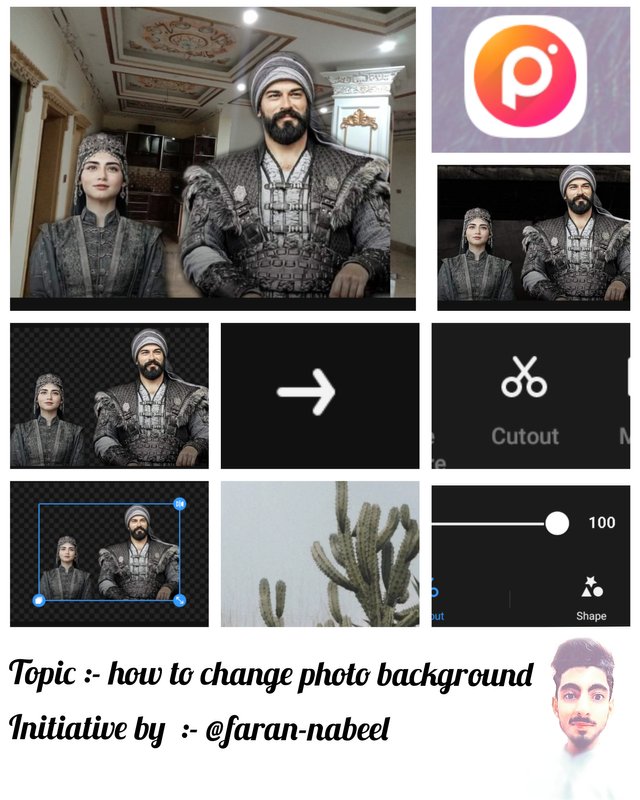

STEP NO 1
First of all if you have a polish app in your mobile device so, then fastly you open this application.
And when you open this application a new interphase is open and you see in the below picture for clearly understanding.
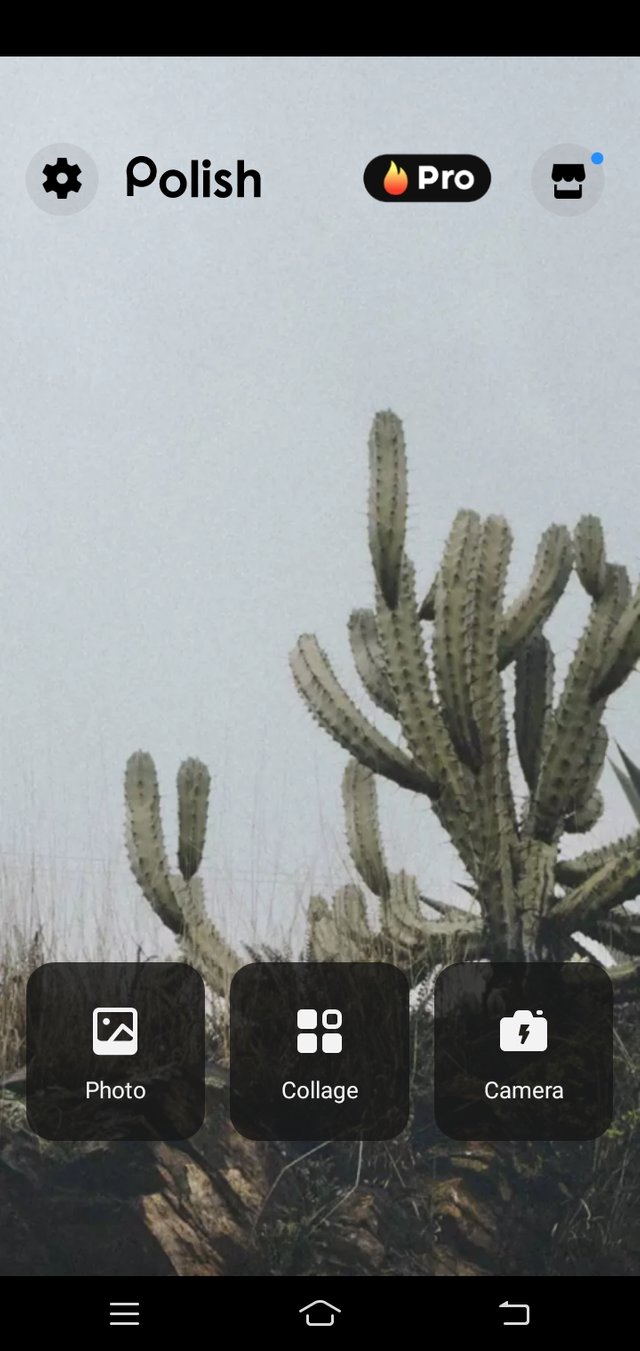
- Now you open this application and see a new interphase and you see a option of Picture , College and camera after see the options you click on the option of picture for select your photo.

STEP NO 2


And when you click the option of picture and select your photo after you see a many options like Filters , Crop , Text , Adjust and many more options of polish app for to make your photo beautiful.
But when you select your photo the you select the option of cutout for cut your photo background.
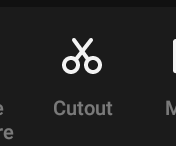
- And now you see in the upper picture this is the icon of cutout and with the help of this option you cut your picture background easily.
It is very simple.

STEP NO 3
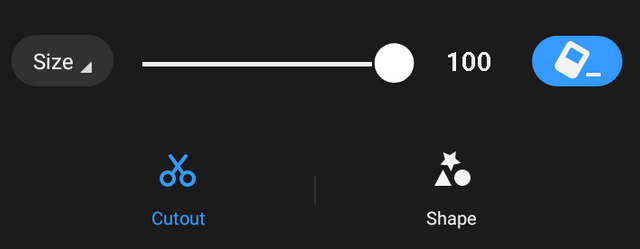

And now you see in the upper picture the cutout section is on and now you see in the upper picture this is the line of cut out if you line is the level of 100% the you cut your picture is perfect.
And now you see in the 2ud picture. In this picture you see in the right side the the option of Ai its mean is Auto Cutout.
And then you simply press this icon and remove your photo background.

STEP NO 4
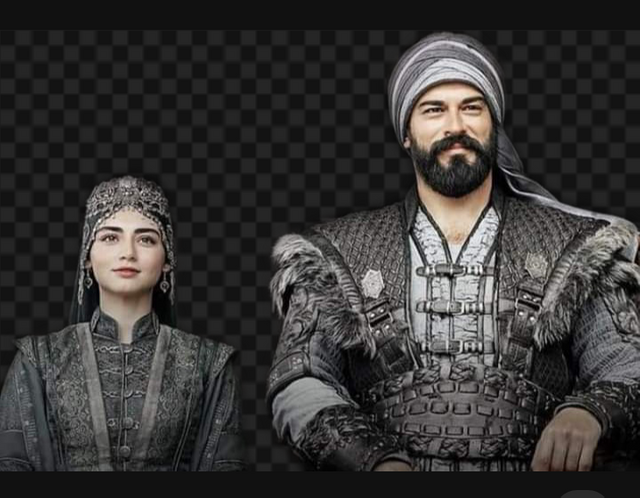
- And now you see in the upper picture your Photo background is removed and now you can easily add your favorite background.

- And now you see in the upper picture your background is removed and now you send your photo in next section with the help of Right side Arrow you see in the picture.

STEP NO 5
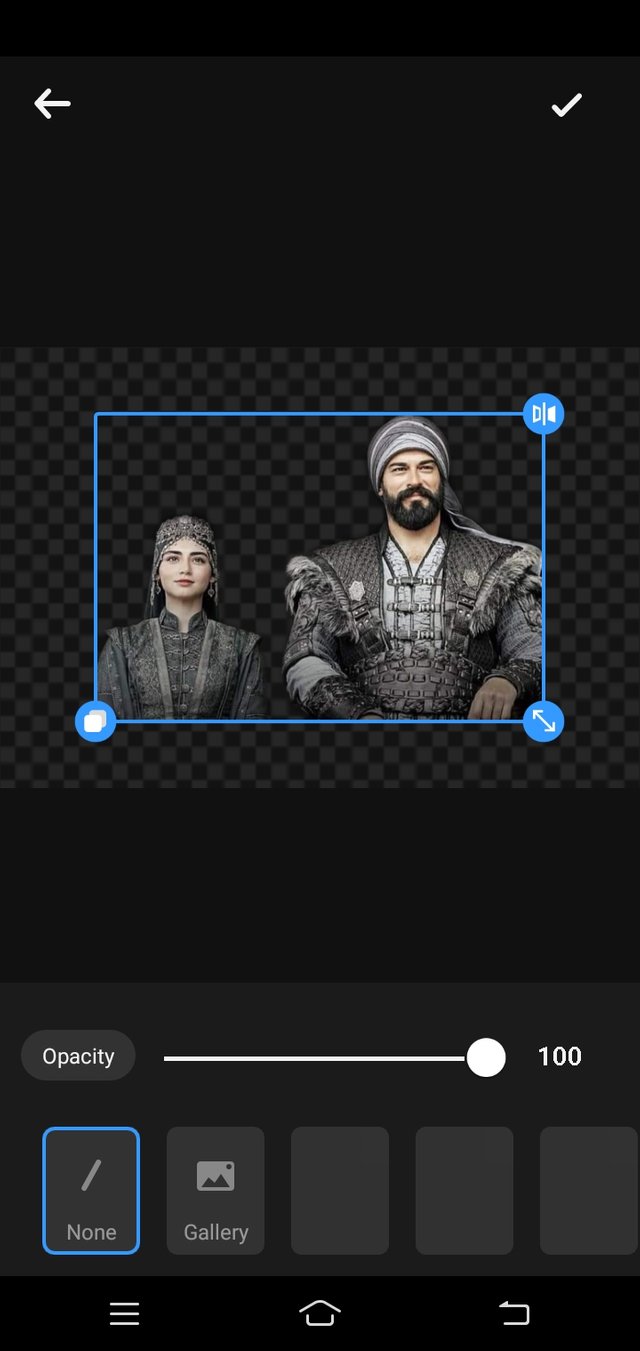
Now your photo is enter in next and Final section after removing background.
And now you go in your gallery and select the background for your photo.
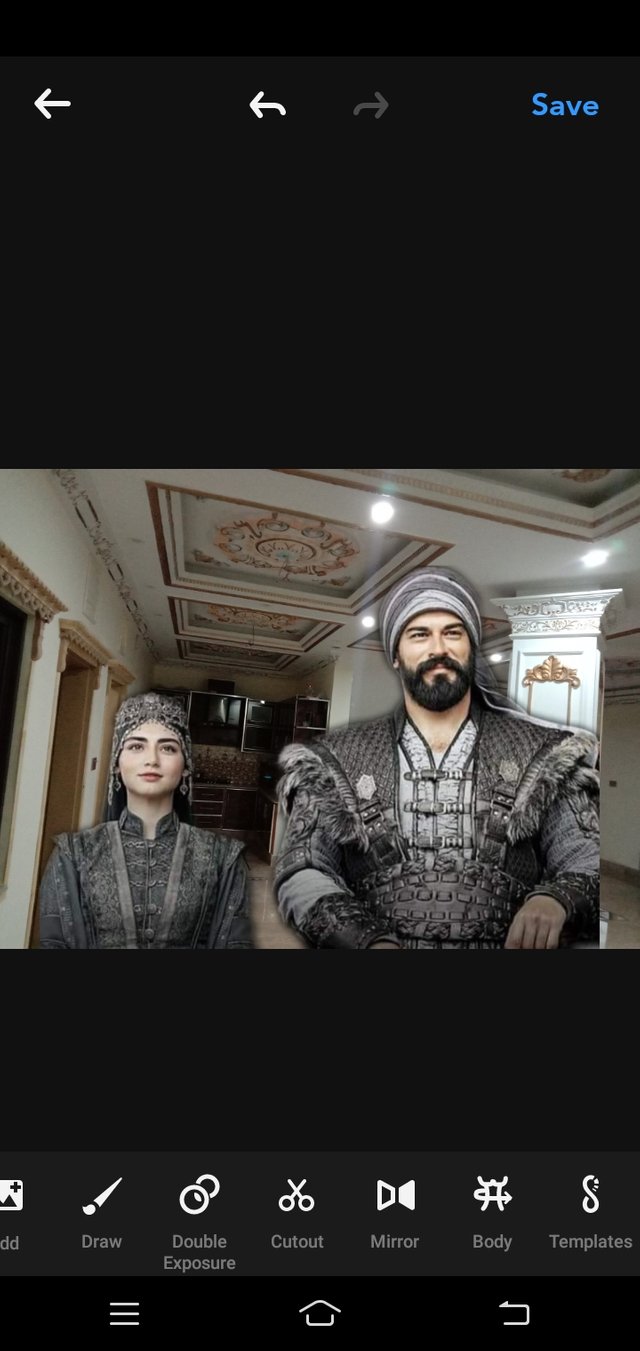
And now you see in the upper picture your photo background is changed and it is very easy and simple.
I hope you really like my tutorial about change photo background.
Thanks for reading and visiting my post❤.

Steem Infinity Zone
@cryptokraze | @suboohi | @vvarishayy | @qasimwaqar | @arie.steem


Discord : farannabeel#8111
 |  |  |
Nice way to explain dear. You did a great job👍
Downvoting a post can decrease pending rewards and make it less visible. Common reasons:
Submit
Thanks dear friend
Downvoting a post can decrease pending rewards and make it less visible. Common reasons:
Submit
Really this is amazing. I will try this because before this I didn't know how to change background. Thanks
Downvoting a post can decrease pending rewards and make it less visible. Common reasons:
Submit
Welcome dear friend.
Thanks for reading my post.
My best wishes for you.
Downvoting a post can decrease pending rewards and make it less visible. Common reasons:
Submit
you are the best author of the day congratulations. Keep working hard.
Downvoting a post can decrease pending rewards and make it less visible. Common reasons:
Submit
Thank you so much❤.
@siz-official
Downvoting a post can decrease pending rewards and make it less visible. Common reasons:
Submit
This tutorial is very beneficial for all.
Downvoting a post can decrease pending rewards and make it less visible. Common reasons:
Submit
Thank you
Downvoting a post can decrease pending rewards and make it less visible. Common reasons:
Submit
Amazing bro.
Very informative post thanks for sharing a good information about photo editing.
I like your tutorials.
I am waiting for next.
Downvoting a post can decrease pending rewards and make it less visible. Common reasons:
Submit
Thanks for your appreciation.
Downvoting a post can decrease pending rewards and make it less visible. Common reasons:
Submit
Faran apka yeh tutorial boht acha hai sch ma. Mujy psnd aya
Downvoting a post can decrease pending rewards and make it less visible. Common reasons:
Submit