Hello friends this is my lecture 03. in this lecture i discuss how to edit filmorago application for YouTube video editing.
Open your filmorago applications.
Select new project and add your video.
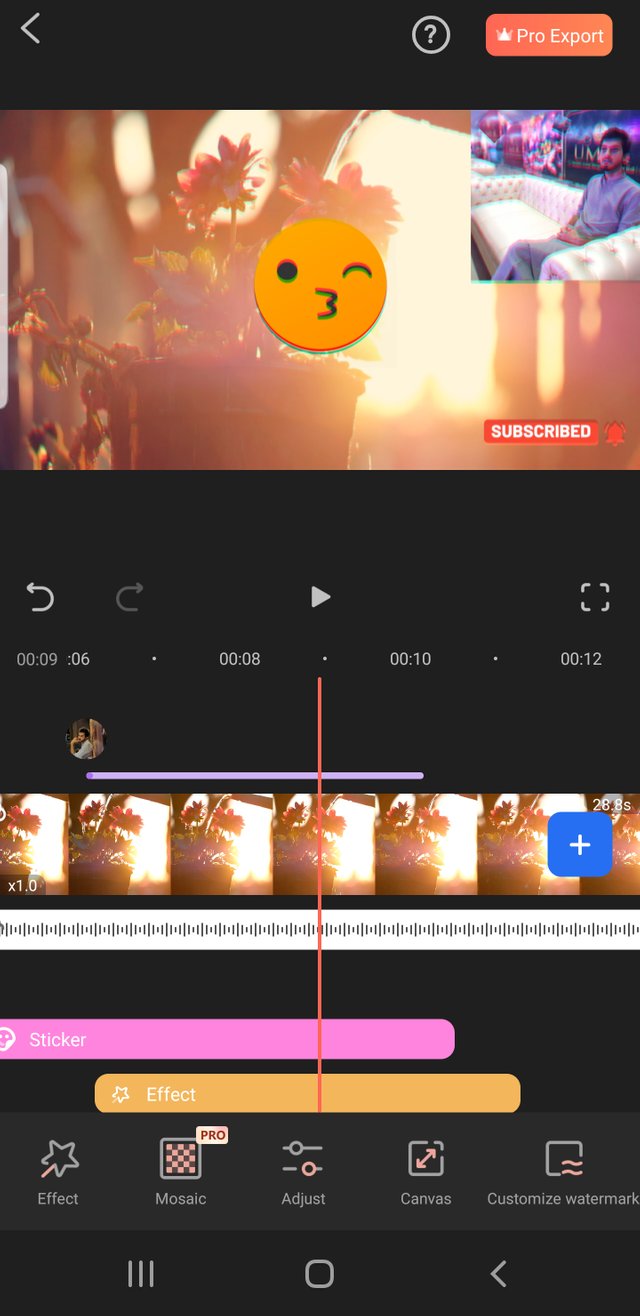
Canvas
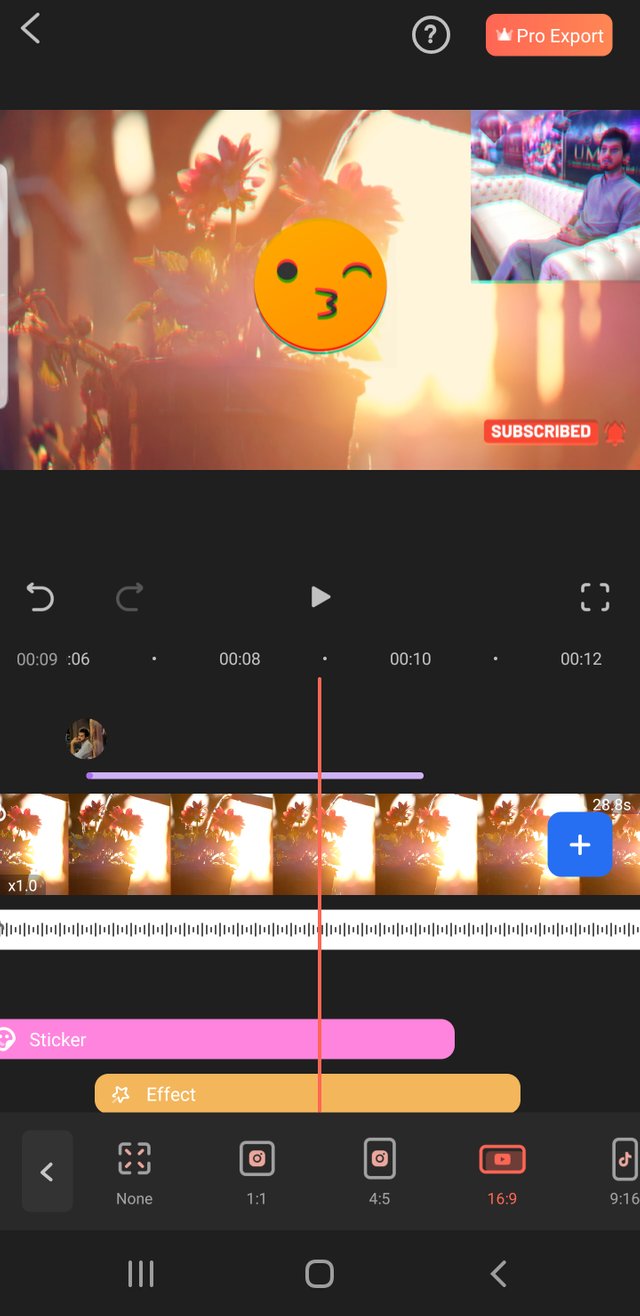
first of all open canvas options and select YouTube format and edit your YouTube videos.
Select format option and select YouTube format.
Add music.
Here we can add music in our video.
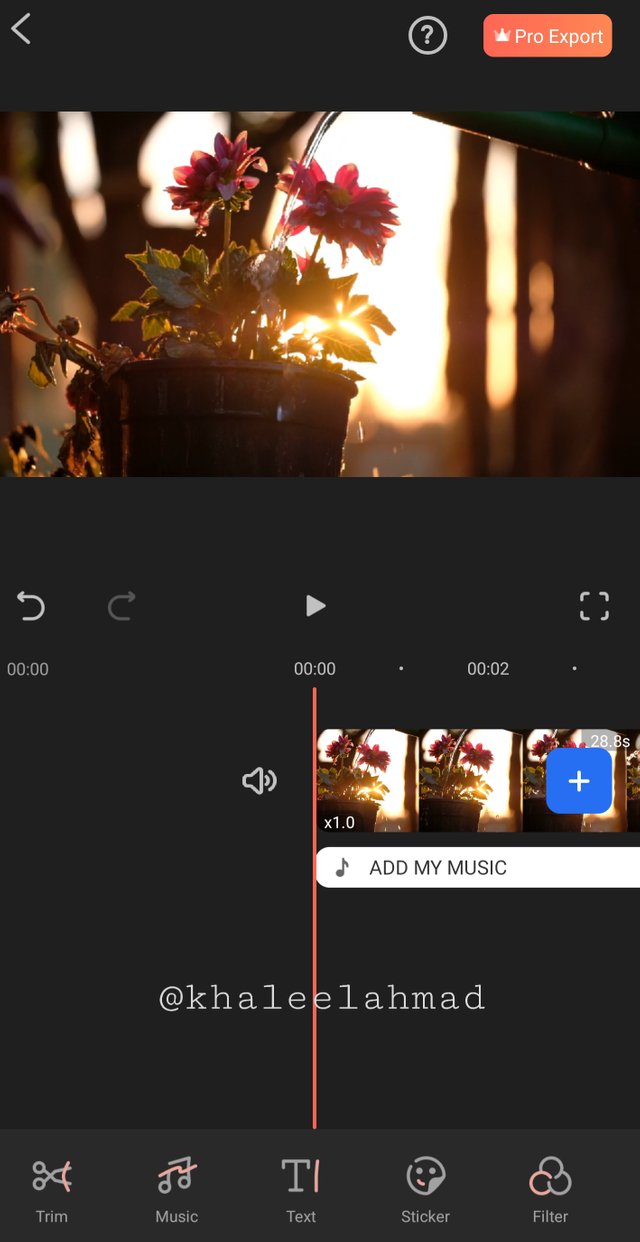
Trim.
in trim option different features are available. here we can trim our video and others options are available.Here we can split our video.
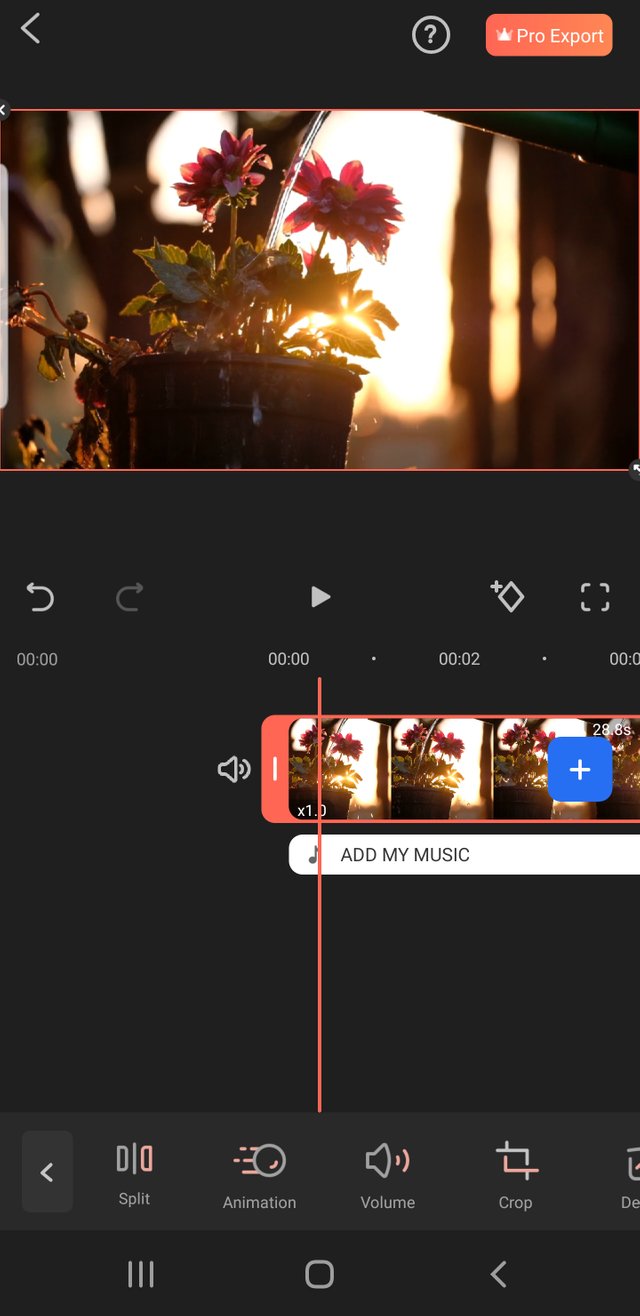
Animations.
This is very wonderful feature of filmorago applications here we can add some beautiful features.
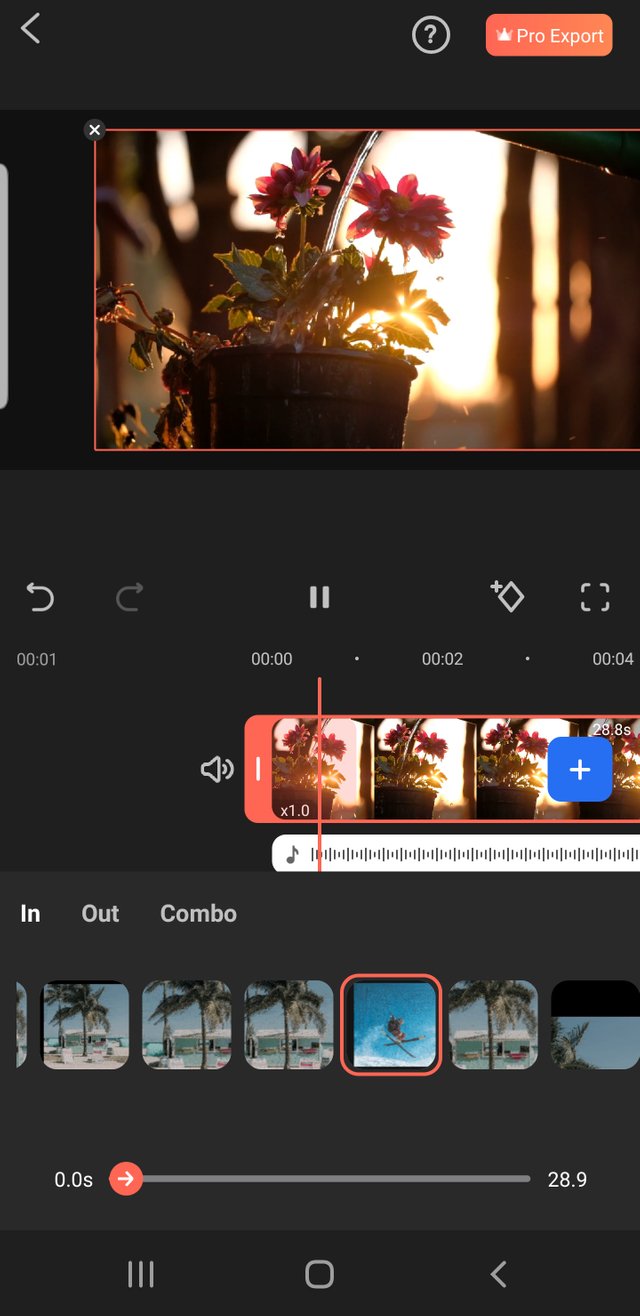
Crop option.
Here we can crop our video.
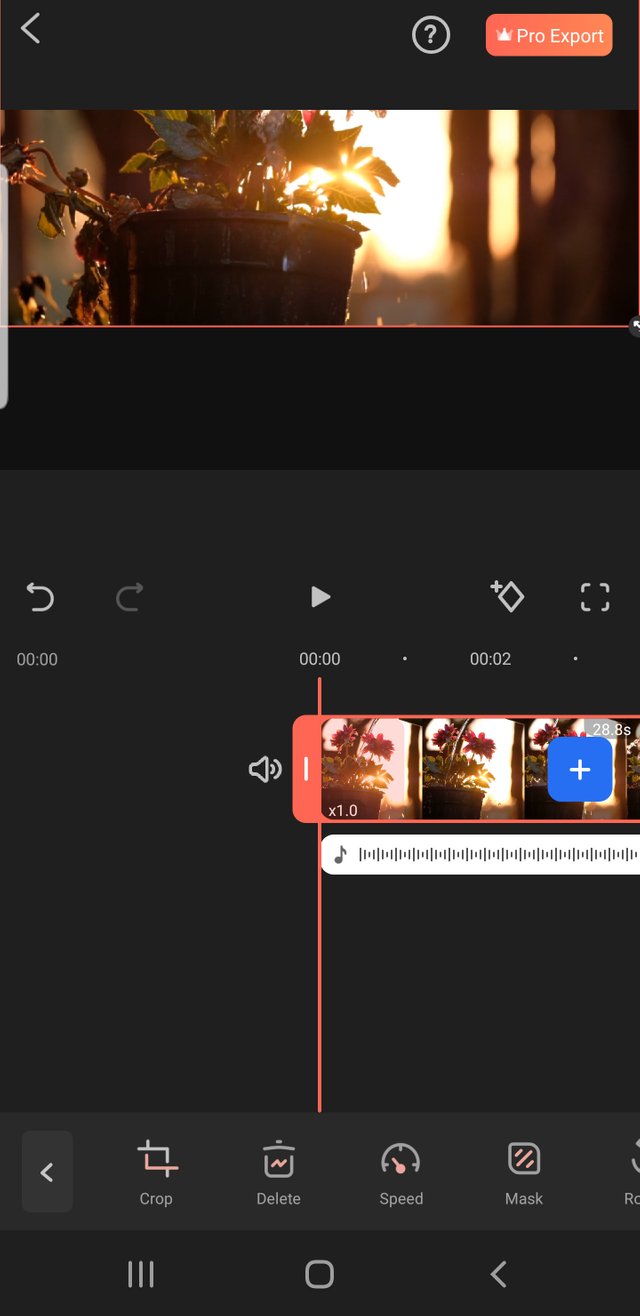
Speed.
Here we can increase or decrease our video speed.normal and curve both options are available.
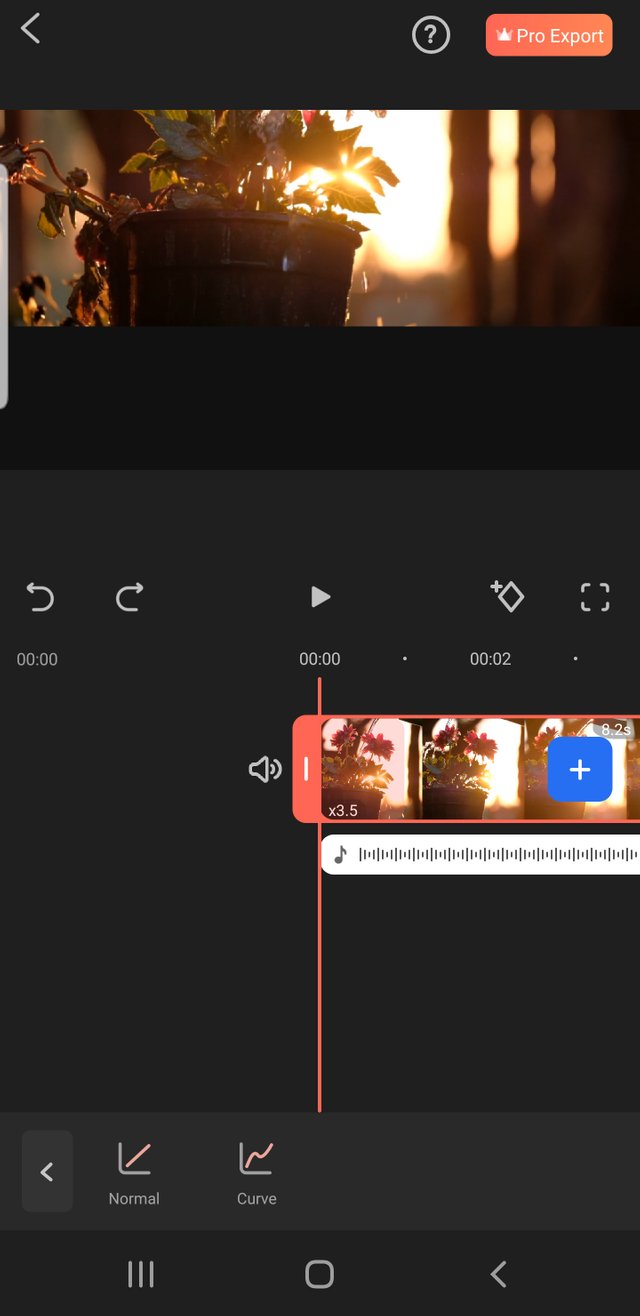
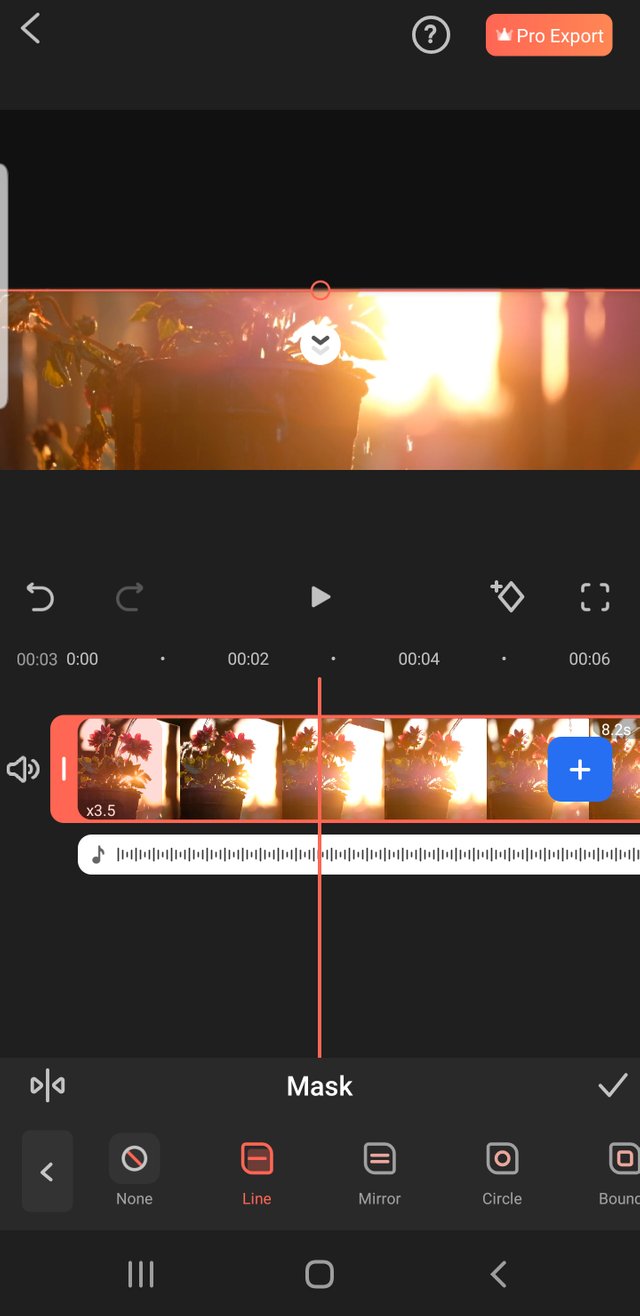
Mask option.
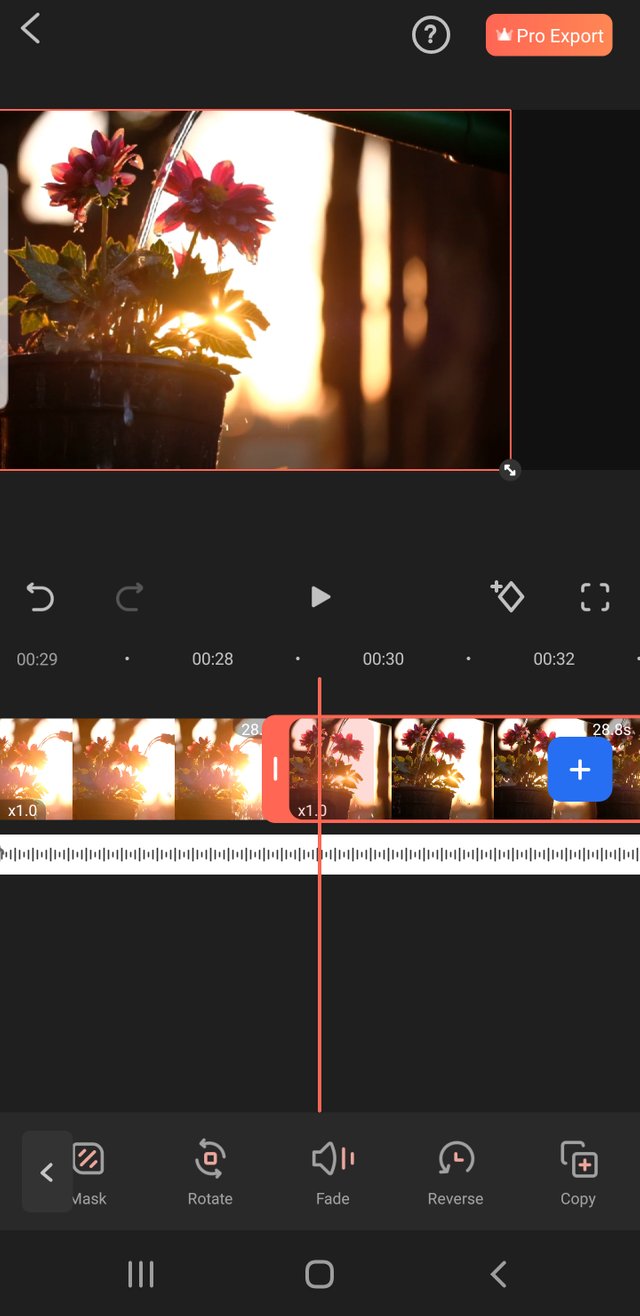
Here we can mask our video with different styles and different sizes.
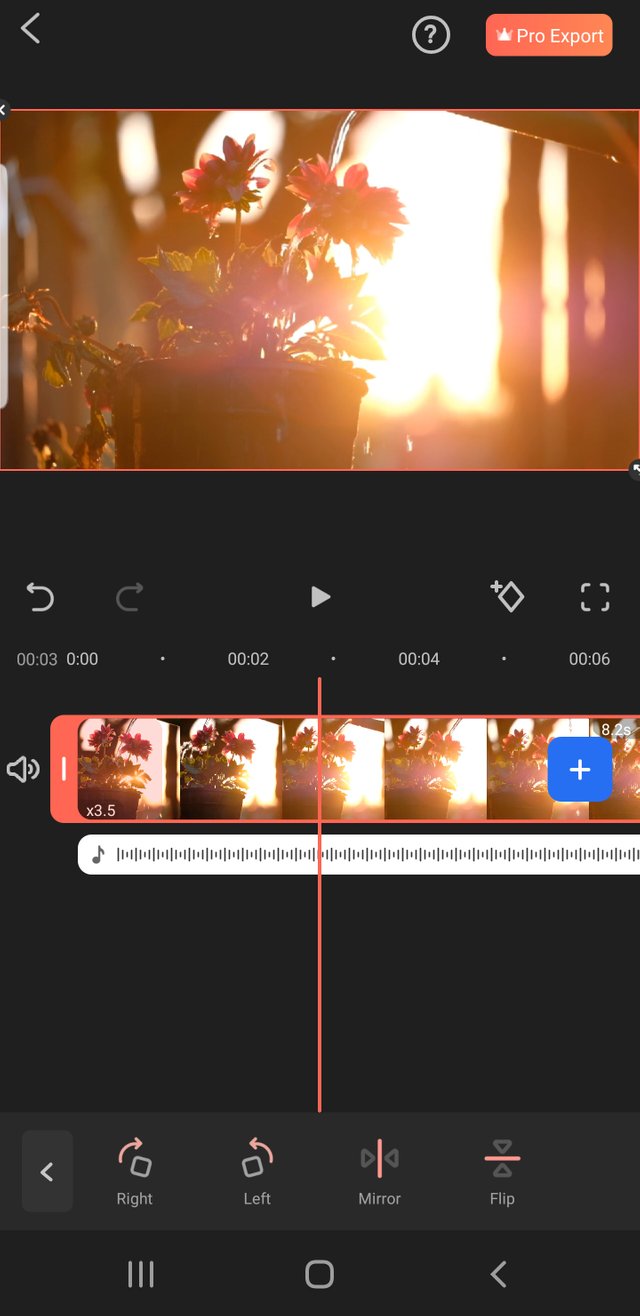
Rotate
in this feature we can rotate our video in different ways.
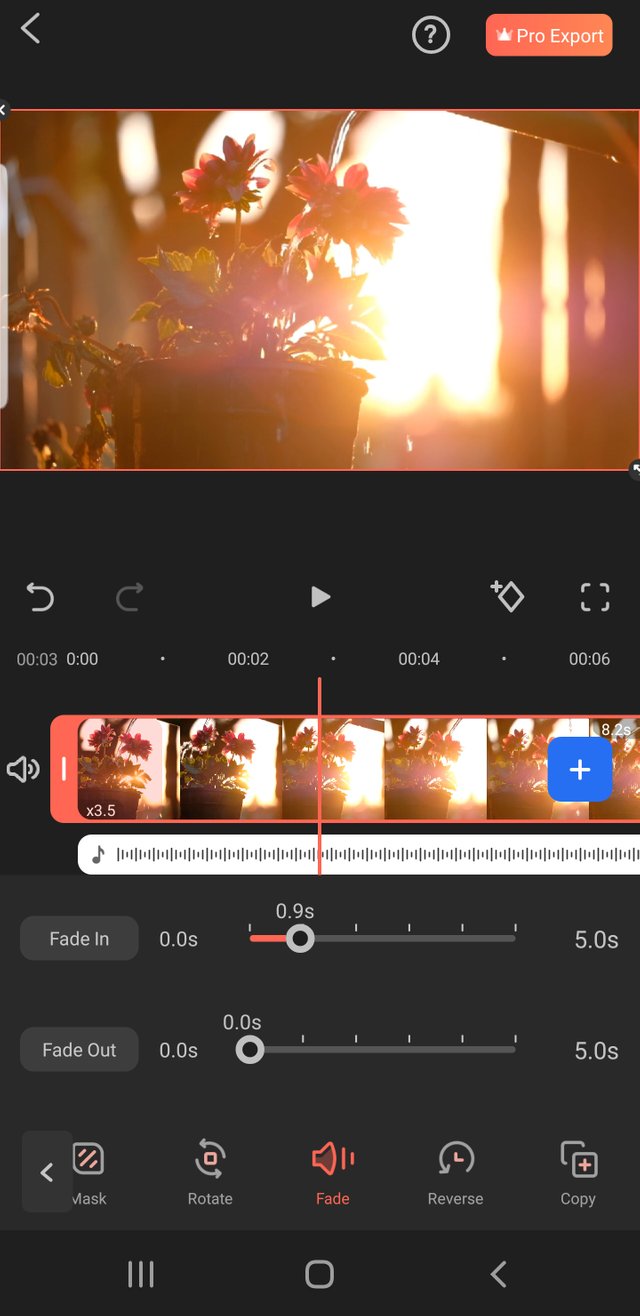
Fade.
here we can fade in and dafe out both options are available.
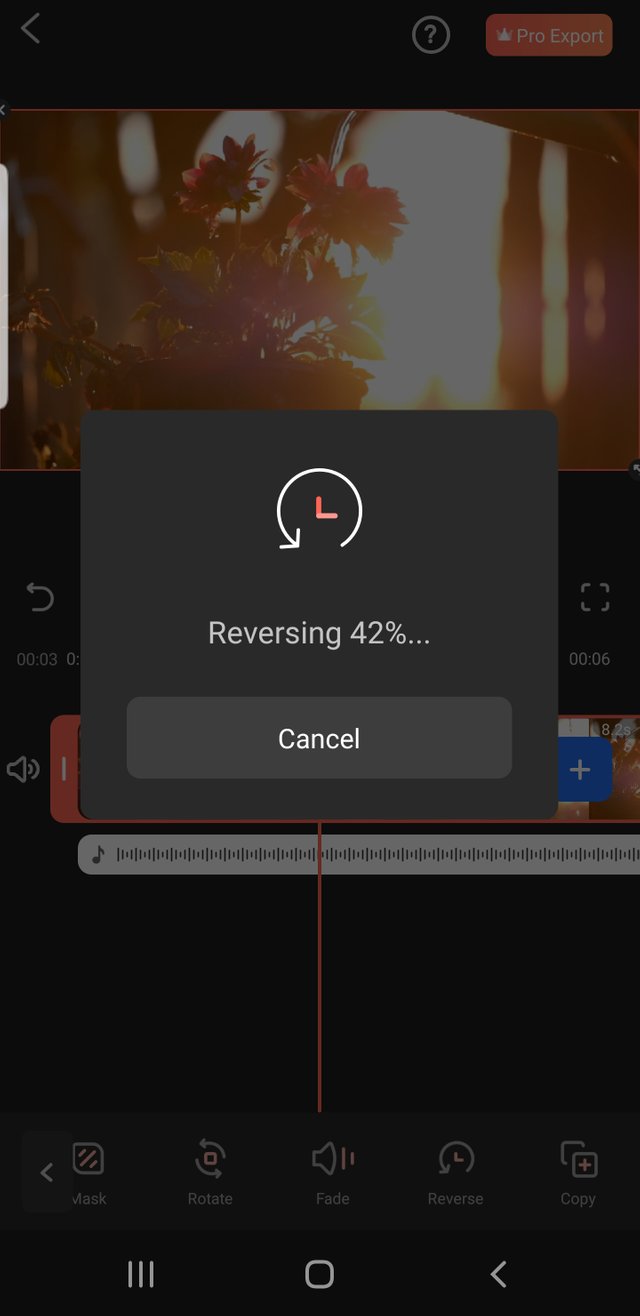
Reversing
Here we can reverse our video.
Copy
in this option we can copy our video in 2 parts.
we can copy part 1 to part 2.
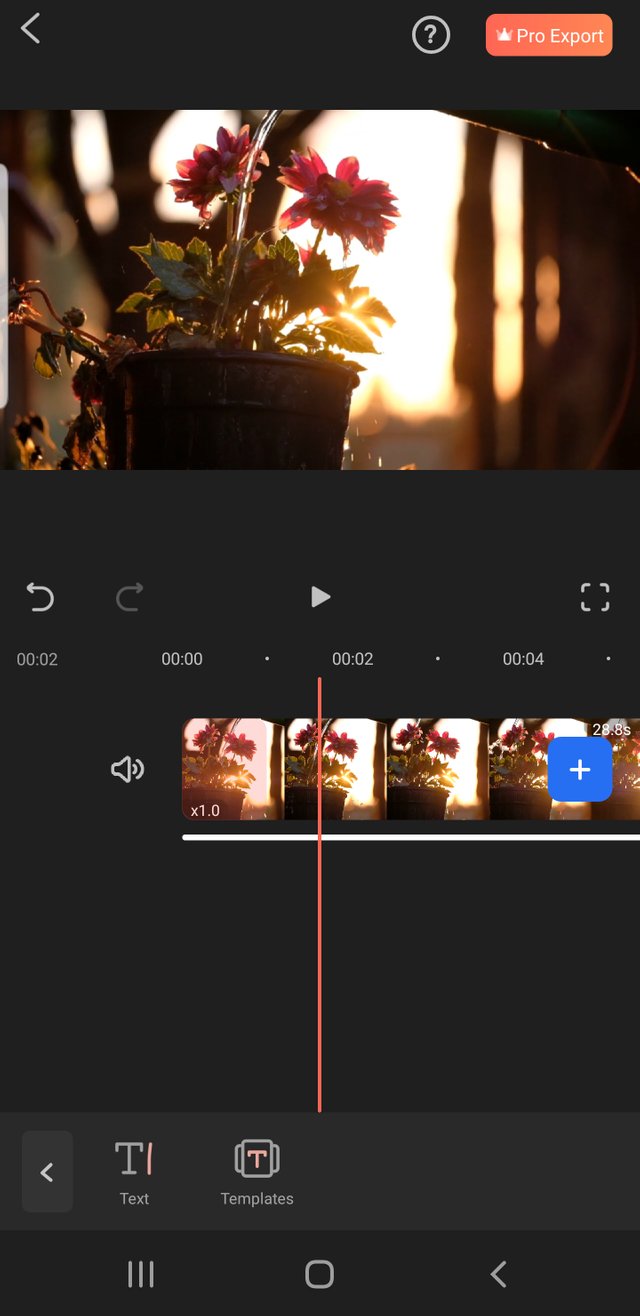
Text and template
Here we can add different text and template added in our video both options are available here.
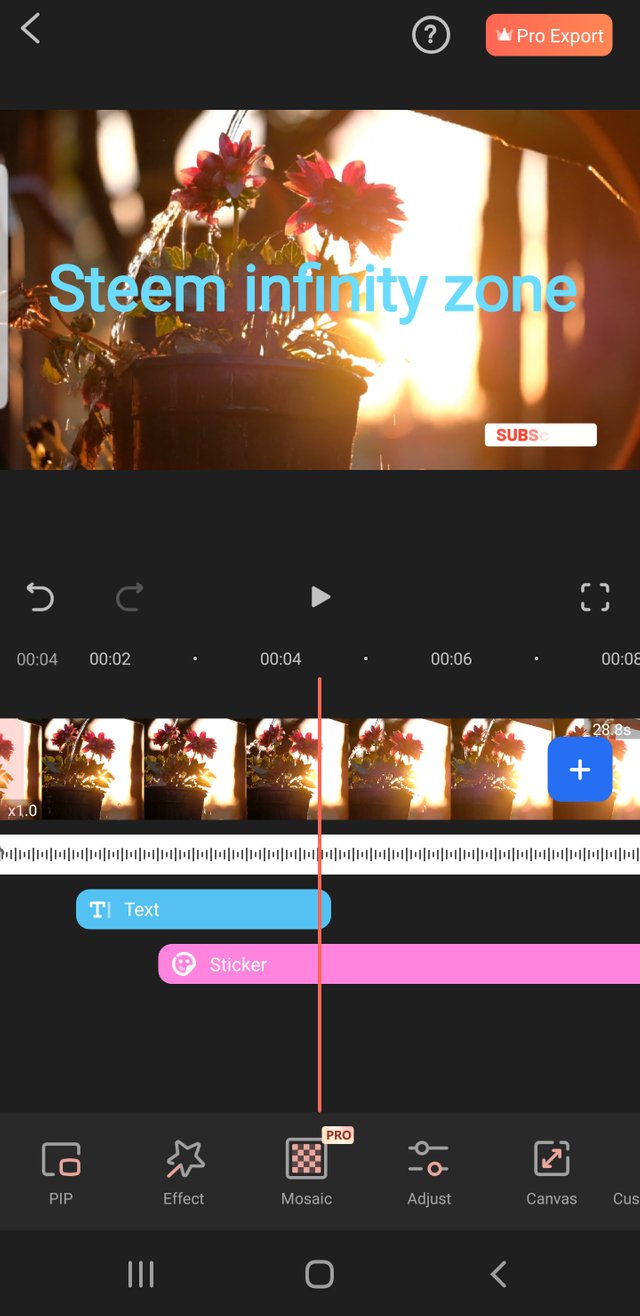
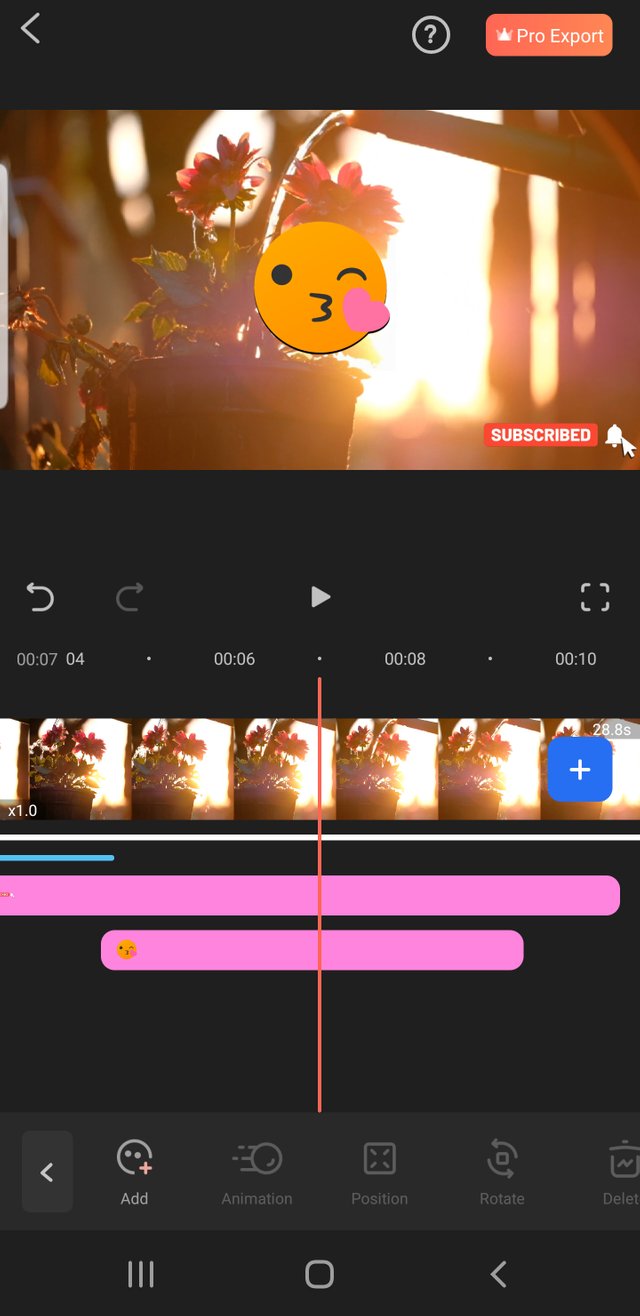
Stickers
Here we can add different stickers in our video.
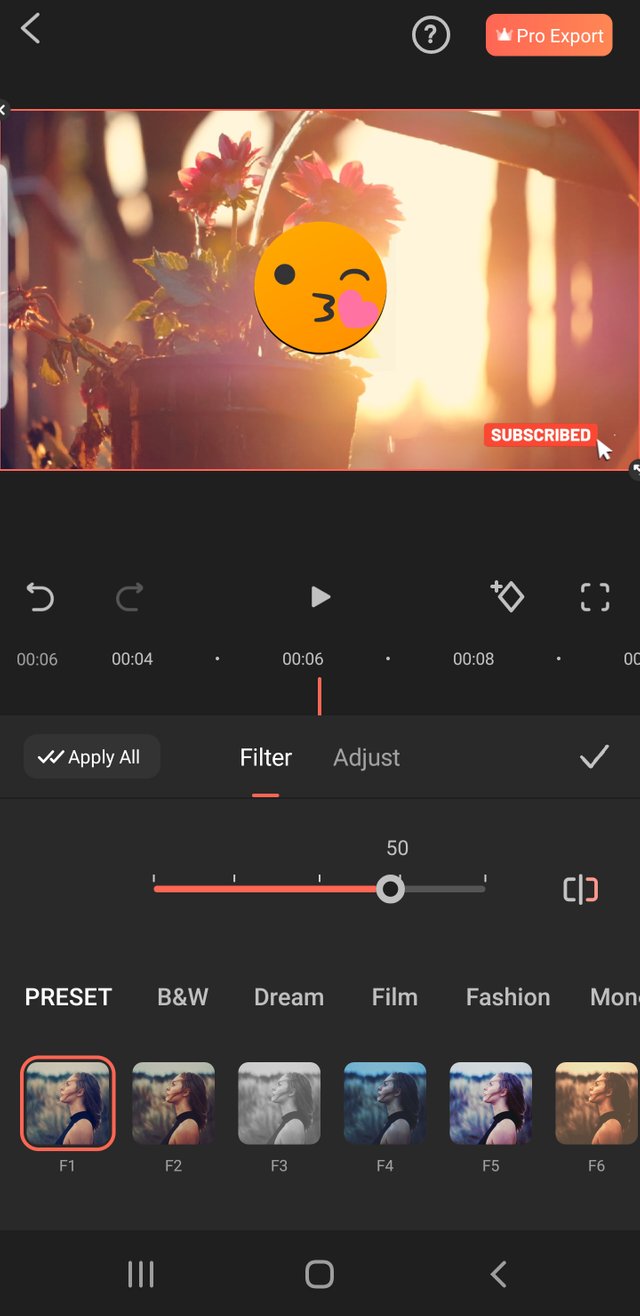
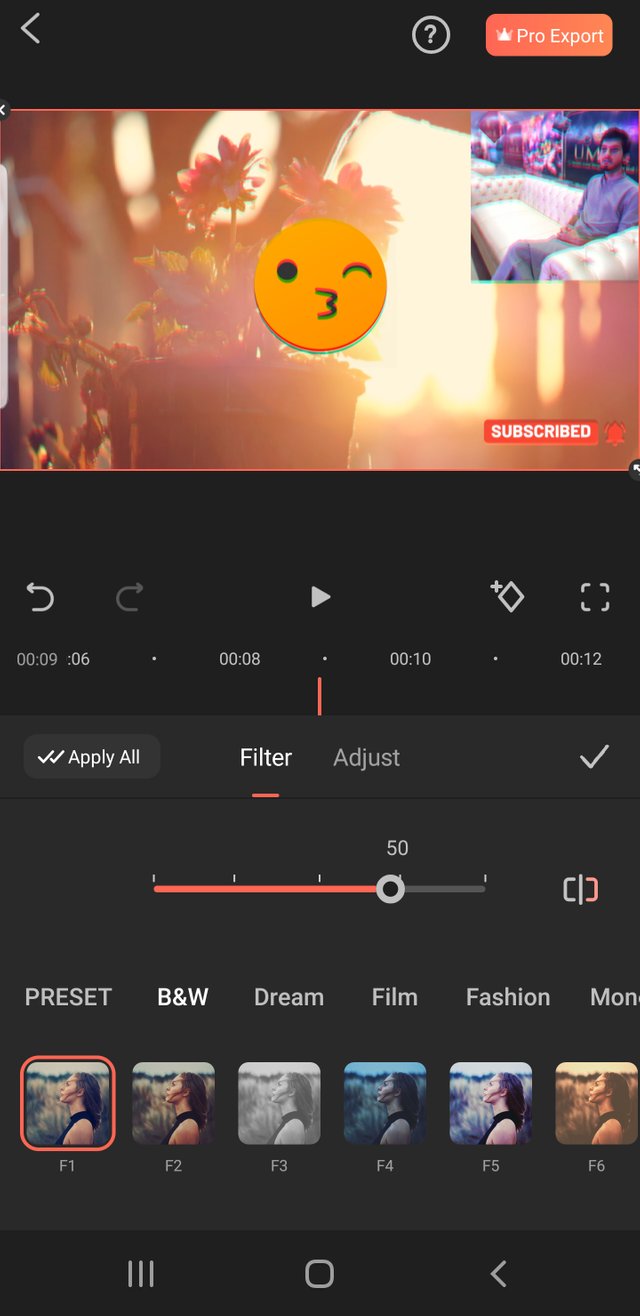
Filter
Here we can add different filters in our video its very beautiful option.
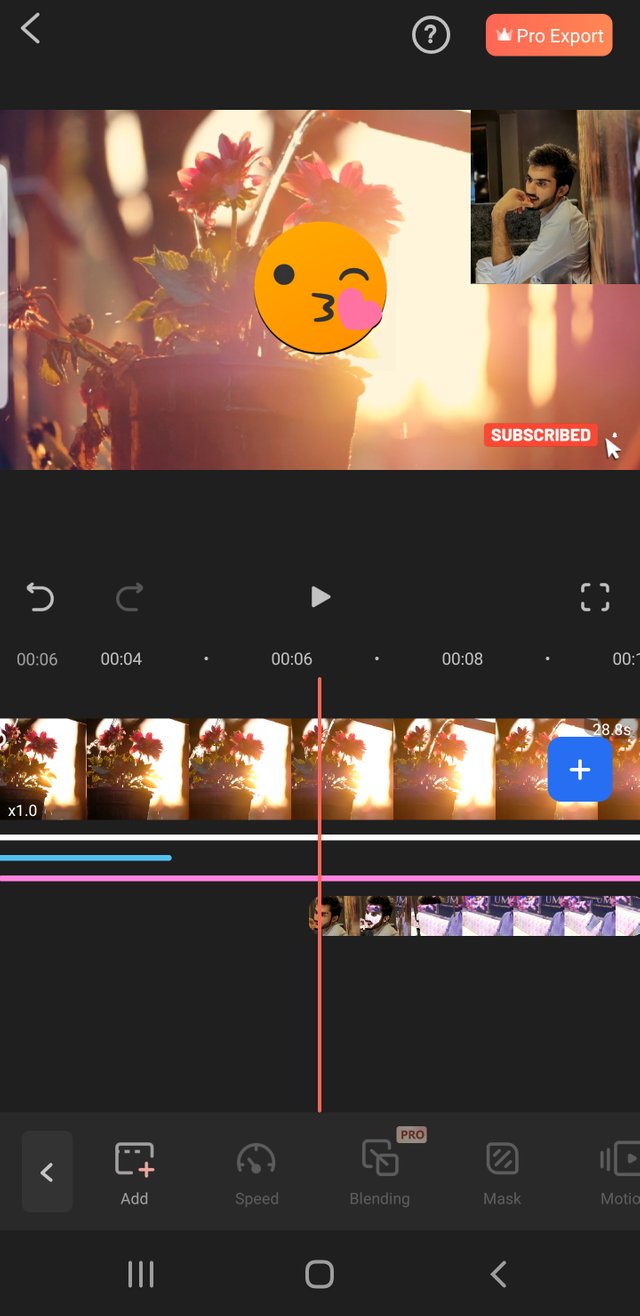
pip
Here we can add one more video in our original video its very beautiful option.
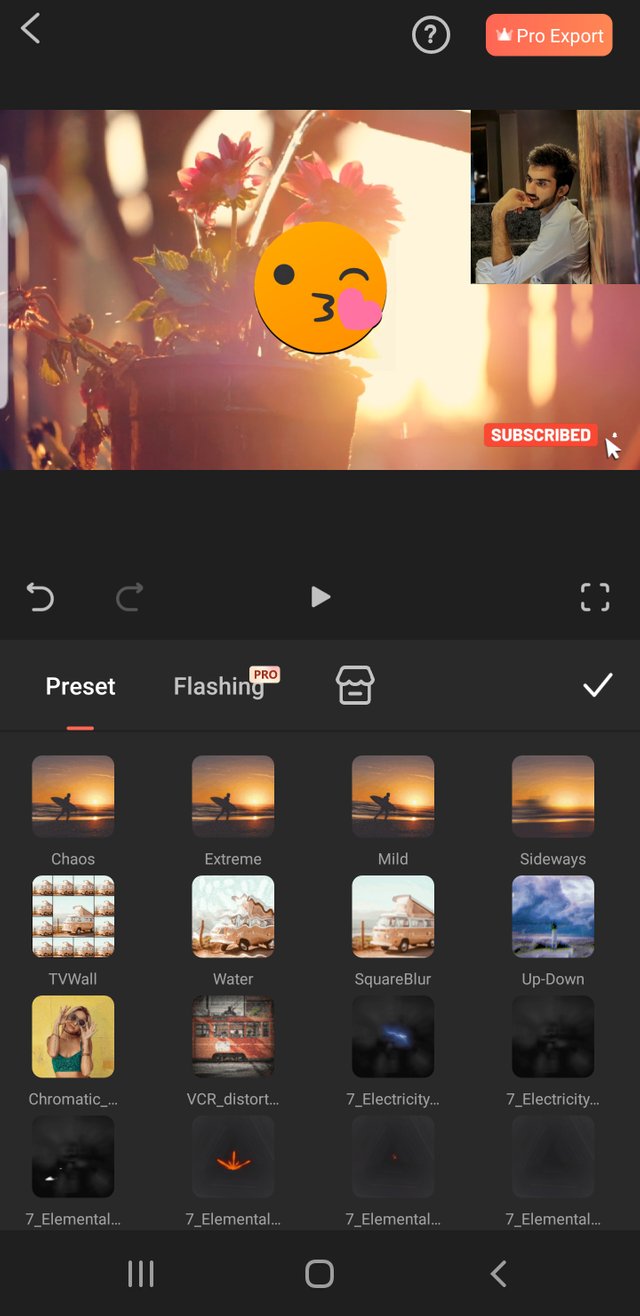
Effect.
Here we can add different beautiful effects in our video.
Moasic
Here we can blur some part of our video.its very useful feature.

Adjust.
Here we can adjust our video here we can increase or decrease brightness and contest temp and others.
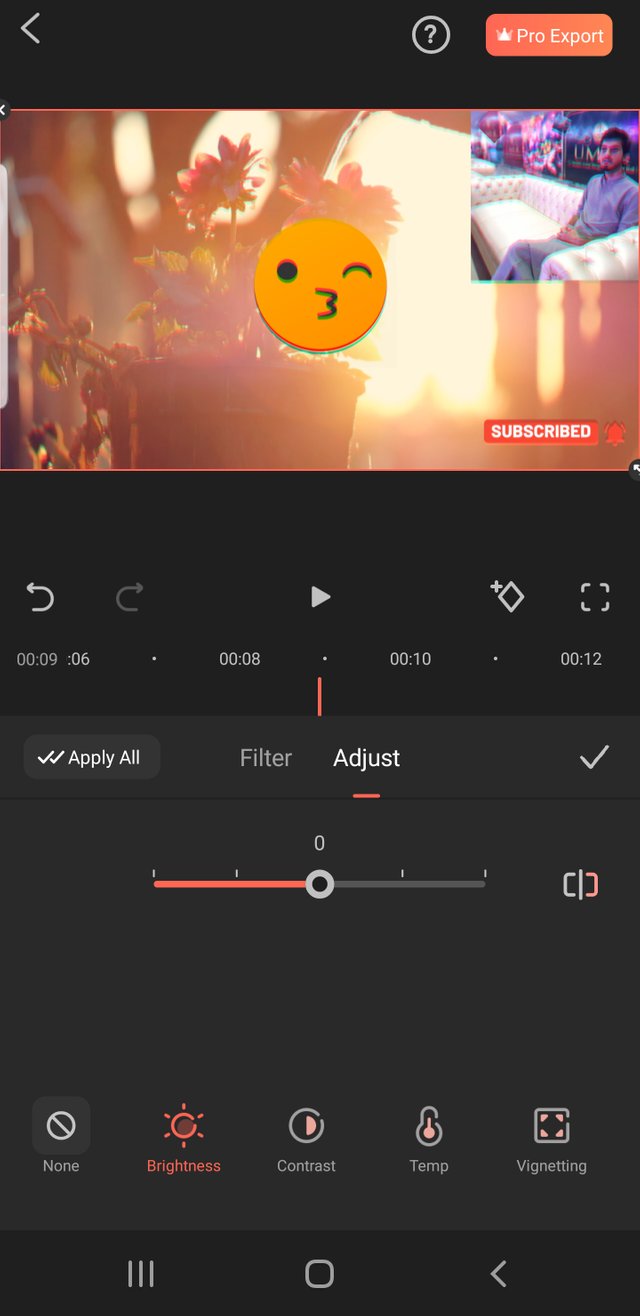
in second part we can change our video filters.
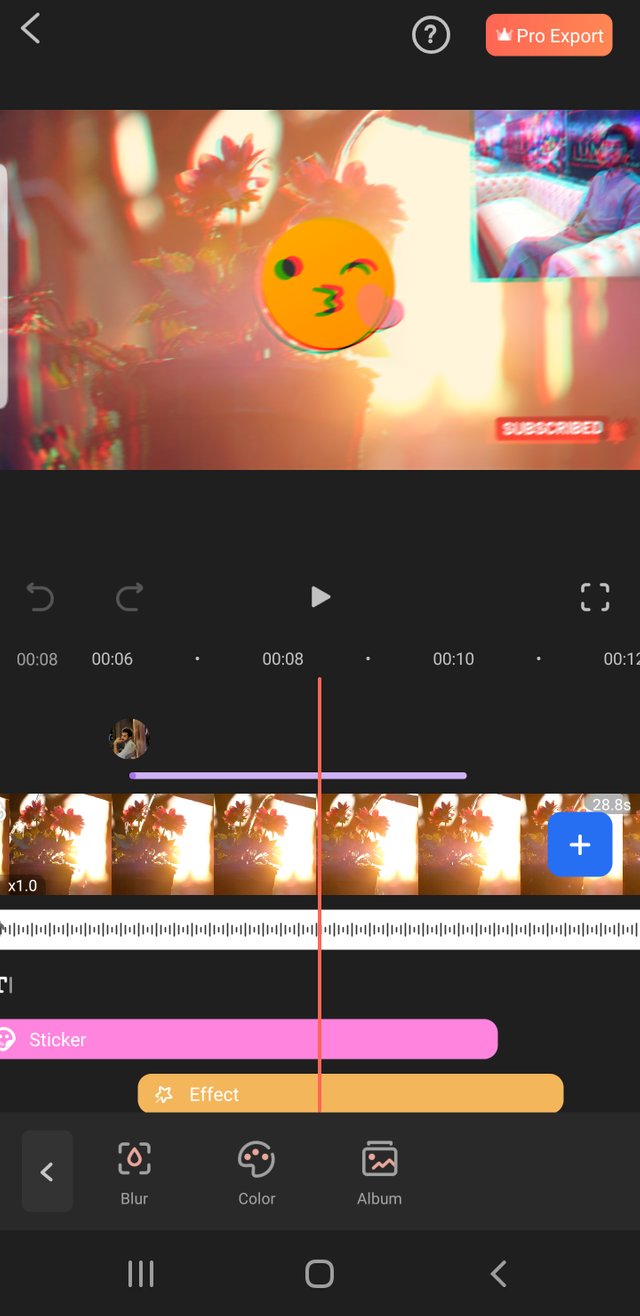
Background Option.
Here we can change our video background and blur our video background and change background color.
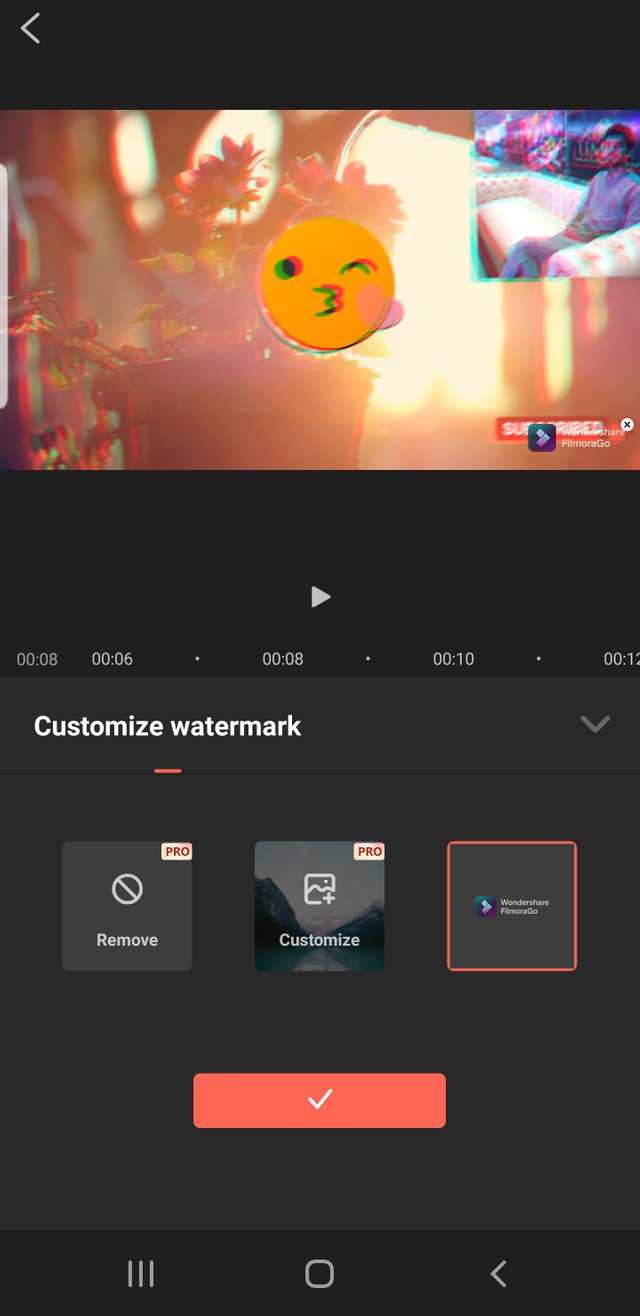
Customize watermark
Here three options are available. remove our water mark and customize video.and water mark option are available.
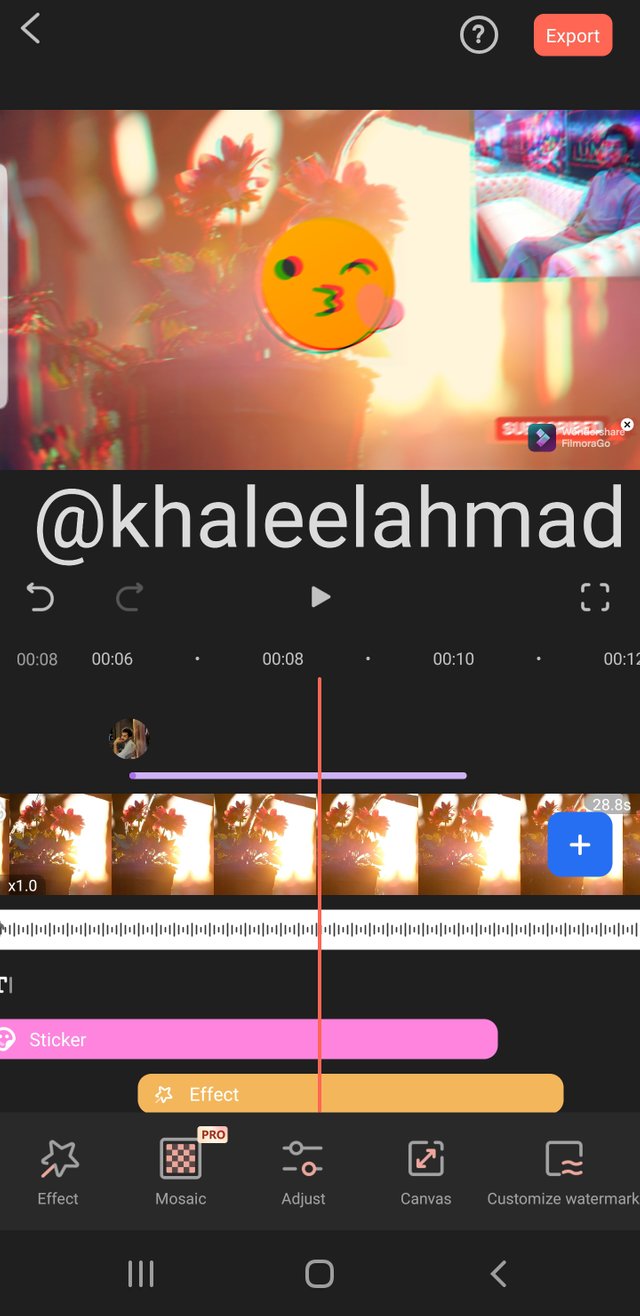
Export
Simply click on export option and we can export our video in our Gallery.
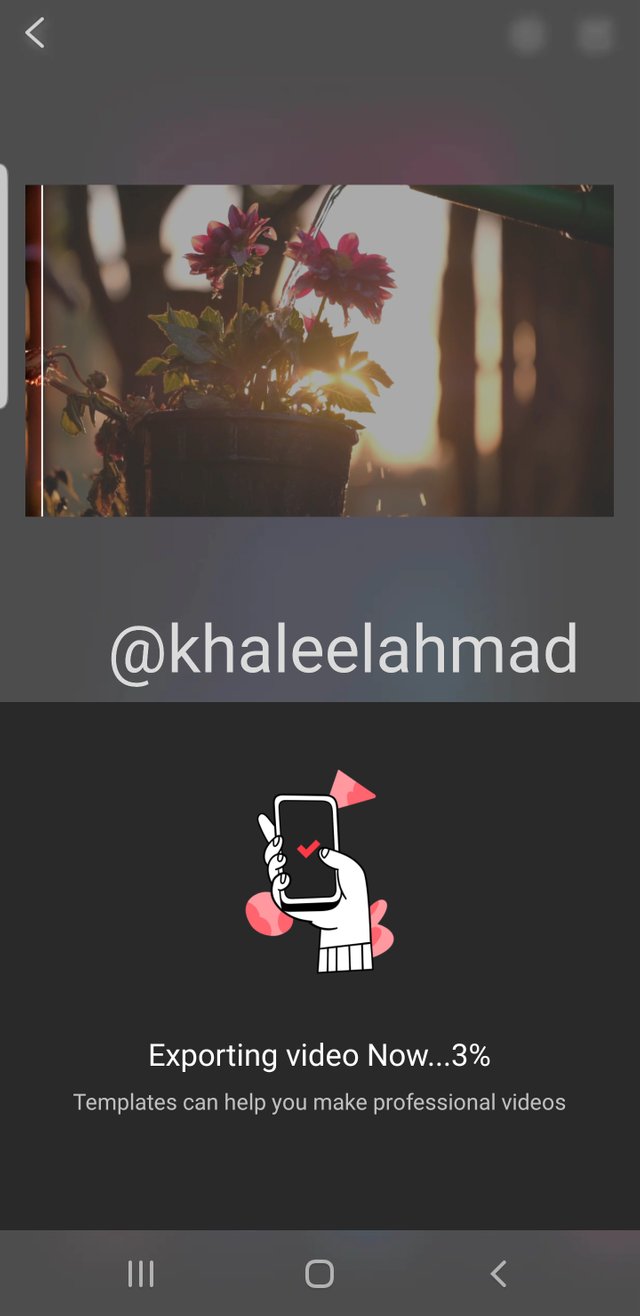
This is my lecture 03. i hope this lecture is very informative for you.
Thank you everyone
Special thanks to
@cryptokraze
@siz-official
@vvarishayy
@arie.steem
@suboohi
Regards @khaleelahmad.
Good post dear friend.
Please used your separate screenshots in one landscape box because then your post is very valuable and attractive to see.
Regards, Faran Nabeel
You can delegate your SP to @siz-official and take benefit of our Delegation Offer getting up to 200 % Curation rewards
501002003004005001000200030004000500010000
Downvoting a post can decrease pending rewards and make it less visible. Common reasons:
Submit
ok thank you so much
Downvoting a post can decrease pending rewards and make it less visible. Common reasons:
Submit