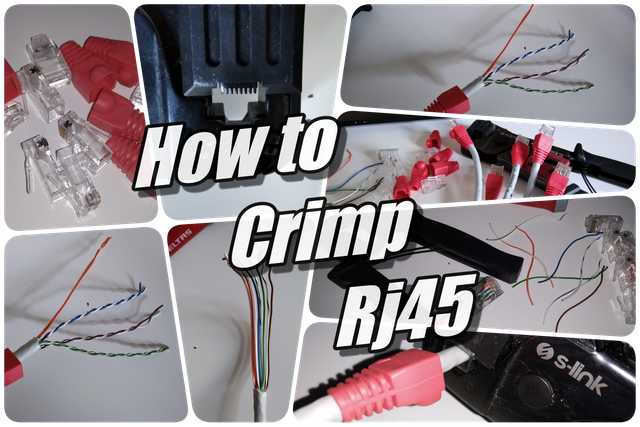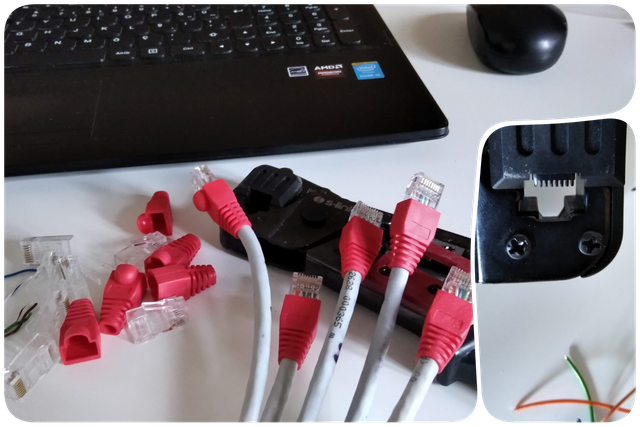
Although most devices connect to networks wirelessly today, it happens with devices that have to be wired. In these cases, RJ45 connectors are used to make the necessary wired connection. They are small square plugs and sockets at the end of the cable. They are generally used for data connections. It is also sold ready-made "patch cord" for short meters. In this post, we will crimp our own connector with the materials we have. I took the pictures at work, while I was crimping the connectors of the cables coming from the switch to my desk.

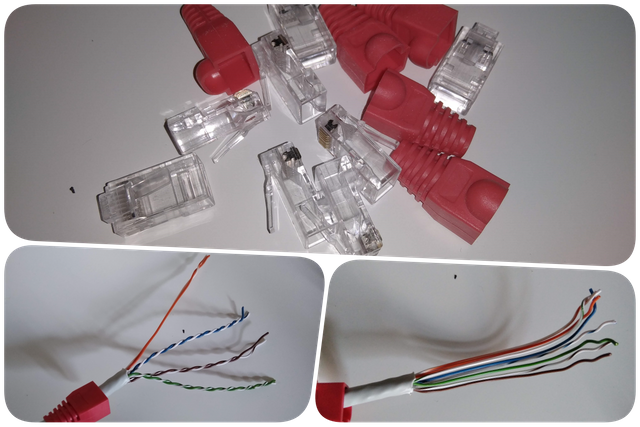
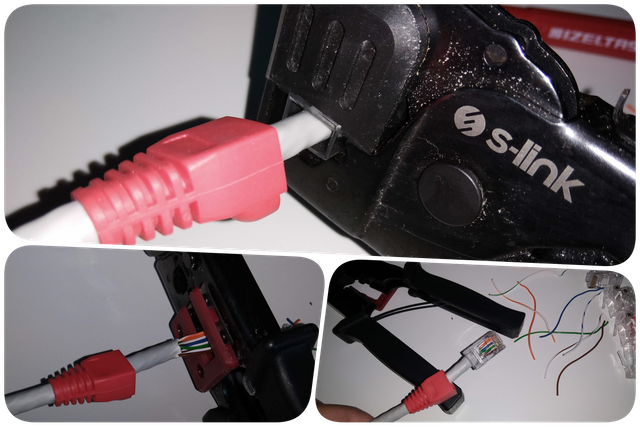
To make our own network cable, we first need the cable, RJ45 connectors, crimping pliers, and finally, if we are going to test, a tester is needed.
Straightened strands are arranged in the order above. It should be flat as in the picture.


As long as these 6 steps are followed, there will be no problem with the connection. In some cases, when stripping the insulation, the wires are damaged, which causes non-contact and prevents correct operation. There is no photo because I don't use a tester. If you are not sure about the connection, it is useful to test it. Both materials and workmanship are very important for a proper connection. The use of quality connectors and quality nailing pliers will also facilitate the work.
There is also a type of cross-connection, but there is no need to mention it, it is not used everywhere. If we know this color sequence, it will do our job.
I hope this was helpful, thanks for reading.


Thanks for your visit.
💪💪💪Being a member of #club100 has privileged rights.💪💪💪
🙋♂👇Stay Tuned for my Next Post & Stay Well...🙏
🐬 #clubdolphin 🐬


Thank you so much for sharing your great post in our community.
Please read our community guidelines and make your post according to rules and write correct title of your post as mentioned in this post.
Report,
Downvoting a post can decrease pending rewards and make it less visible. Common reasons:
Submit
I have read what is written in the link, I plan to post regularly from now on. Thanks for the review..
Downvoting a post can decrease pending rewards and make it less visible. Common reasons:
Submit