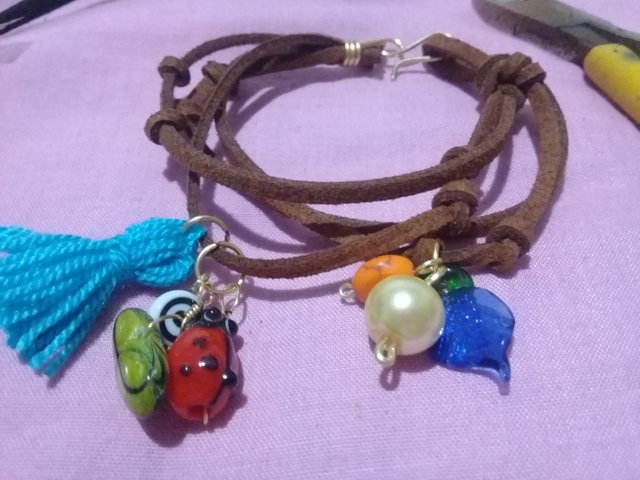
- 1 metro de cuero plano color marrón
- Tijera
- Alambre de bisutería nro 20 y 18
- 6 piedras con diferentes formas
- 3 argollas
- 1 Borla
Procedimiento
Tomar el metro de cuero y doblarlo a la mitad
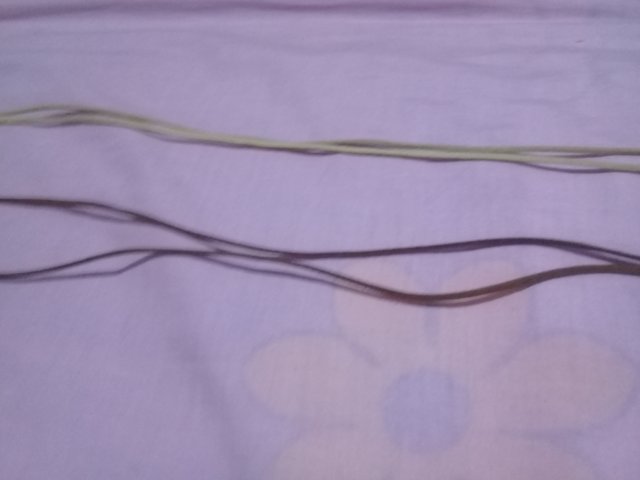
Doblarlo nuevamente
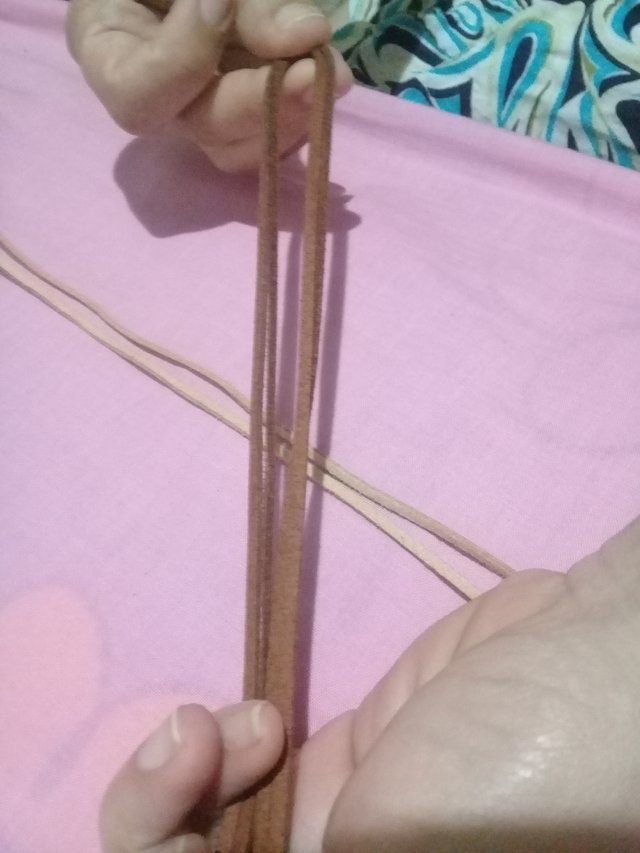
Hacer un nudo redondo
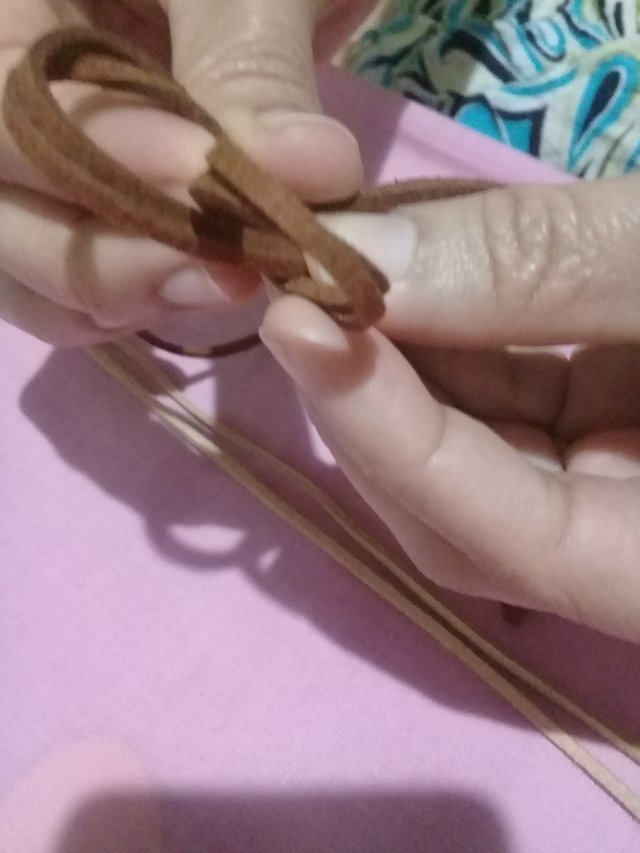
Cortar todos los extremos
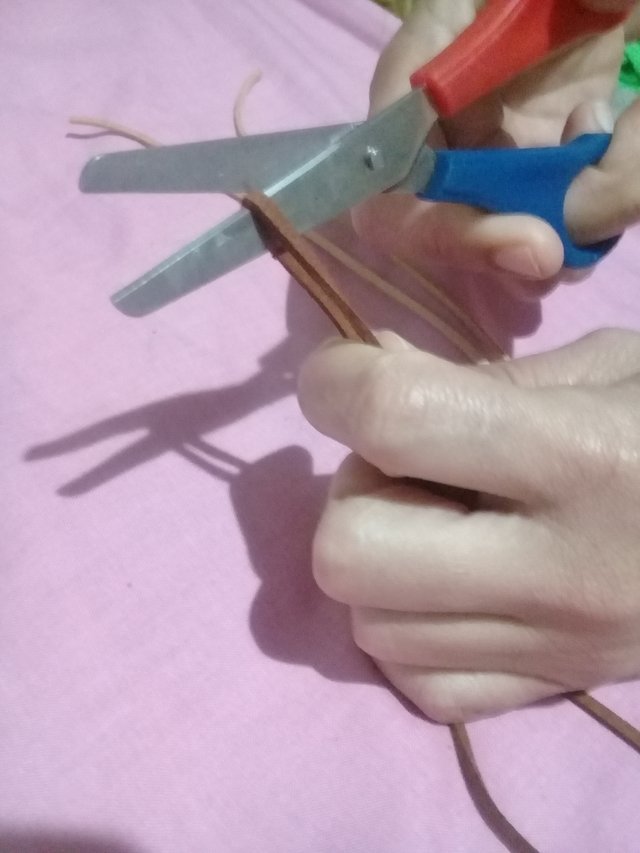
Quedaran 4 guías para trabajar la pulsera, en cada guía haremos pequeños nudos
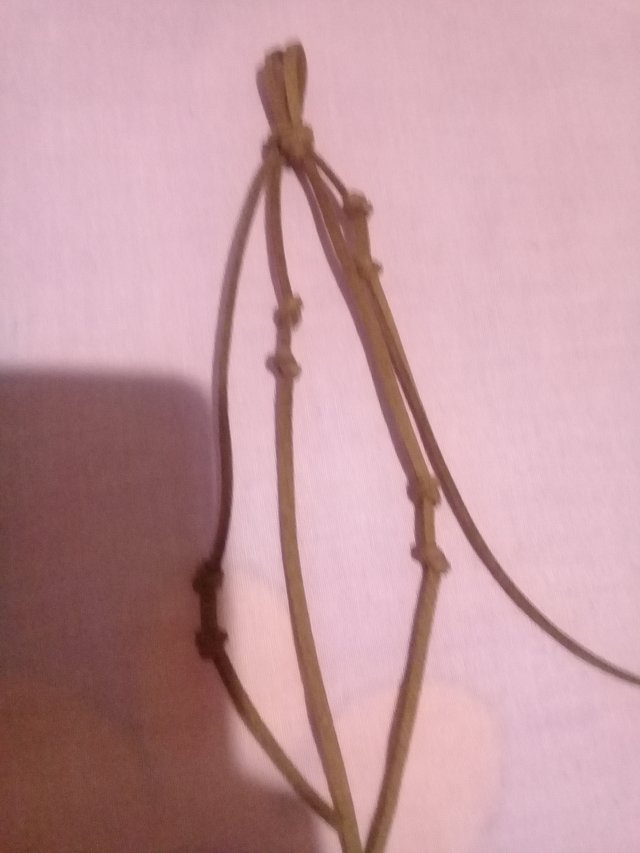
Posteriormente trabajaremos en los extremos para hacer el trancadero, del lado del nudo dejamos una especie de lazada esta nos servirá como el soporte del trancadero, del lado de las puntas sueltas, emparejamos lo extremos, los unimos y hacemos la base para el trancadero.
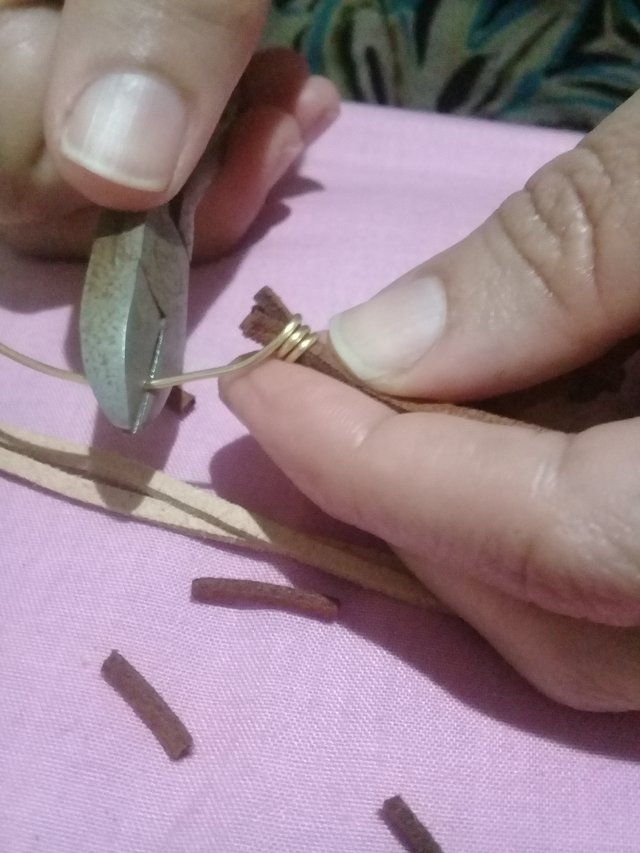
La base para el trancadero queda de la siguiente manera:
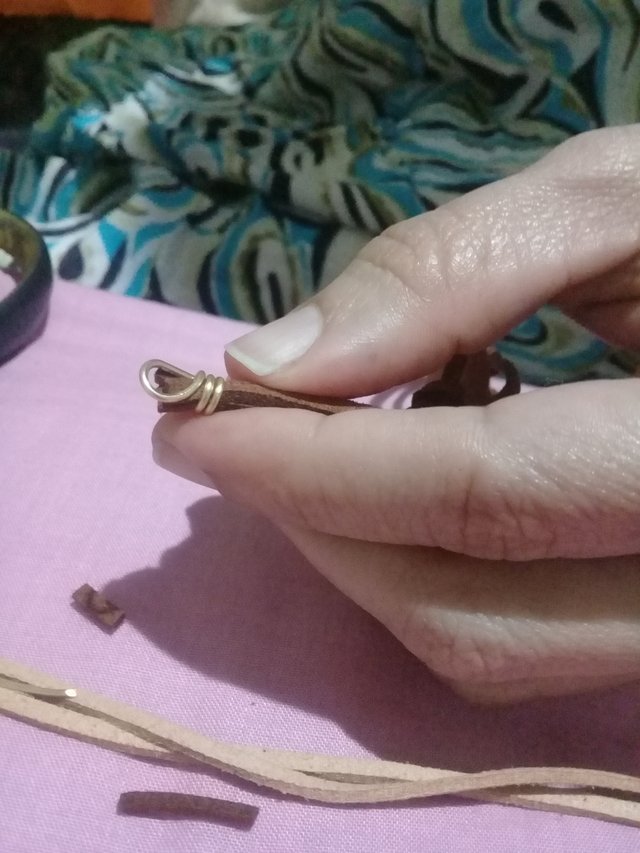
El trancadero lo elaboramos con el alambre nro 18
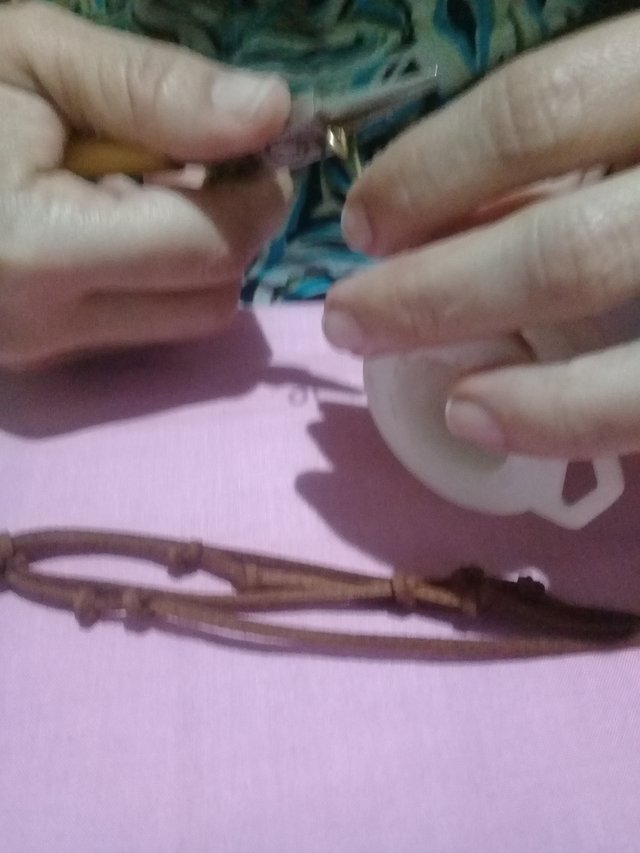
Una vez armada la pulsera base procedemos hacer los dijes que le darán movimiento y color.
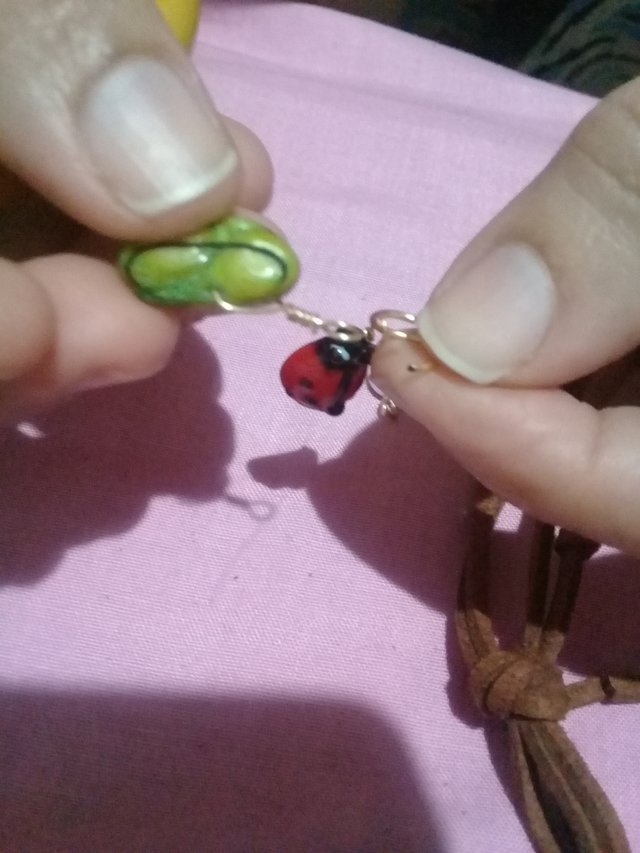
Abrimos las argollas y colocamos los dijes ya trabajados en ellas, cerramos con mucho cuidado, tomando en cuenta que las argollas queden bien unidas.
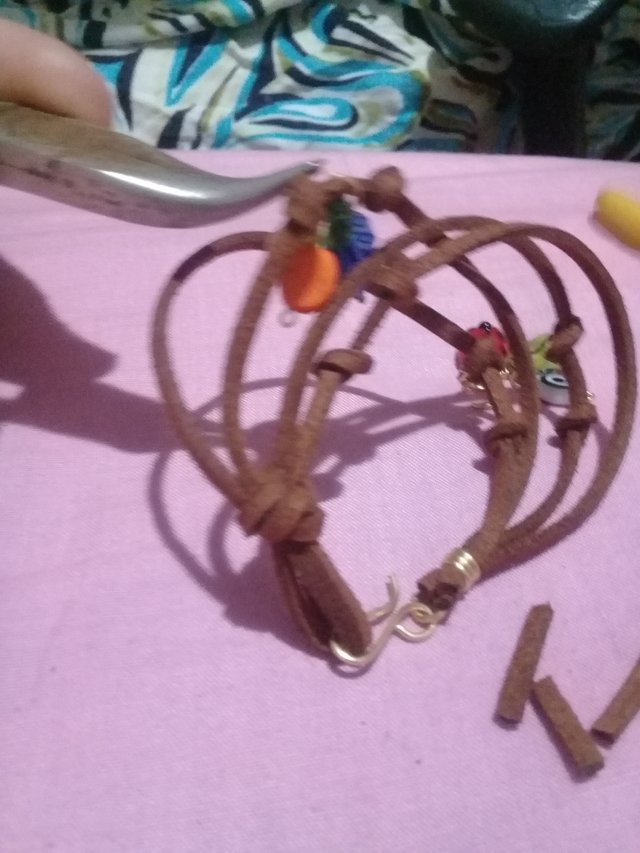
Podemos colocar varios dijes o piedras trabajadas, solo que debemos tomar en cuenta el peso de las mismas para que no se abran la argollas por efecto del peso, otra opción es colocar argollas de alambre 16 que es bastante grueso y duro, de manera que puede soportar el peso de los dijes
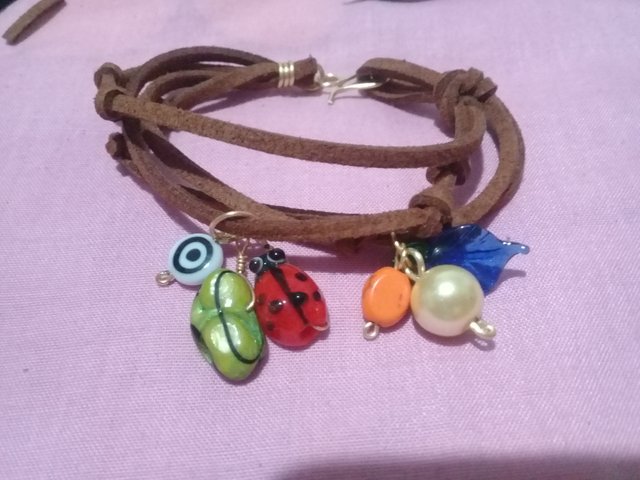
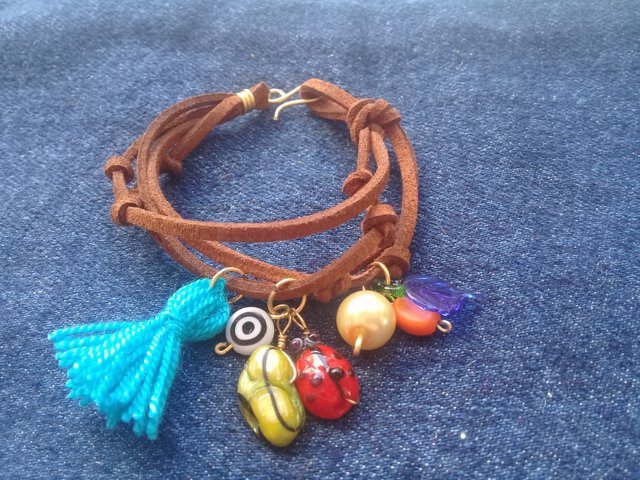
Esta hermosa pulsera, podrás usarla para darle color a tu día a día con accesorios elaborados a mano.
Gracias por leer mi post.
Espero sea de provecho!
Todas las fotos fueron tomadas exclusivamente para steemit desde un Samsung J2 Prime.

- 1 meter brown flat leather
- Scissors
- Jewelry wire No. 20 and 18
- 6 stones with different shapes
- 3 rings
- 1 Tassel
Process
Take the leather meter and fold it in half

Fold it again

Tie a round knot

Cut off all ends
 )
)
There will be 4 guides to work the bracelet, in each guide we will make small knots

Later we will work on the ends to make the bar, on the side of the knot we leave a kind of loop this will serve as the support of the bar, on the side of the loose ends, we match the ends, join them and make the base for the bar.

The base for the gate is as follows:

We make the gate with wire no.18

Once the base bracelet is assembled, we proceed to make the charms that will give it movement and color.

We open the rings and place the charms already worked on them, we close very carefully, taking into account that the rings are well attached.

We can place several charms or worked stones, only that we must take into account their weight so that the rings do not open due to the weight, another option is to place 16 wire rings that is quite thick and hard, so that it can bear the weight of the charms

This beautiful bracelet, you can use it to give color to your day to day with accessories made by hand.

Thanks for reading my post.
I hope it is helpful!
All photos were taken exclusively for steemit from a Samsung J2 Prime.