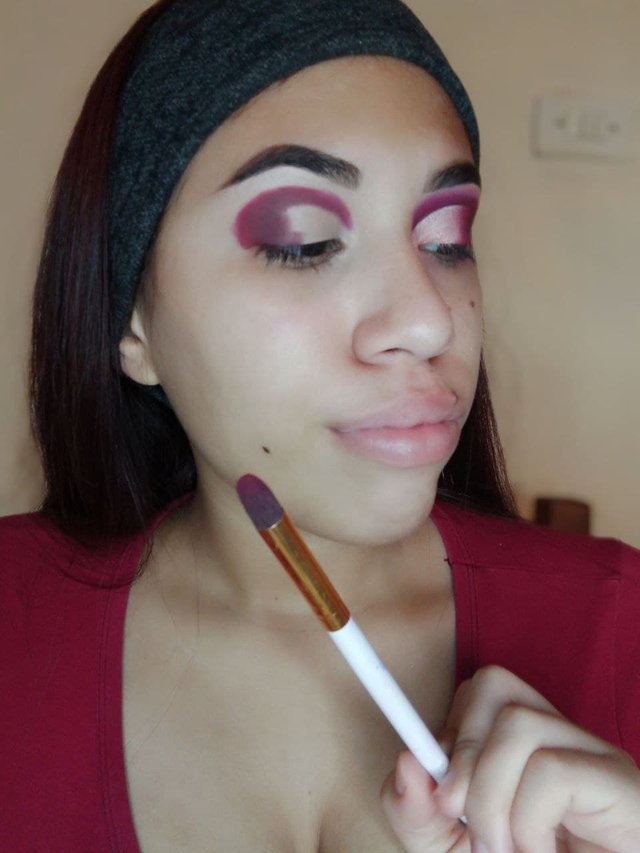
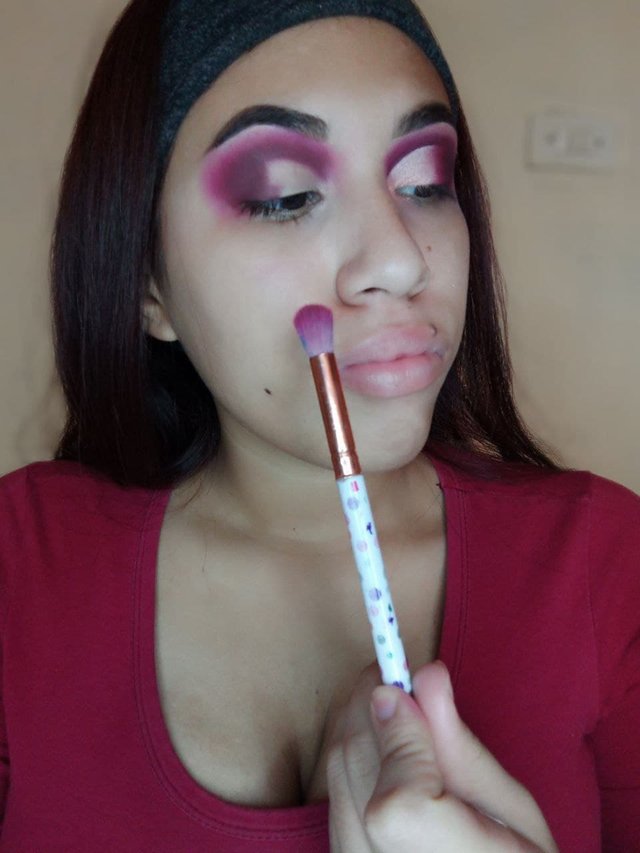
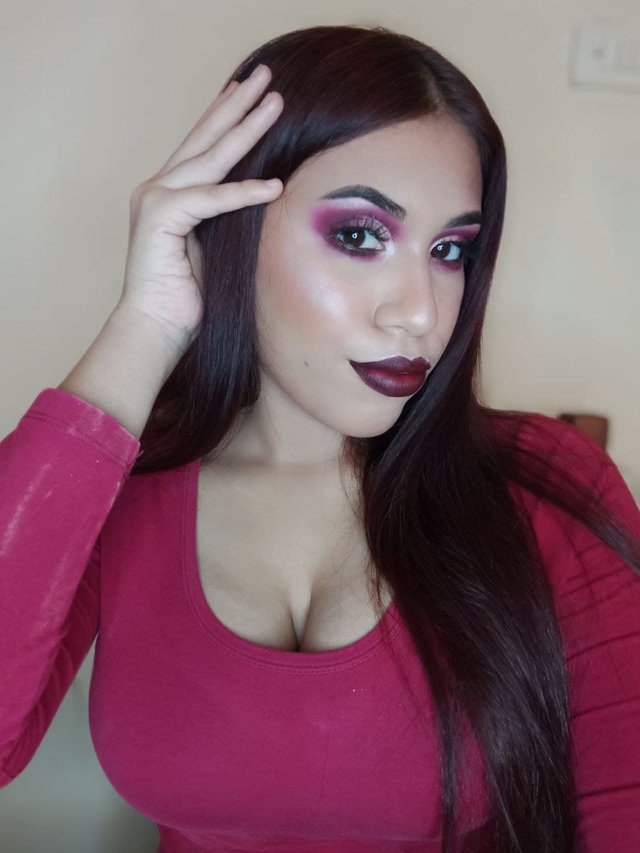
First we must prepare our eyelid and make our eyebrows, although this second step is optional, it depends on the taste of each person in which moment of the makeup the eyebrow is done. With a pointed brush we place a deep wine tone in the crease of the eyelid. Then, without blurring, apply a warmer wine and cherry shade around the eyebrow.
Primero debemos preparar nuestro parpado y hacer nuestras cejas, aunque este segundo paso es opcional, depende del gusto de cada persona en que momento del maquillaje se hace la ceja. Con una brocha en forma de punta colocamos un tono vino profundo en el pliegue del parpado. Seguidamente sin difuminar colocamos al rededor un tono vino más cálido y cereza.
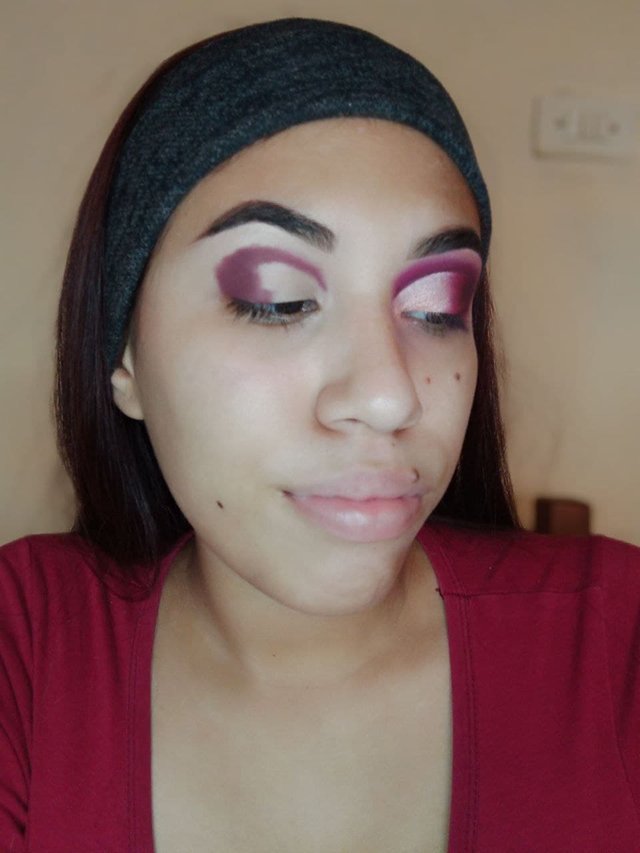
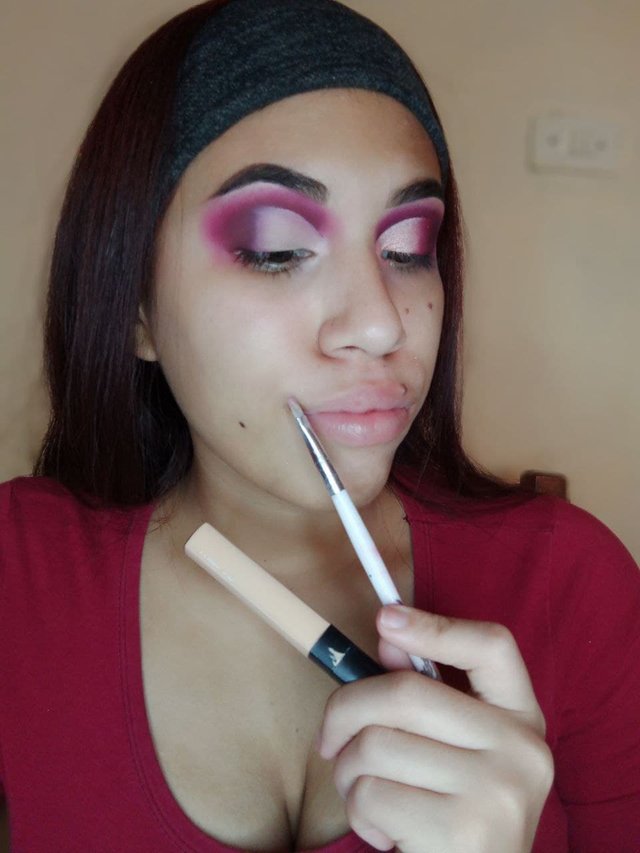
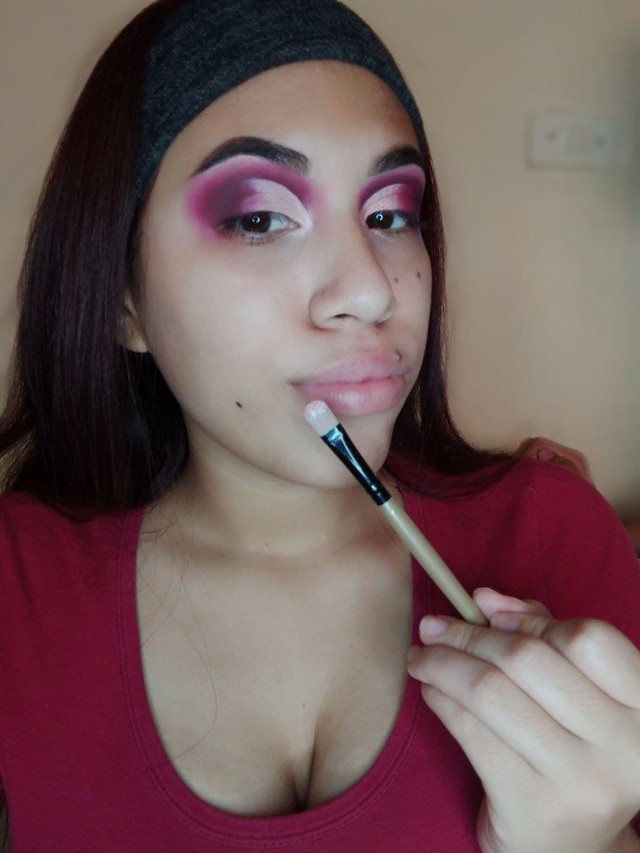
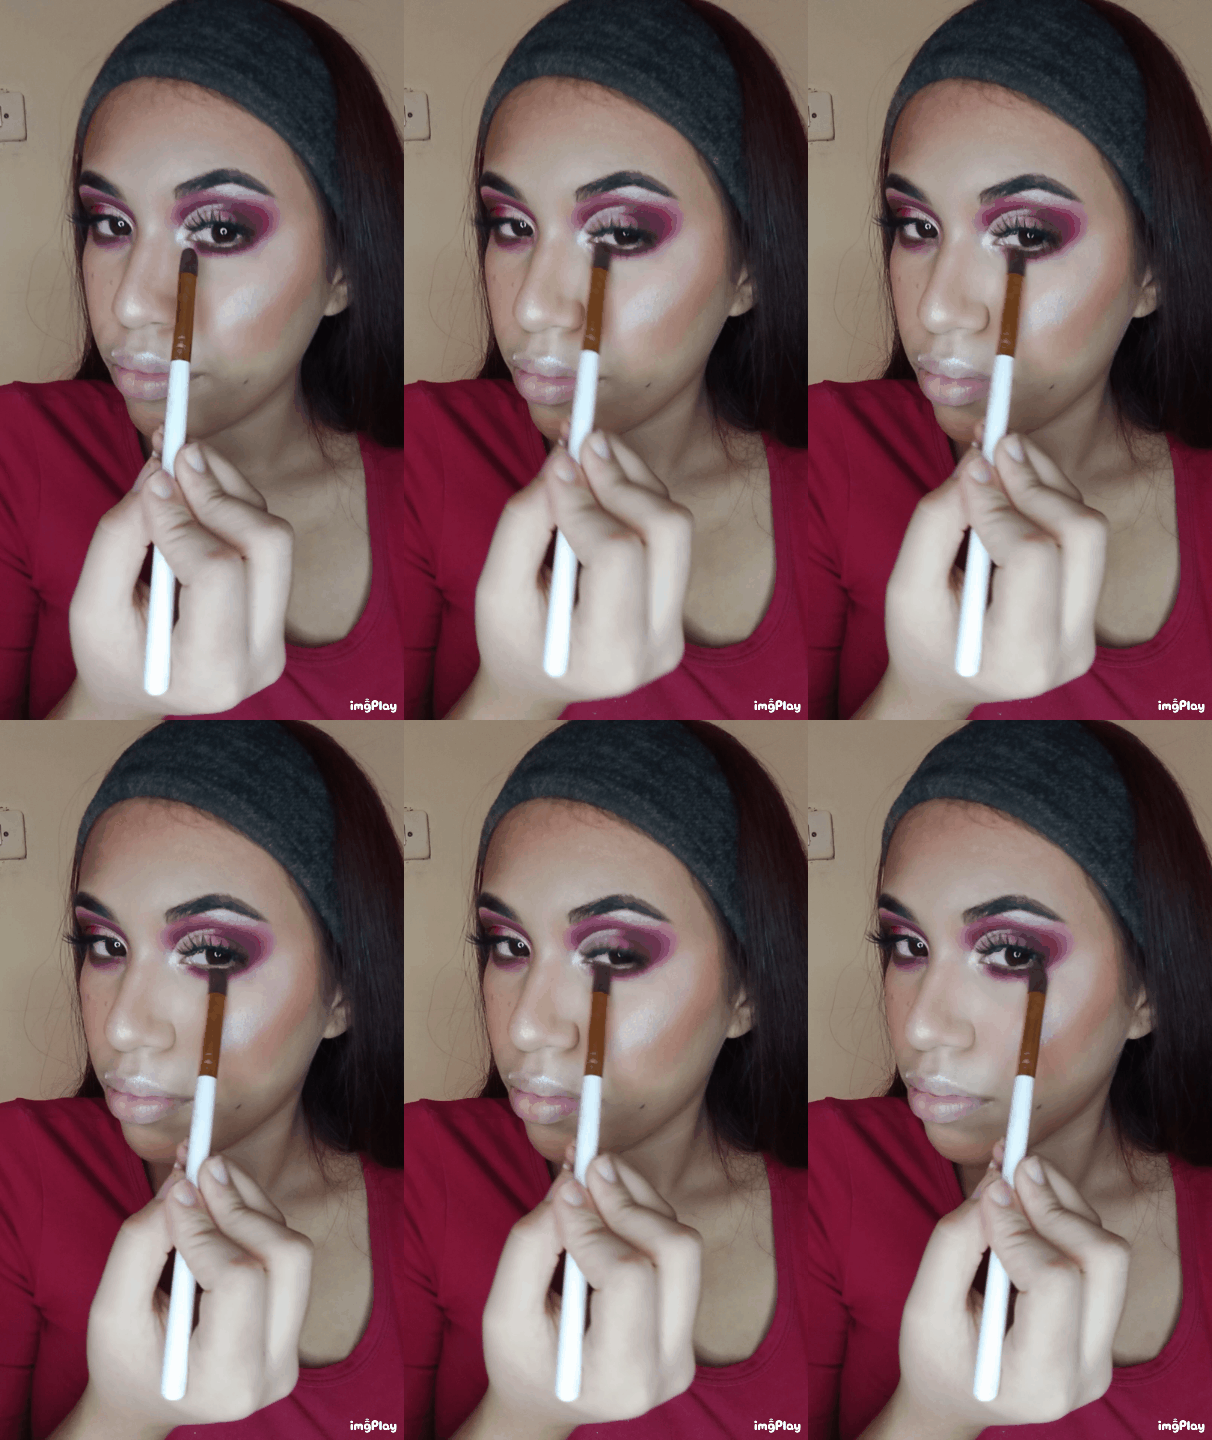
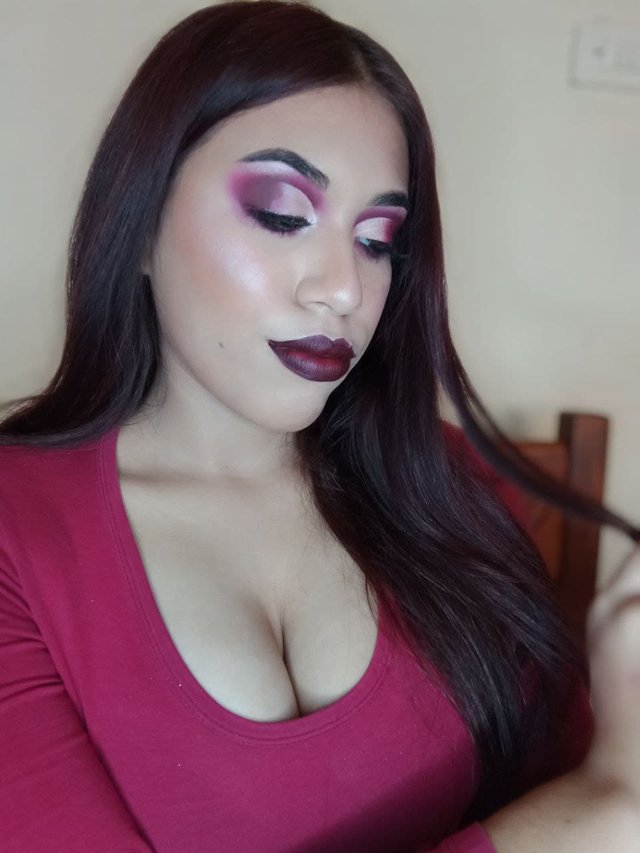
Both tones are blended using a brush without pigment for this purpose, trying to blend both tones together. After this process is done we do a Cut Crease, taking a light concealer and a very small, thin, precise brush. Looking straight ahead trying to trace the shape as perfect as possible.
Ambos tonos los vamos a difuminar utilizando una brocha sin pigmento para este propósito, tratando que ambos tonos puedan integrarse. Después que este proceso este hecho pasamos hacer un Cut Crease, tomando un corrector claro y una brocha muy pequeña, delgada, precisa. Mirando hacia el frente tratando de trazar la forma lo más perfecta posible.
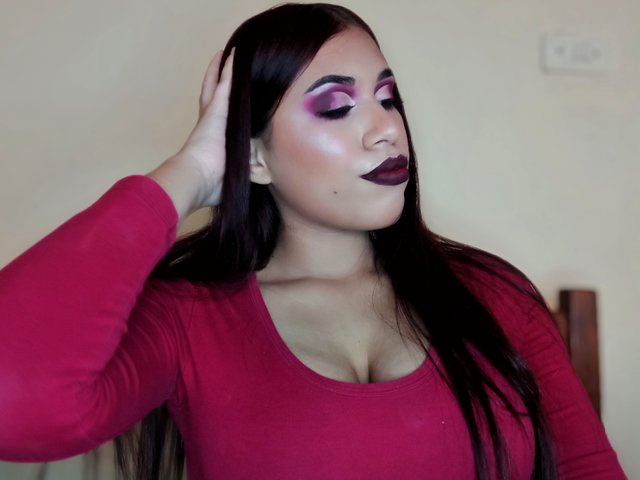
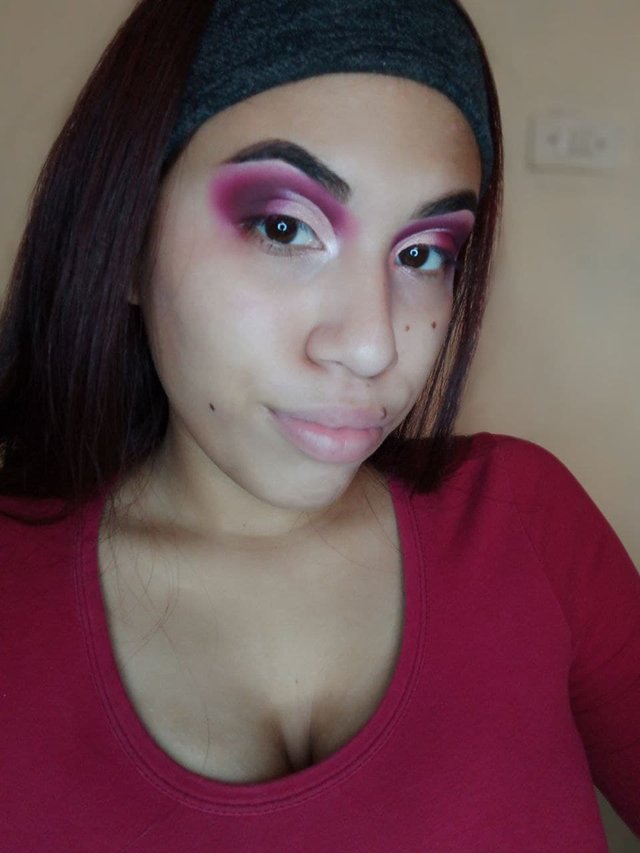
After having the cut crease done the last step is to place a metallic shadow, this shadow can be silver, gold or with pink sparkles. This last one was my choice, it combined much better with the wine tones of my eyelids.
Después de tener el cut crease hecho el ultimo paso es colocar una sombra metálica, esta sombra puede ser plateada, dorada o con destellos rosados. Esta ultima fue mi opción, combinaba mucho mejor con los tonos vinos de mis parpados.
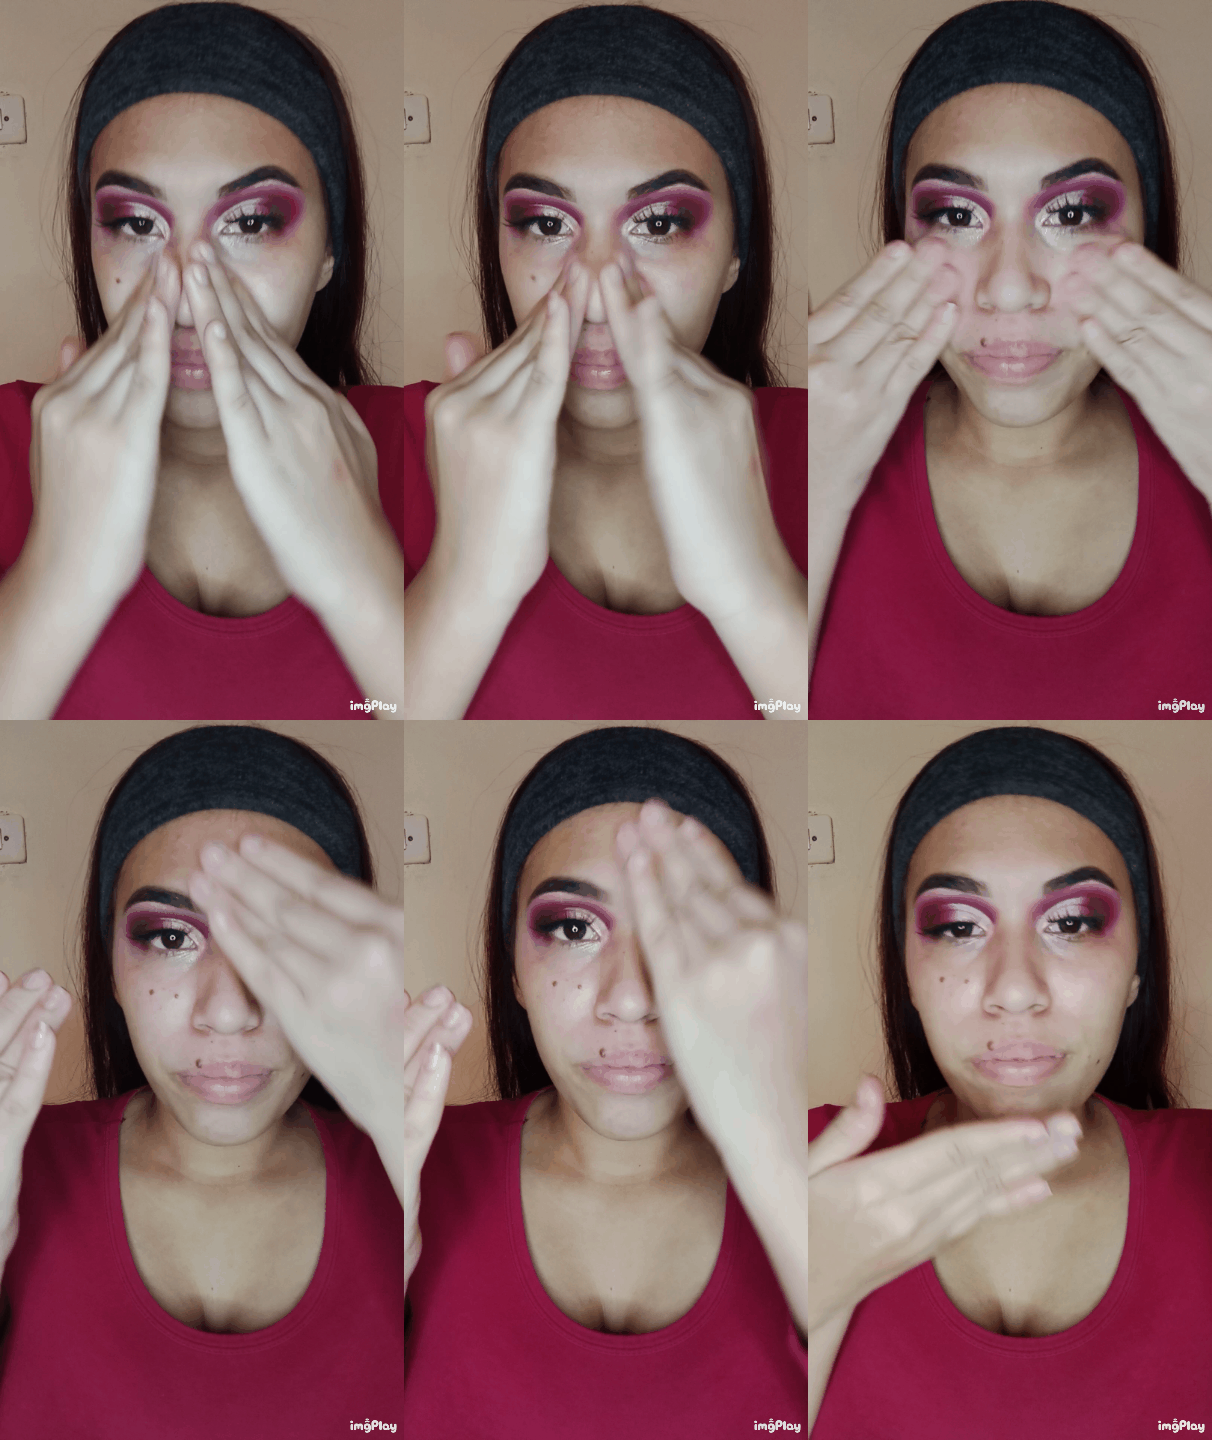
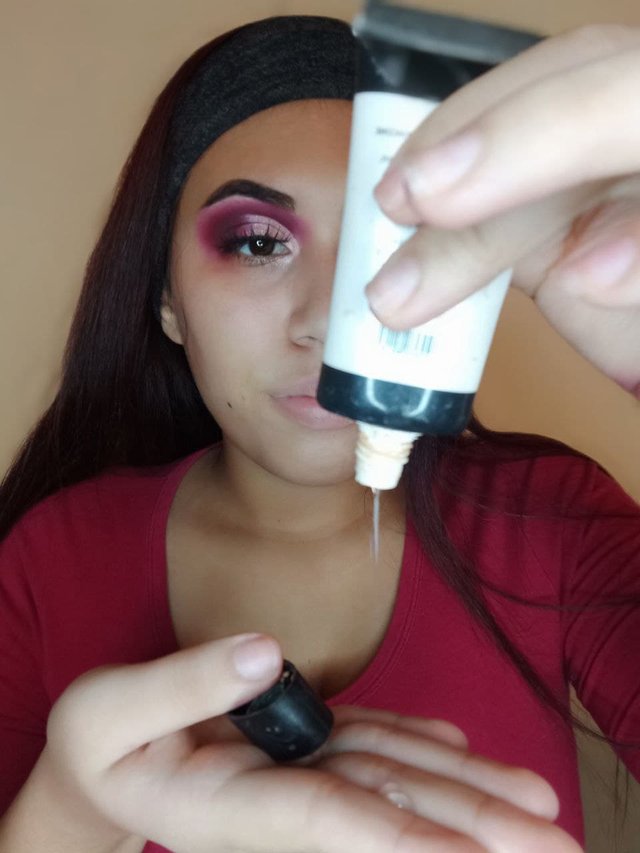
After applying my eyelashes it's time to do my skin, the first step is to apply a primer or pre-base. This primer I use is special for blurring pores but without drying out my face as it contains a little bit of hydration. I apply it with my fingers in circular motions on the areas of my face where I need it.
Luego de ponerme las pestañas llega el momento de hacer la piel, el primer paso es aplicar un Primer o Prebase. Esta prebase que utilizo es especial para difuminar poros pero sin resecar mi rostro ya que contiene un poco de hidratación. Lo aplico con los dedos haciendo movimientos circulares por las áreas de mi rostro donde lo necesite.
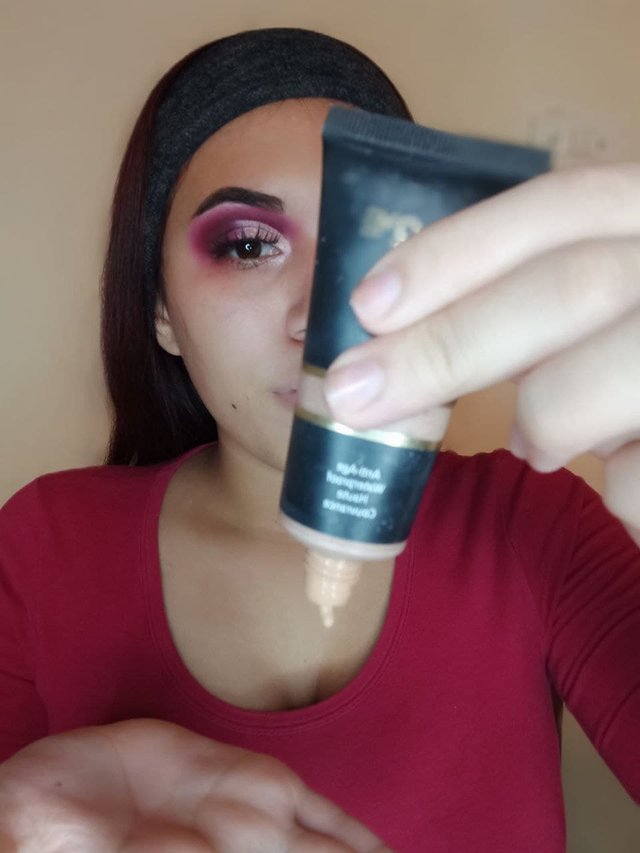
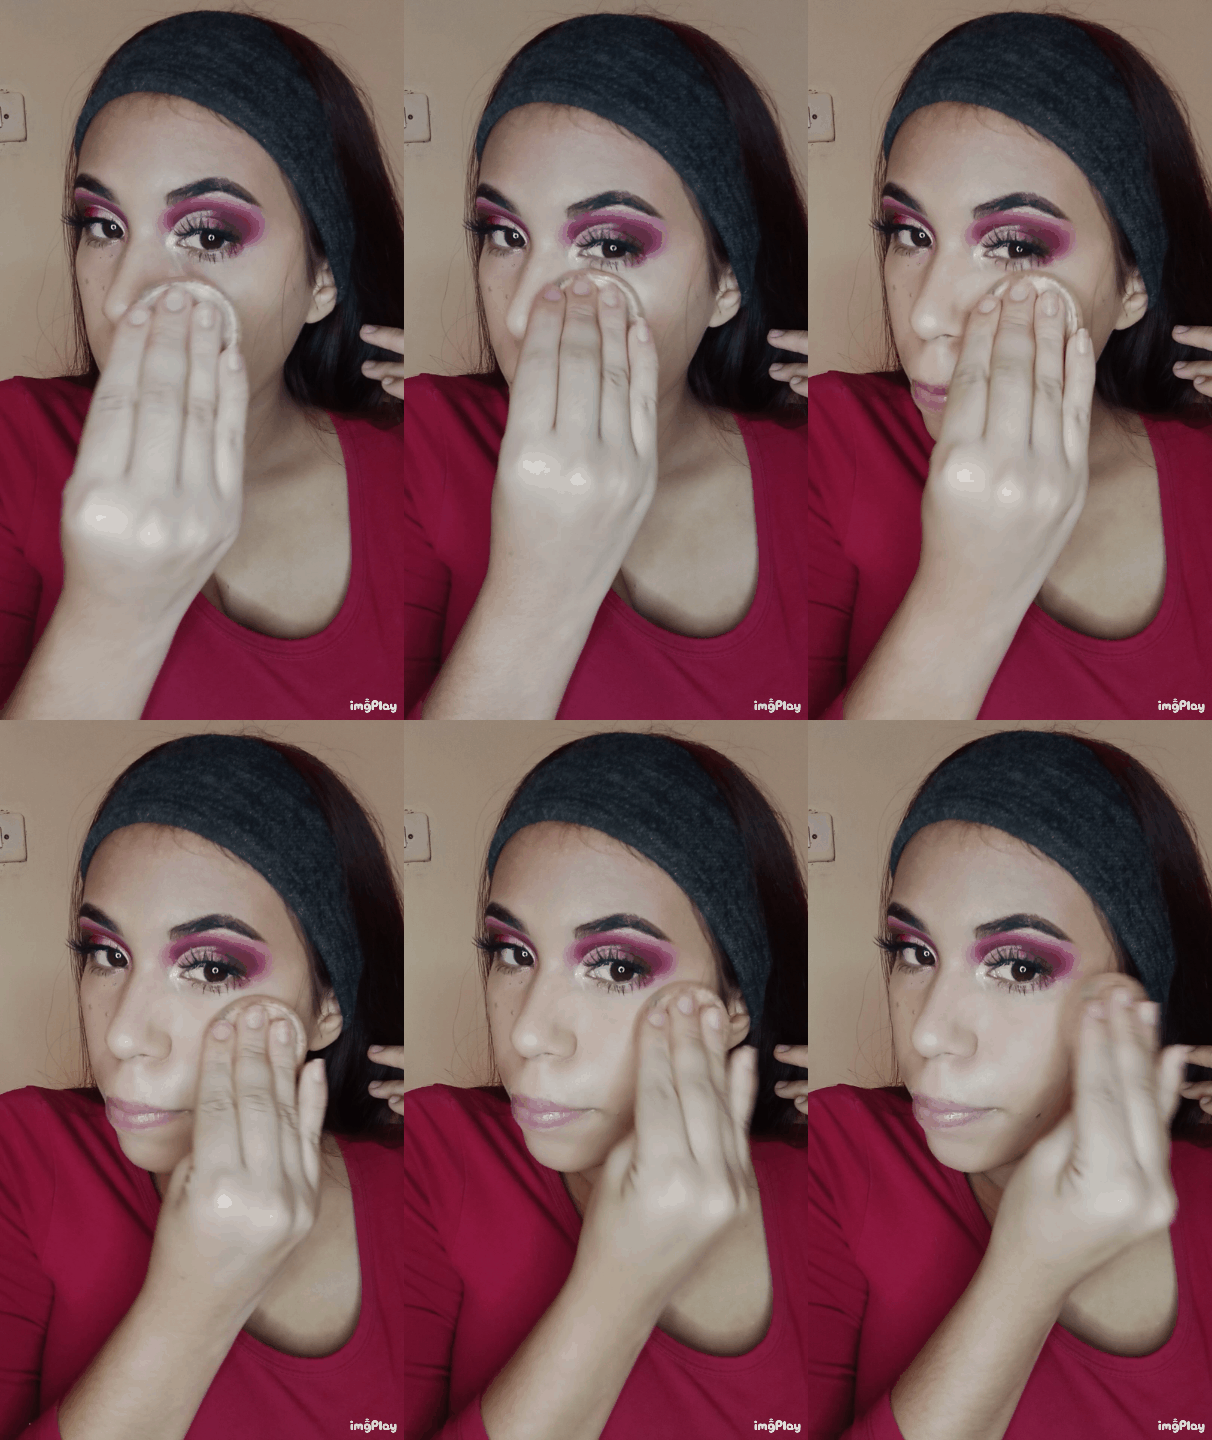
Then I apply a foundation in the color of my face, I prefer a matte finish foundation. I apply this one with a brush using dabbing motions, not dragging.
Después paso a aplicar una base del color de mi rostro, a mi gusto prefiero las bases con acabado matte. Esta la aplico con una brocha haciendo movimientos de toques, no de arrastre.
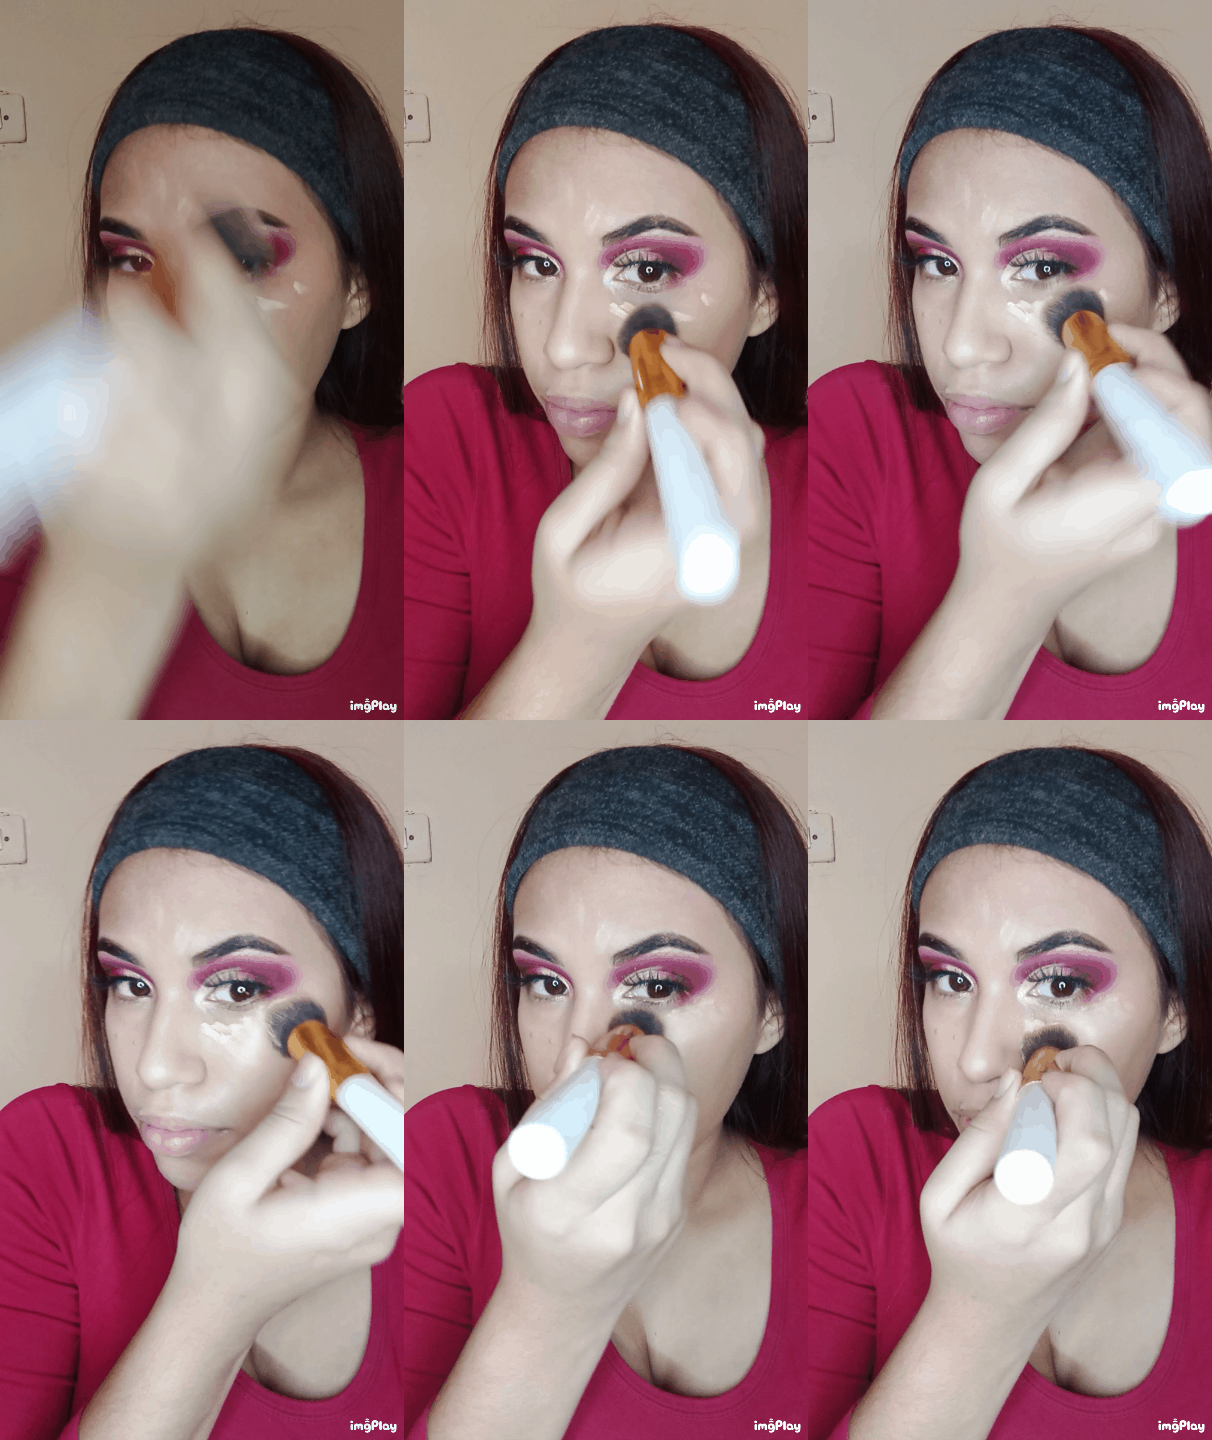
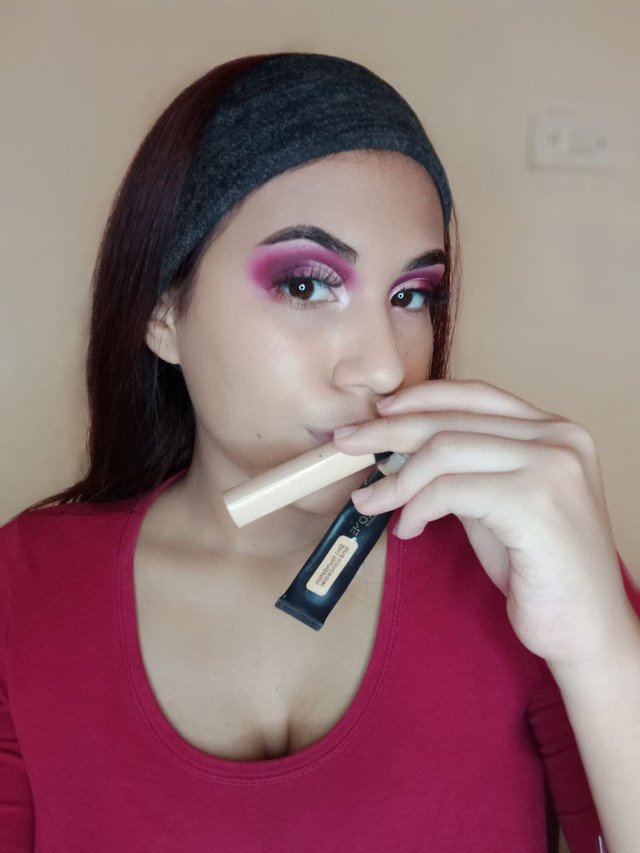
Personally, I like to use two concealers, one to neutralize and the other to illuminate. First I apply the concealer that neutralizes my dark circles and then the concealer that illuminates this area.
En lo personal, me gusta utilizar dos correctores, un para neutralizar y el otro para iluminar. Primero aplico el corrector que neutraliza mis ojeras y luego el corrector que ilumina esta zona.
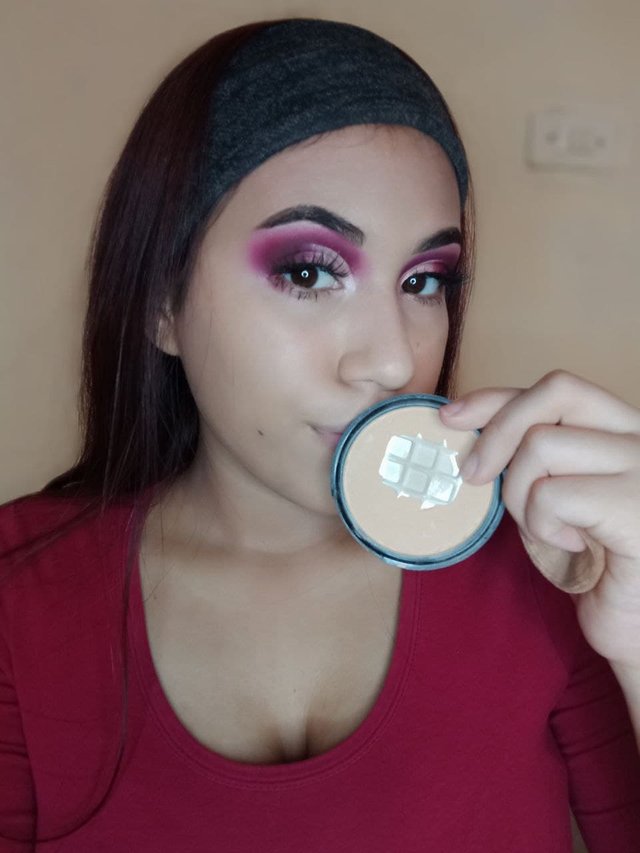
Then it's my turn to seal the area, I don't do it all over my face, I just focus on the T-zone, forehead, nose, chin and dark circles. Sometimes I use a loose brush all over the face with very little powder to seal.
Luego me toca sellar la zona, no lo hago en todo el rostro, solo me enfoco en la zona T, la frente, la nariz, la barbilla y las ojeras. En ocasiones suelo pasar una brocha suelta por todo lo rostro con muy poquito polvo para sellar.
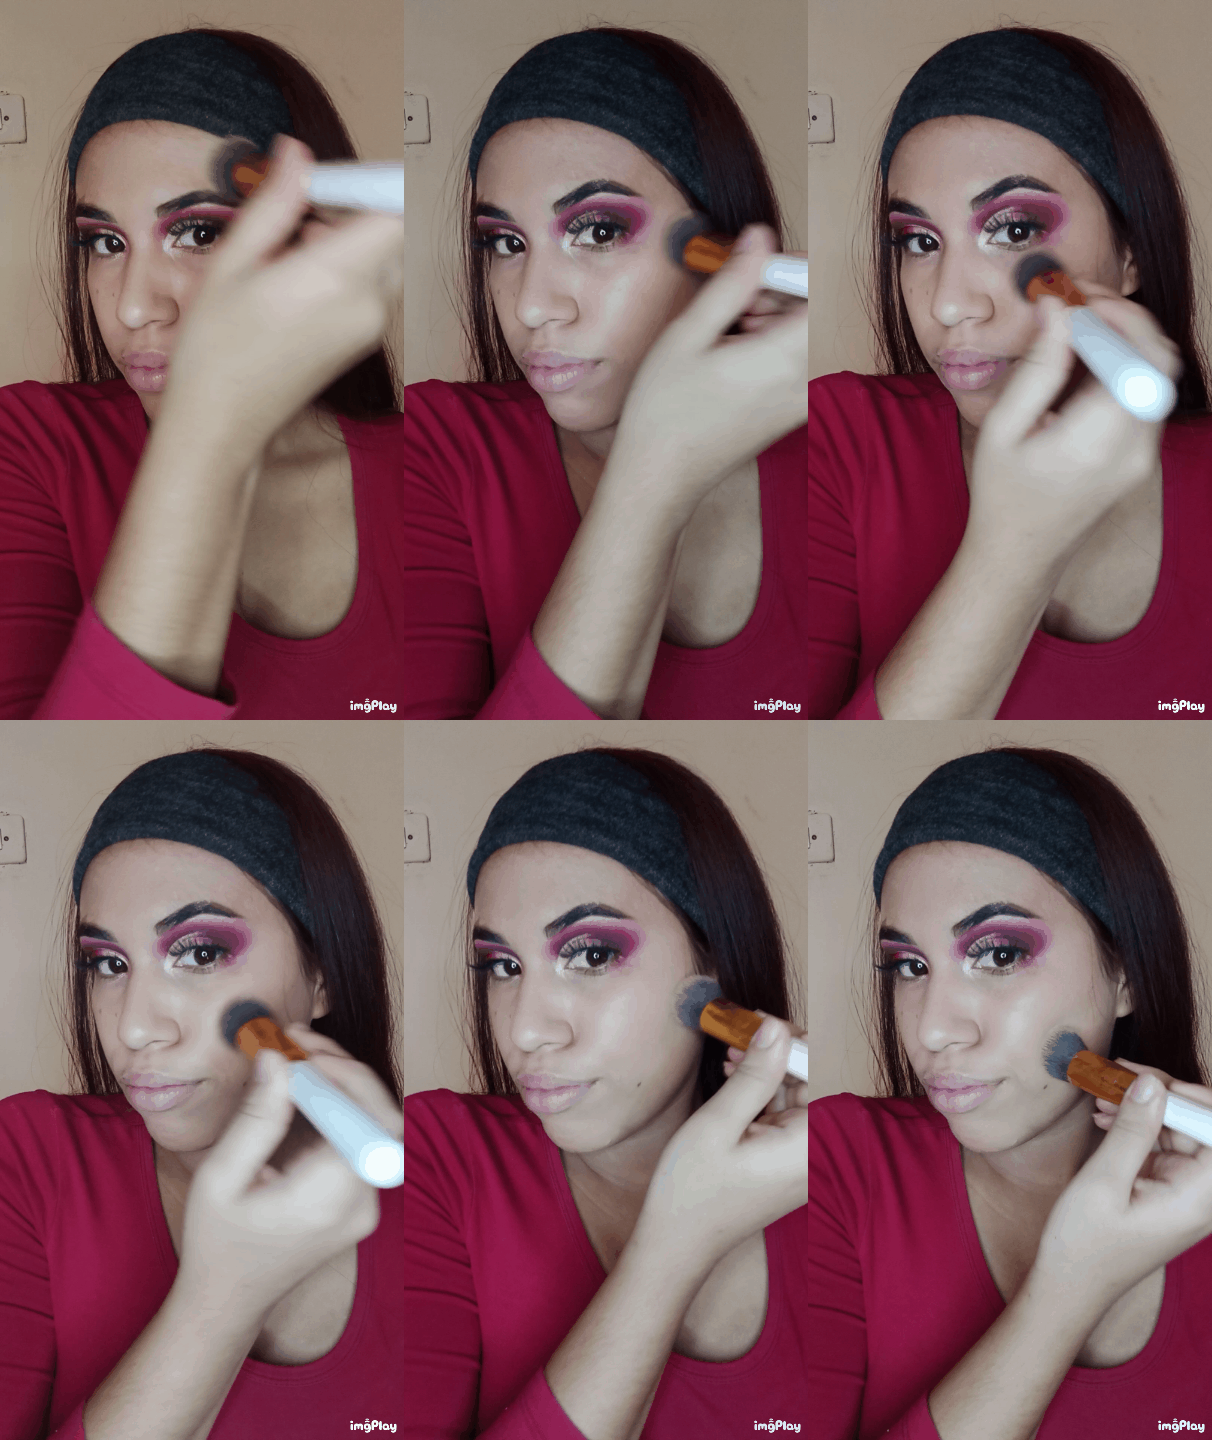
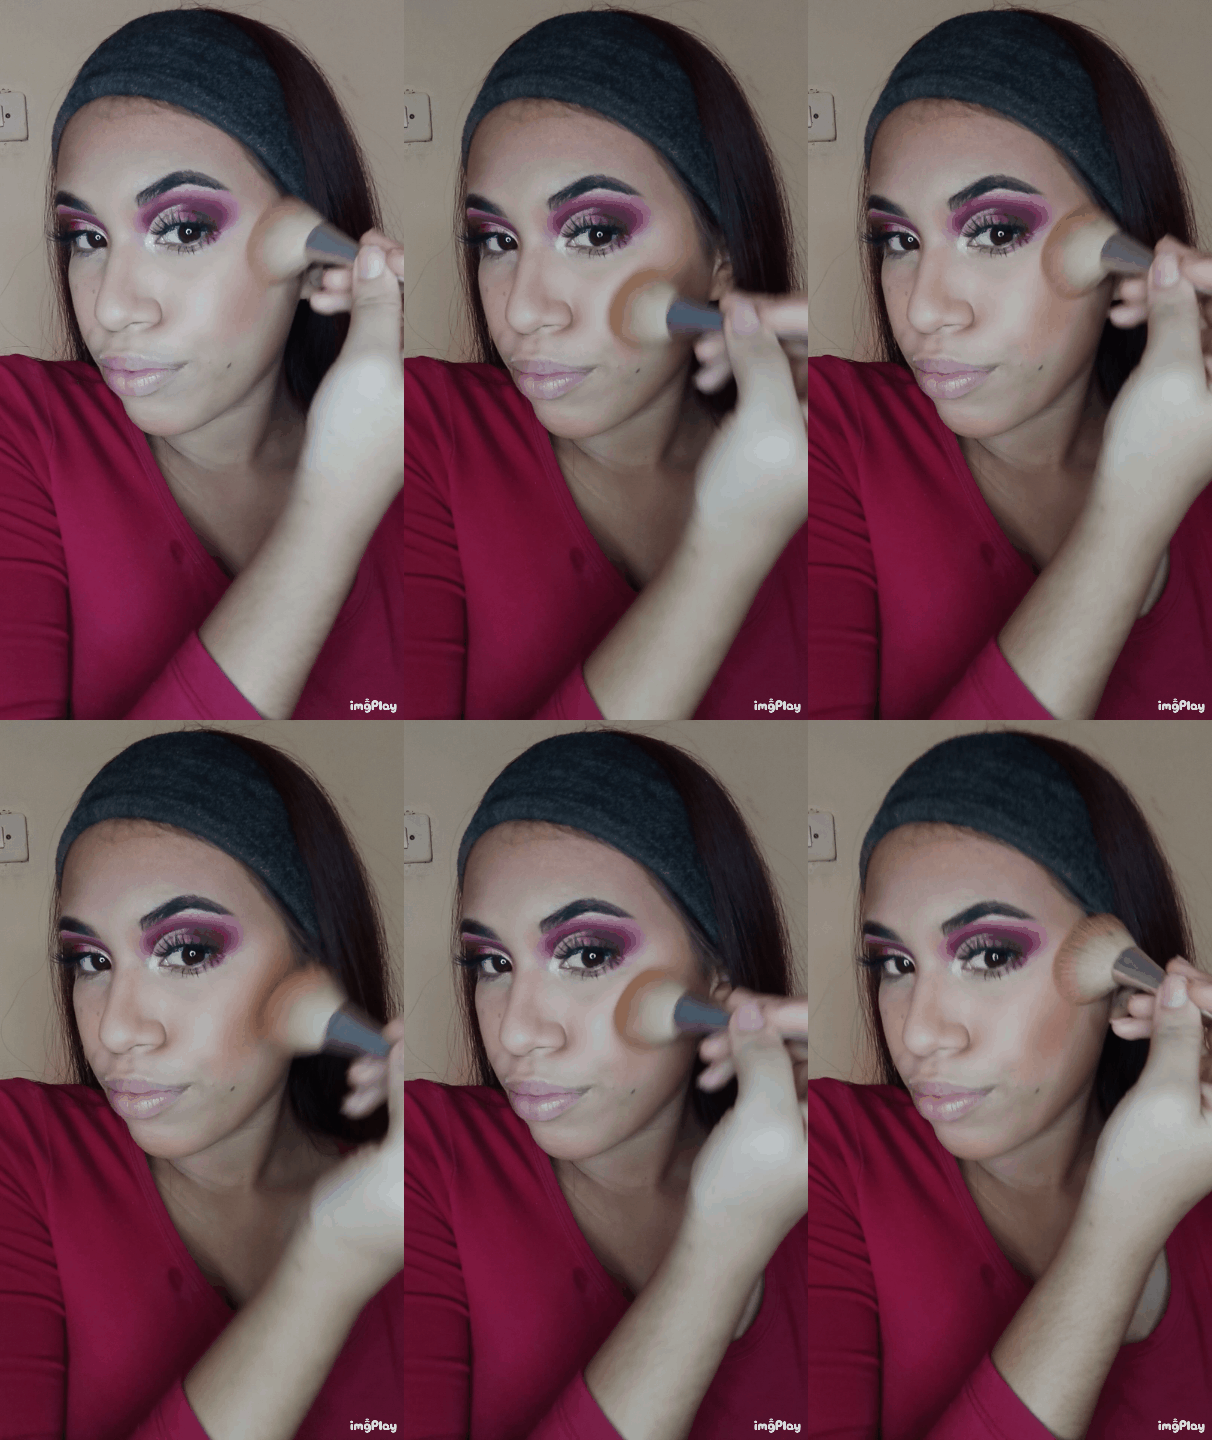
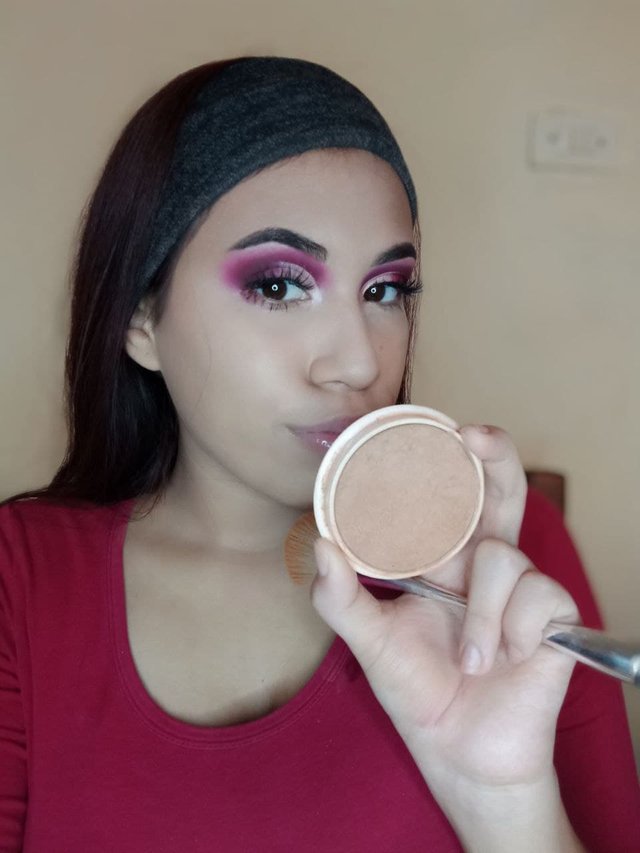
After sealing I apply the rest of the powder products, starting with the bronzer, I apply it lightly under my cheekbone, with a slightly large brush but not too much.
Después de sellar paso a aplicar el resto de los productos en polvo, empezando por el bronceador, este lo aplico levemente debajo de mi pómulo, con una brocha un poco grande pero no demasiado.
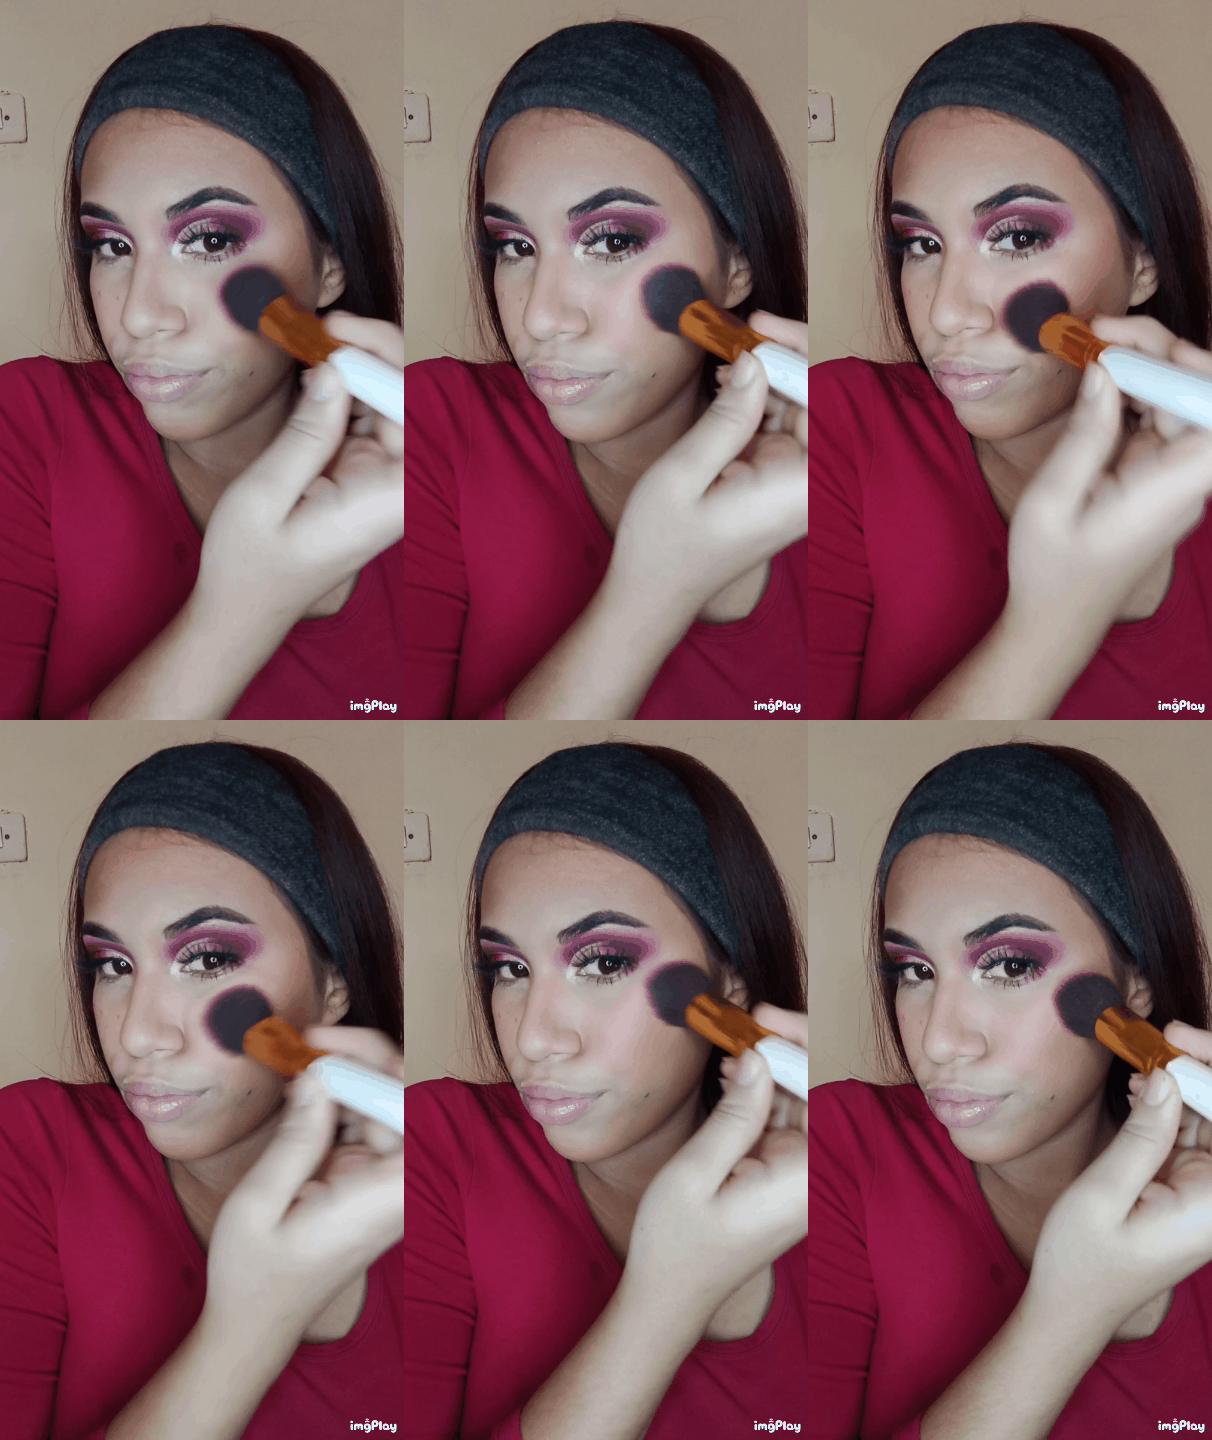
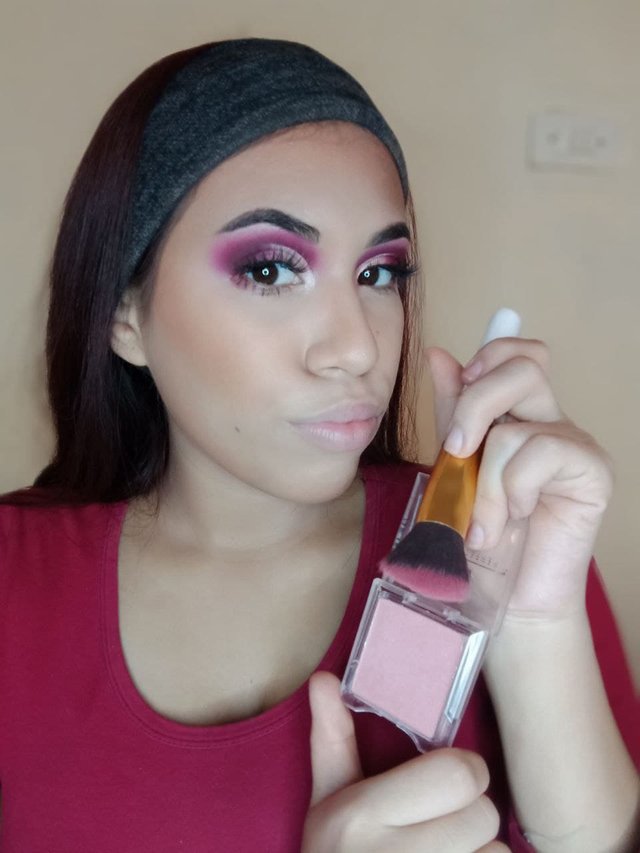
I apply the blusher on my cheeks, with a not too dense brush, a little loose. With dabbing movements, integrating it with the bronzer and bringing it towards the temples.
El rubor lo aplico en mis mejillas, con una brocha no demasiado densa, un poco suelta. Con movimientos de toques, integrándolo con el bronceador y llevándolo hacia la sien.
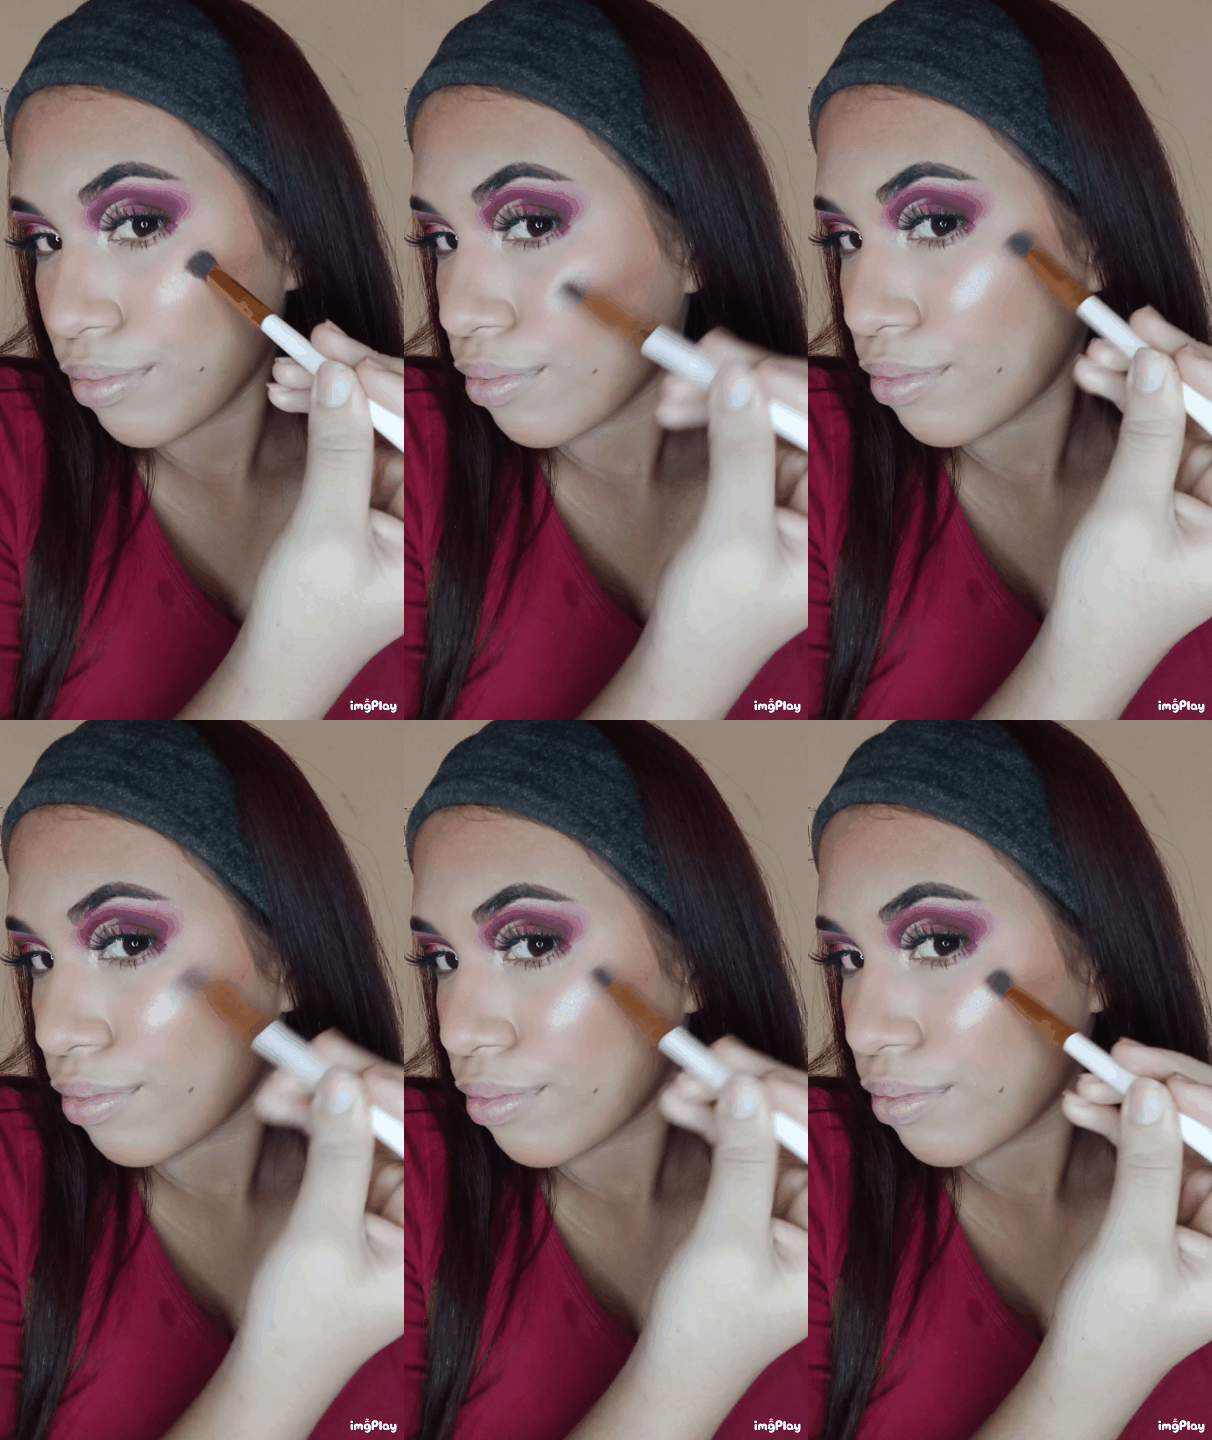
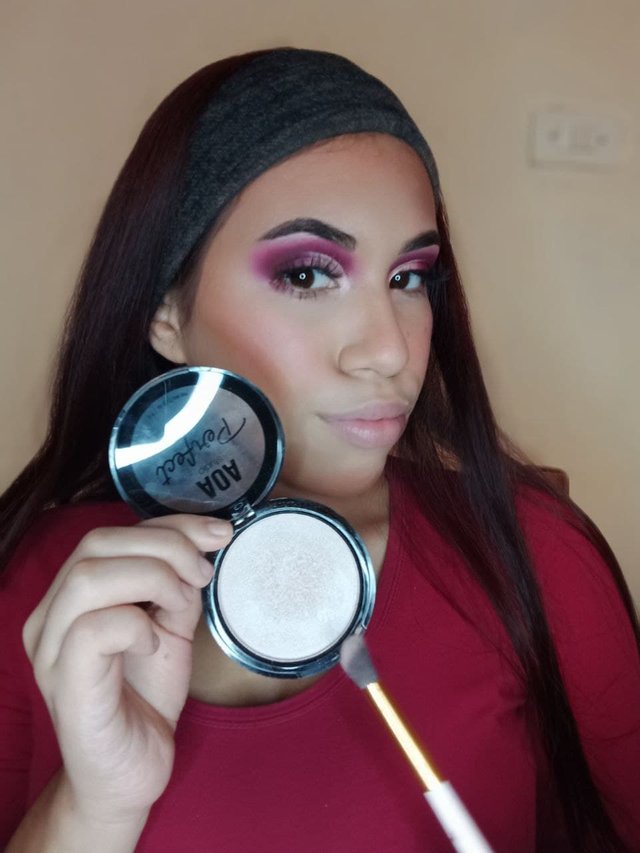
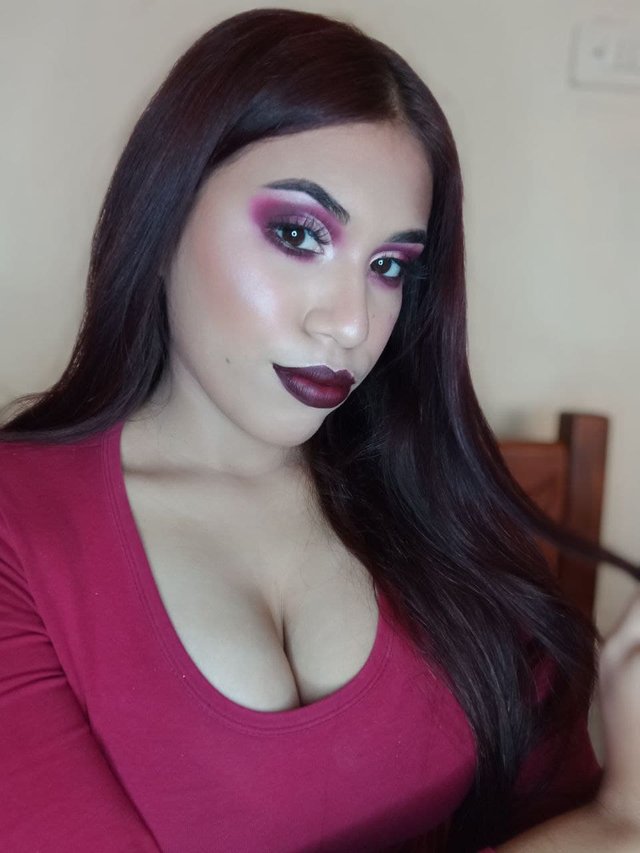
The highlighter, a very important step, is a slightly silver Rose undertone. I place it on the highest point of my cheekbone, with a precise brush but a little loose, if it is too dense it will not blend well.
El iluminador, un paso muy importante, es con subtonalidad Rose un poco plateado. Lo coloco en el punto más alto de mi pómulo, con una brocha precisa pero un poco suelta, si es muy densa no va a difuminar bien.
As a last step, before applying the lips, I complete the lower lash line by applying the same matte shades I wore on my eyelids with a small pencil brush.
Como ultimo paso, antes de maquillar los labios, completo la línea inferior de las pestañas, lo hago aplicando los mismos tonos mattes que lleve en mis párpados con una brocha pequeña en forma de lápiz.
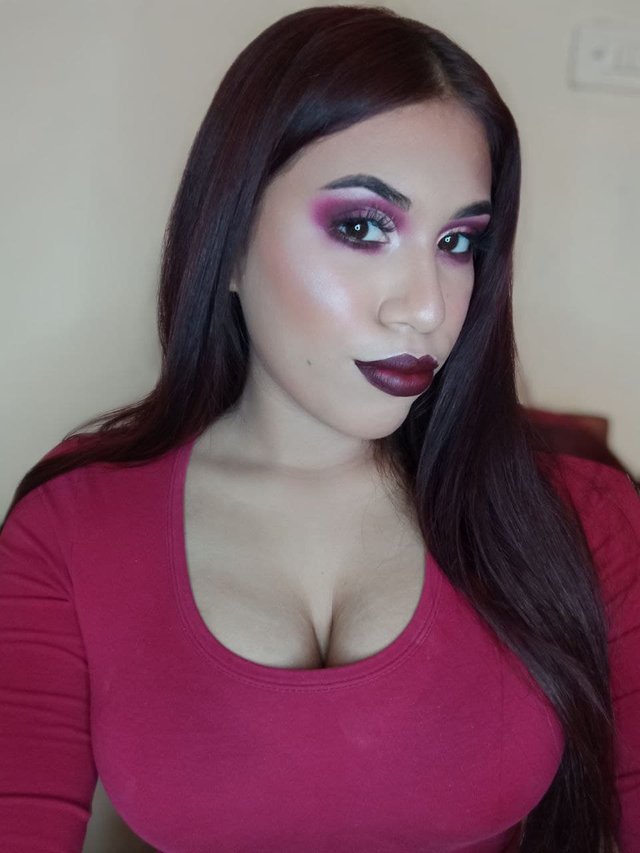
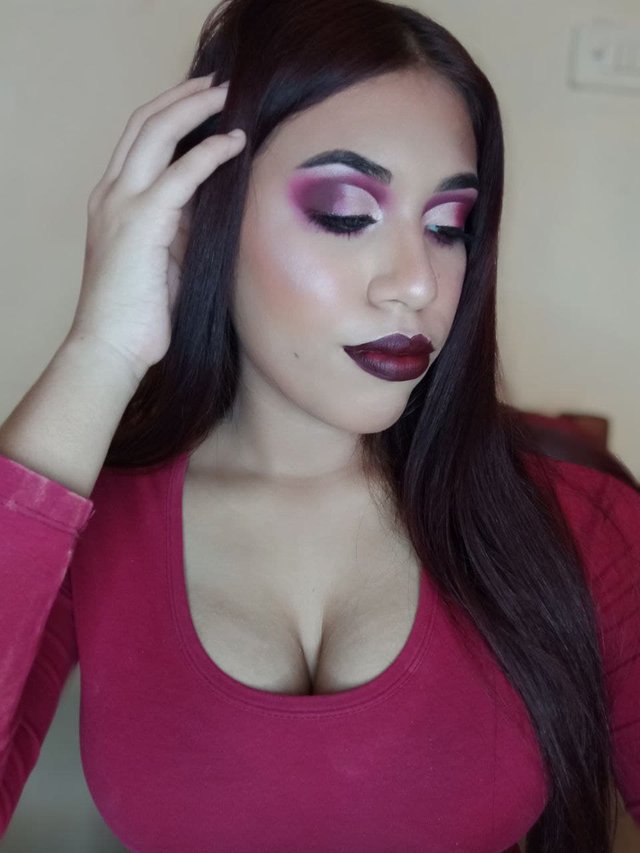
Off camera I apply the lipsticks, using this technique of darkening the edges and placing a lighter shade in the center, but staying in the wine tones to make a more monochromatic makeup.
I hope you liked this tutorial, if so I hope to see it in a comment, do not forget that to succeed we must practice, see you soon!
Fuera de cámaras me aplique los labiales, haciendo esta técnica de oscurecer los bordes y colocar un tono más claro en el centro, pero quedándome en los tonos vinos para hacer un maquillaje más monocromático.
Espero que les haya gustado este tutorial, si es así espero verlo en algún comentario, no olviden que para triunfar debemos practicar, nos vemos próximamente!




Hermoso amiga 😍
Me encanto este tutorial ❤️
Downvoting a post can decrease pending rewards and make it less visible. Common reasons:
Submit
Que belleza, como siempre demostrando mucho talento, ¡me encantó el corte de cuenca!
#onepercent #venezuela
Downvoting a post can decrease pending rewards and make it less visible. Common reasons:
Submit