Saludos a todas las mujeres que forman esta gran comunidad @Steemwomenclub
Greetings to all the women who make up this great community @Steemwomenclub
![IMG_20210423_105448[1].jpg](https://steemitimages.com/640x0/https://cdn.steemitimages.com/DQmQuFKVKzdkQnLjRNqPFCWcXciRiU5kTPyDQjmP5ytCucv/IMG_20210423_105448[1].jpg)
Estoy iniciandome recientemente en STEEMIT y mi primer post es para esta bonita comunidad.
I am recently starting STEEMIT and my first post is for this beautiful community.
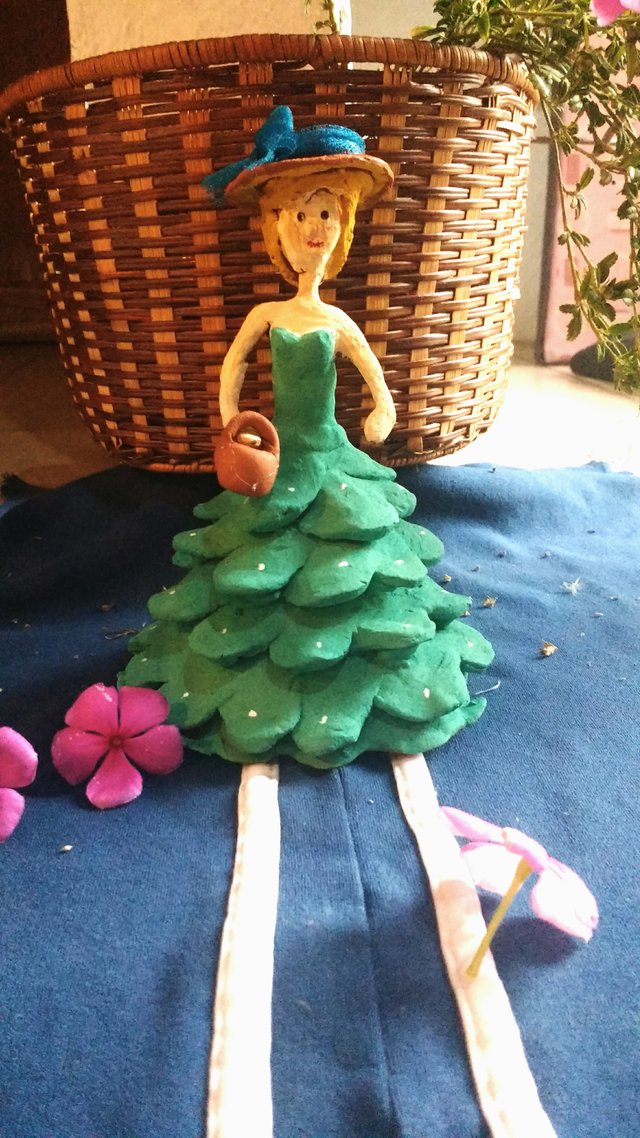
Damisela de Arcilla
Clay Damsel
La artesania es el arte y técnica de fabricar o elaborar objetos o productos a mano, con aparatos sencillos y de manera tradicional.
." Fuente
Materiales:
- Cartulina
- Alambre
- Silicon Caliente
- arcilla
- Agua
- Cubiertos Plasticos
- Pinturas al frio
Materials:
- Cardboard
- Wire
- Hot Silicon
- clay
- Water
- Plastic Cutlery
- Cold paints
Paso 1
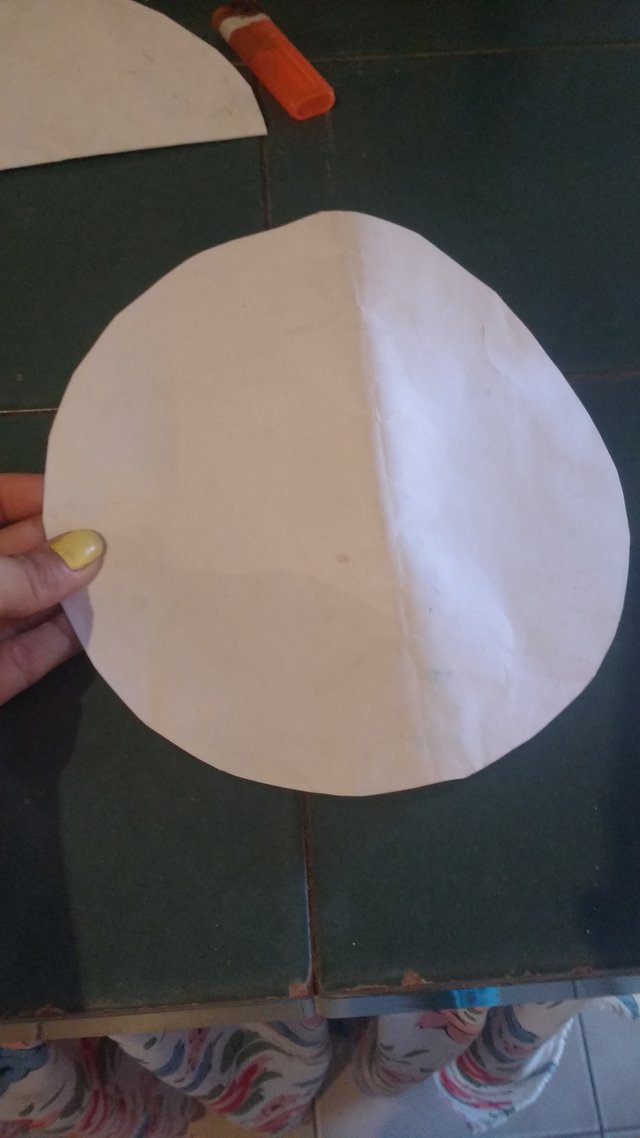
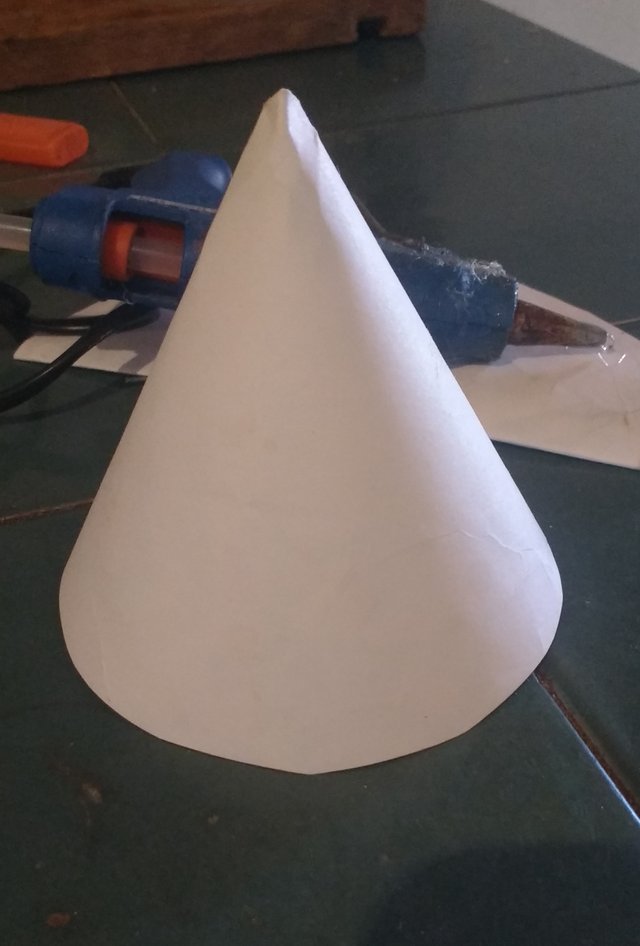
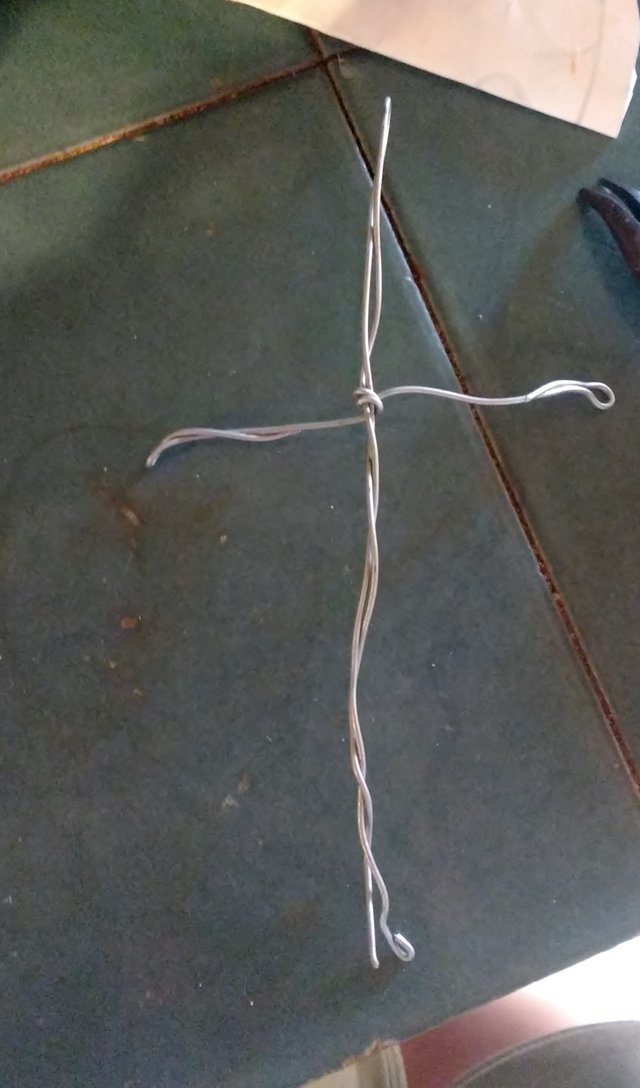
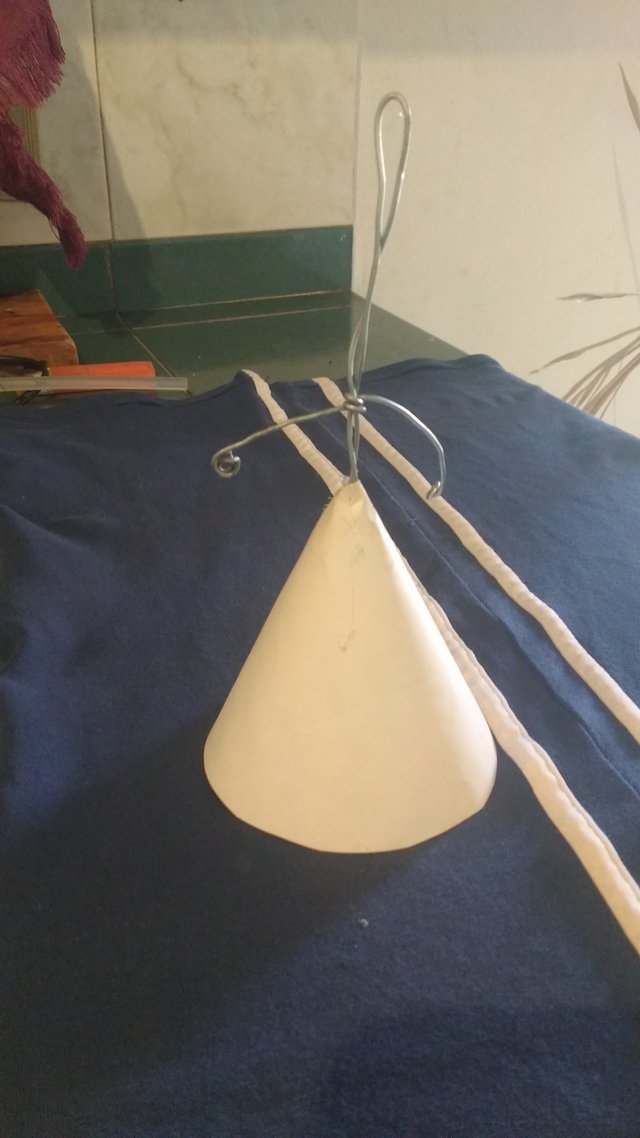
Para el soporte de la Damisela, cortamos una circunferencia en nuestra cortulina, doblamos a la mitas hasta formar un cono que vamos a fijar con ayuda del silicon caliente. Con el Alambre vamos a armar la figura que se nuestra en la tercera foto y con selicon caliente la unimos al cono de cartulina.
To support the Damsel, we cut a circumference in our curtain, we fold the halves to form a cone that we are going to fix with the help of hot silicone. With the wire we are going to assemble the figure that is ours in the third photo and with hot selicon we join it to the cardboard cone.
De esta manera.
In this way.
Paso 2
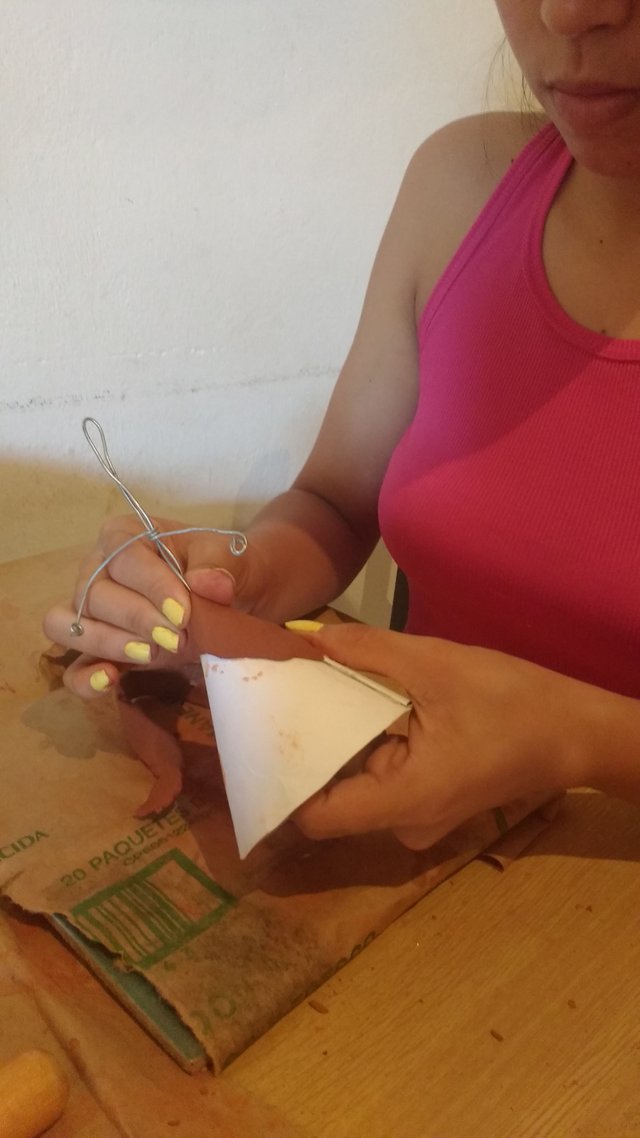
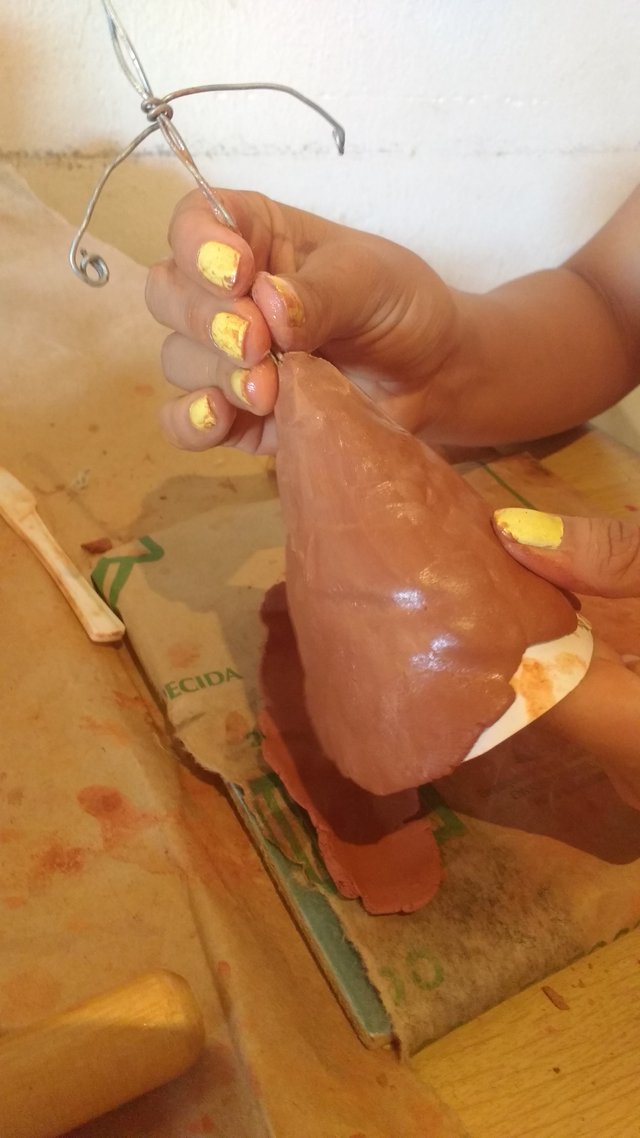
Con nuestro soporte listo vamos a forrarlo con arcilla, para dar más fuerza a la falda
With our support ready we are going to cover it with clay, to give more strength to the skirt
Paso 3
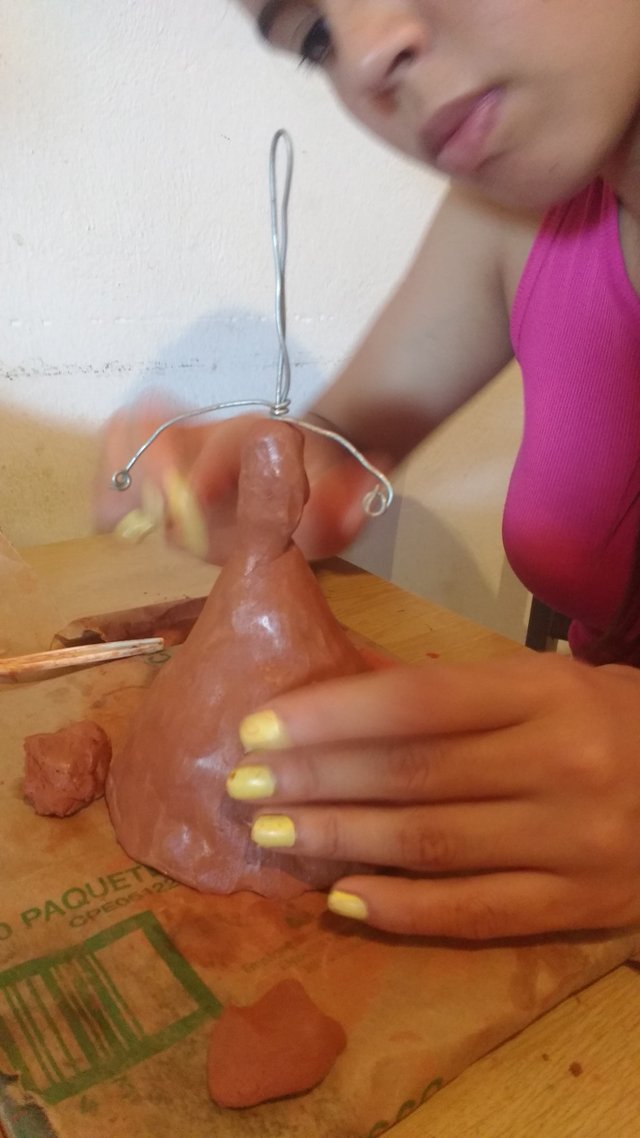
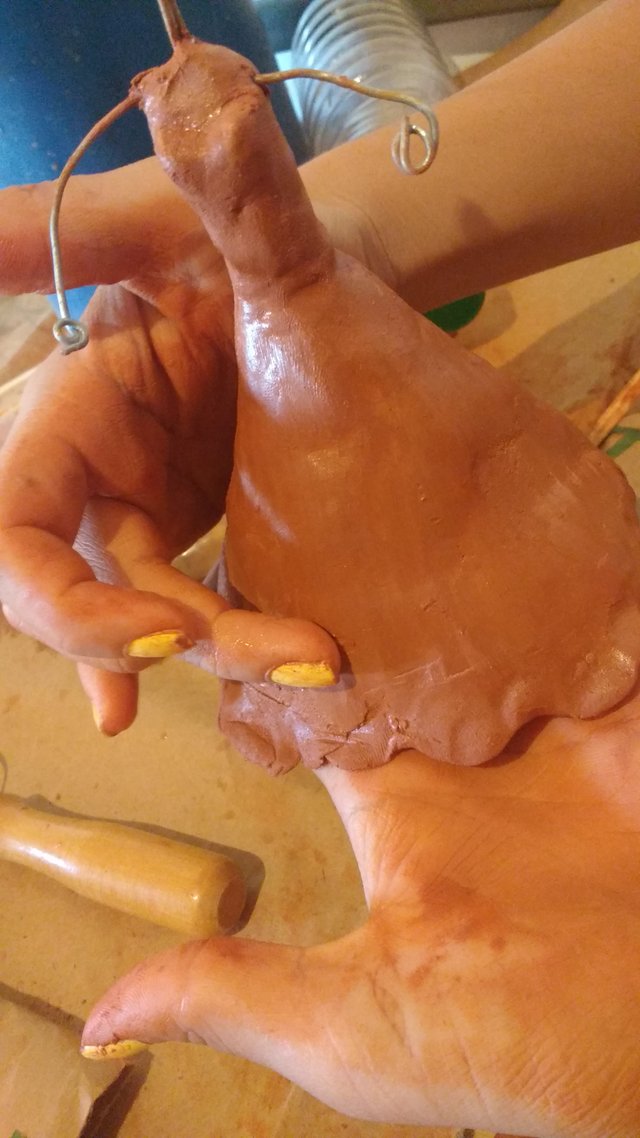
Con mucha delicadesa y poco arcilla vamos a armar el cuerpo de la Damisela, brazos y cuello¨humedeciendo un poco nuestros dedos para que se adhieran más rapido la arcilla.
With a lot of delicacy and little clay we are going to assemble the body of the Damsel, arms and neck ”by moistening our fingers a little so that the clay adheres faster.
Paso 4
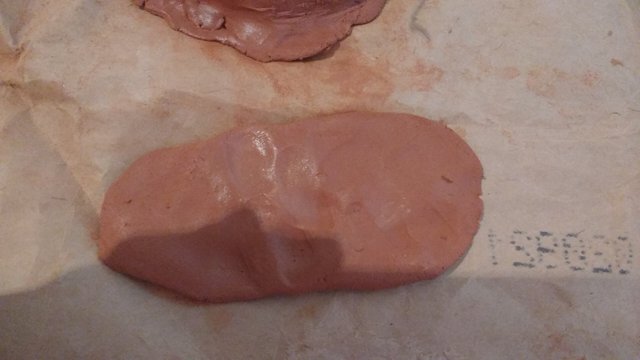
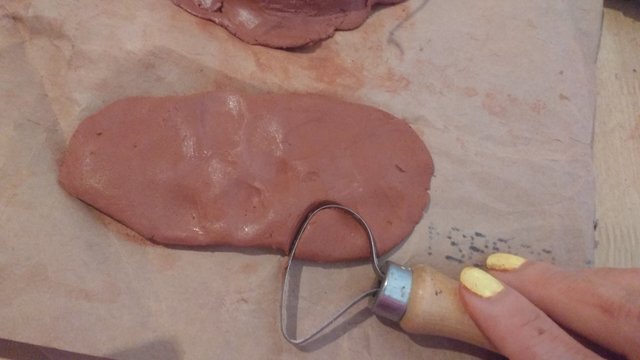
Aplanamos una cantidad de arcilla y con ayuda de una espatula pequeña sacamos la forma de petalos, esto para los volantes de nuestra falda ( como se muestra en la imagen)
We flatten a quantity of clay and with the help of a small spatula we remove the shape of petals, this for the ruffles of our skirt (as shown in the image)
Paso 5
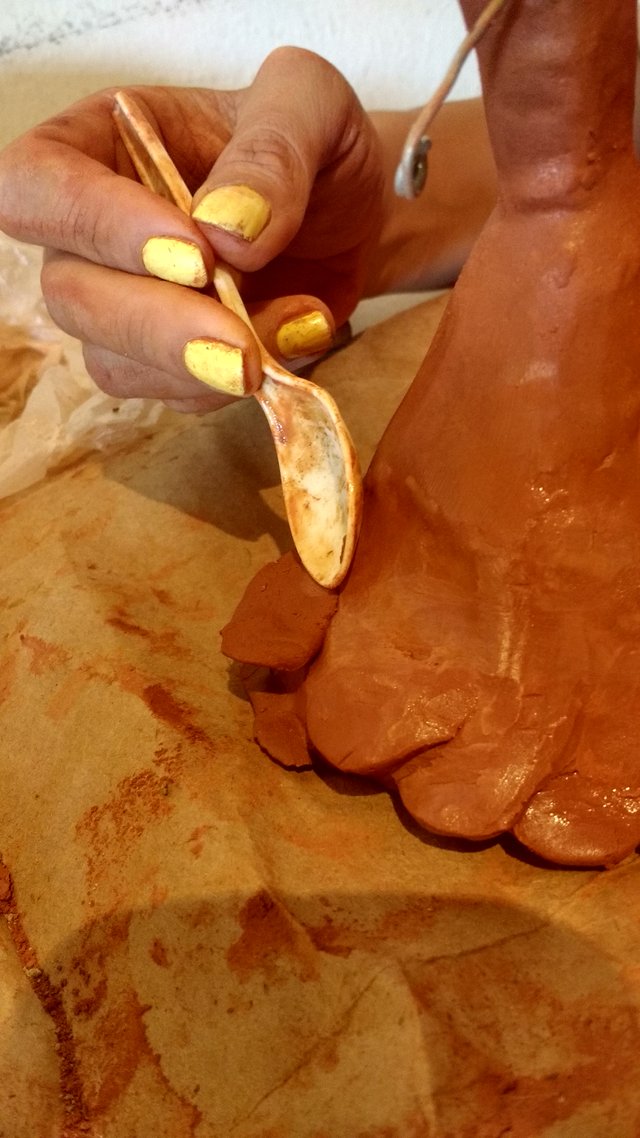
Vamos a ir cortando nuestros petalos "uno por uno, porque se seca muy rapido". los vamos a pegar desde la parte de abajo de nuestra falda hacia arriba ( formando una espiral) , con ayuda de un cubierto platico húmedo vamos a pulir la pieza.
We are going to cut our petals "one by one, because it dries very quickly". We are going to glue them from the bottom of our skirt upwards (forming a spiral), with the help of a wet plastic cutlery we are going to polish the piece
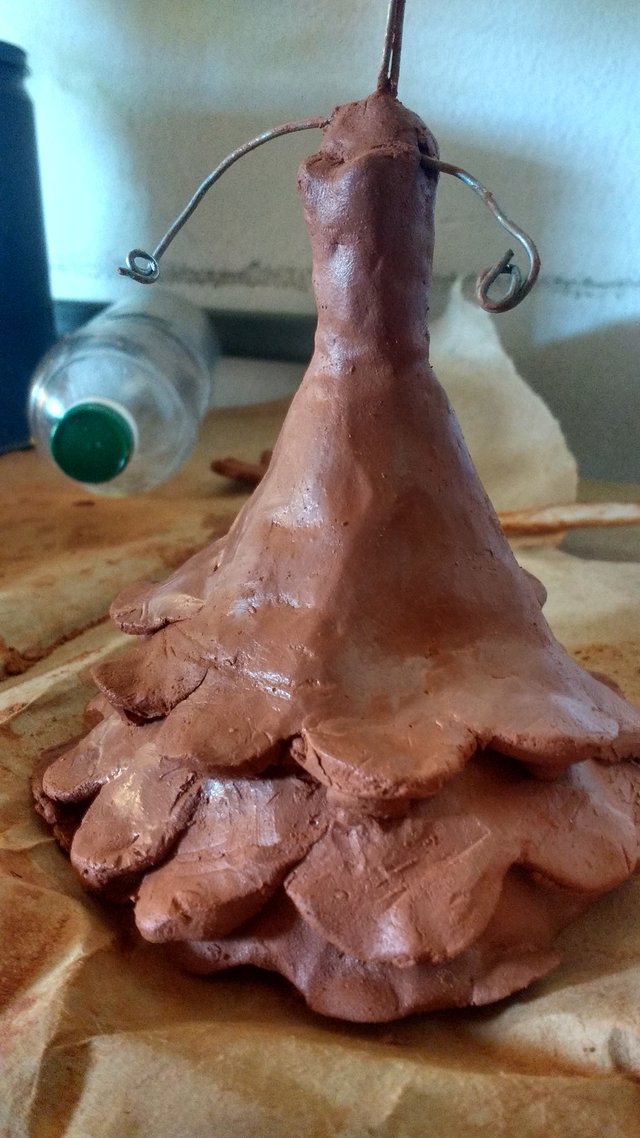
De esta manera debe quedar
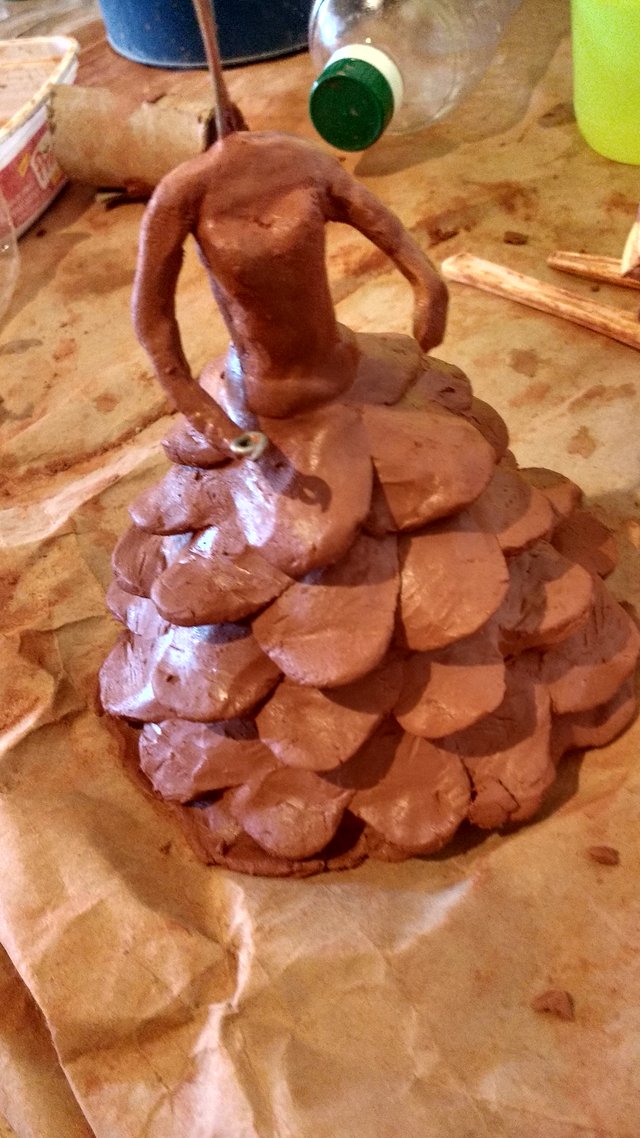
Paso 6
Vamos a formar un circulo par armar cabeza del tamaño adecuado. y la montamos en nuestra muñeca. Con Ayuda de una pinza damos las formas al rostro.
We are going to form a circle to assemble a head of the appropriate size. and we mount it on our wrist. With the help of a tweezers we shape the face
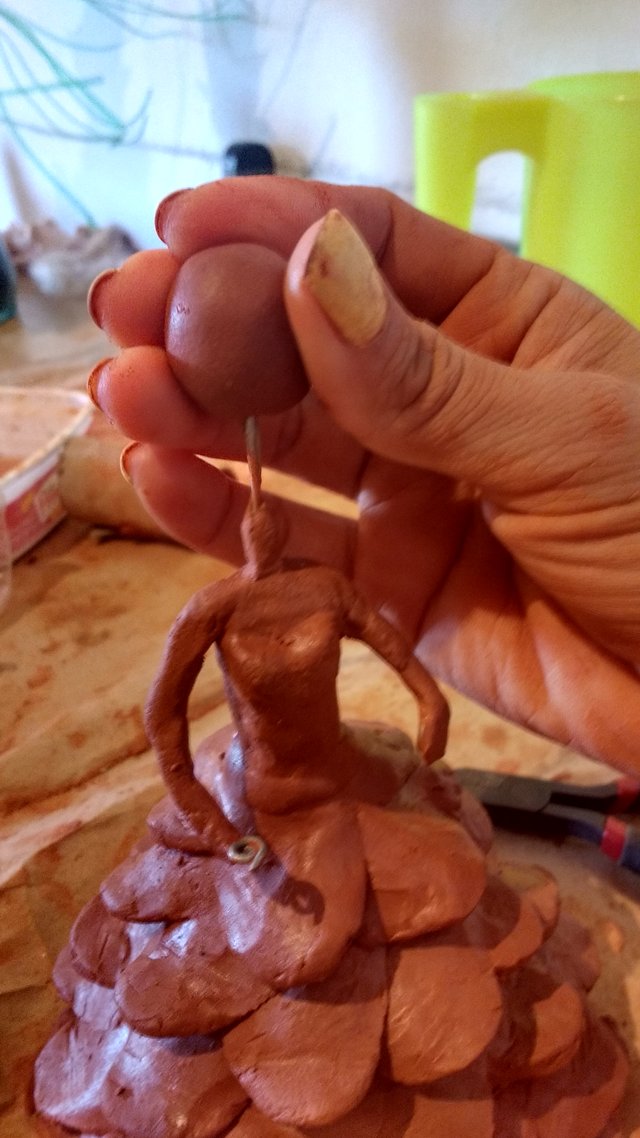
Paso 7
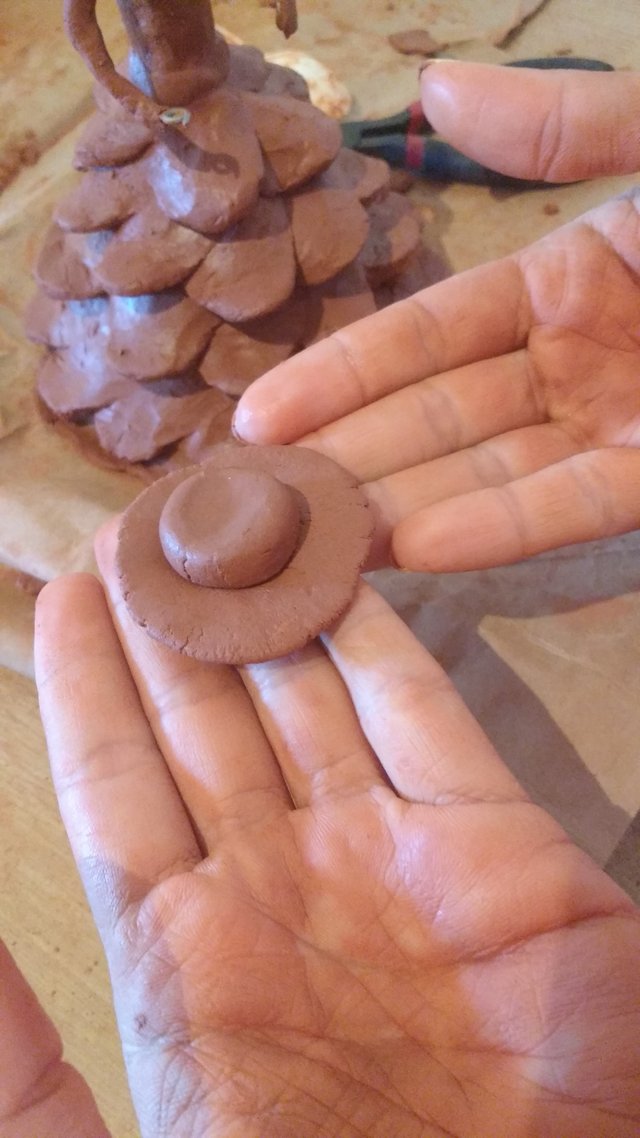
con una pequeña cantidad de arcilla vamos a moldear un sombrero para nuestra damisela. sacamos dos circulos ( como se nuestra en la imagen) uno pequeño un poco grueso y el otro mas plano y grande, del tamaño que necesitemos el sombrero. Humedecemos un poco las piezas y las pegamos una sobre la otra.
with a small amount of clay we are going to mold a hat for our damsel. We take out two circles (as is ours in the image) a small one a little thick and the other flatter and larger, the size that we need the hat. We moisten the pieces a little and glue them one on top of the other.
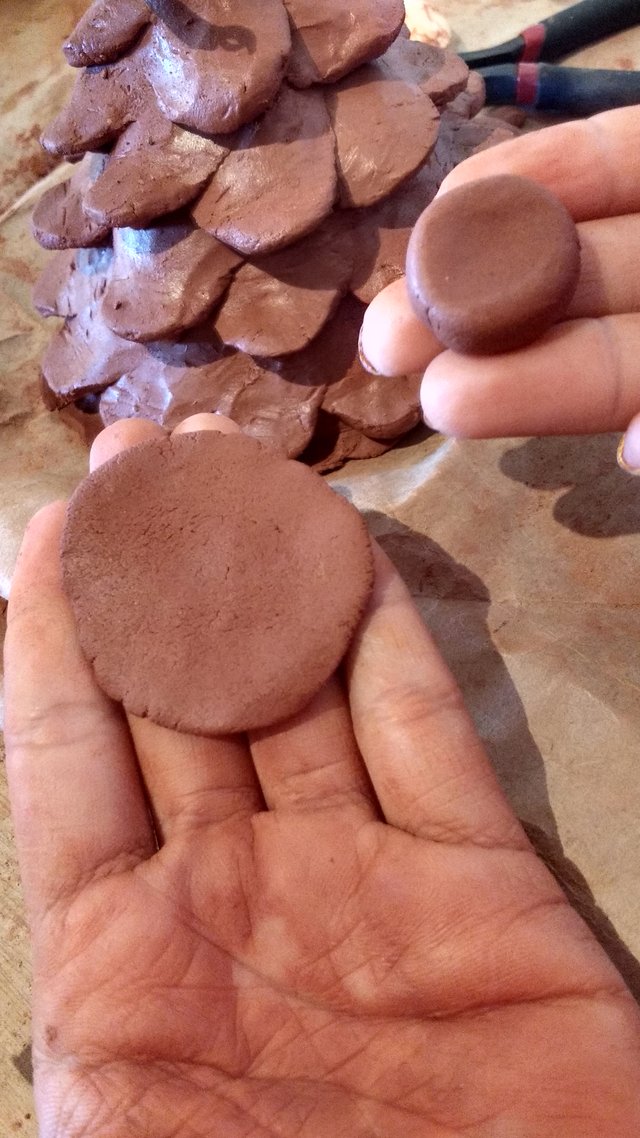
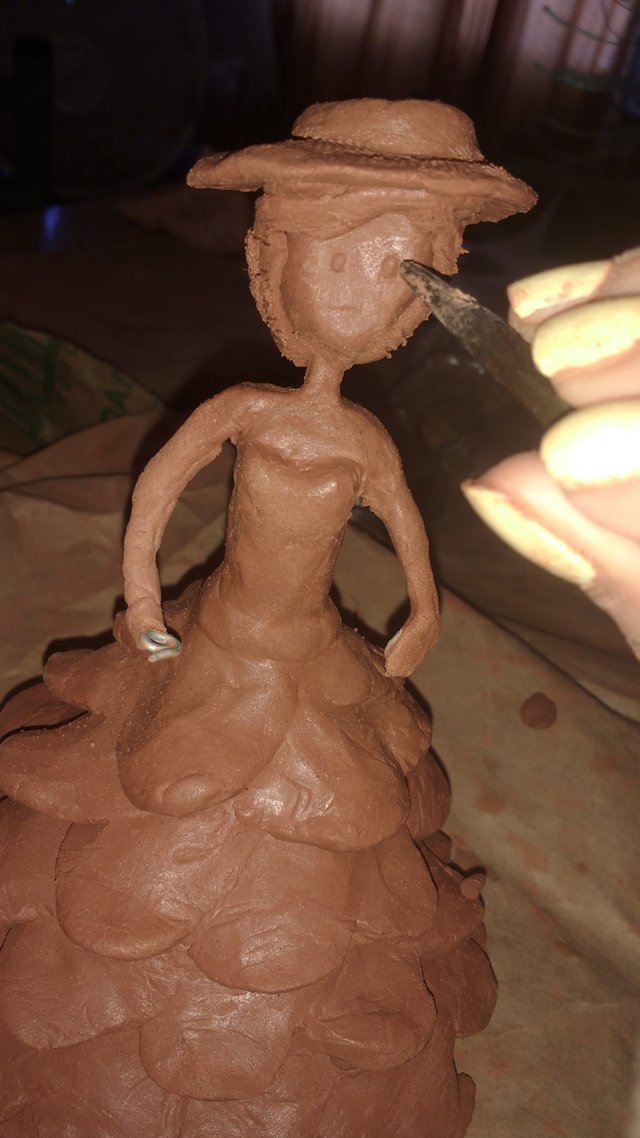
Asi queda nuestra damisela con sombrero.
> This is how our lady with a hat looks
Una vez armada nuestra damisela, dejamos en el sol durante 4 horas o mas, para que seque bien las capas de arcilla en la falta.y luego vamos a meterla en el horno previamente calentado por 10 minutos ( para sellar y asegurarnos de que no se rompa)
Once our damsel is armed, we leave it in the sun for 4 hours or more, so that it dries the layers of clay well in the lack. And then we are going to put it in the previously heated oven for 10 minutes (to seal and make sure that does not break)
Paso7
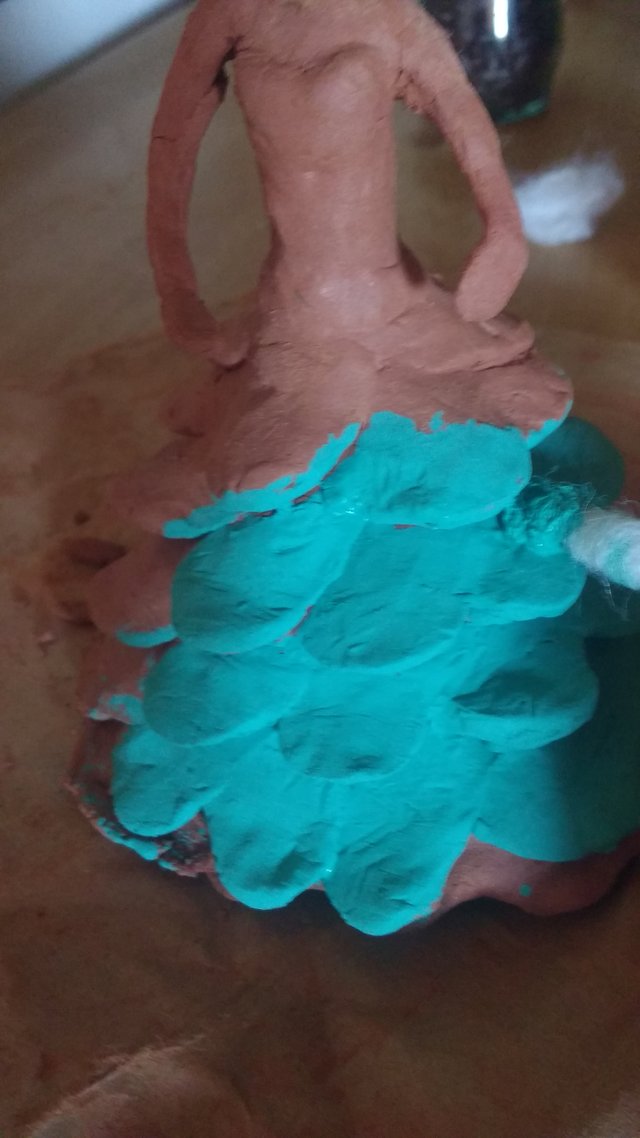
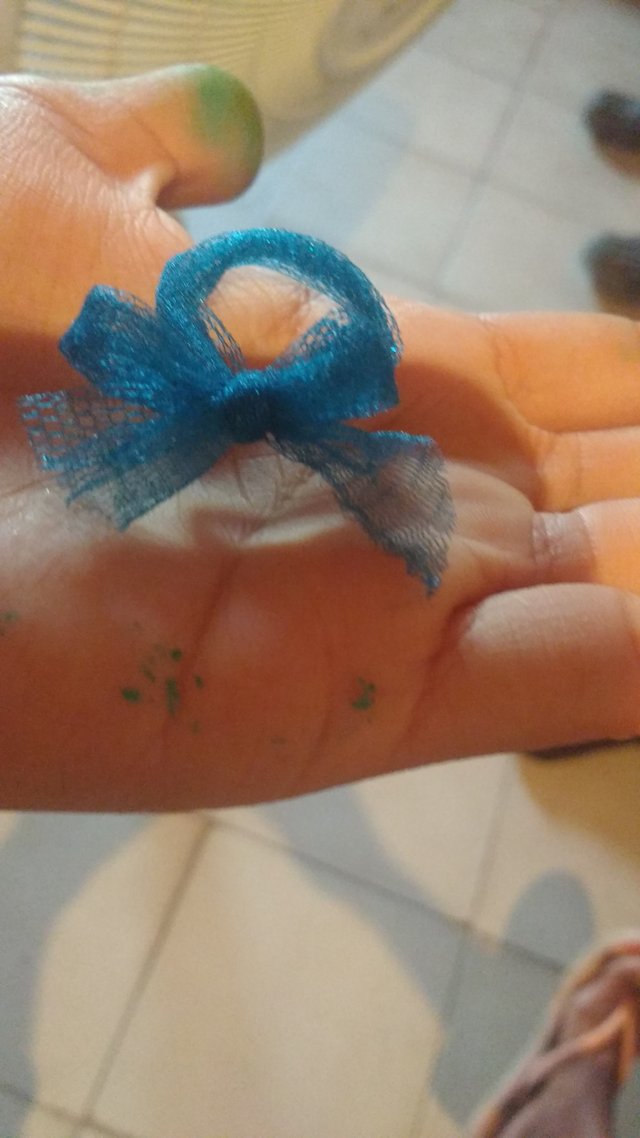
Para terminar vamos a personalizar, pintar y agregar los detalles que nos gusten.
To finish we are going to personalize, paint and add the details that we like.
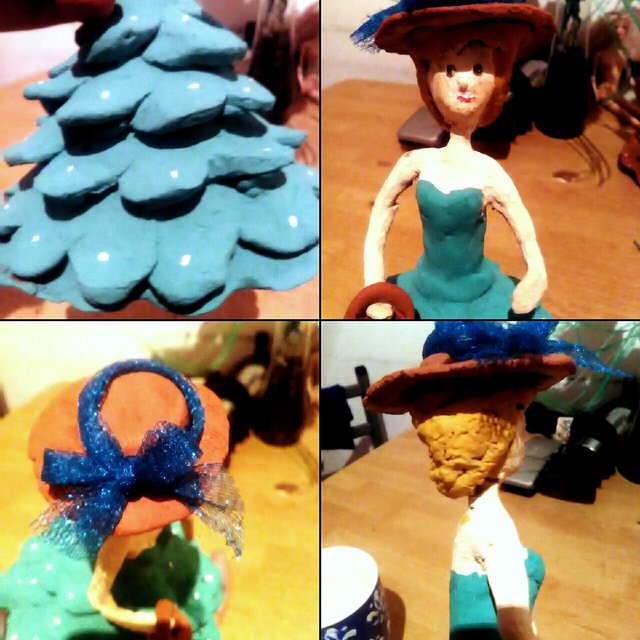
Esta fue mi participacion para este gran concurso, @onisune te invito a participar este concurso esta muy bueno y es bonito , @steemwomensclub gracias por permitirnos la oportunidad de ser mas creativas. Agradesco enormemente a toto el equipo y a -steemcurator01 y -steemcurator02 @booming01 y @booming04 por su apoyo y motivacion.
hola Mari, te felicito, creo que tienes un don maravilloso, sigue adelante, todos los inicios son difíciles pero ya pronto agarraras mínimo, feliz día de la creatividad.
Downvoting a post can decrease pending rewards and make it less visible. Common reasons:
Submit
@carolinacardoza gracias amiga poco a voy adelante con ustedes.
Downvoting a post can decrease pending rewards and make it less visible. Common reasons:
Submit
Hello, I approved your participation in the contest. Thank you very much for posting on the community. We are always here to support you. Good luck :)
Downvoting a post can decrease pending rewards and make it less visible. Common reasons:
Submit
Hello, thank you for accepting my participation. delighted to post in this community.
Downvoting a post can decrease pending rewards and make it less visible. Common reasons:
Submit
Hola, Marielvis! Te felicito por la artesanía que realizaste. La verdad es que el acabado te quedó genial, se nota que lo hiciste con bastante amor. Saludos!
Downvoting a post can decrease pending rewards and make it less visible. Common reasons:
Submit
Gracias amiga, si con mucho amor y dedicacion :)
Downvoting a post can decrease pending rewards and make it less visible. Common reasons:
Submit