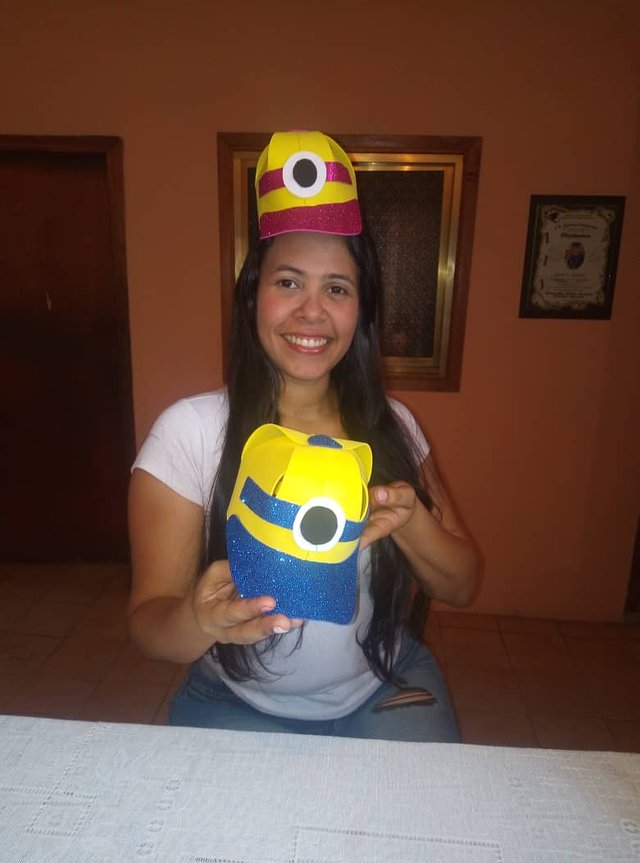
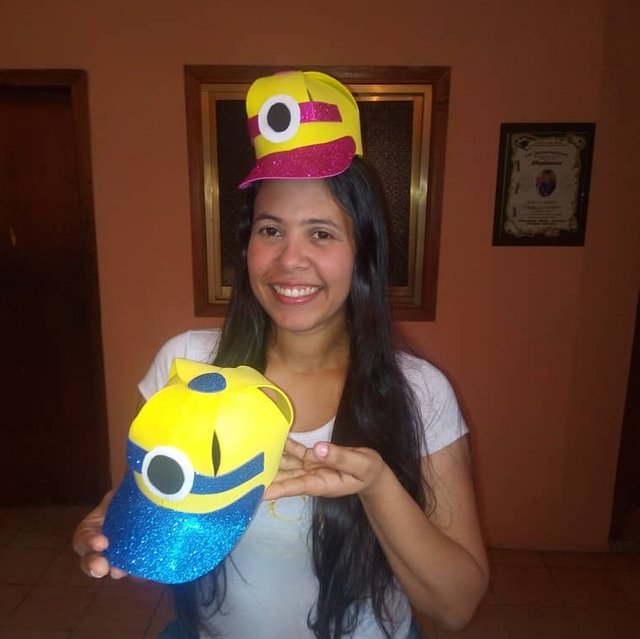
Hello friends, steemians, greetings to all, especially to the beautiful women in the #steemwomen community, this time I want to share with you the development of small caps made of very fun and ideal foam for children's parties.
Hola amigos steemians un saludo a todos, en especial a las bellas mujeres y la comunidad #steemwomen, en esta oportunidad quiero compartir con ustedes la elaboración de pequeñas gorras echas en foami muy divertidas e ideales para fiestas infantiles.
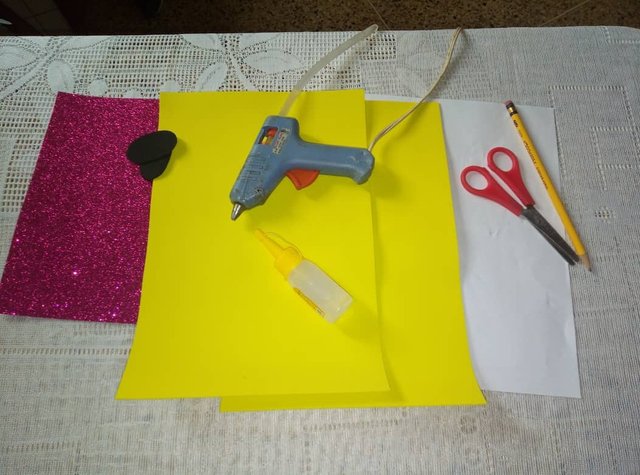
Materials:
Foami
Scissor
Silicon
Paper
Pencil
Elastic tape
Materiales:
Foami
Tijera
Silicón
Papel
Lápiz
Cinta elástica
Procedure || Procedimiento
Step 1 // Paso 1
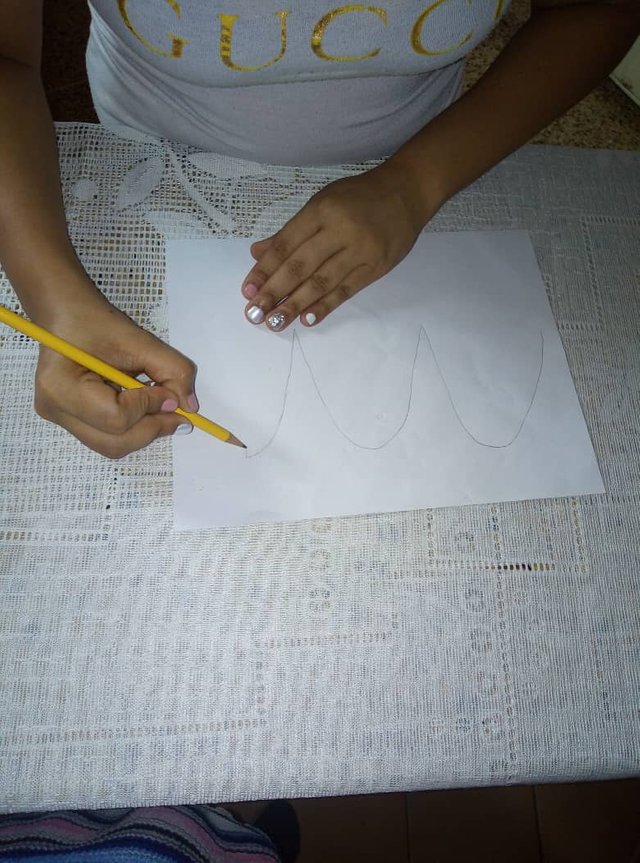
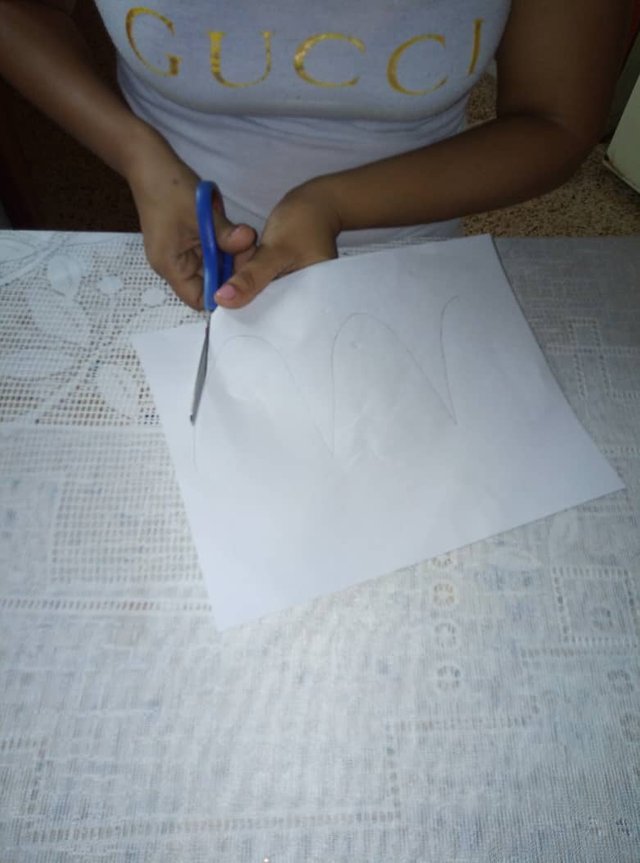
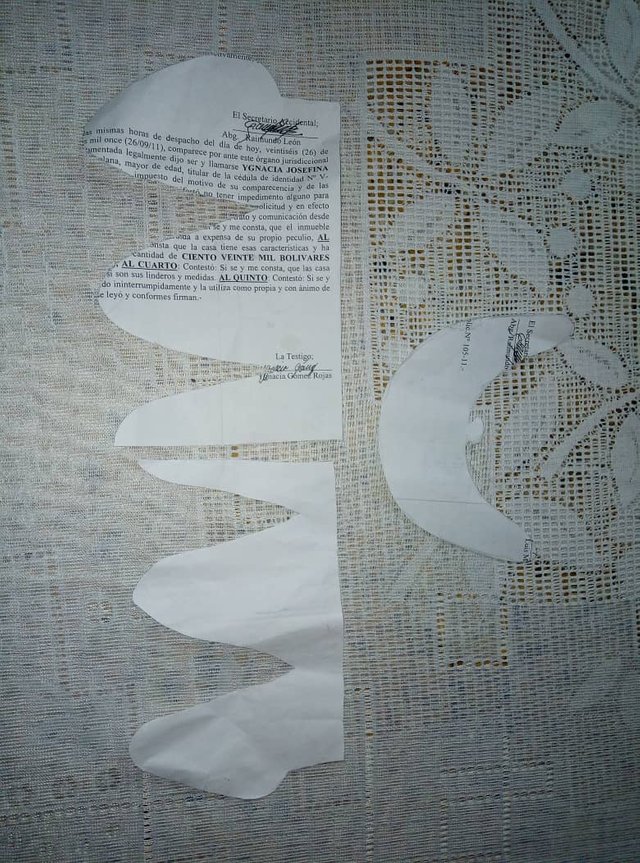
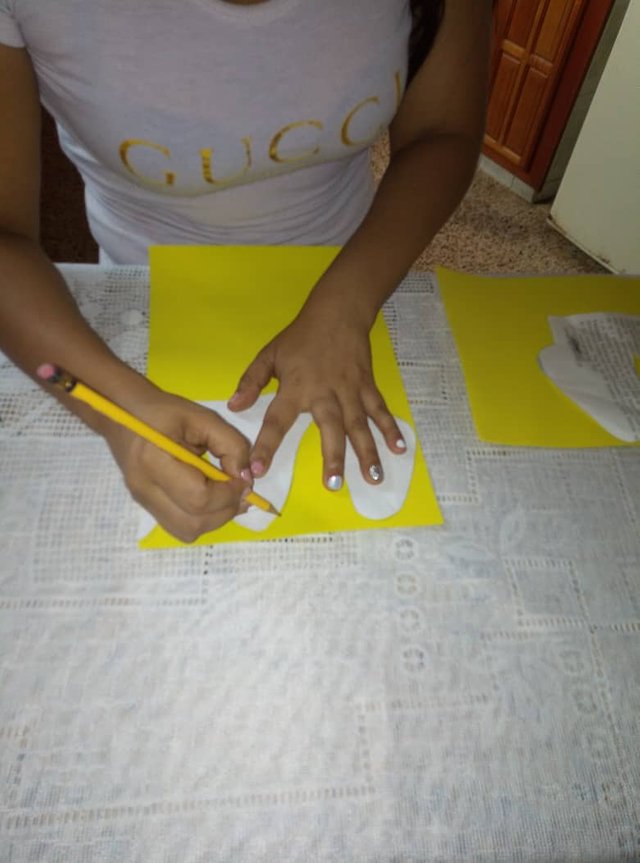
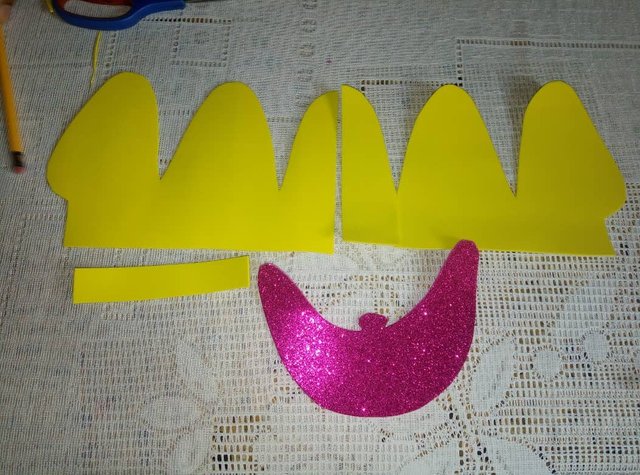
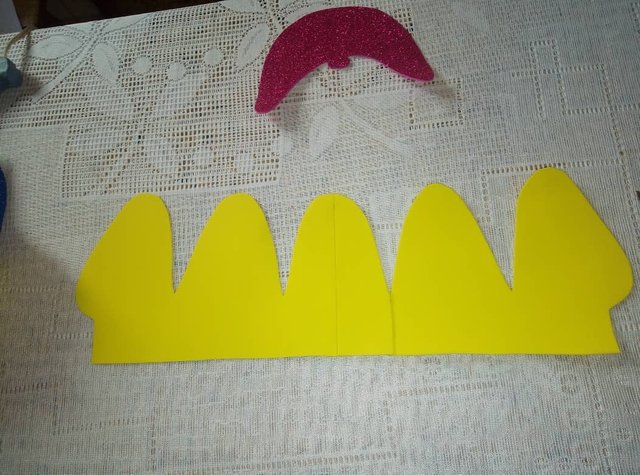
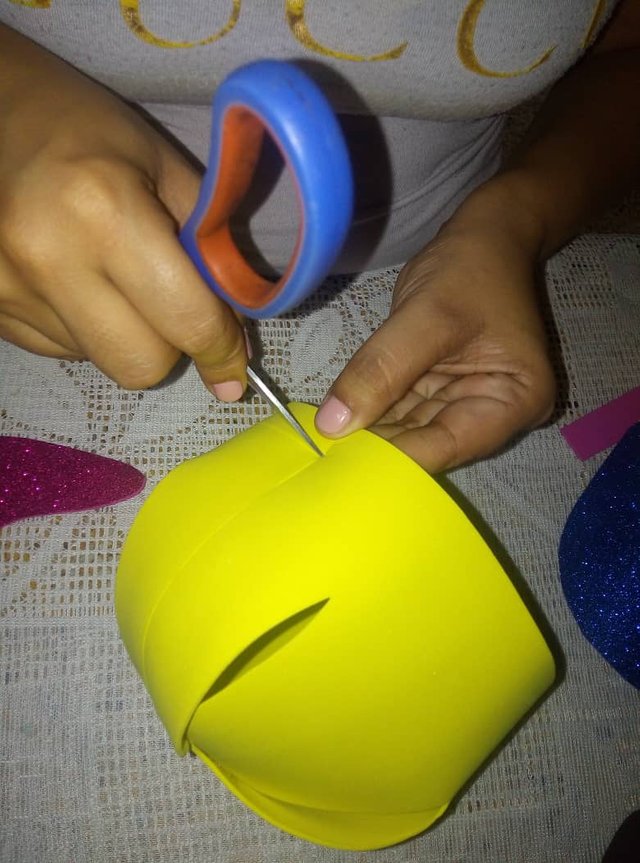
The first thing to do is draw the patterns on the leaves and then cut them out. Once we have it ready, we mark them on the foami, cut it and begin to shape our cap.
Lo primero que debemos hacer es dibujar los patrones en las hojas para luego recortarlos. Una vez lo tengamos listos los marcamos en los foami lo recortamos y empezamos a dar forma a nuestra gorra.
Step 2 // Paso 2
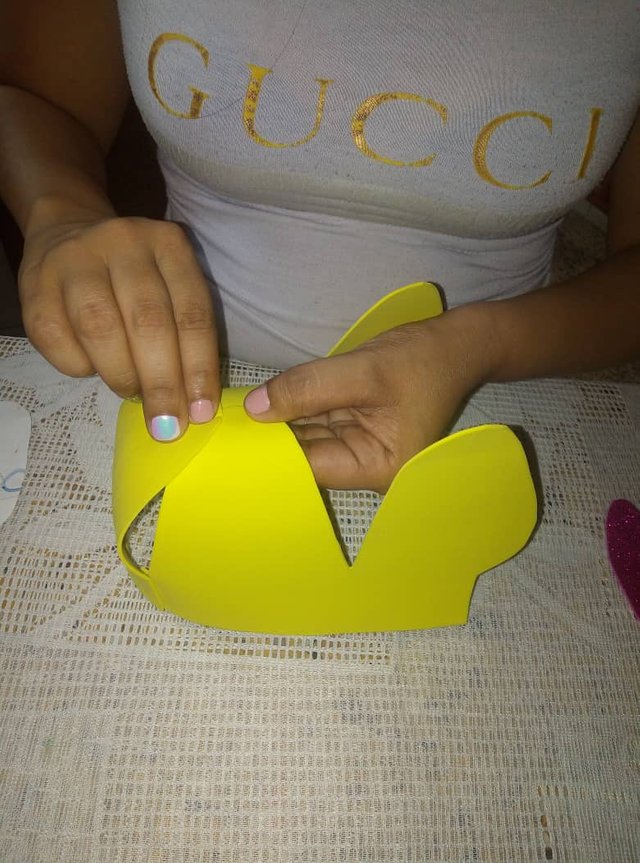
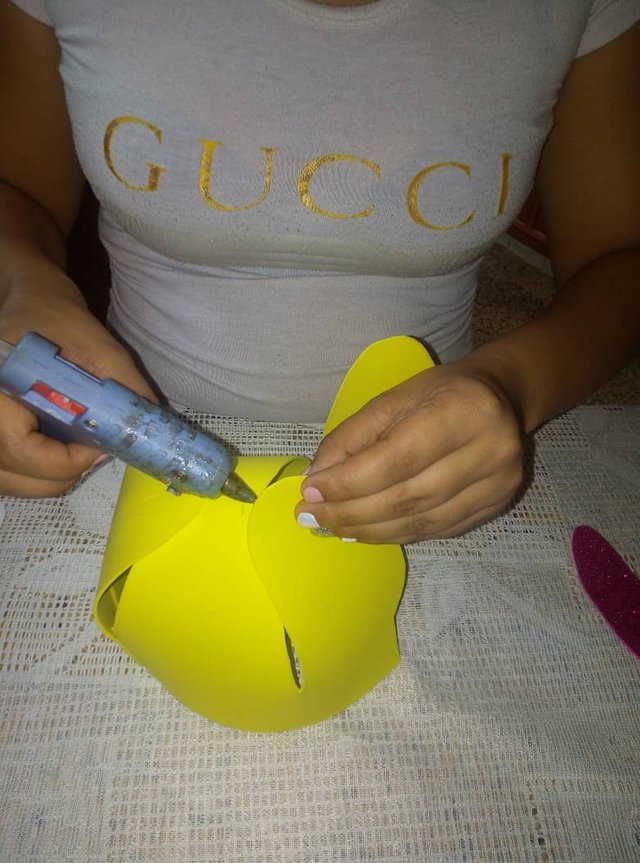
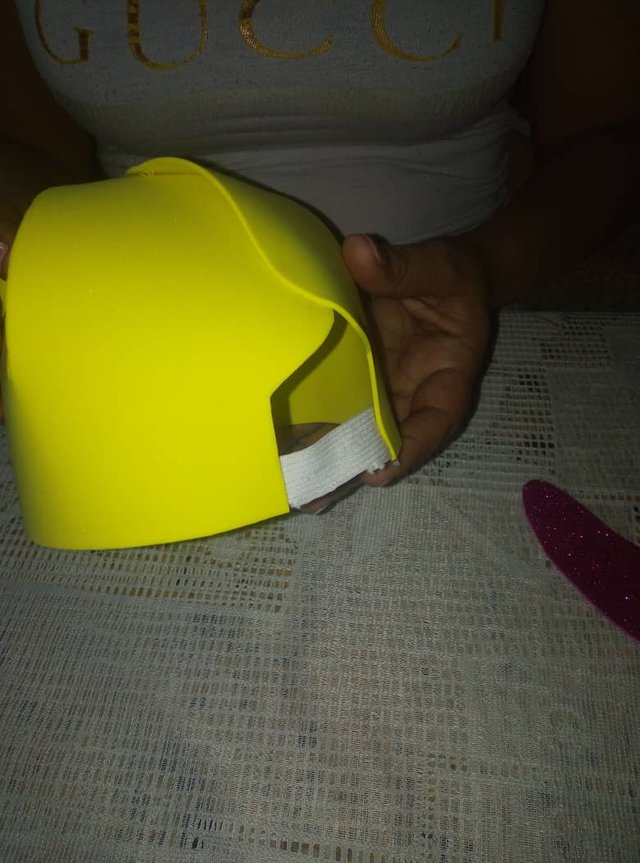
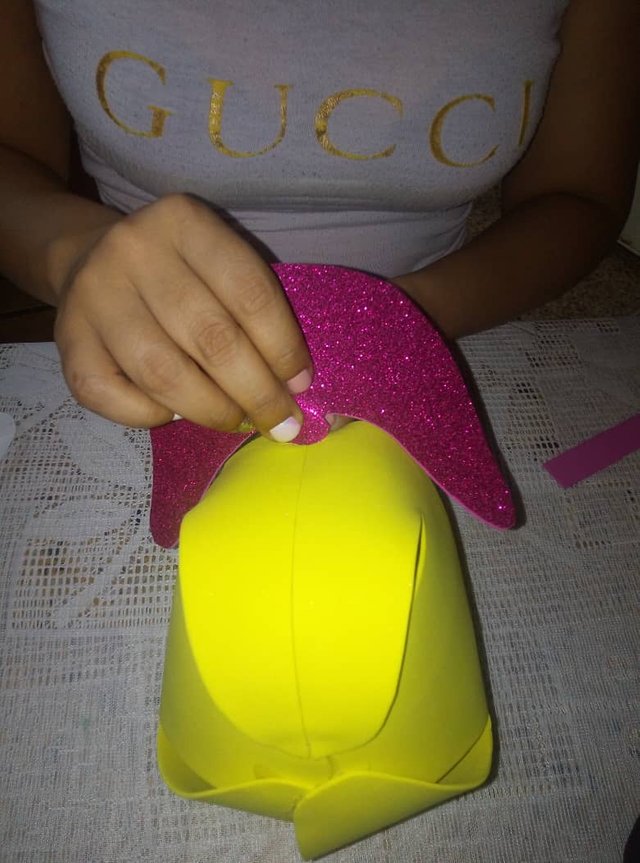
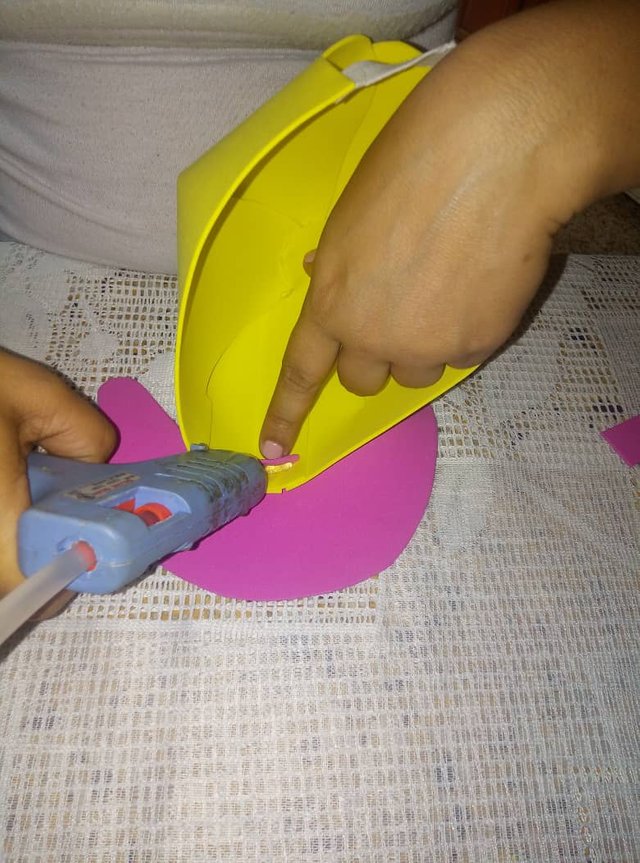
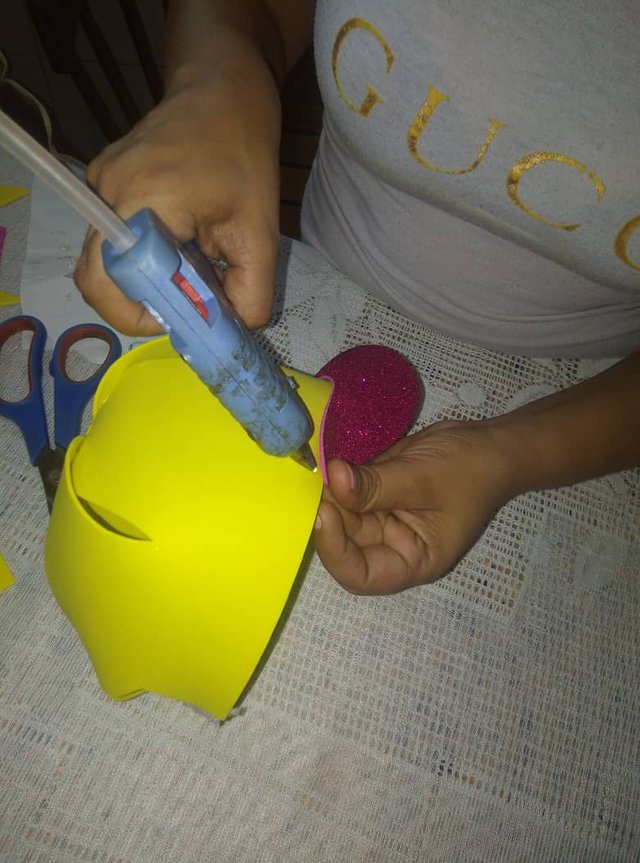
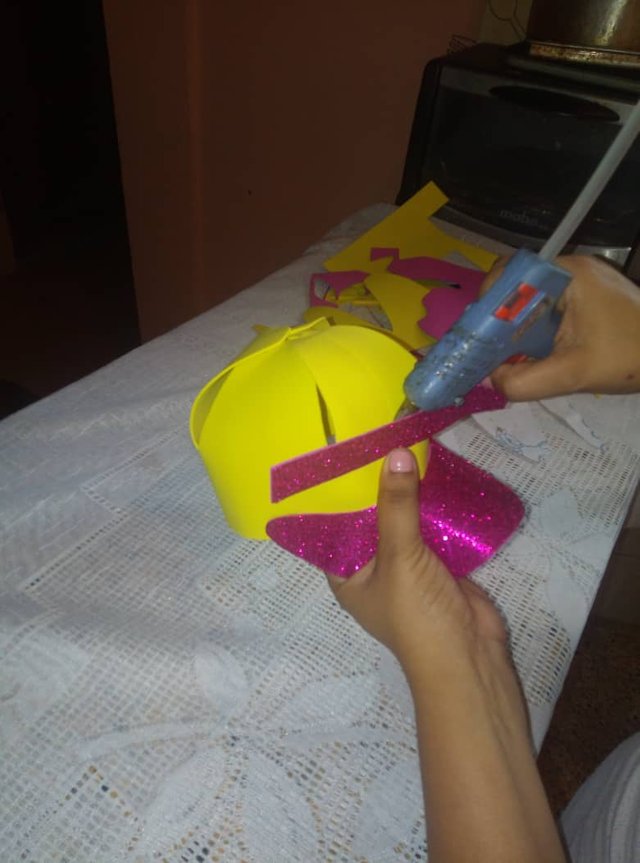
We chop a small square of foam and on top we glue the two sides of the cap, then we start to glue the ears, first we glue the two sides, then the front and finally the back and with a small piece of elastic tape we seal the back of the cap.
Picamos un pequeño cuadro de foami y encima pegamos los dos lados de la gorra, luego empezamos a pegar las orejas, primero pegamos las dos laterales, luego las delanteras y por ultimo las traseras y con un pequeño retazo de cinta elástica sellamos la parte trasera de la gorra.
.jpeg)
.jpeg)
Step 3 // Paso 3
Then with the tip of the scissors we make a small opening in the front of the cap with a centimeter high in which we are going to introduce the tab of our visor and secure it with silicone.
Luego con la punta de la tijera realizamos una pequeña abertura en la parte frontal de la gorra con un centímetro de alto en el cual vamos a introducir la pestaña de nuestra visera y la aseguramos con silicón.
Step 4 // Paso 4
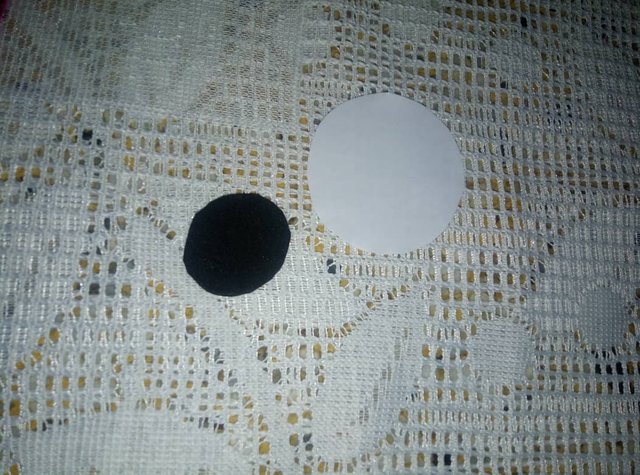
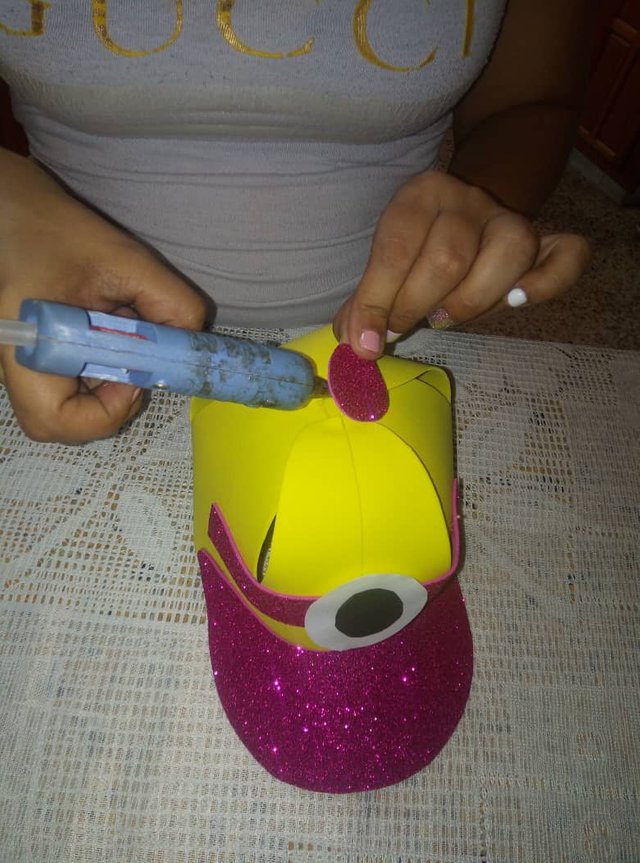
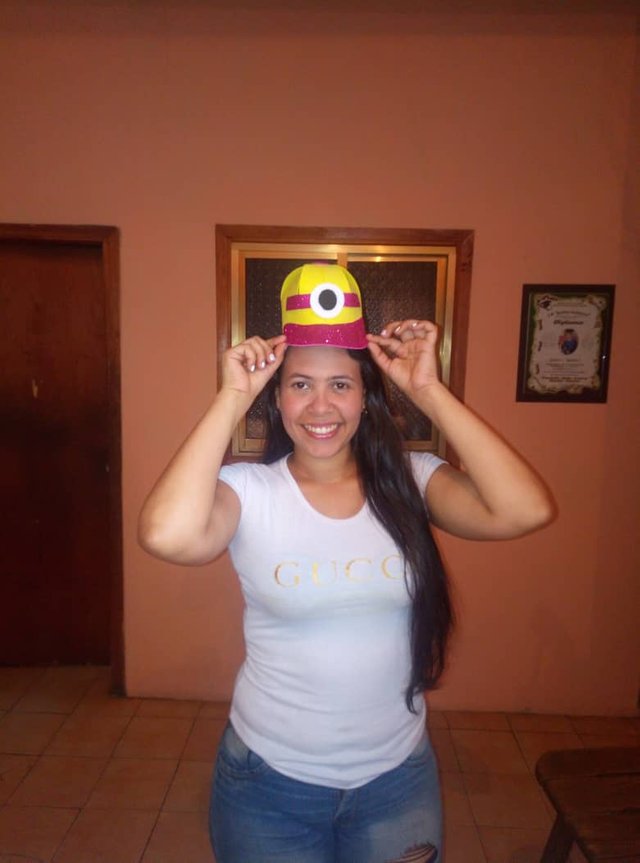
When the cap is ready we only proceed to decorate it, we can give it the animation that we like the most, in my case I will make it minions. So first I will cut out a pink rectangular ribbon and two circles, one a little larger in white and the smaller one in black. We glue everything on the front of the cap and ready we are done.
Cuando ya la gorra este lista solamente procedemos a decorarla, podemos darle la animación que más nos guste, en mi caso la haré minions. Así que primero recortare un listón rectangular de color rosado y dos círculos, uno un poco más grande color blanco y el más pequeño de color negro. Lo pegamos todo en la parte frontal de la gorra y listo ya habremos terminado.
.jpeg)
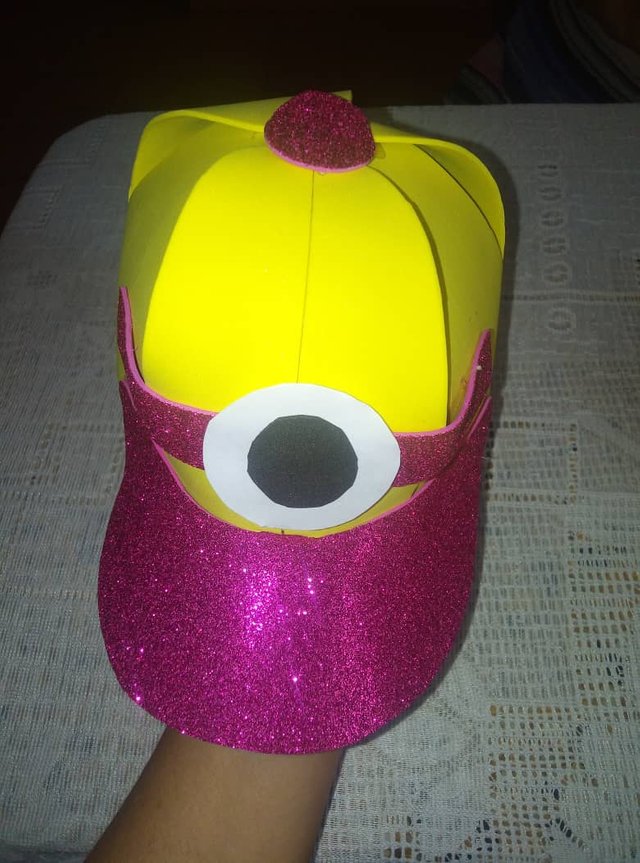
And with this we will have finished the elaboration of our little animated cap, ideal for the little ones in the house, especially at parties and celebrations. Well friends I hope you liked it and want to do it at home.
Y con esto habremos terminado la elaboración de nuestra pequeña gorra animada, ideal para los más pequeños de la casa sobre todo en fiestas y celebraciones. Bueno amigas espero les haya gustado y quieran hacerla en casa.
.jpeg)
.jpeg)
Thanks to @svm038 for this wonderful community and @steemcurator01, @steemcurator02, @steemcurator05, @steemcurato06 and the new healing teams @booming01, @booming02.
All the photographs are my property taken with my Huawei honor 7s phone.
Que bello trabajo @nayromero, te quedaron hermosas gracias por compartir este paso a paso me animare hacer unas para los niños del preescolar.
Downvoting a post can decrease pending rewards and make it less visible. Common reasons:
Submit